If your paint is looking a bit wrinkled, you’re not alone. Many homeowners experience this problem at some point. Fortunately, there are several ways how to fix wrinkled paint. This blog post will discuss the most effective methods for dealing with wrinkles in paint.
We’ll also provide tips for preventing them from happening in the first place. We will also provide some helpful tips to prevent your paint from wrinkling in the future. So, if you are dealing with this frustrating issue, make sure to read on!

Summary: Wrinkles in paint can be fixed with a few simple steps. First, sand the area with a fine-grit sandpaper to remove any loose debris and smooth the surface. Next, apply a coat of primer to prevent new wrinkles from forming. Finally, use a brush or roller to apply several coats of high-quality paint, allowing each coat to dry completely before applying the next. The resulting finish should be even and wrinkle-free!
8 Reasons That Causes Wrinkling Of Paint
1. Too Thick Application
If the paint is too thick, it will wrinkle. You should apply paint that is no thicker than your roller covers. For high-quality paint, apply topcoats in 2 or 3 thin layers. Avoid applying thick coats of paint and wait for each coat to dry before re-coating.
2. Excessive Moisture
If the surface is too moist, the paint will wrinkle. Make sure to dry the area with a cloth or allow time for dew or rain to evaporate before starting your project. Also, make sure that there isn’t any water left on the ground after you are done painting your wall. If you are using a paint sprayer, dry the surface before moving on.
3. Improper Drying Time
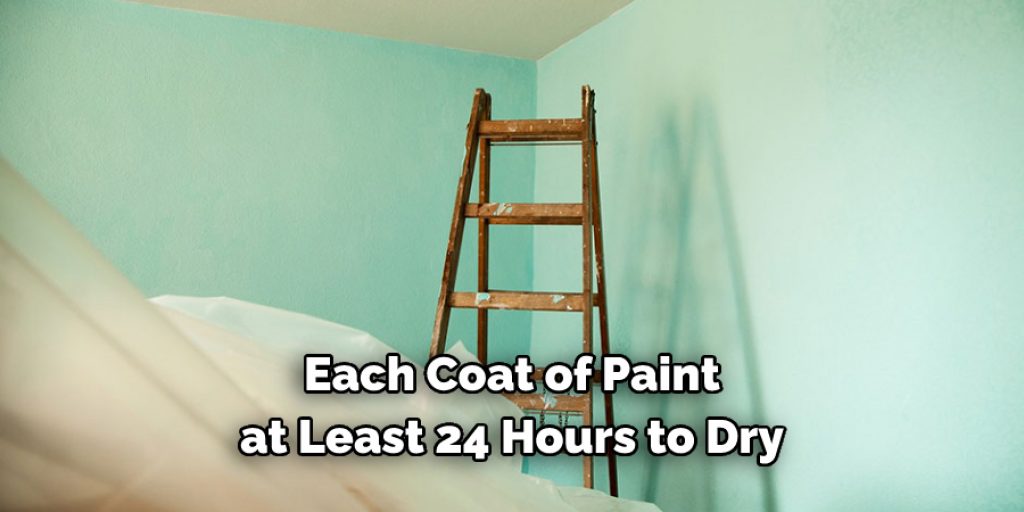
If the paint isn’t given enough time to dry in between coats, it will wrinkle. However, if given plenty of time, it will become harder to resolve the issue. Therefore, you should allow each coat of paint at least 24 hours to dry before applying another coating.
4. Not Using a primer
If you don’t use a primer when painting, the paint may start to wrinkle as it dries. Even if you do use a primer, the paint may not dry properly and permanently. For best results, apply two coats of topcoat with primer in between the coats.
5. Not Using a Sealant
If you don’t use a sealant, the paint will start to crack and wrinkle as it dries. For best results, apply two coats of topcoats with primers between these layers. If this is not possible, apply at least one extra coat of your product over the topcoat to create a sealant.
6. Using Uneven Roller Covers
If the roller covers are not even, it can cause wrinkling. Make sure that different sizes of the roller cover don’t touch when you apply them to your wall or ceiling. Also, keep in mind that all roller covers need to have the same amount of paint. Roller covers can be purchased from hardware stores and paint stores.
7. Using Flat or Matt Paints
If you use flat or matt paints, they will wrinkle more than glossier ones when drying. This doesn’t mean that you can’t use these paints, though it might be harder to prevent wrinkling with them. Apply your paint in 2 or 3 thin coats instead of one thick coat to prevent this.
8. Not Rolling Thoroughly
When you don’t roll the paint thoroughly, it will wrinkle as it dries. Make sure that you are rolling the paint onto the wall with consistent pressure and smooth strokes. This is one of the best ways how to fix wrinkled paint because it provides a smooth surface for your topcoats.

10 Easy Ways on How to Fix Wrinkled Paint
1. Paint Removal
To remove paint, use a quality paint remover. Paint removers are sold at most hardware stores and can save you from changing your wallpaper. Shake the remover well before using. Then, pour a small amount of the liquid onto a clean cloth or into a clean plastic container.
Do not tip or pour it directly on the wall as it is a harsh chemical. Instead, apply the paint remover to the painted surface with a brush or clean cloth. You can use a putty knife for hard-to-reach places. Start at the top of the wall and work your way down to prevent drips. Follow the manufacturer’s instructions for drying time.
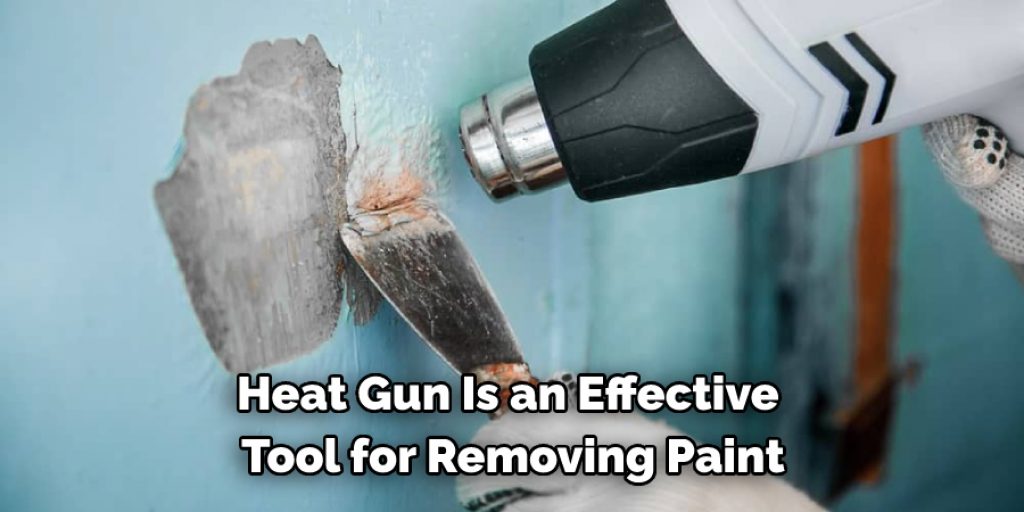
2. Heat Gun
A heat gun is an effective tool for removing paint, especially when it has already begun to dry. Hold the heat gun about 12 inches away from the painted surface. Heat the paint until it begins to bubble and loosen. Then, remove the paint with a soft bristle brush or scraper. Use caution when using the heat gun, as the high temperatures can damage your painted surface.
3. Lint in the paint
If you see pieces of lint or fuzz in the paint, this is likely due to latex paint that has not thoroughly dried. Latex paint needs at least six hours to dry before being repainted. The melted lint will create air pockets if it is painted too soon. Once you have scraped off all of these areas, clean the surface with a TSP solution. This will ensure no residue from the lint left on your paint.
4. Water in the Paint
If water or moisture is causing wrinkling, you can find a way around this by applying masking tape over any wet areas and allowing them to dry. If the wrinkling is already present, try applying a second coat over the top of the dried paint. The newly applied paint should push through to create a flat surface. Use a heat gun or hair dryer to speed up drying time.
5. Soaked Wallpaper
If your wallpaper is causing wrinkling in your paint, you can remove it as a first step. Next, use the heat gun to heat the paint and smooth out any remaining creases or wrinkles. If there are still areas that need work, you can also try using a joint compound. Finally, ensure that all of your tools are clean before painting to avoid creating additional wrinkles.
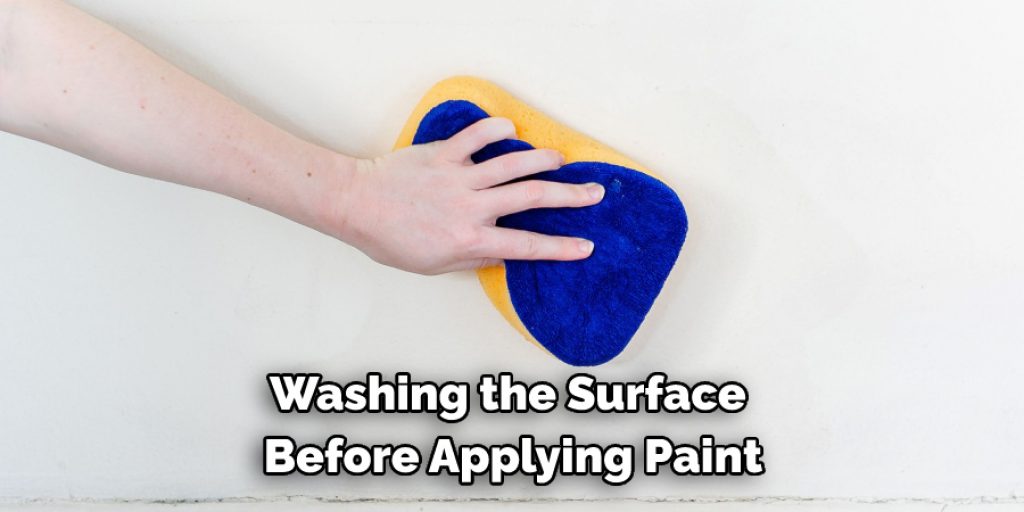
6. Wash the Surface
Washing the surface before applying paint will ensure that oil or other contaminants are not left behind on your wall. Make sure to clean the surface well before painting over it, so the adhesion of the new coat is smooth and even. You should also check for mildew or discoloration. If present, you will need to use bleach or the TSP solution mentioned above before painting.
7. Prime the Surface
When priming is done properly, it can prevent wrinkling in paint. If you do not prime before applying new paint, your surface could be reacting to old paint that has not fully dried. In addition, the new paint will not adhere well to the surface. This can cause your paint to wrinkle and peel off. If you are using a shiny finish, you must use a primer that is specifically designed for this type of sheen.
8. Use a Higher Quality Paint
Using higher-quality paint could help reduce the appearance of paint wrinkling. Paint designed to cover other types of paint will adhere better to your surface. This can help reduce peeling and wrinkles on the painted surface. Cheaper paints are not made to cover multiple surfaces, so they may become loose or peel off.
9. Paint Patching Problems
If the wrinkling appears in patches, this is likely due to paint patching or imperfections on the surface. However, if you notice larger areas of wrinkling occurring during painting, you might have a problem with the bristles on your paintbrush. If possible, try using a roller or a different brush to provide smoother coverage.
10. Exterior Painting
If you are painting an exterior surface, keep in mind that certain materials may be more likely to cause wrinkling problems. For example, painting near a cold or hot surface can push against the paint and cause it to wrinkle as it dries. If this is a problem where you live, try applying to weatherstrip under your paint to help keep it in place.
You Can Check It Out To Fix Mod Podge Streaks
Helpful Tips to Prevent Wrinkles From Forming
- Properly prepare the surface to help prevent wrinkles from forming.
- Mix paint thoroughly before painting.
- Use a soft roller for the type of paint being applied.
- Keep the surface wet while painting, if possible, going over one section at a time, generally with a small amount of overlap on each section.
- Apply the paint in the same direction as your roller moves; this will help prevent “trapping” air pockets under the paint.
- Paint out of direct sunlight or use a UV-resistant primer made for exterior surfaces.
- If you are working with an especially hot area, it might be best to paint later in the day when it’s cooler to help prevent wrinkles.
- If you are painting at night or in an area with poor lighting, use a paintbrush instead of a roller to avoid trapping air pockets under the paint.
You Can Check It Out To Fix Dart Holes in Wall
Frequently Asked Questions
What Causes Paint to Wrinkle?
The paint does not wrinkle because it dries out. Instead, paint becomes wrinkles due to compressibility and the properties of the oil or solvent used in its manufacture. These factors lead to surface tension, which is a force that opposes an elastic collision between two surfaces. In painting terms, this means that paint will stay put on a smooth wall rather than spreading around like water would.
Paint also has a low shear viscosity (thinnest film), which makes it difficult for air bubbles to form and cause separation of colors when drywall is being painted or suspended ceiling tiles are installed.
Why Did My Second Coat of Paint Wrinkle?
Paint can wrinkle when it is applied over a surface that is not smooth or porous. The more gradual the wrinkle, the less severe it is. Porous surfaces, such as wood, allow the paint to penetrate and spread evenly. Smooth surfaces, like plastic or metal, don’t allow the paint to adhere and cause wrinkles.
Do You Get Rid of Ripples in Paint?
Ripples in paint are caused by air bubbles that have formed while the paint is wet. When these air bubbles rise to the surface of the paint, they cause waves or ripples. This usually happens when the film is still wet and can be remedied with a few simple steps.
Do You Sand the Paint Before Clear Coat?
Different paints require different treatments in order to achieve the desired results. However, in general, it’s usually a good idea to sand the paint before applying a clear coat. This will help to reduce the chances of staining or peeling later on.
Should I Wet Sand After Clear Coat?
It depends on the type of clear coat you are using and your personal preferences. Some people believe that wet sanding after a clear coat helps to smooth out any bumps or imperfections in the finish, while others feel that it causes further damage and should be avoided. Ultimately, it is up to you whether or not you want to wet sand after your Clear Coat application.
Conclusion
In conclusion, follow these tips to help fix wrinkled paint and avoid the hassle and cost of having to repaint an entire surface. By preparing the surface properly and using the correct tools and materials, you can achieve a smooth, wrinkle-free finish on your painted surfaces.
Have you tried any of these techniques for fixing wrinkled paint? Let us know in the comments below. Also, if you have any questions about how to fix wrinkled paint or need help finding the correct type of paint for the job, please feel free to reach out to us.
You Can Check It Out Fix Fisheye in Paint