When you have a car, there are always things that need to be repaired and maintained. One common issue that can occur is peeling paint on the plastic bumper. This can be unsightly and can lead to further damage if not repaired.
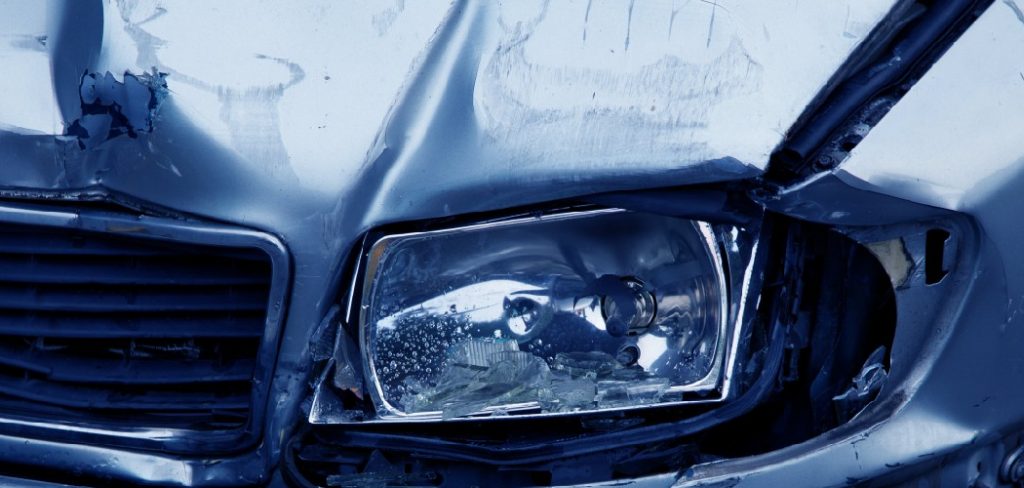
This blog post will explain how to repair peeling paint on plastic bumper using a few simple steps. This is usually caused by exposure to the sun and weather and can be a real eyesore. But don’t worry, peeling paint on plastic bumpers can be repaired fairly easily. Read on for more information!
Summary: If your plastic bumper is peeling paint, there are a few things you can do to repair it. First, wash the area with a gentle cleaning agent. Next, use a foam brush to apply a thin layer of latex paint to the surface. Finally, let the paint dry completely before attaching the bumper to your car.
10 Reasons That Causes Peeling Paint on Plastic Bumper
1. Exposure to the Sun
If you live in an area with a lot of sun, the UV rays can damage the paint on your car’s bumper and cause it to chip and peel over time. So it’s important to check your bumper regularly for any signs of peeling paint.
2. Exposure to the Elements
In addition to the sun, exposure to other elements can also cause paint to peel on a plastic bumper. This includes things like wind, rain, and snow. All of these can damage the paint and cause it to peel away from the plastic. If the paint is not properly protected, it will eventually peel off.
3. Improper Painting Techniques
Sometimes, the paint will peel off because of improper painting techniques. This can happen if the paint is not applied evenly or if it is not allowed to dry properly before being exposed to the elements. You want to make sure that the paint is applied evenly and that it has plenty of time to dry before taking your car out in the sun or in the rain.
4. Poor Quality Paint
The paint may peel off a plastic bumper for another reason which is poor quality paint. If you use a cheap paint, it will not adhere to the plastic and is more likely to peel off. Instead, you want to use a high-quality paint that is designed for plastic surfaces. This will help the paint to last longer and resist peeling.
5. Not Enough Primer
If you don’t use enough primer, the paint will not adhere properly to the plastic and is more likely to peel. Therefore, you want to make sure that you use enough primer so that the paint will have a good surface to grip onto. One coat of primer should be plenty for most plastic surfaces, but you may need two coats if the plastic is particularly glossy or has a lot of surface imperfections.
6. Using the Wrong Type of Paint
Not all paints are created equal. You want to make sure that you use a specifically designed paint for plastic surfaces. These paints will have a better chance of adhering to the plastic and are less likely to peel.
7. Poor Surface Preparation
If you don’t properly prepare the surface before painting, the paint is more likely to peel. Ensure that you clean the surface well and that it is free of any dirt, grease, or other contaminants. Once the surface is clean, you should sand it lightly to create a rough surface for the paint to grip onto.
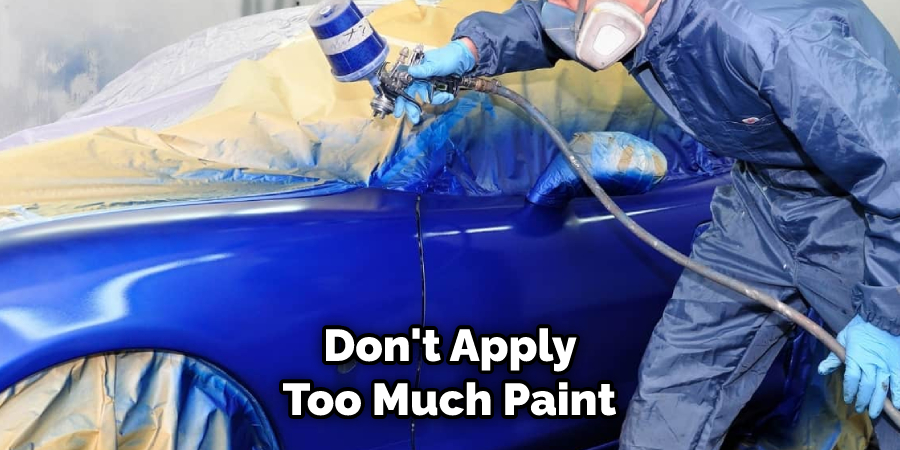
8. Applying Too Much Paint
If you use too much paint, it can cause the paint to peel. To avoid this, apply a thin layer of paint and make sure it doesn’t run or drip. Once the paint is dry, you can apply another coat if necessary. You can make the paint job last longer by adding a clear coat over the top of the paint.
9. Bumper Scratches
Bumper scratches can also cause the paint to peel. If you have a scratch in the paint, it can create a weak spot. Over time, the weak spot will become larger and the paint will eventually peel off. Therefore, you want to make sure that you repair any scratches in the paint as soon as possible so that they don’t cause the paint to peel.
10. Using the Wrong Cleaning Products
You should avoid using harsh cleaners on your bumper. These cleaners can damage the paint and cause it to peel. Instead, stick to gentle cleansers that are designed for use on plastic surfaces. If you notice that the paint on your bumper is peeling, don’t panic!
In most cases, it can be repaired fairly easily. You can either repaint the bumper yourself or take it to a professional. If you decide to repaint the bumper yourself, make sure that you use high-quality paint and primer. These products will help to ensure that the new paint adheres properly and doesn’t peel.
You Can Check It Out to Repair Hard Plastic Vacuum Lines
18 Effective Steps on How to Repair Peeling Paint on Plastic Bumper
Step 1: Gather Necessary Tools and Materials
To repair peeling paint on a plastic bumper, you will need the following tools and materials:
- Protective gloves, eyewear, and a face mask
- Plastic sheeting or drop cloth
- Painter’s tape
- 600-grit wet/dry sandpaper
- Soapy water and a sponge
- Clean, lint-free cloths or rags
- Plastic adhesion promoter
- Automotive primer
- Color-matched automotive paint
- Clearcoat
- Spray gun or aerosol spray cans
- Rubbing compound
- Polishing compound
- Wax
Step 2: Prepare the Work Area
Choose a well-ventilated work area, preferably outdoors or in a garage with the door open. Lay down plastic sheeting or a drop cloth to protect the surrounding surfaces from paint and debris.
Step 3: Clean the Bumper
Wash the bumper thoroughly with soapy water and a sponge to remove dirt, grease, and debris. Rinse the bumper and dry it completely with a clean, lint-free cloth.
Step 4: Remove Peeling Paint
Using 600-grit wet/dry sandpaper, gently sand the peeling paint off the plastic bumper. Be sure to sand the edges of the remaining paint to create a smooth transition between the painted and bare plastic surfaces. This will help ensure a seamless finish when new paint is applied.
Step 5: Clean the Sanded Area
Wipe the sanded area with a clean, damp cloth to remove dust and debris. Allow the bumper to dry completely before proceeding.
Step 6: Mask Off Surrounding Areas
Using painter’s tape, mask off any areas surrounding the bumper that you do not want to be painted. This includes trim pieces, lights, and other components that may be attached to or near the bumper.
Step 7: Apply Plastic Adhesion Promoter
Plastic adhesion promoter helps paint adhere to plastic surfaces and prevents peeling. Following the manufacturer’s instructions, apply a thin coat of plastic adhesion promoter to the sanded area of the bumper. Allow the adhesion promoter to dry for the recommended time.
Step 8: Apply Automotive Primer
Once the adhesion promoter has dried, apply a coat of automotive primer to the bumper. You can use a spray gun or aerosol spray can, depending on your preference and equipment availability. Apply the primer in thin, even coats, allowing each coat to dry before applying the next. Follow the manufacturer’s instructions for the recommended number of coats and drying times.
Step 9: Wet Sand the Primer
After the primer has dried, use 600-grit wet/dry sandpaper to lightly wet sand the surface. This will help to create a smooth, even surface for the paint. Wipe the bumper with a damp cloth and allow it to dry completely before proceeding.
Step 10: Apply Color-Matched Automotive Paint
Using a spray gun or aerosol spray can, apply the color-matched automotive paint to the bumper in thin, even coats. Allow each coat to dry for the recommended time before applying the next coat. Typically, two to three coats will be sufficient to achieve full coverage, but consult the paint manufacturer’s instructions for specific recommendations.
Step 11: Apply Clearcoat
After the color coat has dried, apply a clearcoat to the bumper. This will provide added protection and give the paint a glossy finish. Apply the clearcoat in thin, even coats, allowing each coat to dry before applying the next. Follow the manufacturer’s instructions for the recommended number of coats and drying times.
Step 12: Wet Sand the Clearcoat
Once the clearcoat has dried, use 1500-grit wet/dry sandpaper to wet sand the surface. This will help to remove any imperfections and create a smooth, glossy finish. Be careful not to sand through the clearcoat and into the color coat. Wipe the bumper with a damp cloth and allow it to dry completely before proceeding.
Step 13: Apply Rubbing Compound
Using a clean, lint-free cloth, apply a small amount of rubbing compound to the bumper. Rub the compound in a circular motion, applying moderate pressure to remove any minor imperfections in the clearcoat. Continue this process over the entire repaired area until the surface is smooth and even.
Step 14: Apply Polishing Compound
After the rubbing compound has been applied and the surface is smooth, use a clean, lint-free cloth to apply a polishing compound to the bumper. This will further refine the surface and create a high-gloss finish. Rub the polishing compound in a circular motion, applying light pressure, and then buff it off with a clean cloth.
Step 15: Wax the Bumper
To protect the paint and maintain the glossy finish, apply a high-quality wax to the bumper. Follow the manufacturer’s instructions for application and buffing. This will help to seal the paint and provide a protective barrier against the elements.
Step 16: Remove Painter’s Tape and Reinstall Components
Once the wax has been applied and buffed, carefully remove the painter’s tape from the bumper. Reinstall any components that were removed, such as trim pieces or lights, ensuring that they are securely attached.
Step 17: Inspect Your Work
After the repair process is complete, inspect the bumper to ensure that the paint has been applied evenly and that there are no visible imperfections. The repaired area should blend seamlessly with the surrounding paint, creating a professional-looking finish.
Step 18: Maintain the Bumper’s Finish
To keep the bumper looking its best, regularly clean and wax the surface to protect the paint from dirt, debris, and the elements. Address any minor imperfections or damage promptly to prevent further peeling or chipping.
By following these steps and using the appropriate tools and techniques, you can effectively repair peeling paint on a plastic bumper, restoring its appearance and protecting it from further damage. With proper care and maintenance, your bumper’s finish will remain vibrant and long-lasting.

Few Additional Tips and Suggestions
Here we have given tips on how to repair peeling paint on plastic bumper.
- To avoid damaging your plastic bumper, make sure you use mild soap and plenty of water.
- Use fine-grit sandpaper to create a smooth surface for the new paint to adhere to.
- Apply the primer with a brush or roller and let it dry completely before moving on to the next step.
- To get the best results, use a spray paint designed specifically for plastic.
- Apply several light coats of paint, allowing each one to dry completely before adding the next.
- Apply a clear coat of sealer to protect the new paint job.
- Make sure you wash and wax your car regularly to protect the new paint job.
- If you need to remove excess paint, use a polishing machine with a buffer pad and polishing compound.
Can You Touch Up Plastic Bumper?
It is possible to touch up a plastic bumper, but it can be difficult to get an exact match. The best way to touch up a plastic bumper is to use a touch-up paint that is specifically made for plastic. You can find touch-up paint at most auto parts stores. Just sand down the area around the scratch or chip before you apply the paint.
If you cannot find touch-up paint that matches your car’s color, you can try using a permanent marker. Permanent markers will work on most plastics, but they may not be as durable as paint. Because of this, you will likely have to touch up the permanent marker more often than you would touch up paint.
How Long Does it Take to Repair Peeling Paint on Plastic Bumper?
The amount of time it takes to repair peeling paint on a plastic bumper will depend on the severity of the damage. If the damage is severe, you may need to sand down the entire bumper and repaint it. This can take several hours to complete. On the other hand, if the damage is not severe, you may be able to repair it in just a few minutes.
You can also buy a can of touch-up paint from your local auto parts store. This will make the repair process much easier and faster. For example, if you have peeling paint on your plastic bumper, it is important to fix it as soon as possible. Peeling paint can cause further damage to the bumper and make it more difficult to repair. In addition, as the paint peel, it can also cause the plastic to crack.

Final Thoughts
Plastic bumpers are a common site on cars. Unfortunately, the paint may start to peel off of these plastic surfaces over time. There are several ways that you can repair peeling paint on a plastic bumper. In this blog post, we have discussed a few methods for how to repair peeling paint on plastic bumper.
Although it is possible to repair peeling paint on a plastic bumper with some household items, it may be best to take the car to a professional. If you decide to try and fix the problem yourself, be sure to follow the instructions carefully and use caution when applying heat. By taking your time and being careful, you can save yourself money and headaches by repairing peeling paint on your plastic bumper.