Nail dip powder is a recent development in the nail industry that has gained popularity for its long-lasting results. If you love having your nails done but hate the hassle of regular appointments, dip powder might be the solution for you.
Dip powder is a long-lasting alternative to traditional nail polish that gives your nails a professional-looking finish. However, your topcoat can become brittle and crack if not applied correctly. In this article, we will give you tips on how to fix top coat on dip powder and restore the glossy finish you originally had. Keep reading for more information!
Summary: If you’re looking to fix top coat on dip powder nails, there are a few steps you can take. Make sure that the nails are completely dry before applying any top coat. Next, use a light layer of basecoat, followed by two thin coats of clear topcoat to seal in the color. Finally, finish off with one last layer of clear topcoat for extra protection and shine.
10 Easy Solutions on How to Fix Top Coat on Dip Powder
1. Use a Nail Polish Remover
If your topcoat is chipping or peeling, you can use a nail polish remover to remove it quickly. Just be sure to use an acetone-free remover, as acetone can damage your nails.
2. Apply a New Top Coat
If your topcoat is only peeling in a few chips, you can apply a new layer to fix the issue. However, if it’s flaking off in large chunks, you’ll need to remove it and start from scratch.
3. Try a Different Top Coat
There is no one-size-fits-all when it comes to topcoats. Some are more durable than others, so it’s important to find the right one for your needs. For example, if you’re using a gel top coat, try switching to a regular top coat. Or, if you’re using a regular top coat, try using a gel top coat instead. By experimenting with different types of topcoats, you’ll be able to find the perfect one for your nails.
4. Buff Your Nails
Before you put a new topcoat on your nails, you can buff them to make them smoother and to get rid of any extra dip powder. This will make the new topcoat stick to your nails better and make it last longer.
5. Apply a Patch
If you do end up with a few bumps or ridges after applying your top coat, you can apply a patch to help fill them in. Then, apply a small amount of the top coat over the affected area and smooth it out with your brush.
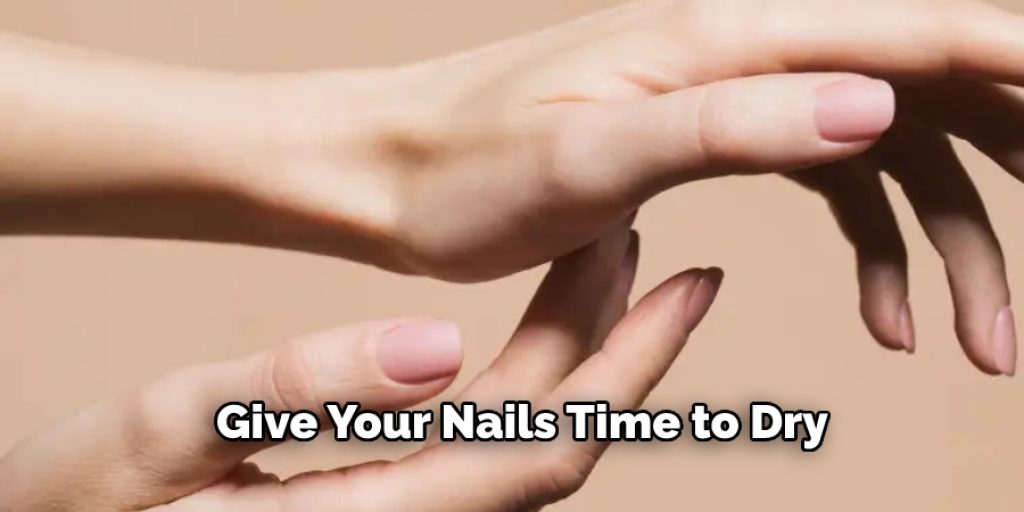
6. Let it Dry
Make sure to give your nails plenty of time to dry. After you’ve finished your topcoat, leave your nails alone for at least 15 minutes. If you can, wait an hour before using them.
7. Seal It In
If you want to make sure your nails stay chip-free for as long as possible, seal in the topcoat with a gel topcoat. This will create a barrier between your nails and the environment, preventing any dirt or dust from getting in. Plus, it’ll help your nails stay glossy for longer.
8. Touch-Ups
In the event that your top coat starts to chip or peel, you can perform a touch-up. To do this, first, remove any loose powder with a brush or cotton swab. Next, apply a small top coat to the affected area and smooth it out with a brush. Finally, allow the topcoat to dry completely before continuing with your regular nail routine.
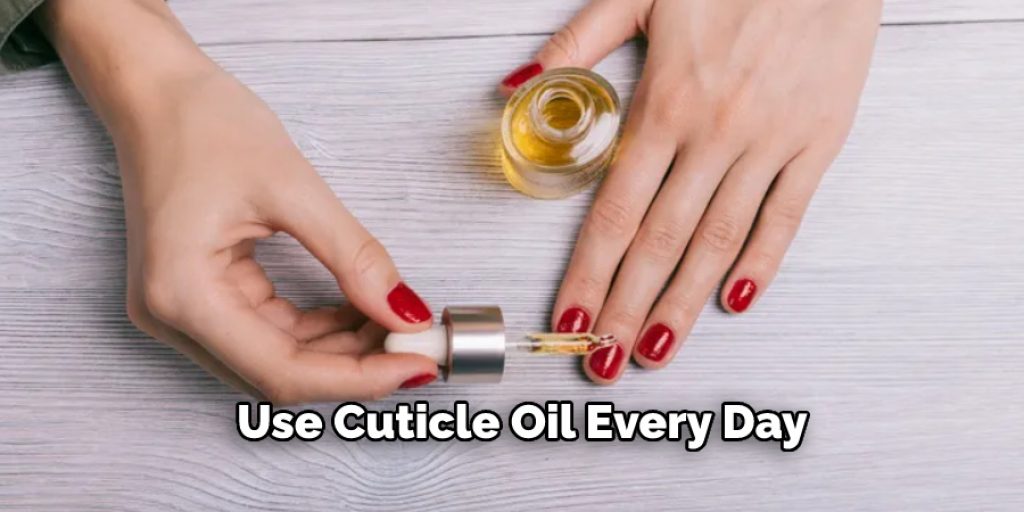
9. Use a Cuticle Oil
If you want to keep your nails healthy and strong, it’s good to use cuticle oil every day. This will help to keep your nails moisturized and prevent them from becoming brittle. If your top coat starts to peel or chip, you can use cuticle oil to help fix it. Simply apply a small amount of oil to your nails and rub it in with your fingers. The oil will help to seal the top coat in place and prevent it from peeling off.
10. Use High-Quality Nail Products
Last but not least, using high-quality nail products is essential for keeping your nails looking their best. If you’re using low-quality products, your topcoat is likely to chip and peel. So, be sure to use products made with high-quality ingredients and designed to last.
Five Common Reasons That Causes Dip Nail Cracks
1. Using Low-Quality Dip Liquids
Cheap dip liquids are one of the most common reasons for nails to start peeling and cracking. Low-quality liquids often contain harsh chemicals that can damage nails, leading to cracks and other problems.
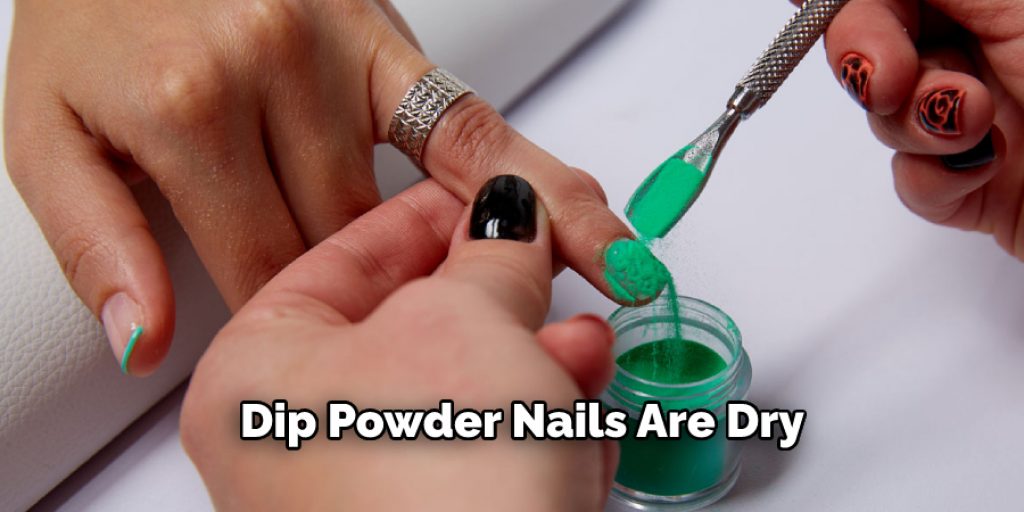
2. Applying Dip Powder Incorrectly
If you’re not careful when applying dip powder, you can cause chips and cracks. Make sure to use a light layer of powder and cover the entire nail surface. Avoid going too heavy with the powder, or you’ll have clumps and bumps.
3. Not Using a Top Coat
Once your dip powder nails are dry, it’s essential to apply a topcoat. This will protect your nails from chipping and cracking. In addition, a quality top coat will help your nails stay looking their best for weeks or even months.
4. Using Too Many Dip Coats
If you apply too many dip coats, your nails will become thick and brittle. This can lead to chips and cracks, as well as other problems. Be sure to apply a thin layer of powder each time, and avoid going overboard.
5. Poor Nail Health
If your nails are weak or damaged, they’re more likely to crack and peel. Make sure to take care of your nails by regularly using a good nail polish remover and moisturizer. If you have any existing damage, visit a nail technician for help.
Troubleshooting Dipped Nails: How to Fix Top Coat on Dip Powder
Dipping powder nails can be a beautiful and long-lasting alternative to traditional nail polish, but sometimes your topcoat can start to chip or peel. If this happens, don’t worry – there are a few things you can do to fix it.
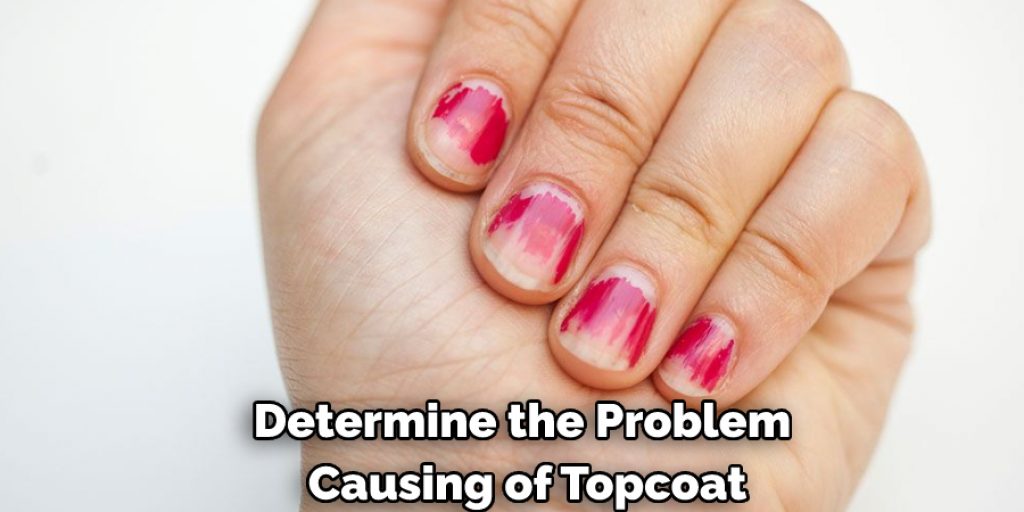
Step 1: Determine the Cause
The first step is to determine what might be causing the topcoat to chip or peel. Sometimes it can be due to something as simple as using a non-compatible topcoat, so make sure you’re using a specifically designed topcoat for dip powder nails.
Step 2: Remove the Top Coat
If the topcoat is peeling or chipping, the easiest solution is simply removing it and starting over. Use a nail polish remover designed to remove both nail polish and acrylics. Soak a cotton ball in the remover and hold it against the nails for a few seconds. Rub the nails gently with the cotton ball to loosen the topcoat. Wipe away any remaining polish or topcoat with a tissue.
Step 3: Reapply the Top Coat
Once the old topcoat has been removed, reapply a new topcoat. Be sure to use a topcoat compatible with dip powder nails, and allow it to dry completely. This will help seal the dip powder in and protect your nails from chipping or peeling. Again, be sure to use a quality top coat for optimal results.
Step 4: Let it Dry
Once the topcoat has been applied, let it dry completely before using your nails. It can take several hours for the top coat to dry completely, so be patient. If you try to use your nails before it’s fully dried, you could end up with smudges or chips in your polish.
You Can Check It Out To Fix Blotchy Gel Stain
Step 5: Buff it Down
If you notice any bumps or ridges in the topcoat, use a buffer to smooth it out. However, be careful not to buff too hard, or you’ll remove the topcoat entirely.
Step 6: Seal it In
Once you’ve buffed the top coat, use a sealant to protect it from chipping and fading. Apply a thin coat and allow it to dry completely. If you’re using a spray sealant, hold the can 8-10 inches away from the nails and spray in a sweeping motion. Keep your hand steady and avoid spraying too close to the nails, or you’ll have wet fingers.
You Can Check It Out To Fix a High Hip
Tips to Care for Your Nails Properly
- Keep nails clean and dry.
- Apply a base coat to protect the nail from staining and help polish adhere better.
- Apply polish in thin layers, letting each layer dry completely before applying the next.
- Use a good-quality top coat to seal in the polish and add shine.
- Remove polish with a non-acetone polish remover.
- Keep your nails trimmed and filed.
- Use cuticle oil to keep the cuticles healthy.
- Moisturize your hands and nails regularly.
Can You Cure Dip Powder Top Coat?
There are a few different ways to fix the topcoat on dip powder. One way is to use a UV light. If you have access to one, you can cure the topcoat with it in order to harden it and make it more durable. Another option is to use a hairdryer. You can hold the hairdryer close to the nail and use it to help cure the topcoat.
You can also try using a heat gun, but be careful not to hold it too close to the nails or you might damage them. Finally, if you’re having trouble fixing the topcoat, you might want to try using a different topcoat. There are many different types of top coats available, so you should be able to find one that will work for you.
You Can Check It Out to: Fix Solvent Pop
Frequently Asked Questions
Can You Cure Dip Top Coat?
There is no cure for dip top coat, but there are some ways to manage it. You can use a cleaner and polish that will remove the film and buildup on your car’s finish. You can also try using a sealant or wax to protect the finish against water and weather damage. Finally, you might want to avoid exposing the paint to direct sunlight or other elements that could cause further oxidation or etching of the surface.
Can You Put Another Top Coat on Dip Nails?
Unfortunately, no-dip nails should only be applied once and should not be reapplied with another top coat. Applying a top coat after dip nails have been applied may lead to a decreased bond between the nail and the dip, which could cause the nail to peel or crumble.
Why is My Dip Powder Top Coat Not Shiny?
Dip powders can be made in a variety of ways, and some may not result in a shiny finish. One common issue is that the dip powder may contain too much oil or alcohol which will cause it to take on a cloudy appearance. Additionally, if the dip powder is applied too thickly, it can form a film that blocks light and makes the paint look matte. To avoid these issues, make sure to apply your Dip Powder Top Coat sparingly and evenly with your brush. And remember: less is more!
Why is My Dip Powder Top Coat Sticky?
Dip powders are a great way to add extra protection to your nails when you have special events or occasions that require polish and/or nail art. However, if the dip powder becomes sticky, it means that it is no longer effective at protecting your nails. In order for the dip powder to be effective, it needs to be fully dry before application. If it is still wet after being applied, then it will become stickier and harder to work with.
To prevent this from happening in the future, make sure to store Dip Powders in a cool environment (between 60-75 degrees Fahrenheit), tightly sealed container, and avoid exposure to sunlight or dust particles. Additionally, use only as directed on the label – do not experiment with dilution or other variations!
Conclusion
So, what can you do if your top coat starts to chip or peel? The good news is that there are a few ways to fix it. One way is to add more powder on top of the chipped area and then seal it with another layer of topcoat. Another option is to use a nail polish remover with acetone to remove the old topcoat before reapplying for a new one.
If you’re having trouble getting the old topcoat off, you can also try using a hairdryer to help soften it up. Whichever method you choose, be sure to apply a fresh layer of topcoat every time you change your dip powder color in order to keep your nails looking their best. We hope this blog post on how to fix top coat on dip powder has been helpful. Have you ever had to fix your top coat on dip powder? If so, what method did you use? Let us know in the comments below.