If you’ve ever taken a picture with your phone and got that round, curved look in the center of the photo, you’ve experienced fisheye. This happens when the camera lens is not flat against the image sensor, resulting in a distortion of images. Incorrect camera lens distortion, otherwise known as “fisheye,” can be a real pain to correct in Photoshop or other image-editing software.
However, you can fix the problem and have your photos looking their best with a few simple steps. This blog post will walk you through how to fix fisheye in Paint, a free image-editing program that comes standard on most Windows computers. So without further ado, let’s get started!
Summary: Fixing a fisheye effect in Paint can be done with several different tools. Desaturate, normalize, and use the clone stamp tool to reduce the distortion caused by the fisheye effect.
Other helpful tools include the smudge tool, selective color, brightness/contrast, levels, remove red-eye, smart blur and airbrush tool. Experiment with each one to find the best combination for your photo!
What is Fisheye in Paint?
Fisheye in Paint is a common problem when drawing wrinkles on the face or hair. When you draw them, they look fine at first, then the Next time you draw that line it’s all wonky. This effect is also known as “Jaggies” or “Jagged lines.”
Fisheye in the Paint can be fixed, but you need to create a new image and copy over the entire eye with the fisheye and paste it onto your new untouched image (the one without fisheye) erase the copied area, thus removing the fisheye.
Five Reasons That Causes Fisheye in Paint
1. Digital Zoom
Many people who use Microsoft Paint’s zoom feature often do so uncontrolled, causing the edges of the image to be pixellated and distorted. This issue can be fixed by simply adjusting your mouse settings to use a smaller percentage when zooming, or disabling the option from your mouse preferences menu completely.
2. Blurry Photos
Paint can automatically fix an image that is blurry. The more blurry the photo is, the more distorted the final result will be. So if you want to take a picture of something far away or want to get good results, make sure that your photos are not blurry.
3. Angle Too Far Up or Down
This can cause a fisheye effect. Ensure that you are holding your camera level when taking pictures to avoid this.
4. Low-Resolution Photos
One of the main reasons for fisheye distortion in Paint images is due to enlarging them beyond their original size. Often, you can get a better quality image by adjusting your camera to take lower resolution photos; however, this may cause some distortion when you upload them to Paint. Always try to use the maximum resolution of your camera if you can.
5. Lens Quality
Even the best lenses often produce some distortion, especially at their edges or if the lens has been dropped or gotten too hot or cold for it to work properly anymore. If you have a very high-quality lens, this may not be a problem for you at all.
10 Ways on How to Fix Fisheye in Paint
1. Desaturate
When you use the Desaturate command, it will “remove all color” from your image. This is especially useful if you want to get rid of a fisheye effect on your pic!
2. Normalize
The Normalize function works similarly to Desaturate in that it takes all of the colors out of your image. However, it makes the lightest pixels white and the darkest pixels black. This gives a similar effect to Desaturate but is not as drastic.
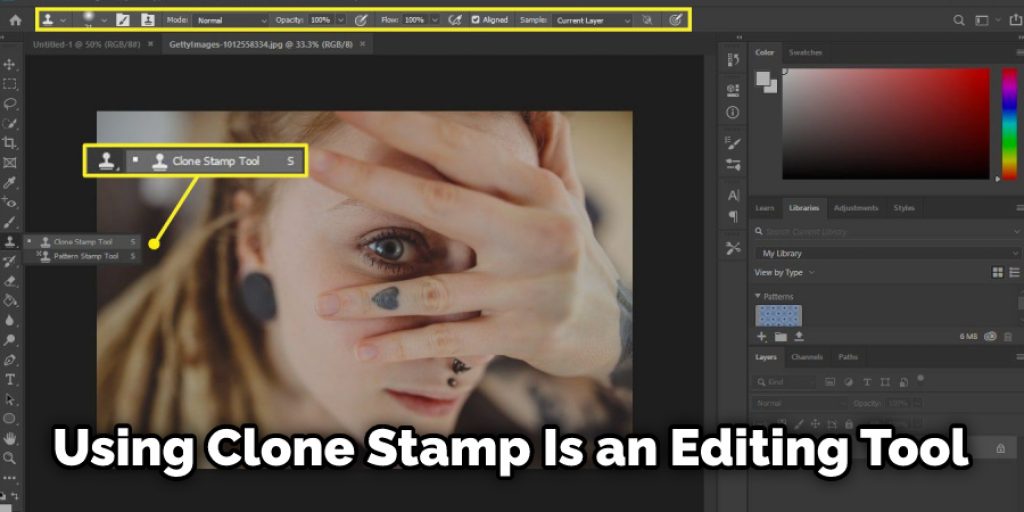
3. Clone Stamp Tool
A clone stamp is an editing tool that allows you to cover up the fisheye. One problem with this method is that the clone stamp only erases in one direction. This means that three will still be visible for every 4 pixels of fisheye you are covering.
4. Smudge Tool
The smudge tool can help you make your colors blend better, or make the fisheye effect less noticeable. But it only works in one direction.
5. Use Selective Color
Selective color allows you to change specific colors throughout your image without touching other colors on your pic and is a very useful tool. For example, if you use it when your fisheye is in place, you can select the ” fish-eyed ” colors and change them to either black or white. This will leave behind a high contrast image where only certain parts of it have color.
6. Brightness/Contrast
Brightness/contrast allows you to adjust the brightness and contrast of your image. Experiment with this tool until you find a color balance that you like. If your fisheye is in place, turning either setting as high as possible will make the effect less noticeable, but be careful because it could also look very bad if done incorrectly.
7. Use Levels
The levels tool is a pretty straightforward function. How you move the marker increases or decreases the amount of lightness and darkness in your image. If your fisheye is in place already, it can be an effective method to make it less noticeable.
8. Remove Red-Eye
If any of your fisheyes is in place, then the red-eye reduction is an effective method to make it less noticeable. This is because red-eye is caused by the retina of your subject’s eye reflecting light, which bounces off the camera lens, making them look like they have red eyes. This causes any fisheye to be highlighted as well.
9. Smart Blur
The smart blur command is the last of the options you can use to make your fisheye less noticeable. This method blurs any parts of your image that are similar in color while keeping anything different in focus; this makes the fisheye effect less obvious. However, like most other methods on this list, it only covers up the fisheye in one direction.

10. Airbrush Tool
Last but not least, you can use the Airbrush tool to fix fisheye in Paint. It will let you erase or create certain colors on your image, which is especially useful when erasing the fisheye effect. Alternatively, if you are covering up parts of your picture with other colors, the airbrush tool is also helpful in blending the colors.
Some Helpful Tips and Suggestions
Here are some helpful tips on how to fix fisheye in Paint.
- Before you start to paint a picture, make sure that you have a firm grasp of a fisheye lens. This will help you understand what type of distortions will be introduced over your subject matter before beginning to paint.
- The corrective process for two-dimensional images is different from three-dimensional objects, whether moving or still life.
- A fisheye lens aberrates straight lines into curves, but the amount of distortion will vary with your distance from the object and its orientation to the axis of the lens.
- Typical lenses (whether they are fisheyes or not) photograph images as rectangles; fisheye photographs will appear as ovals instead.
- Fisheye lenses usually distort people more than objects, so if you are painting a portrait, you would be advised to stay away from this type of lens or end up with something that looks like the head of an alien.
- Conversely, fisheyes can emphasize and add drama to a landscape painting or add a sense of spatial depth when used in architectural pieces.
- Use a tripod when shooting with a fisheye lens to keep the camera steady and avoid distortion from camera shake or movement while taking a photo.
How to Avoid Fisheyes?
To avoid fisheye, keep an equal distance from both lenses ends when taking a photo. A fisheye lens has a more pronounced effect at shorter distances from the lens. For example, if you are photographing a half-dollar coin a foot away from the camera using a 16mm focal length, it would look almost flat.
But if you were to zoom in and take a photo of the same coin from two feet away, it would appear much more curved and distorted. So when photographing landscapes or groups of people, try to keep at least five feet between yourself and your subject. This will be about 30mm focal length on an APS-C camera or 15mm focal length on a full-frame camera.
What Causes Solvent Pop and Fisheye in Automotive Paint?
Solvent pop and fisheye are caused by not allowing enough Paint to dry before applying a second coat. If the solvent in the finish (the thinner) is allowed to flash off before adding more, Water-thinned Paint (the basecoat), there will be no objectionable bubbles or waviness. This means that the amount of time between coats must be decreased.
You Can Check It Out To Fix Polyshades
Frequently Asked Questions
Why Am I Getting Fish Eyes in My Paint?
There are a few potential reasons why you might be experiencing fish eyes in your paint. The first is that the paint may not be properly cured, which can lead to water retention and problems with adhesion. Additionally, improper mixing could cause clumps of pigment to form, which would then become trapped by the paint’s film. Finally, using too much solvent or dry painting techniques could also result in this issue.
To correct these issues, start by checking the consistency of your paints and mixers. If they’re thickened or lumpy, try thinning them out before use or switching to a more gentle technique like wetting brush instead of spraying). Secondly, make sure that you wait until the paint has fully dried before applying it to surfaces as this will help prevents moisture from entering through the surface and causing problems down below.
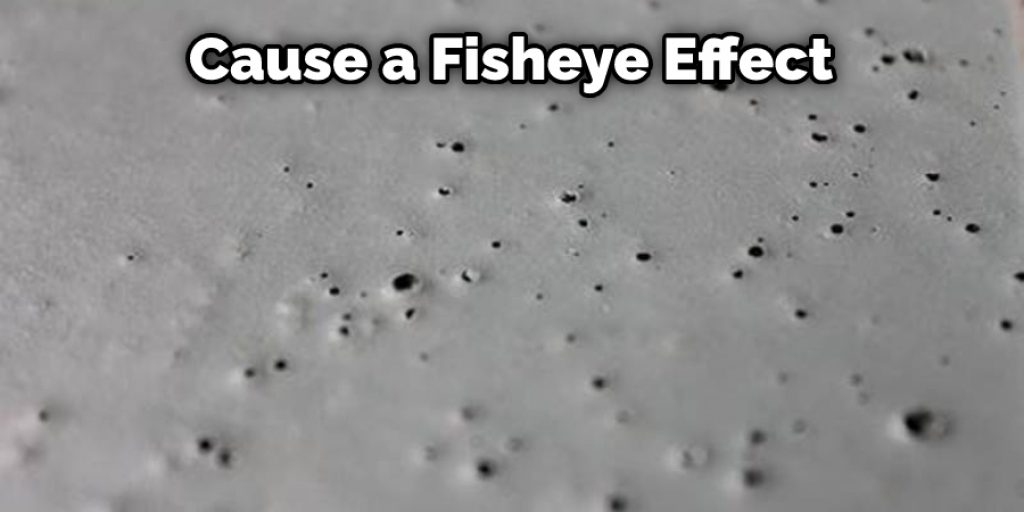
What Does Fish Eye in Paint Look like?
Paint that has fish eye in it usually means that the paint was lumped or layered while it was being applied. This is caused by air bubbles trapped in the paint as it is being mixed and/or painted, which makes the finish look uneven. Usually, this type of finish isn’t very visually appealing and can be quite frustrating to deal with. To avoid having fish eyes in your painting, make sure to use a Buyer’s Guide when selecting an artist for your project. This will help you to choose a painter who uses smooth finishes without any lumps or bumps.
Can You Buff Out Fish Eyes?
fish eyes are a natural part of the fish’s eye structure and cannot be buffed out. However, if you’re unhappy with the way they look, there are a few ways to correct them:
- Get a fish eye correction kit – These kits usually include special lenses and a device that helps to correct the distortion in the fish’s eye. This is a relatively quick and painless way to get your fish’s eyes looking their best.
- Use an eyedropper – If you’re prepared to go the extra mile, you can try using an eyedropper to dilute the color of the eye and correct its distortion. This method is more time-consuming but can be more effective in some cases.
- Have your fish eyeballs surgically removed – If none of the other methods work and you’re absolutely determined to have perfect fish eyes, then you may want to consider having them surgically removed. This option is usually only available to those who have a very specific vision need and is not without risks. Make sure you fully understand all of your options before making any decisions!
Why Do I Have Fish Eyes?
Fish eyes are a common occurrence in humans and other animals, and they can be caused by a variety of reasons. Some of the most common include genetics, environmental factors like pollution or water toxicity, parasites like copepods or endoparasites (such as hookworms), nutritional deficiencies (like zinc deficiency), and injury.
In some cases, fish eyes may simply indicate that your animal is aging. As fish flesh becomes more difficult to digest due to age, their eyes become foul-smelling and cloudy. If you’re unable to identify the underlying cause of your fish’s poor vision, it might be best to seek veterinary advice.
Conclusion
It’s important to understand how to fix fisheye in Paint. If there are any other problems with the image, you should go back and work on that first before attempting a repair of the fisheye effect. The more time you spend fixing your photos beforehand will save a lot of headaches later! Although Paint doesn’t have a built-in lens correction tool, there are several ways to fix fisheye in Paint.
We hope that one of these methods works for you and that you are now able to correct your photos without having to rely on other software. Have you tried any of these methods? What was your experience? Let us know in the comments below.
You may also read: How to Fix Scratches on Computer Case