As a car painter, you’re undoubtedly familiar with the term “solvent pop.” This problem can occur when the paint is applied over a solvent-based primer. If the primer isn’t completely dry, the solvents in the paint can react with the primer and create little bumps or blisters on the surface of the paint. In this article, we’ll show you how to fix solvent pop using a few simple techniques. Keep reading to learn more!

Summary: Solvent pop is a phenomenon that occurs when trapped solvent bubbles are left in the paint, resulting in small bumps. To fix this, you’ll need to sand down the affected area and then clean it.
Priming the surface before painting will help avoid future solvent pops. Once primed, apply two thin coats of paint, allowing each coat to dry completely before applying a second one. When finished painting, clean up any spilled paint promptly.
What Are Car Paint Solvent Pops
Car paint solvent pops are a type of paint defect that can occur when painting a car. They are caused by solvents in the paint, which can expand and cause the paint to blister. This can happen if the paint is applied too thickly or is not allowed to dry properly before being top coated. Solvent pops can also be caused by using paint that is incompatible with the primer or topcoat.
Causes for the Appearance of Solvent Pops
A variety of different things can cause solvent pops. The most common cause is when the paint is applied too thickly or when the paint dries too slowly. Other possible causes include:
Wrong Choice of Hardener or Thinner:
If you are using paint that requires a hardener, use the correct ratio of hardener to thinner. Too much hardener will cause the paint to dry too slowly and lead to solvent pops. Add the metal flakes (if desired) to your finish and mix thoroughly.
You can add more or less flakes depending on how shiny you want your final product to be. As always, practice mixing on a scrap piece of metal before applying it to your parts. Once you are comfortable with the procedure, apply the mixture to your aluminum parts and allow them to dry.
Excessively Thick Coats of Paint:
One of the most common causes of solvent pops is applying paint too thickly. When paint is applied too thickly, it doesn’t have enough time to dry and cure before the next coat is applied correctly. This can cause the solvents in the paint to become trapped and expand, leading to solvent pops.
Improper Ventilation:
If you don’t have good ventilation in your workspace, the paint fumes can get trapped and expand, which can cause the paint to explode.
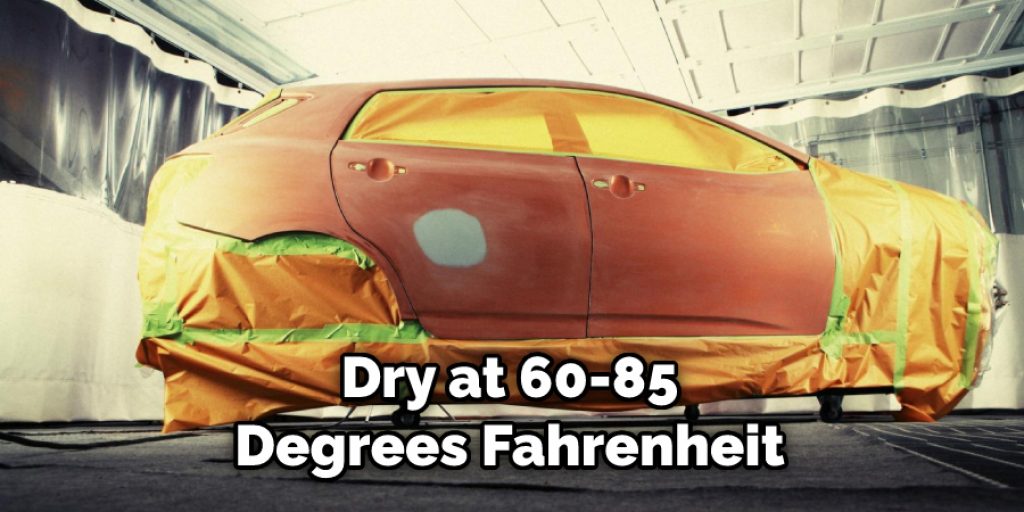
Temperature Fluctuations:
The ideal temperature for painting is 60-85 degrees Fahrenheit. If it’s too cold, the paint will take longer to dry and you may get solvent pops. If it’s too hot, the paint can dry too quickly, which can also cause solvent pops.
Evaporation Time:
The evaporation time of your solvent is crucial. If it evaporates too slowly, your paint can dry slowly and cause solvent pops. If it evaporates too quickly, your paint can dry quickly and also cause solvent pops.
A Step by Step Guide on How to Fix Solvent Pop
Step 1: Sanding the Affected Area to Get Pops out of the Paint
If you have solvent pop in your paint, the first step is to sand the area where the pops are present. You’ll want to use fine-grit sandpaper so that you don’t damage the paint around the pops. Once you’ve sanded the area, you should be able to see and feel the pops coming out of the paint.
Step 2: Cleaning the Surface After Sanding
You need to sand the area before you paint it. This will make the paint job look better. You also need to clean the surface before you start painting. This will remove any dirt or dust that could interfere with the new paint job.
Step 3: Priming the Surface Before Painting
Once the surface is clean, you’ll need to prime it before you start painting. This will help the new paint adhere to the surface and create a barrier between the old paint and the new paint. Apply a thin primer layer with a brush or roller to prime the surface.
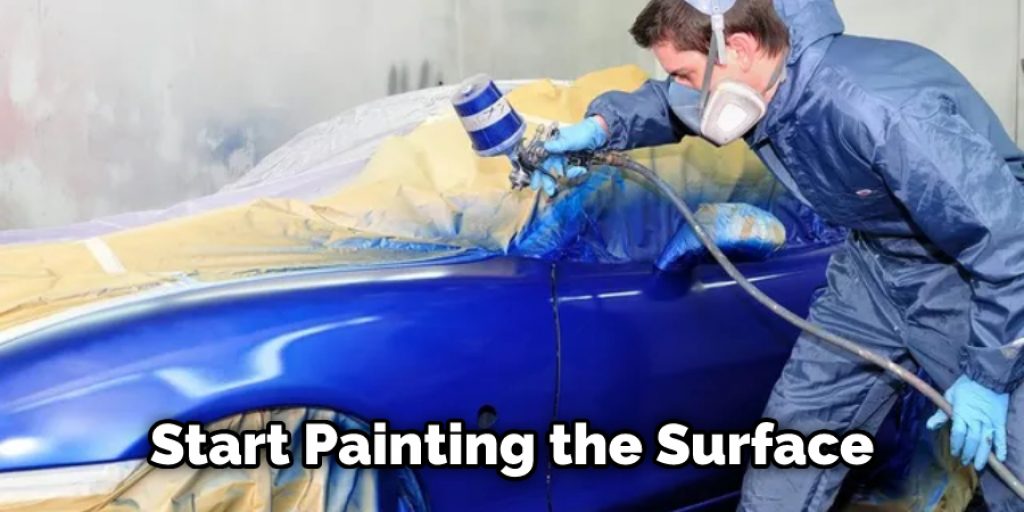
Step 4: Painting the Surface
After the primer has dried, you can start painting the surface. Again, you’ll want to use high-quality paint to last long and look great. When painting, make sure to follow all directions on the label to get a perfect finish.
Step 5: Cleaning Up After Painting
Once you’re finished painting, it’s essential to clean up your materials. This includes brushes, rollers, and any other painting supplies. To clean them, follow the directions on the paint can or container. Once everything is cleaned up, you can enjoy your new paint job! In addition, these steps will help in how to fix solvent pop.
Prevent Solvent Pops From Appearing
Preventing solvent boils, or “solvent pop,” from appearing on your car’s paint job is essential for keeping your vehicle looking its best. Solvent pop occurs when bubbles form in the paint due to trapped solvent vapors. These bubbles can ruin your paint’s smooth, even appearance and be challenging to remove. Luckily, there are a few things you can do to prevent solvent pop from happening in the first place.
Use a Slower Solvent:
When painting your car, use a slower solvent. A slower solvent will evaporate more slowly, giving the paint time to dry before the solvent has a chance to escape. This will help prevent bubbles from forming in the paint.
Use a Thinner Paint:
Using a thinner paint will also help prevent solvent pop. Thinner paint dries faster than thicker paint, so there is less of a chance for the solvent to escape and form bubbles.
Apply Several Coats:
Applying several coats of paint will also help prevent solvent pop. In addition, each coat will dry faster than if only one coat were applied, so there is less chance for the solvent to escape.
Appropriate Evaporation Times:
Make sure you allow the paint to dry for the appropriate amount of time before starting the next step in your painting process. If you do not allow enough time for the paint to dry, the solvent will have a chance to escape and form bubbles.
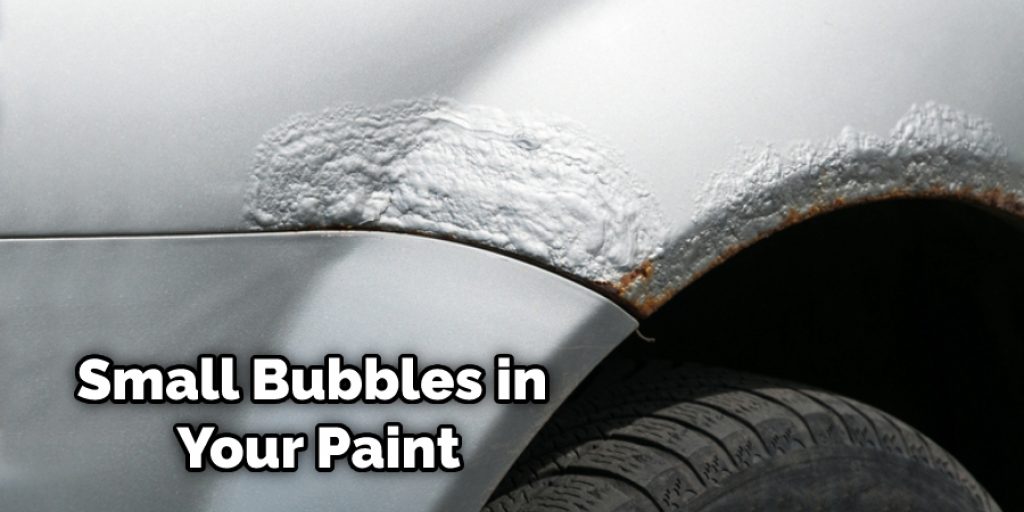
Abrupt Temperature Changes:
Sudden temperature changes can cause the formation of small bubbles in your paint, resulting in what is commonly referred to as “solvent pop”. To avoid this, always allow plenty of time for your paint to dry thoroughly before exposing it to drastic temperature changes.
Recommended Drying Time:
The recommended drying time for most paints is 24 hours. However, if you are using a slower solvent or a thinner paint, you may need to allow more time for the paint to dry completely.
If you follow these tips, you can help prevent solvent pop from appearing on your car’s paint job. Solvent pop can ruin the look of your paint and be challenging to remove, so it is essential to take steps to prevent it from happening. But, with a bit of care and attention, you can keep your car’s paint looking its best.
When the Solvent in Paint Evaporates Too Quickly, What Can Be the Result
When the paint is applied to a surface, the solvents within the paint begin to evaporate. This process is necessary for the paint to dry and harden. However, if the solvents evaporate too quickly, it can cause several problems. For example, the color may not have enough time to adhere properly to the surface, resulting in a weak or uneven bond.
In addition, the paint may become brittle and crack as it dries. Finally, the quick evaporation of solvents can create an unpleasant smell that can be difficult to remove from the room. To avoid these problems, it is vital to use paint designed to dry slowly and evenly. By following these simple guidelines, you can ensure that your paint job will be of the highest quality.
While most paint jobs go smoothly, solvent pop can occur if the solvents in the paint evaporate too quickly. This can cause several problems, including an uneven bond, brittleness, and an unpleasant smell. Therefore, it is essential to use paint that dries slowly and evenly to avoid these issues. By following these simple guidelines, you can ensure that your next paint job goes off without a hitch!
Why Is My Paint Cracking When It Dries
Cracking paint is a widespread problem caused by several different things. The most common cause of cracking paint is solvent pop. Solvent pop happens when the paint dries too fast, and the solvents in the paint expand and contract too quickly. This causes the paint to crack and flake off.
There are a few ways to fix solvent pop. The first way is to sand down where the paint is cracked and then repaint it. This will usually fix the problem, but it can be time-consuming.
The second way to fix solvent pop is to use a “paint stripper” product. The paint stripper will remove the cracked top layer of paint without damaging the underlying paint. Once the stripper is applied, you can then repaint the area.
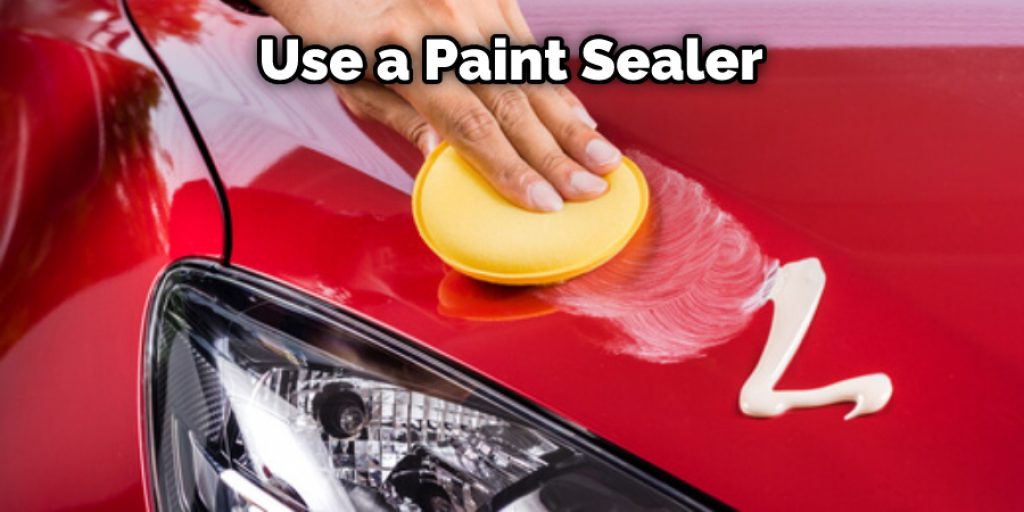
The third way to fix solvent pop is to use a “paint sealer” product. A paint sealer will seal the cracks in the paint and prevent them from expanding and contracting. This will usually prevent the problem from happening again.
If you have problems with your paint cracking, try one of these three methods to see if it fixes the problem. If not, you may need to consult a professional painter or home improvement expert.
Frequently Asked Questions
Can You Sand and Buff Solvent Pop?
Yes, solvent/paint pop can be sanded and buffed using standard techniques. However, it is important to use appropriate safety gear when doing so in order to prevent injury. When working with solvents and paints, always wear a mask, gloves, eye protection, and a long-sleeved shirt or pants to protect your skin from direct contact with the chemicals. And if the mixture begins to smoke or create an explosive atmosphere (due to the paint being ignited), immediately stop working and evacuate the area.
What Causes Solvent Popping?
he causes of solvent popping will vary depending on the specific solvent and its concentration. However, some general causes of solvent popping include:
- The solvent’s boiling point is too low – This can happen when the solvent is used in a concentrated form, or when it is mixed with other substances that reduce its boiling point.
- The solvent has a high vapor pressure – This means that it has a high level of energy stored in its molecules, which makes it easier for them to break free and cause explosions.
- The solvent is heated above its boiling point – This can happen when the solvent is heated using an open flame, electric current, or other sources of heat.
- The mixture contains air – When air enters a liquid mixture and forms gas bubbles, it can cause the liquid to explode.
What Causes Fish Eyes in Paint?
Fish Eyes in Paint can be caused by a number of different things, but the most common culprit is water damage. When the paint is exposed to moisture and high humidity levels, it can start to swell and form fish eyes. This occurs because the dissolved minerals in the water cause the oil paints to thicken and clump together.
Water damage also destroys paint layers, leading to flaking or peeling of the surface layer. As a result, you may notice white patches on your walls or furniture that were once bright red or blue. To prevent this from happening in the future, make sure that all surfaces that will come into contact with paints are sealed off from moisture and humidity exposure. This includes ceilings, windowsills, doorsills (especially if they’re wooden), framing members around interior doors/windows etc.
What is a Solvent Mixture?
A solvent mixture is a type of solvent paint that has been formulated to be more versatile and easier to work with. This type of paint is usually made from multiple solvents, including water, ethanol, or acetone. The combination of these different solvents helps the artist to achieve a variety of effects without having to use multiple types of paints.
Conclusion
We have a few solutions if you are experiencing solvent pop and would like to fix the issue. Be sure to check out our article on how to fix solvent pop for more information!