Removing wainscoting can be a great way to update a room and give it a more modern look. But once the wainscoting has been removed, your wall may need some repair work to ensure that everything looks as good as new. Leaving the wall as-is after removing the wainscoting could cause structural damage and look unsightly.

One of the main advantages of repairing a wall after removing wainscoting is that it allows you to create a completely new look in your home. Removing old, outdated, or damaged wainscoting can open up the space and allow for more creative options.
This could include painting the wall with a new color or texture, adding wallpaper, or updating the trim. Depending on the type of wainscoting, you may also need to repair any damaged or missing pieces before beginning the project. You can find step-by-step instructions on how to repair wall after removing wainscoting in this blog article.
Step by step Instructions for How to Repair Wall After Removing Wainscoting
Step 1: Inspect Your Wall
Before you start your repair, inspect the wall for damage like surface cracks or holes. You may need to use a putty knife and hammer to patch any small imperfections before you begin. Carefully remove all old nails that were used to attach the wainscoting with a pair of pliers. Be careful not to damage the wall surface as you remove each nail.
Step 2: Prepare for Repair
Once your wall is free of nails, you should clean the surface with a damp cloth. This will help remove any dust or debris that may have accumulated during the removal process. You can then use a putty knife to apply spackling paste to any holes or cracks in the wall. Make sure to allow the paste to dry before you move on to the next step fully.
Step 3: Tape the Wall
Use painter’s tape to cover any edges that you don’t want to get paint on. This may include doors, windows, baseboards, and more. Be sure to apply the tape with enough pressure to stick securely in place while you’re working.
Use medium-grit sandpaper to lightly sand the area around the hole or crack in your wall. This will help give the repair material a better grip when it’s applied. Be sure to wipe away any dust particles with a damp cloth after you finish sanding.
Step 4: Apply Repair Material
Once the wall is prepped, you can start to apply your repair material. This could include spackling paste, plaster patching compound, or drywall joint compound. Depending on the hole size or crack, you may need to use a putty knife to spread the material to cover the entire area. Make sure to follow the manufacturer’s directions when applying the repair material.
Step 5: Let Dry
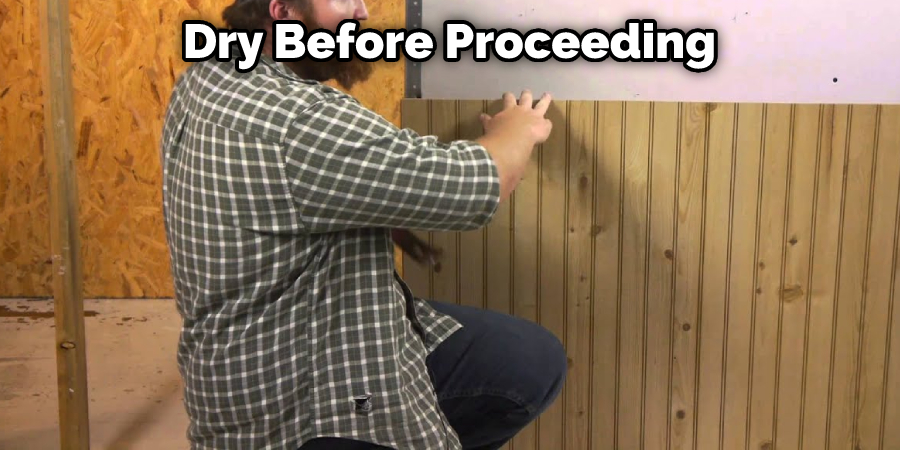
Allow enough time for your repair material to dry before proceeding with the next step. This may take several hours, depending on the climate you live in. Be sure to thoroughly read and follow all drying instructions provided by the manufacturer of your repair material.
Step 6: Paint the Repaired Area
Use a brush or roller to paint over the repaired area. Make sure you use a color that matches the rest of your wall. If necessary, you can mix multiple colors until you get a hue that looks similar to what is already on the wall. Once everything is dry, you can rehang any furniture or decor that was previously on the wall. Be sure to secure all items with the appropriate hardware and tools.
You Can Check It Out To How to Fix Clicking Noise in Chevy Impala
Safety Precautions for How to Repair Wall After Removing Wainscoting
- Wear protective equipment such as goggles, gloves, and a dust mask when removing wainscoting to protect yourself from any hazardous material that could be released.
- Use caution when using power tools during removal; always unplug the tool before making adjustments or changes, and never point it towards yourself or anyone else in the area.
- Be aware of your surroundings at all times and keep children and pets away from the work area to avoid accidents.
- Dispose of any hazardous materials properly according to local regulations.
- Inspect the wall for any damage before beginning repairs; if there are cracks or holes, these should be repaired before proceeding with the project. This will ensure a sturdy and lasting repair job.
How Long Should You Expect the Repair Process to Take?
Repairing a wall after removing wainscoting can be a time-consuming process. How long it takes depends on the area you’re repairing and your skill level. If you’re an experienced DIYer, then you may be able to complete a basic repair in 1-2 hours. The process may take several days or weeks for larger repairs and more extensive damage.
When repairing a wall after removing wainscoting, it’s important to plan ahead to avoid any unexpected delays. Make sure you have all the necessary materials and tools before beginning work. You’ll also want to budget additional time for drying and painting.
Are There Any Special Techniques or Tips That Would Make the Job Easier?
Yes, there are a few tips and techniques that can make the job of repairing a wall after removing wainscoting much easier. For example:

- If you have any loose nails sticking out after removing your wainscoting, use pliers to pull them out before beginning your repair process. This will make it much easier to repair the wall without having to deal with sharp edges and protruding nails.
- Take time to clean up any debris that may have been left behind after removing the wainscoting. This will make it easier for you to properly prepare the wall surface and ensure a smooth, even finish when repairing the wall.
- Ensure to properly measure the area where you’ll be repairing the wall. This will ensure that you have enough material (such as spackling compound or drywall patch) to repair the wall completely.
- When applying a spackling compound or drywall patch, it’s important to do so in thin layers. Using too much material or applying it in thick layers can make the repair more difficult.
- If necessary, use a putty knife to spread and smooth out the spackling compound or drywall patch. This will help ensure that you get an even, professional finish once the repair is complete.
How Can You Ensure That Your Repair Efforts Will Last for Years to Come?
Once you have removed the wainscoting, it is essential to prepare the wall for its new look properly. Use a putty knife to scrape any remaining pieces of paneling or wallpaper adhesive from the wall. Then, use a damp cloth and some mild detergent to clean off any dirt or debris that has accumulated on the walls since the wainscoting was installed.
After the wall is clean, use a drywall mud pan and some drywall joint compound to fill in any holes or cracks that may have been left behind from the removal of the wainscoting. Once the compound has dried, sand it down until it’s smooth and even. If you plan to paint the wall, use a primer on the patched areas before applying any color.
You Can Check It Out To How to Fix Immobilizer Issue Volkswagen
How Do You Prepare the Wall Surface Before Applying New Materials?
Once you have removed the wainscoting and exposed the wall surface, preparing the area before moving forward with your new project is important. First, inspect the wall for any signs of damage that may have been caused by removing the wainscoting and address these issues.
If there are large holes or cracks in the wall, use a joint compound to fill them in and then sand them down. If you need to patch smaller holes or cracks, use spackle instead.
Once any damage has been repaired, it’s important to clean the wall surface. Start using a vacuum cleaner with an upholstery brush attachment to remove dust and debris. Then, use a damp cloth to wipe the wall down and remove any stubborn dirt. You can also use mild detergent and warm water to clean the area if you need to.
You Can Check It Out To How Do You Fix OBD Communication Failure
How Can You Ensure Your Newly Repaired Wall Looks Professional Doesn’t Appear Uneven or Damaged?
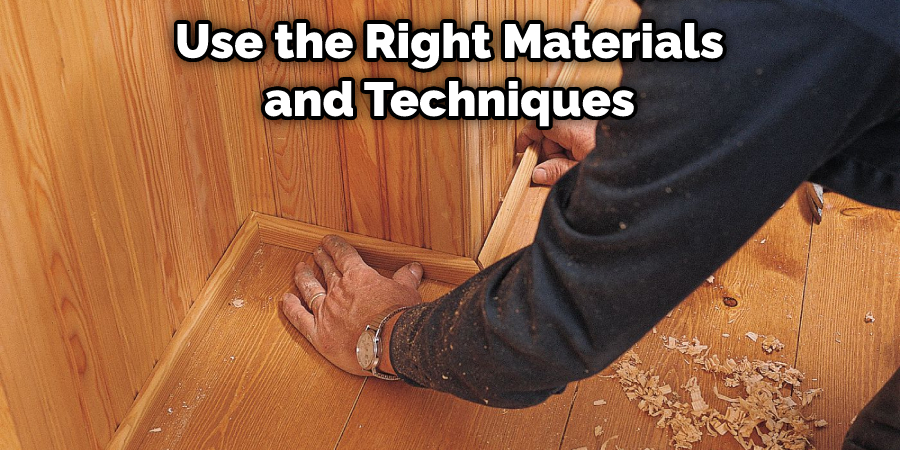
When repairing a wall after removing wainscoting, it is important to use the right materials and techniques to ensure that your newly repaired wall looks professional and doesn’t appear uneven or damaged. Before you begin any repairs, inspect the wall for any loose material, nails, or screws that may have been left behind when the wainscoting was removed. If you find any, use a hammer and nail set to remove them.
Once all the loose material has been removed, assess the amount of drywall that needs to be patched up or replaced. If it is only a small portion of the wall, then a patching compound may be enough to fill in any gaps and make the wall look even.
If more extensive repairs are needed, then you may need to replace the drywall entirely. To do this, measure and cut out a piece of new drywall that is slightly larger than the area you are patching or replacing. Attach it to the wall using screws and washers, ensuring it is level and secure.
You Can Check It Out To How to Fix at Oil Temp Subaru
Conclusion
One of the disadvantages of repairing a wall after removing wainscoting is that it can be time-consuming and labor-intensive. Additionally, if the existing wall contains imperfections such as holes or other damage, they must first be repaired before any new work can begin.
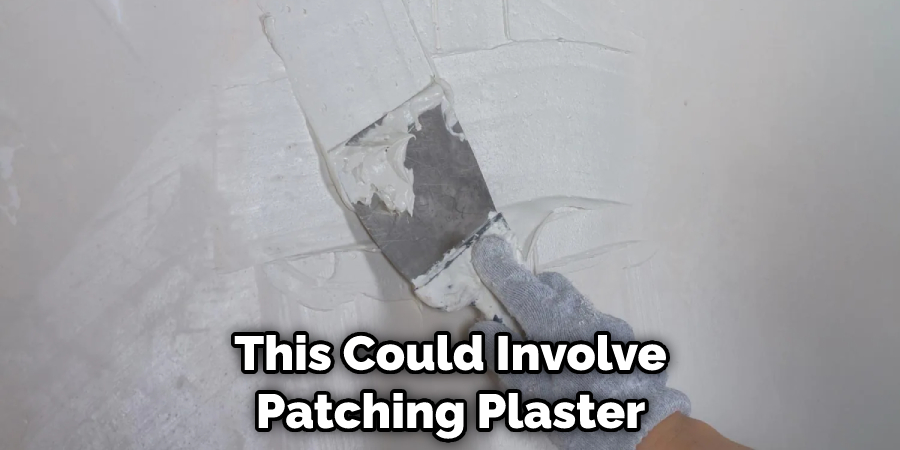
Depending on the extent of the damage, this could involve patching plaster, drywall, or even replacing portions of the wall. This can also be costly if professional help is needed to repair the damage.
Once you have removed your wainscoting, the process of repairing the wall can feel overwhelming. Whether you plan to reinstall wainscotting or paint over it, following these steps will ensure that your wall remains in good condition and is ready for whatever comes next.
I hope reading this post has helped you learn how to repair wall after removing wainscoting. Make sure the safety precautions are carried out in the order listed.
You Can Check It Out To How to Fix a Car that Jumped Time