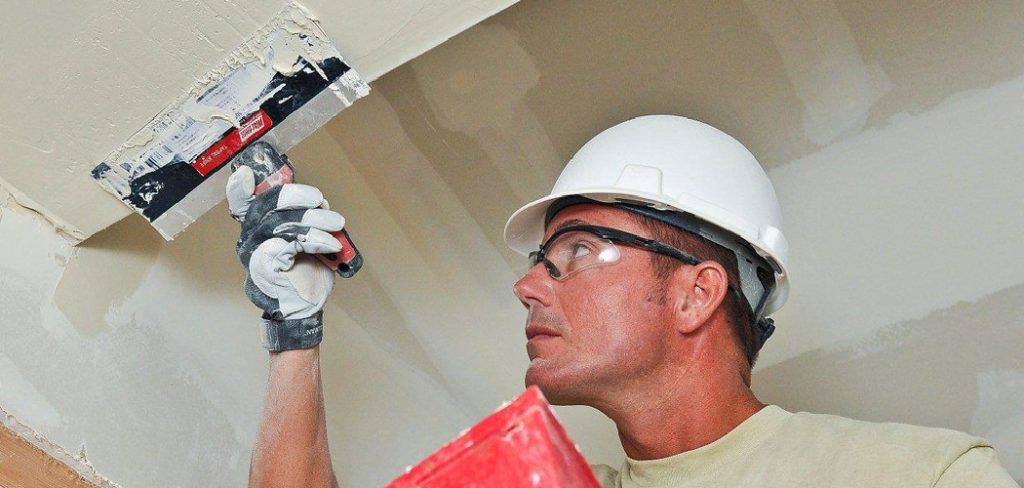
Applying drywall mud is an important step in creating a smooth, professional finish when hanging drywall. However, sometimes bubbles can form in the mud, ruining the smooth surface.
While this can be incredibly frustrating, there is no need to worry. In this blog post, we will show you how to fix bubbles in drywall mud so that you can get the perfect finish for your next project.
Summary: Drywall mud is a popular finishing product used to smooth and cover walls and ceilings. However, bubbles can form when the mud drying process is not followed correctly. Here are four tips for fixing bubbles in drywall mud: 1. Pre-treat the surface: Before applying the drywall mud, treat the surface with a water-soluble sealant to help prevent bubbles from forming. 2. Apply the drywall mud slowly: Apply the drywall mud slowly and evenly to avoid creating bubbles. 3. Don’t over-wet the surface: Wetting the surface too much will create bubbles. 4. Let the drywall mud dry completely: Let the drywall mud dry completely before applying any additional finishes.
What Are Some Causes of Bubbles in Drywall Mud?
Applying drywall mud is an essential step in the process of finishing a drywall installation. Once the mud has been applied, it needs to be smooth to create a seamless surface. However, bubbles can sometimes form in the mud, creating an uneven finish. There are several reasons why this might happen.
One possibility is that the mud was not mixed properly before being applied. Also, if the mud is too thick, it can cause pockets of air to become trapped beneath the surface.
Another possibility is that the wall was not correctly prepared before the mud was applied. If there are any bumps or imperfections on the surface, they can cause the mud to bubble up. Finally, bubbles can also form if the Mud is applied too thickly.
If too much pressure is used when applying the Mud, it can cause trapped air to escape and form bubbles. Regardless of the cause, bubbles in drywall mud can be frustrating for both homeowners and contractors alike. Fortunately, some simple steps can be taken to prevent them from forming in the first place.
Why Should You Fix Bubbles in Drywall Mud?
Most people have seen small bubbles in drywall mud, and many believe that they do not need to be fixed. However, these bubbles can actually cause big problems down the road. If left unaddressed, they can lead to cracking and peeling of the paint and other issues.
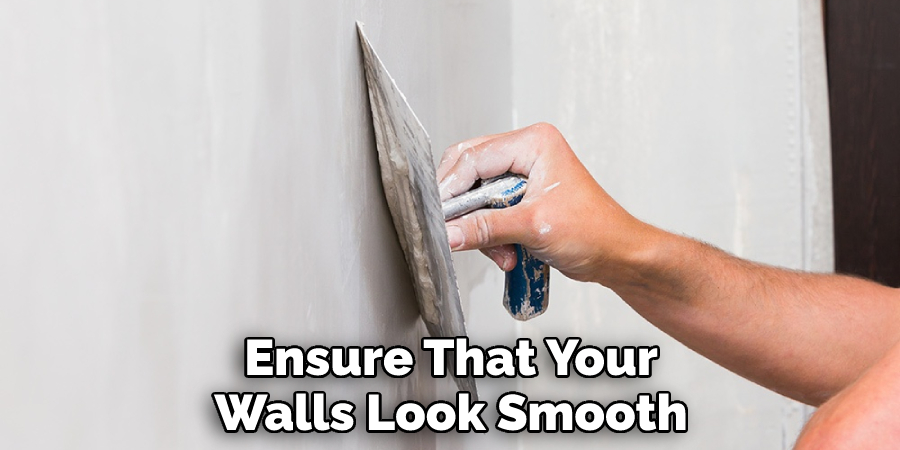
Furthermore, bubbles are often an indication of poor craftsmanship, which can end up costing you more money in the long run. By taking the time to fix bubbles in drywall mud, you can avoid these problems and ensure that your walls look smooth and professional.
7 Tips to Follow on How to Fix Bubbles in Drywall Mud
1. Let the Mud Dry
If you have applied too much mud or if the mud is too thick, then you will likely see bubbles form. Allowing the mud to dry completely is the best way to fix this problem. Simply wait for the mud to dry completely before sanding it down and reapplying a new layer.
2. Use a Putty Knife
If you have already applied the mud and it has started to dry, you can use a putty knife to push the bubbles out. Start at the center of the bubble and work your way out. Apply pressure as you go to ensure that the mud pops out evenly. If necessary, you can use a wet rag to smooth over the area where you popped the bubble.
3. Use a Sponge
Another way to remove bubbles from drying mud is to use a sponge. Simply dampen a sponge with water and then lightly press it against the bubble. The goal is to get the sponge wet without putting too much water onto the wall. Too much water can cause the mud to run.
4. Use a Hairdryer
If you have trouble getting rid of bubbles with a sponge, try using a hairdryer. Hold the hairdryer about 6 inches away from the wall and turn it on high. Move the hairdryer back and forth over the bubble until it pops. Be careful not to hold the hairdryer too close to the wall, or you could damage the drywall.
5. Apply More Mud
In some cases, you may need to apply more mud to fill in a hole or crack completely. If this is the case, allow the first layer of mud to dry completely before applying a second layer. Be sure to smooth out any bubbles or bumps before the mud dries.
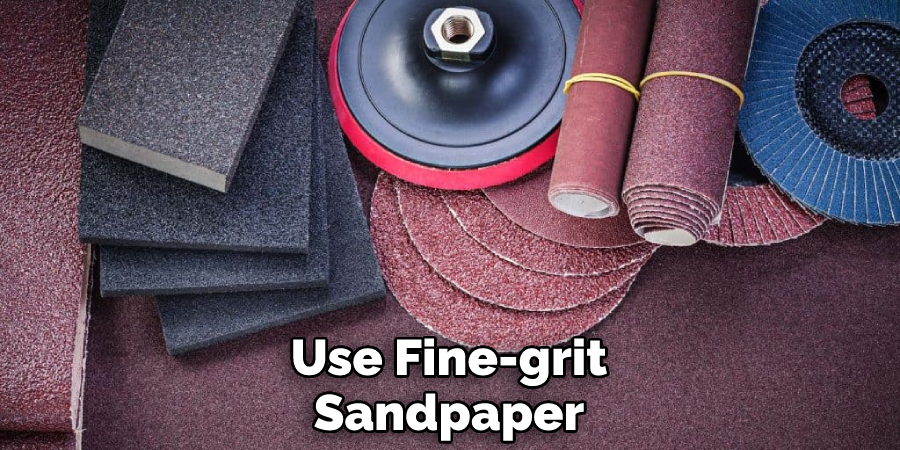
6. Sand the Area
Once the area is filled in and dry, you will need to sand it down to flush with the surrounding area. Use fine-grit sandpaper and go slowly to avoid taking off too much material. Wipe away the sanding dust with a damp cloth when you’re finished.
7. Paint or Prime
Once you have sanded down the area around the bubble, you will want to paint or prime over it. This will help to secure the area further and make it less noticeable.
If you are painting the entire wall anyway, then this may not be an extra step for you. Otherwise, you will want to use a small brush or roller to apply the paint or primer just to the area around the bubble.
That’s it! You’ve now learned how to fix bubbles in drywall mud. By following these tips, you can ensure that your walls look smooth and professional.
How Do You Prevent Bubbles from Happening in The First Place?
There are many ways to prevent bubbles from happening in the first place. The most common way is to use a bubble ring. A bubble ring is a device that you put around the edge of your pool. It has holes in it that allow the water to come up and create a bubble effect. This will help to keep the pool clean and free of debris.
Another way to prevent bubbles is to use a cover on your pool. This will help to keep the pool clean and also prevent evaporation. Finally, you can also add chemicals to your pool that will help to prevent bubbles from forming. These chemicals will also help to keep the pool clean and free of algae and bacteria.
What to Do if Your Drywall Mud Has Already Bubbled Up
If you’ve ever tried to apply the drywall mud, you know that getting a smooth, consistent finish can be tricky. And if your mud starts to develop bubbles, achieving the results you’re hoping for can be even harder. Luckily, there are a few things you can do to fix bubbled-up drywall mud.
The first step is to identify the source of the problem. For example, if your mud is bubbling up due to too much moisture, you’ll need to address the moisture issue before proceeding. Then, once you’ve fixed the underlying problem, allow the mud to dry completely before continuing.
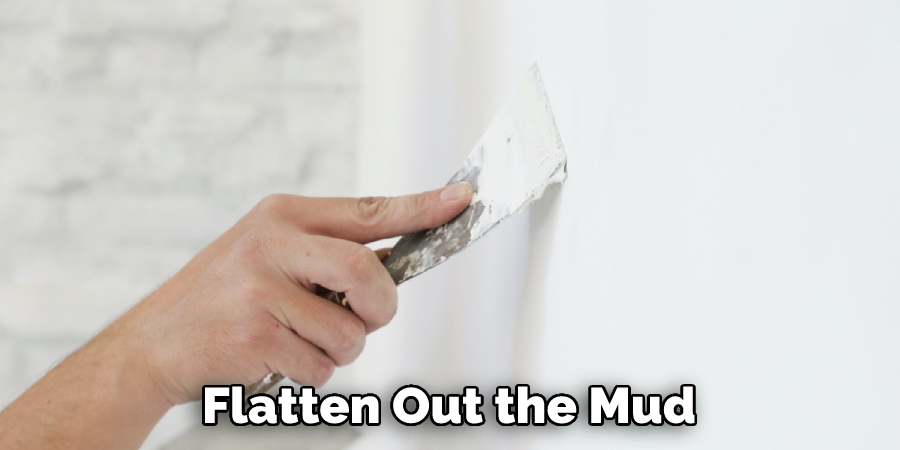
Next, gently press down on the bubbled-up area with a putty knife or other blunt object. This will help flatten out the mud and make it easier to sand smoothly. Just be careful not to press too hard, or you may damage the drywall beneath the mud.
Finally, once the bubbled-up area is flattened, sand it down until it’s smooth. Then, apply another layer of drywall mud and continue with your project. With a little patience, you’ll be able to achieve professional-looking results.
Should You Call a Professional when There’s a Bubble Problem?
Yes, you should always call a professional when you have a bubble problem. While it may seem like a simple issue, bubbles can actually be caused by various factors, and only a trained professional will be able to diagnose the cause of your problem properly.
In addition, trying to fix a bubble issue on your own can often worsen the problem and even result in serious injury. So save yourself the hassle and call a professional the next time you have a bubble problem. It’s the best way to ensure that the issue is resolved quickly and safely.
When Is It Too Late to Fix a Bubble in Drywall Mud?
You’re almost finished patching the drywall in your bathroom when you step back and realize you’ve created a bubble. Now what? While it may be tempting to ignore the problem and hope it will go away on its own, this is not the best solution.
Not only will the bubble still be visible, but it could also grow larger over time and cause additional damage. So when is it too late to fix a bubble in drywall mud?
In general, it’s best to address bubbles as soon as possible. The longer you wait, the more difficult it will be to fix the problem. However, if the bubble is small and not causing any immediate damage, you may be able to wait until the mud has completely dried before taking action.
Once the mud is dry, use a utility knife to slice through the bubble and release the excess air. Then, apply a new layer of mud over the area and smooth it out. With any luck, your patch will be barely noticeable.
Of course, there are always exceptions to the rule. For example, if the bubble is large or located in a difficult-to-reach spot, you may need to hire a professional to take care of the problem.
In some cases, replacing the entire section of drywall may even be necessary. However, as long as you take action before the damage becomes too extensive, you should be able to fix the problem without too much trouble.
Conclusion
Drywall bubbles can be frustrating, but thankfully there are easy ways to fix them! Just remember to apply an even layer of mud, use light pressure when spreading it around, and allow plenty of time for drying between coats.
If you do end up with some bubbles, puncture them and press them back into place or cut out the bubbled section and apply fresh mud. With these tips, you’ll be well on your way to getting a professional-looking finish for your next project! Thanks for reading our post about how to fix bubbles in drywall mud.