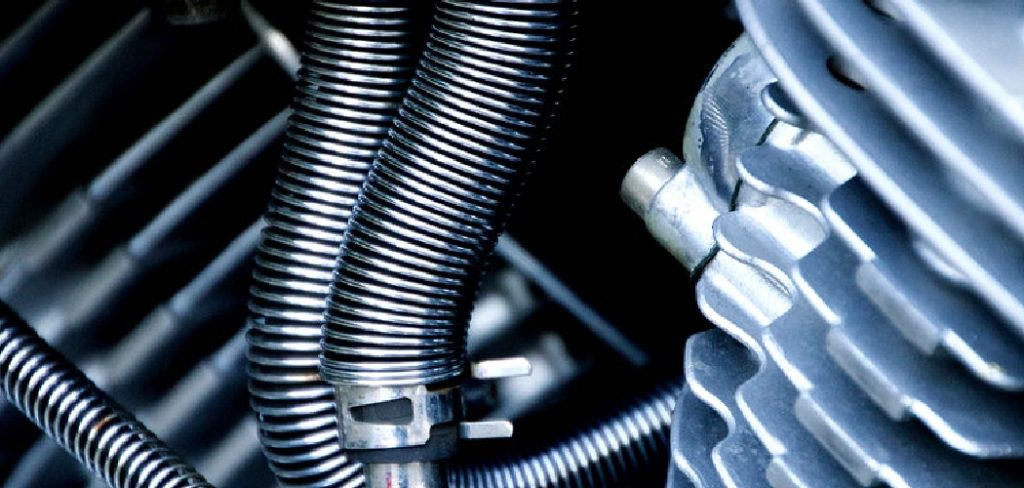
Have you ever noticed that your vacuum cleaner doesn’t seem to be working as well as it used to? Maybe the suction isn’t as strong, or it’s not picking up dirt as efficiently. There could be various reasons for this, but one possibility is that your vacuum’s hard plastic tubing has become damaged and needs to be repaired. This blog post will show you how to repair hard plastic vacuum lines. Read on for more tips!
Is your vacuum cleaner not performing as well as it used to? It may be time to repair the hard plastic vacuum lines. Vacuum cleaners rely on these lines to move the air in and out of the machine. When they are damaged, your vacuum cleaner will not function as well. Luckily, repairing these lines is a simple process that anyone can do. In this article, we will show you how to do it. Read on for more tips.
Summary: If your vacuum cleaner is giving you trouble, it might be time to take it in for repair. In this article, we’ll show you how to repair hard plastic vacuum lines on your own.
17 Easy Steps on How to Repair Hard Plastic Vacuum Lines
1. Inspect the Vacuum Lines
The first step is to take a close look at the vacuum lines that need to be repaired. Check for any cracks, holes, or other damage. If the damage is severe, it may be best to replace the entire line. The second step is to identify the location of the leak. Once you know where the leak is located, you can begin the process of repairing it.
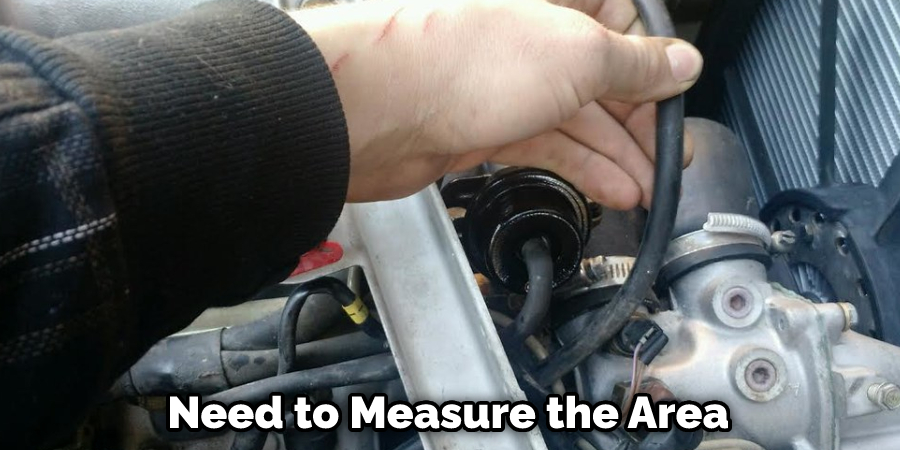
2. Measure the Damaged Area
Determining which vacuum line is damaged is the first step. Next, measure the area that needs to be repaired to determine how much new material you will need to purchase.
3. Clean the Vacuum Lines
If your bike is dirty or has debris on it, that could be causing damage. So, first you want to clean the bike with a rag or brush. You can use a mild soap and water solution if needed.
4. Cut Out the Damaged Section
Use a sharp knife or razor blade to carefully cut out the damaged section of the plastic vacuum line. Make sure to leave enough of a margin around the damage so you can make a clean repair.
5. Prepare the Repair Material
There are a few different materials you can use to repair a plastic vacuum line. One option is to use a patch of heavy-duty plastic. Another option is to use a piece of rubber. Choose whichever material you think will work best to patch the hole in the vacuum line.
6. Cut the Repair Material to Size
Using a sharp knife, cut the repair material to size. Make sure that the repair material is slightly larger than the damaged area of the vacuum line. If the repair material is too small, it will not be able to seal the hole completely.
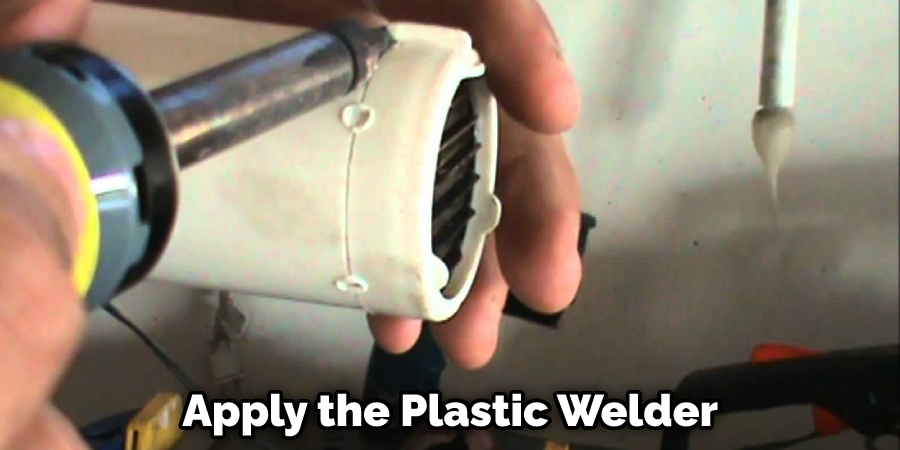
7. Apply the Repair Material
Apply the plastic welder to the crack or hole in the hard plastic vacuum line using a clean cloth. Follow the directions on the welder for how long to let it set. Once it has set, use a sharp knife to trim away any excess material.
8. Test the Vacuum Line
Once the repair material has been set, it is time to test the vacuum line. Turn on the vacuum and see if the line is leaking. If it is, turn off the vacuum and check your work. If the line is still leaking, you may need to replace the vacuum line.
Tips and Warnings
Tips
- If your plastic vacuum lines are hard, you can try to fix them by using a hairdryer.
- Use a low setting on the hairdryer and hold it about 6 inches away from the line.
- Move the hairdryer back and forth along the length of the line.
- Once the line is soft, you can use a pair of pliers to straighten it out.
- If the line is still hard, you can try heating it up again.
Warnings
- Do not heat the lines for too long, as this can cause them to melt.
- Be careful not to burn yourself when using the hairdryer.
- If the lines are still not repairable, you may need to replace them.
- Always consult a professional if you are unsure about how to repair hard plastic vacuum lines.
Can I Replace Plastic Vacuum Lines With Rubber?
You can, but it’s not recommended. While rubber is more flexible than plastic, it’s also more prone to cracking and leaking. If you do replace your plastic vacuum lines with rubber, be sure to check them regularly for signs of wear and tear. Also, rubber will degrade over time, so it’s not a permanent solution.
Can I Use Silicone Hose for Vacuum Line?
One of the most frequently asked questions we get here at Flex Technologies is whether or not our silicone hoses can be used for vacuum line purposes. The simple answer is yes. Our silicone hoses can be used for vacuum line purposes. However, there are a few things you need to keep in mind if you’re going to use a silicone hose for your vacuum line.
First, it’s important to choose the right size hose for your vacuum line. If the hose is too small, it could collapse under the vacuum pressure and cause a blockage. If the hose is too large, it could become kinked and impede air flow. Second, it’s important to choose a hose that has a smooth inner surface. This will help to ensure that there are no obstructions in the hose that could cause a blockage.
Third, it’s important to make sure that the hose ends are properly sealed. If there are any gaps or leaks in the hose, air could escape and reduce the effectiveness of the vacuum. Keep these things in mind, and you’ll be able to use a silicone hose for your vacuum line without any problem.

Frequently Asked Questions
Can You Fix a Vacuum Hose With Duct Tape?
Yes, you can fix a vacuum hose with duct tape. The main reason why this is possible is because duct tape has strong adhesive properties that allow it to hold together various objects. By using this trick, you can repair torn or frayed hoses without having to replace them completely. Simply cut a piece of duct tape the size of the damaged area and apply it firmly to both surfaces. Then wait for the glue to dry before removing it carefully.
What Happens if a Vacuum Line Breaks?
If a vacuum line breaks, it can release a hazardous material that could potentially harm people and the environment. When this happens, you should immediately notify your landlord or property manager so they can take appropriate action. In some cases, local fire departments may be called in to clean up the scene and prevent any potential contamination from happening.
If you are an occupant of the building, then make sure to stay away from windows and doors until officials have cleared the area. If you are not an occupant but hear or see something strange happening onsite, don’t hesitate to call 9-1-1 for emergency assistance.
By following these simple tips, if anything goes wrong with your vacuum system – whether it is due to negligence on behalf of someone else or due to accidental damage – you will ensure that everyone involved is safe and sound.
Can You Fix a Vacuum Leak With Tape?
Yes, you can fix a vacuum leak with tape! By sealing the vacuum line at the point where it meets the tube, you can stop the leak and prevent your vacuum from losing power. Here’s how to do it:
- Remove the hose from the machine.
- Remove the cap on the end of the tube.
- Measure and mark the location of the leak.
- Cut a piece of tape slightly wider than the diameter of the tube and long enough to cover both ends of the tube.
- Place one end of the tape over the leak and pull it tight until it is snug against the tube. Repeat with the other end of the tape.
Does Flex Seal Tape Work on Hoses?
Flex Seal Tape is a great method for sealing leaks on hoses. This versatile product can be used to seal leaking faucets, water lines, and more. It comes in a wide variety of colors that make it easy to find the right shade for your specific needs.
Additionally, Flex Seal Tape has an adhesive that seals quickly and effectively. As a result, you will avoid further damage to your hose while maintaining its waterproofing properties. Furthermore, this tape is also repositionable, which means you can adjust it as necessary so that it perfectly covers the surface area where the leak occurs.
If you are experiencing any water leaks on your property or garden irrigation system, then take advantage of Flex Seal Tape’s versatile capabilities and get them fixed fast!
Conclusion
Although repairing hard plastic vacuum lines can be difficult, it is not impossible. If you have the patience and the right tools, you can fix these lines yourself and save money on repairs or replacements. We hope this article has helped give you a better understanding of how to repair hard plastic vacuum lines and that you will feel confident in attempting this project yourself. Have any questions about the repair process? Leave them in the comments below, and we’ll do our best to help you out.