Water damage can ruin floors, walls, furniture, and more. One place that is often overlooked as a potential source of water leaks is the dryer vent. If you have ever noticed water in your dryer vent, it is important to take action and fix the issue as soon as possible.
This can be a sign of a bigger problem, such as a clogged vent, and can cause damage to your dryer and even your home. In this blog post, we will walk you through the steps on how to fix water in dryer vent. We’ll also provide some tips on preventing this from happening again in the future. So please keep reading!
Summary: There are a few ways to fix water in a dryer vent. One way is to use a plunger to suction onto the water and pull it out. Another way is to use a vacuum cleaner with a hose attachment to suck the water out.
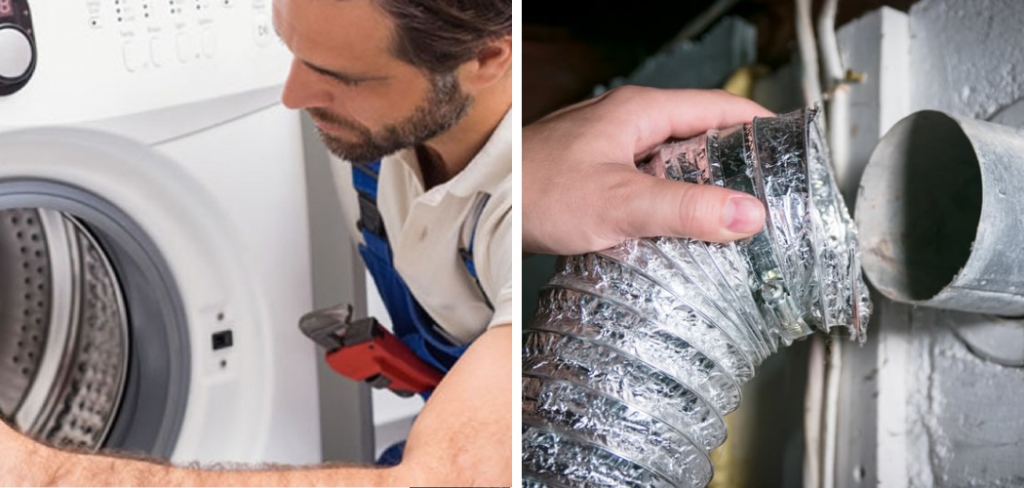
What Causes Water Leaks on Dryer Vent Hose?
The most common cause of water leaks from a dryer vent hose is a clogged vent. This happens when lint and other debris build up over time and cause a blockage. This can make the dryer force moisture back up into the vent hose and into your home. Another possible cause of water leaks is a loose connection between the vent hose and the dryer. If the connection is not tight, moisture can escape and cause water damage.
If your dryer vent hose has water leaking from it, you need to take action right away. A clogged vent could start a fire, so it’s important to clear the blockage as soon as you can. You should also check the connections between the vent hose and the dryer to make sure they’re tight. If you find a loose connection, you should either tighten it or replace the vent hose.
10 Easy Ways on How to Fix Water in Dryer Vent
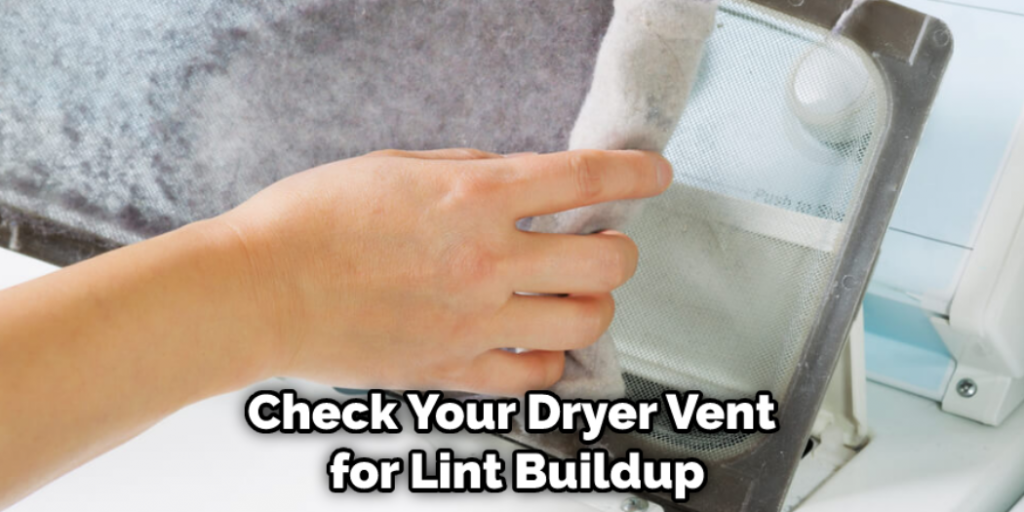
1. Check Your Dryer Vent for Lint Buildup:
The first step to ensuring your clothes are properly dried is to check your dryer vent for lint build-up. If there is a lot of lint buildup, it can block the air flow and cause the vent to back up with water. To clean the vent and keep your clothes drying properly, you will need to disconnect the dryer from the power source and remove the exhaust hose from the back of the dryer. Next, use a vacuum with a hose attachment to remove the lint from the vent.
2. Clean the Lint Trap:
The next step is to clean the lint trap. This screen catches the lint as it comes off your clothes. If this screen is full of lint, it can cause the dryer to overheat and back up with water. To clean the lint trap, remove it from the dryer and wash it off with soap and water.
The dryer is a great appliance for many people. However, there are some things that you should know about this appliance in order to keep it running smoothly and efficiently. This article will teach you what you need to know about dryer lint trap cleaning so that your clothes dryer will function properly and last for years to come.
3. Check the Exhaust Vent:
To clean your dryer’s exhaust vent, you’ll need to disconnect it from the power source, and remove the exhaust hose from the back of the machine. Next, check the exhaust vent itself – if it’s blocked, this can cause your dryer to overheat and back up with water.
Next, use a vacuum with a hose attachment to remove any lint or debris that may be blocking the vent. Once the vent is clear, reconnect the hose and turn on the dryer to see if the problem has been resolved.
4. Remove Any Blockages in Your Vent Pipe:
Any blockages in your vent pipe can cause water to build up in your dryer, so it’s important to make sure that your pipe is clear. Use a wet/dry vacuum to remove any lint or debris that may be blocking the pipe. If you can’t remove the blockage with a vacuum, you may need to use a plumber’s snake to clear it.
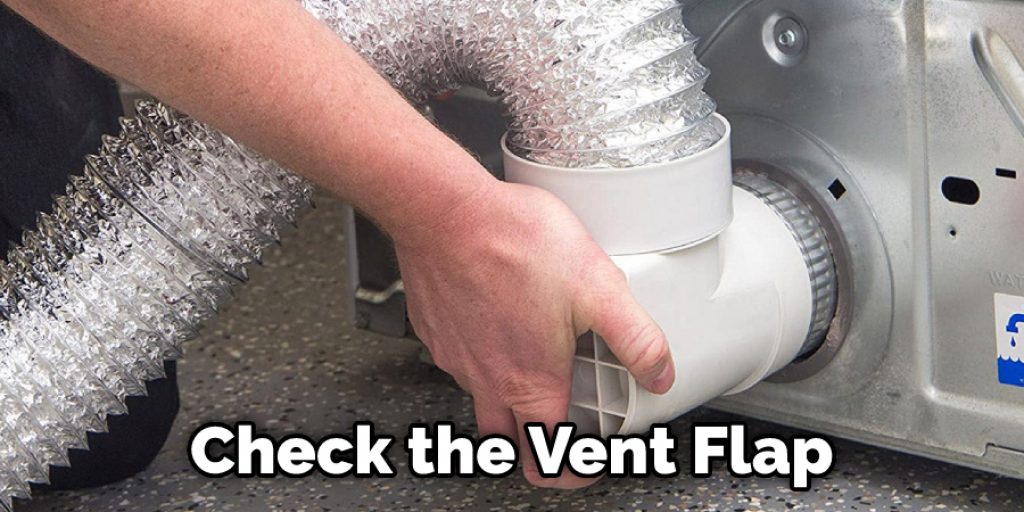
5. Check the Outside Vent:
If your dryer is venting to the outside, ensure that the vent flap is open. If the flap is closed, it can cause water to build up in the vent and eventually lead to a clog. To check the vent flap, simply look at it from the outside. If it is closed, open it up and allow the air to circulate freely. If your dryer is not venting to the outside, you will need to check the inside of the machine for a clog.
6. Make Sure Your Dryer Is Level:
If your dryer isn’t level, it can cause water to build up and eventually lead to a clog. To check the level of your dryer, simply look at it from the outside. If it appears to be tilted, adjust the legs until it is level. Check all four legs, as even a small tilt can cause water to build up.
7. Seal Any Leaks in Your Vent Pipe:
If there are any leaks in your vent pipe, it can allow water to seep in and eventually cause a clog. To fix the leaks, you will need to use a sealant. First, apply the sealant around the leaking area and ensure it is completely sealed. Once the sealant is dry, turn on the dryer and see if the leaks have been fixed.
8. Check for a Clogged Drain:
Another common cause of water in a dryer is a clogged drain. The drain is located under the dryer’s drum and helps remove any water that may accumulate during the drying cycle.
If the drain is clogged, it can cause water to build up and eventually leak out. To check for a clogged drain, remove the lint screen and look for blockages. If you see any, use a plunger to try and remove them. If the clog is stubborn, you may need to use a plumber’s snake to clear it.
9. Check for a Leaking Hose:
The hose that connects the dryer to the vent can also be a common source of leaks. Over time, the hose can become brittle and crack, which can cause leaks. Inspect the hose for any cracks or leaks and replace it if necessary.
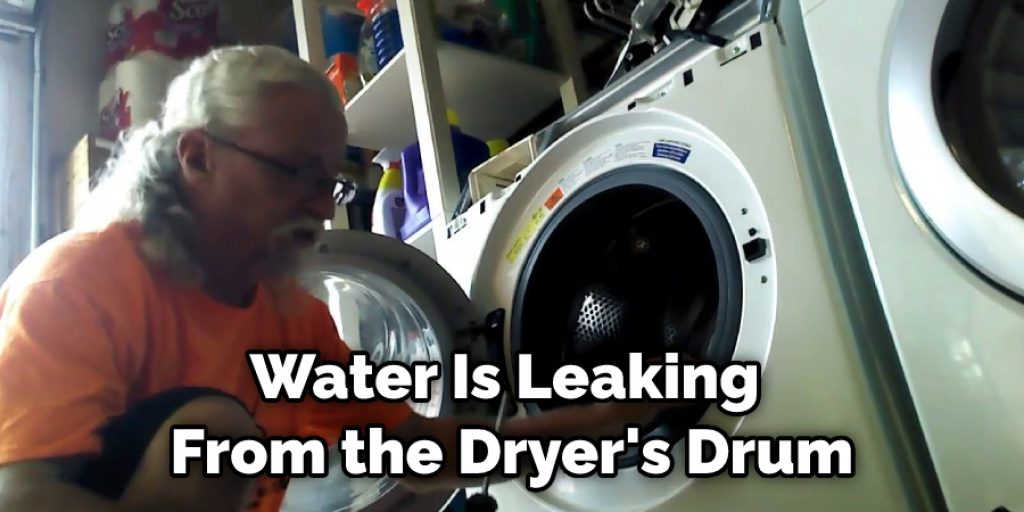
10. Clean the Drum:
If water is leaking from the dryer’s drum, it may be because the drum is dirty. Over time, lint and other debris can build up on the Drum, which can cause water to leak out. To clean the drum, simply remove the lint screen and use a soft brush to remove any debris built up. If the lint screen is completely covered in lint, you may need to replace it.
You Can Check It Out To Fix a Torn Dryer Vent Hose
Tips to Prevent Water Leak in Dryer Vent
- Inspect the vent regularly and look for any cracks or holes.
- If you see any cracks or holes, seal them with caulk or duct tape.
- Make sure the vent is unobstructed and clear of lint buildup.
- Use a dryer vent brush to clean the vent annually.
- Check the outside vent flap to make sure it is open.
- Make sure the dryer is level, and all four legs are resting evenly on the ground.
- Inspect the hose for any cracks or leaks and replace it if necessary.
- Clean the drum of the dryer regularly to prevent lint buildup.
You Can Check It Out To Fix Whistling Noise From Car Air Vent
Why do You Need to Fix Water in Dryer Vent?
There are a few reasons you need to fix the water in your dryer vent. The first reason is that it can cause your clothes to take longer to dry. When there is water in the vent, the air flow is restricted, making your clothes take longer to dry. Water in the vent can also lead to mildew and mold growth.
This can cause your clothes to smell bad and lead to health problems if you breathe in the mold spores. Another reason why you need to fix the water in your dryer vent because it can be a fire hazard. When there is water in the vent, it can create condensation on the lint trap. This lint can then catch fire and cause a severe fire in your home.
Frequently Asked Questions
Why Would My Dryer Vent Have Water in It?
When you use your dryer, water vaporizes and is drawn up the vent. This moisture is condensed on objects inside the attic or roof space and can cause serious problems down below – including costly damage to appliances, siding, insulation, and wiring. In extreme cases even a small leak in a building’s structural envelope can lead to catastrophic failure.
There are several things that you can do to prevent this from happening:
- Check for signs of water infiltration such as puddles or wet patches near doors or windowsills;
- Turn off air conditioning units when using the dryer;
- Make sure gutters aren’t leaking;
- Inspect roofs for proper flashing (a protective coating around rafters), and 5) Check for any missing shingles/trees.
Why is There Water in My Lint Trap?
The most common culprit is moisture getting trapped in the filter and then making its way into the trap. Other causes of water in the lint trap can include condensation, ice dams, or faulty wiring. If you notice water in your lint trap more often than not, it might be a good idea to take a look at your filters and see if they need to be replaced. In the event that the problem is with wiring or filters, it might be a good idea to call an electrician to inspect and fix the issue.
Can Too Much Water Ruin a Dryer?
There is some debate among experts as to whether or not too much water can ruin a dryer. However, the general consensus is that it’s best to avoid putting water into your dryer if you don’t want it ruined. Putting too much water in the machine could cause serious damage that could require professional repair. Additionally, this type of Damage may void your warranty.
Conclusion
If you are experiencing water damage in your home, it is important to take the necessary steps to fix it. Water damage can be costly and time-consuming to repair, but it can also lead to serious health hazards if not addressed promptly.
If your dryer is taking longer than normal to dry clothes or isn’t drying them at all, it may be due to a clogged vent. By following the simple steps in this blog post on how to fix water in dryer vent, you can clear the vent and get your dryer back up and running in no time. Have any questions? Feel free to reach out to us for assistance.