It’s always a good idea to keep your home appliances in good condition by regularly cleaning and maintaining them. Unfortunately, even with regular care, accidents can happen. For example, if you happen to tear your dryer vent hose, don’t worry; there is an easy way to fix it. However, if your dryer isn’t heating up properly, or if it’s taking longer than usual for your clothes to dry, there may be a problem with the dryer vent hose.
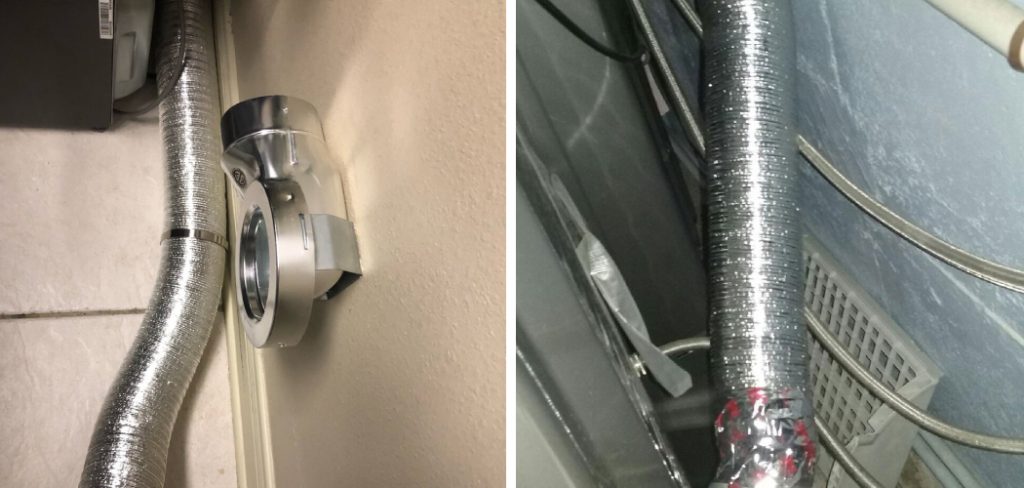
A torn or blocked hose can impede airflow and cause your machine to overheat. This blog post will show you how to fix a torn dryer vent hose quickly and easily. We will also advise you on how to prevent this issue in the future. Keep reading for more information!
Summary:
To fix a torn dryer vent hose, first turn off the power to the dryer (if necessary). Then remove the back panel on your dryer to expose the interior. Locate the vent hose and inspect it for any signs of wear or tear.
If there is a tear, cut away the damaged section of the hose with scissors and replace it with a new section of the hose. Secure the new piece in place with duct tape, making sure all connections are airtight. Lastly, reattach the back panel and restore power to your dryer.
Five Common Reasons That Causes Torn Dryer Vent Hose
1. Improper installation
If your dryer vent hose is not installed correctly, it can be easily damaged. Make sure that the hose is not kinked or crushed in any way. If the dryer hose is too long, it can also sag and tear. It may also happen that the hose is not correctly connected to the exhaust vent or the dryer itself, causing it to come off easily. If the hose is not installed properly, it will not be able to vent the hot air and lint properly, which can cause fires.
2. Poor Quality Hose
If you have a poor-quality dryer vent hose, it is more likely to tear. Look for a hose made of strong, durable materials such as metal or aluminum. Avoid hoses made of plastic or vinyl as they are more prone to tearing. Check if the hose is kinked or damaged in any way. If it is, replace it with a new one.
3. Incorrectly Installed Hose
If your dryer vent hose is not installed correctly, it can put unnecessary strain on the hose, leading to tears. Ensure that the hose is properly secured at both ends and that there is no slack. If the hose is too long, it can also sag and tear. Make sure that the hose is the correct length and is properly supported.
4. Clogged Vent
If your vent is clogged, it can strain the hose leading to tears. Be sure to clean your vent regularly to prevent build-up. Use a brush or vacuum attachment to remove any accumulated lint or debris. You should also check outside your home to ensure the air vent is not blocked. If the clogged vent is not fixed, it can cause your dryer to overheat and potentially start a fire.
5. Negative Air Pressure
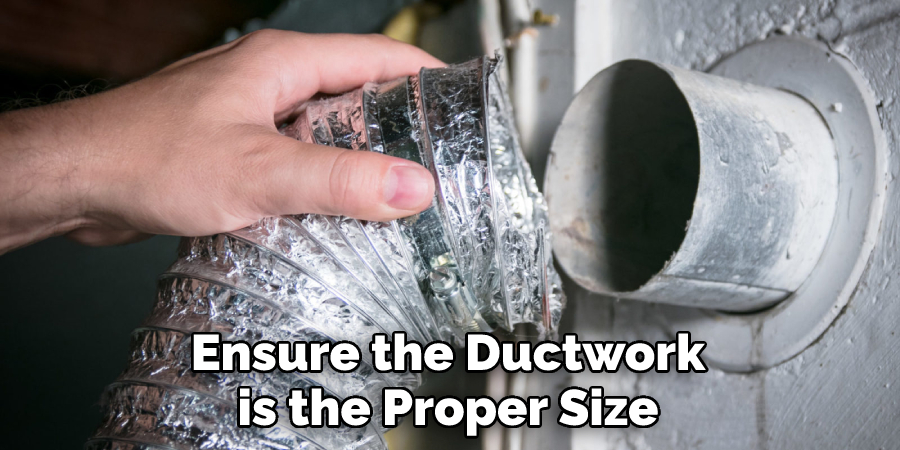
The dryer pulls air in from the front and pushes it out the back. If there is a blockage in the vent hose, or if the vent hose is too small, this can cause negative air pressure to build up inside the dryer. This can cause the dryer to overheat and lead to a fire. It may also happen that the lint screen is full; thus, cleaning it out after every load of laundry is important. Ensure the ductwork is the proper size and that it is not restricted in any way.
What You’ll Need
- A new dryer vent hose (available at most hardware stores)
- A screwdriver
- A pair of pliers
- A utility knife
Step by Step Guide: How to Fix a Torn Dryer Vent Hose
Step 1: Remove the Power Plug
Before addressing the hole or tear in your dryer vent hose, you’ll first want to ensure that there is no power running through it. To do this, unplug the power cord from the outlet. Make sure that the power is off at the circuit breaker as well before proceeding. If your dryer is hardwired, turn off the power at the fuse box.
Step 2: Inspect the Damage
Once the power is off, look closely at the damage on your dryer vent hose. If the hole or tear is small, you may be able to patch it up with duct tape simply. However, if the damage is more significant, you’ll likely need to replace the entire hose. Also, ensure the hose is not kinked or crushed, as this could cause problems down the line.
Step 3: Pull Back Dryer Vent Hose
Now, you’ll need to pull back the dryer vent hose from the connection at the back of the dryer. Do this carefully so as not to damage the hose. If the hose is torn, you’ll need to replace it. Ensure that the new hose has the same diameter and length as the old one. If you’ve lost the old hose, you can purchase a new one at most hardware stores.

Step 4: Cut Out Torn Section
Once the dryer vent hose is pulled back, locate the torn section and cut it out. Again, be careful not to damage the rest of the hose. You may need to replace the entire hose if the damage is severe. Make sure that the new section of the hose is the same diameter as the rest. If your dryer vent hose is made of plastic, you can use a utility knife to cut the hose. If your dryer vent hose is made of metal, you will need to use a hacksaw to cut the hose.
Step 5: Patch Up Small Tears
If the tear in your dryer vent hose is small, you may be able to patch it up with duct tape. Simply apply a generous amount of duct tape over the hole or tear, ensuring it’s sealed off completely. Once it’s sealed, put the hose back in place and test it to ensure the repair is holding.
If the tear is too big for duct tape, or if the duct tape isn’t holding, you’ll need to replace the hose. Make sure to do this as soon as possible, as a torn hose can cause your dryer to overheat and pose a fire hazard.
Step 6: Clean Dryer Vent Hose
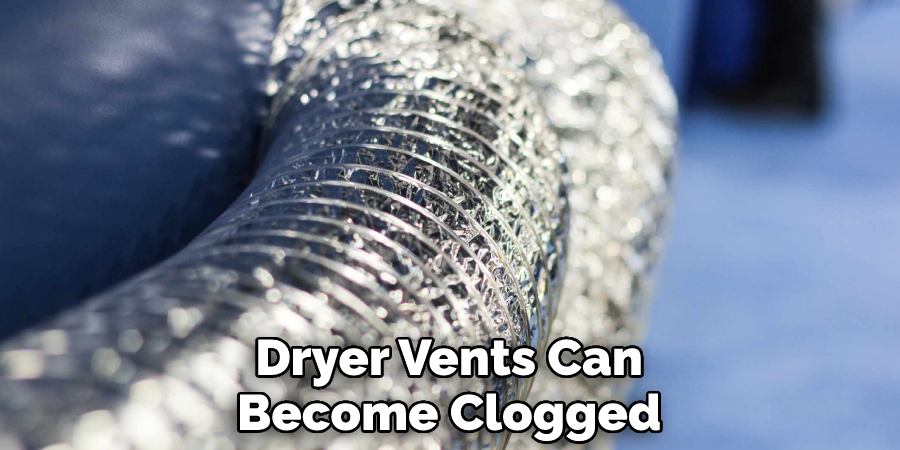
Dryer vents can become clogged with lint over time, which can cause your dryer to overheat and potentially catch fire. To clean your dryer vent hose, disconnect it from the dryer and vacuum it out with a shop vac or brush attachment. You can also use a special lint brush designed for cleaning dryer vents to reach any hard-to-reach areas.
If your dryer vent hose is severely damaged, you’ll need to replace it. To do this, measure the old hose and purchase a new one of the same size. Once you have the new hose, simply connect it to the dryer and vent outlet, ensuring it’s secure.
Step 7: Attach New Section
Now that the damaged section of the hose has been removed, it’s time to attach the new section. If you’re using duct tape, apply a generous amount to the end of the new hose, then line it up with the old hose. Once it’s in place, apply more duct tape over the top to ensure it’s sealed. If you’re using a clamp, slide it over the end of the new hose and then line it up with the old hose. Once it’s in place, tighten the clamp to secure the connection.
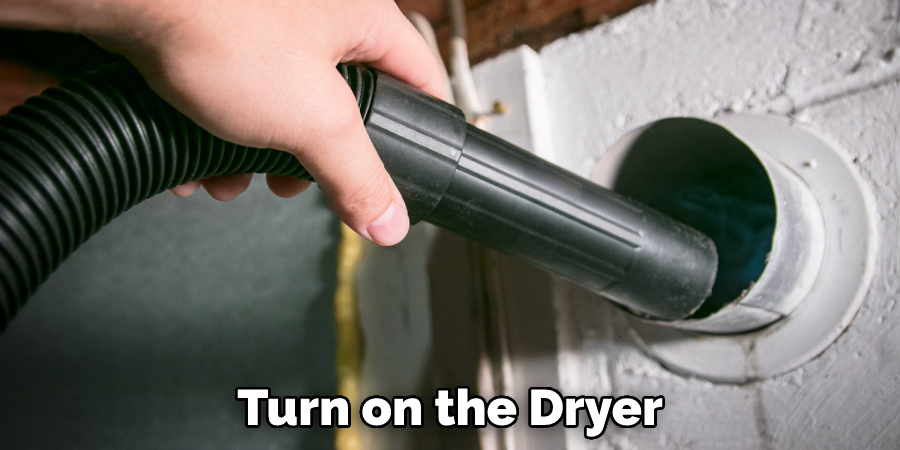
Step 8: Test the Repair
Once you’ve replaced or repaired the dryer vent hose, it’s time to test it out. First, reconnect the power and turn on the dryer. Then, run a load of laundry through a complete cycle. If everything goes well and your clothes come out dry, your repair was successful! Finally, inspect the hose periodically to ensure it remains in good condition.
If your clothes are still coming out wet, there could be a problem with your dryer itself. First, try running a test load with the vent hose disconnected (but the power is still on) to see if that makes a difference. If not, you may need to call a professional to look at your dryer.
Some Helpful Tips and Suggestions
- If you can see the tear, use a dryer vent brush to clean out any lint or debris that might be caught in the tear. This will help to prevent further tears.
- Always use a metal dryer vent hose. These are more durable and less likely to tear than plastic or foil hoses.
- Check the hose regularly for signs of wear and tear, and replace it if necessary.
- When installing a new dryer vent hose, use tape or clamps to secure it. This will help prevent it from being accidentally pulled off or loose.
- Make sure that the exhaust vent on your dryer is not blocked. A blocked vent can cause the dryer to overheat, leading to a fire.
- Never use your dryer without a vent hose. This could cause serious damage to your dryer and even start a fire.
Final Words
A torn dryer vent hose is a common household problem that can easily be fixed with the right tools and know-how. First, always be sure to properly maintain your appliances by checking them regularly for any damage. Then, if you’re still having trouble with your dryer vent hose, or if the repair doesn’t seem to be holding up, it’s time to call in a professional.
They’ll be able to assess the situation and find a permanent solution to your dryer vent woes. We hope this guide has helped you to learn how to fix a torn dryer vent hose. Remember, it’s always best to call in a professional if you’re ever in doubt. They’ll be able to help you troubleshoot the problem and find a lasting solution. Thanks for reading!