If you’ve ever installed wall tile, you know that getting everything lined up evenly can be challenging. And if you’re not careful, you can end up with some pretty uneven edges. But don’t worry – you can use a few simple tricks to fix them. So read on for tips on how to fix uneven wall tile edges.
Summary: If you’ve noticed uneven edges on your wall tile, there are a few easy steps to fix them. First, find the problem tiles and add spacers to the edges that are too high or too low. Then regrout the tiles and apply mortar to even out the surface.
If needed, chip out the offending tiles and clean the backs using a chisel. You can finish off by troweling down any excess mortar with a trowel.
Why It’s Important to Fix Uneven Wall Tile Edges?
If your wall tiles have uneven edges, it can create several problems. First, they can be unsightly and make your home look unkempt. Second, they can be dangerous, as the sharp edges can cut or scrape you. Third, the uneven pressure can cause your tile to crack or break over time.
Finally, they can make it difficult to clean your tile properly, as dirt and grime can collect in the uneven areas. By taking the time to fix uneven wall tile edges, you can avoid all of these potential problems and keep your home looking its best.
Things You’ll Need
- Trowel
- Level
- Mortar
- Sandpaper
- Chisel
How to Fix Uneven Wall Tile Edges Step by Step Guide
Step 1: Find the Problem Tiles
The first step is to find the tiles that are causing the problem. You will need to measure how uneven the edges are to do this. If they are uneven by less than 1/8 of an inch, you can usually fix them with a little bit of grout.
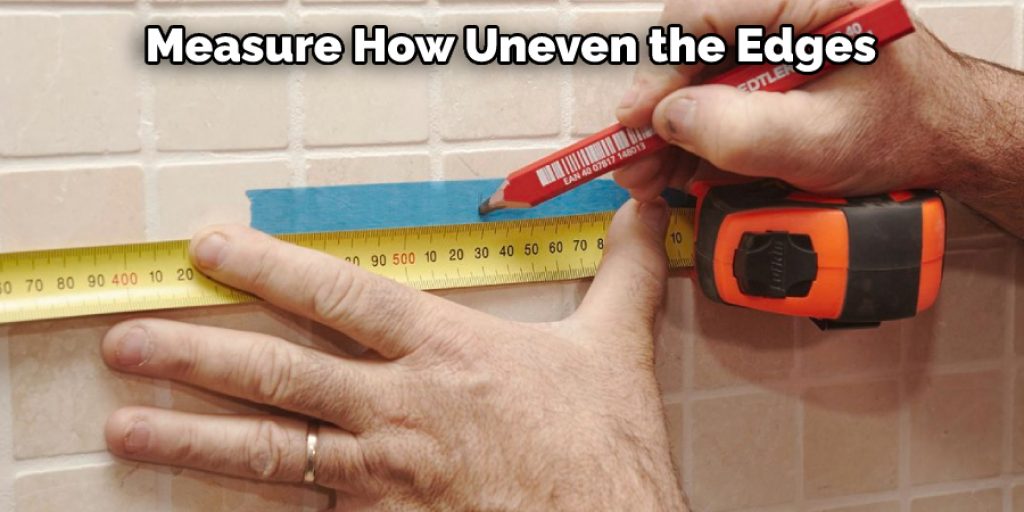
If they are uneven by more than 1/8 inch, you will need to fix them with tile spacers.
Step 2: Add Spacers to the Uneven Tiles
Identify the uneven tiles and create even spacing between them by adding spacers. This will ensure that the tiles are level and the edging looks uniform. You can use anything from toothpicks to small pieces of wood for this step, just be sure that the spacers are the same height as the tiles.
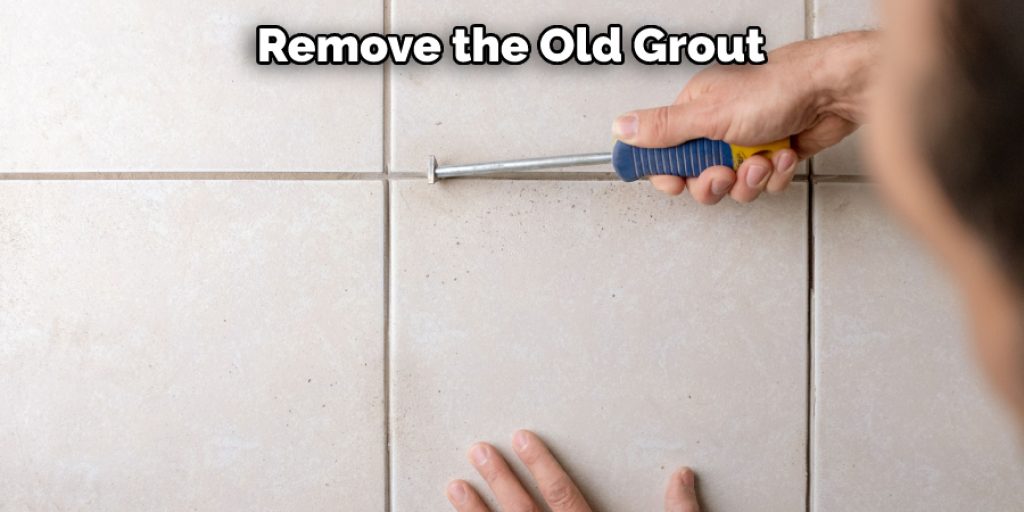
Step 3: Regrout the Tiles
Once you have fixed the uneven wall tiles, it is time to regrout them. This will help fill in any gaps and give your tiles a neater appearance. First, remove the old grout using a grout removal tool. Then, mix up some new grout according to the manufacturer’s instructions. Next, apply the grout to the tiles using a grout float, and smooth it out. Finally, let the grout dry for 24 hours before applying a sealant.
Step 4: Apply Mortar to the Uneven Tiles
Once you have leveled the tiles, you will need to apply mortar to the uneven areas in order to create a smooth surface for the tiles to rest on. Be sure to use a trowel that is specifically designed for mortar so that you can get the right consistency. Apply a thin layer of mortar to the tiles and use the trowel to spread it evenly. Then, press the tiles into the mortar and wiggle them to make sure they are secure. Allow the mortar to dry completely before continuing.
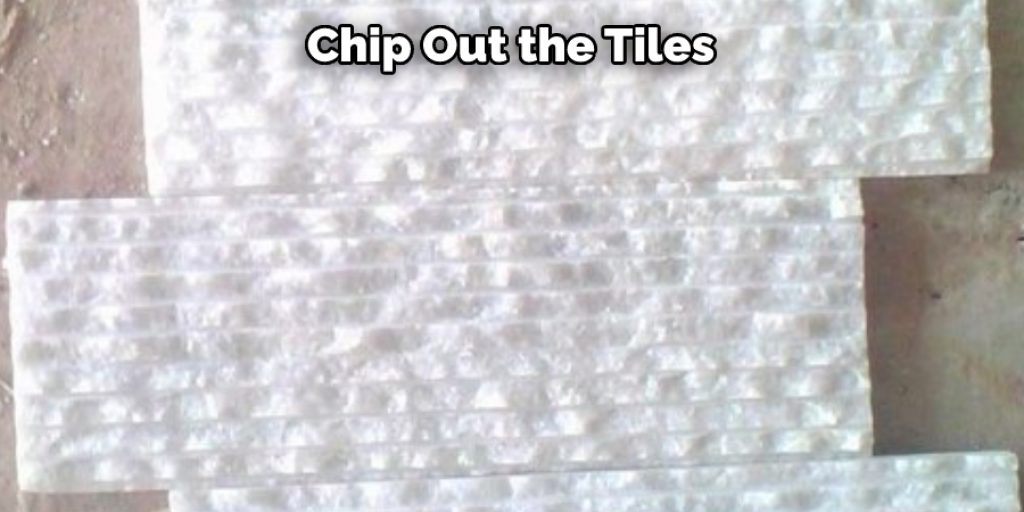
Step 5: Remove the Offending Tiles by Chipping Out
Now that the thinset is dry, it’s time to chip out the tiles causing the problem. Again, a hammer and chisel work well, but a screwdriver or a kitchen knife can also be used. Just be careful not to damage any of the surrounding tiles. You may have to break a few pieces into smaller pieces before you can remove them.
Once the tile is removed, it’s time to mix some more thinset. Follow the directions on your package and apply the new thinset to the area where the old tile was. This will help your new tile bond to the surface.
Now it’s time to install your new tile. You’ll want to make sure the tile is level with its neighbors. Use a level to make sure your tile is level.
Step 6: Clean the Back of Them Using the Chisel
You need to clean up the mess made after fixing the tile. The best way to do this is to use a chisel and mallet. This will help you remove any dried mortar or adhesive on the back of the tiles. Be careful not to damage the tiles while doing this.
Step 7: Using a Trowel
Finally, you’ll want to use a trowel to smooth out the mortar and make sure that the tiles are even. Make sure that the mortar is completely dry before doing this. It can take several hours for the mortar to dry completely, so be patient.
Make sure that you check the tiles every few hours to ensure that they haven’t shifted. If they have, you may need to apply more mortar and fix them back into place.
Now that you know how to fix uneven wall tile edges, you can do it yourself. It may seem like a daunting task, but you can do it with a little bit of patience and some basic tools. Just follow the step-by-step guide above to ensure that your tiles are properly fixed.
What Cause Uneven Wall Tile Edges?
There are three possible reasons why your wall tiles might have uneven edges. First, the tiles may have been cut improperly, resulting in jagged or uneven edges. Second, the tiles may have been installed incorrectly, causing them to shift out of place. Third, the subflooring may be uneven, causing the tiles to sit at different levels.
Regardless of the cause, uneven wall tile edges can be fixed with a little time and patience. The first step is to remove the offending tile and check the underlying subflooring. If the subflooring is level, you can re-cut the tile and reinstall it.
If the subflooring is uneven, you will need to level it off before proceeding. Once the subflooring is level, you can reinstall the tile and grout it in place.
Different Issues Regarding Tiles Installation
Missing Tiles
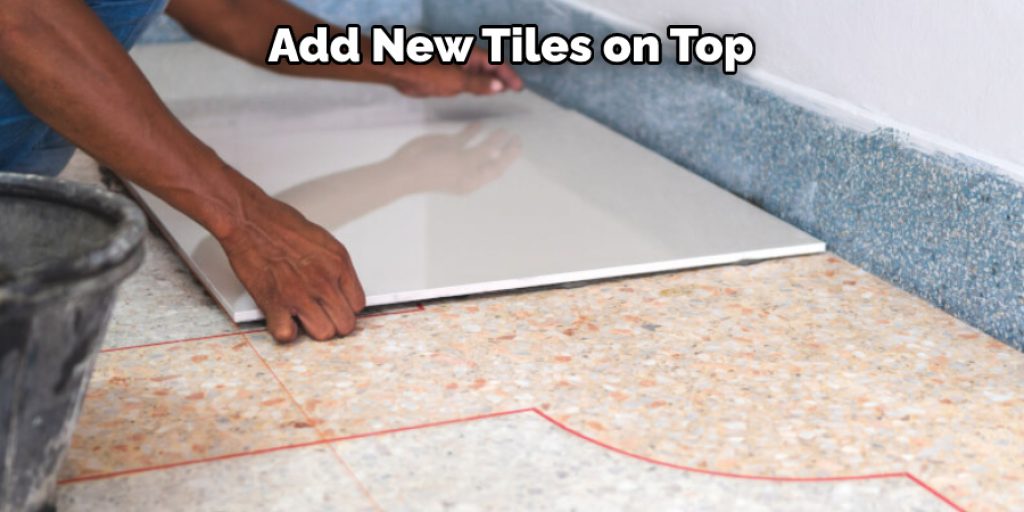
If you find one or more tiles are missing from the installation, the best option would be to remove them and start over. There’s a good chance that the adhesive has already begun to set, and if you try to add new tiles on top, they may not adhere properly. Furthermore, if you leave missing tiles, it can lead to water damage and a visual eyesore.
Uneven Tile Edges
If your tile edges are uneven, you can use a grout float to even them out. To do this, apply the grout float to the tiles and move it in a circular motion. Make sure you smooth out all the bumps and ridges to level the edge with the rest of the tile.
Once you’re finished, allow the grout to set for 24 hours. Then, use a wet cloth to clean off any excess grout. Finally, seal the grout with a grout sealer. This will help protect it from staining and fading.
Vertical Lines
If you notice vertical lines in your tile installation, likely, the tiles weren’t installed properly. In this case, you’ll need to remove them and start over.
To remove the tiles, use a chisel and hammer to break them into small pieces. You can then use a vacuum cleaner to suck up the debris. Once the area is clean, install new tiles following the same directions you followed when installing the original tiles.
Cracked Tiles
If a tile cracks, you can remove the broken one and replace it with a new one. If the crack is very small, you can use a putty knife to fill it in before replacing the tile. Keep reading for more information about how to fix uneven wall tile edges.
How Do You Fix Uneven Wall Tiles?
Uneven wall tiles are a common problem in many homes. There are a few different ways to fix this problem, depending on the severity of the issue. You can use caulk or grout to fill in the gaps for minor unevenness. You may need to remove and replace individual tiles for more significant problems.
First, use a utility knife to score the tile along the grout line. Next, use a chisel to loosen the tile and remove it from the wall. Finally, apply a layer of mortar to the back of the new tile and press it into place.
Once the mortar has dried, you can grout the area around the new tile to complete the repair. Whether you’re dealing with a small problem or a more significant issue, these tips should help you fix uneven wall tiles quickly and easily.
Frequently Asked Question
Can You Fix Tile Lippage?
Yes, you can fix tile lippage. Use a grout float to press the grout firmly into the joints between the tiles. Make sure to use a grout sealant to protect the grout from moisture.
Why Are My Tiles Uneven?
There are a few potential reasons why your tiles may be uneven. One possibility is that the adhesive wasn’t spread evenly when the tiles were installed, which can cause them to shift over time. Another possibility is that the wall itself may not be perfectly level, creating unevenness in the tile installation.
Does Grout Hide Lippage?
In most cases, grout can help to hide lippage between wall tiles. However, if the lippage is too severe, the grout may not be able to cover the gap completely. In this case, you may need to take additional steps to fix the problem.
You Can Check It Out To Fix a Blender that Won’t Spin
Conclusion
Uneven wall tile edges can be fixed with a little bit of patience and the right tools. We hope this article has helped you to understand how to fix uneven wall tile edges and that you will feel confident in fixing them yourself. If not, please don’t hesitate to call on a professional for assistance – it will be worth it, in the end, to have beautiful, even wall tile edges!
You Can Check It Out To Fix Uneven Wood Cuts