There’s nothing more frustrating than making a beautiful piece of furniture and having the finished product look lopsided. In this blog post, we will show you how to fix uneven wood cuts so that your furniture looks perfect when it’s finished. So grab your tools, and let’s get started!
Summary: Wood cutting is a skill that requires practice and patience, but even the most experienced craftsman can make mistakes like an uneven cut. Fortunately, there are several methods of fixing uneven wood cuts such as sanding down the surface to even out the edges, hand planing with a chisel or rabbit plane, and using a cam rasp for more complex angles. With the right tools and techniques, you can get perfect results every time.
Why It’s Important to Fix Uneven Wood Cuts?
The reason it’s so important to fix uneven woodcuts is because they can make your furniture look terrible. If your furniture is uneven, it won’t be easy to stack things on top of it or to put it against a wall. In addition, if you’re planning to sell your furniture, potential buyers will be less likely to buy it if it’s not symmetrical. So make sure to fix any uneven woodcuts before you finish your project!
How to Fix Uneven Wood Cuts Step by Step Guide
Step 1: Gather Necessary Materials and Tools
To fix uneven wood cuts, you will need the following materials and tools:
- Wood filler or putty (matching the wood color)
- Putty knife
- Sandpaper (coarse, medium, and fine grit)
- Sanding block or electric sander
- Clamps or a vise (optional)
- Wood glue (if repairing a split or crack)
- Chisel (if necessary)
- Carpenter’s square or straightedge
- Pencil
- Safety goggles
- Dust mask
- Clean cloth or tack cloth
Step 2: Assess the Uneven Cut
Examine the uneven wood cut to determine the extent of the issue and the best approach for repair. Smaller imperfections may only require sanding and filling, while larger issues may necessitate additional cutting or gluing.
Step 3: Secure the Workpiece
If necessary, secure the workpiece to a stable surface using clamps or a vise to prevent movement during the repair process. This will ensure your safety and help you achieve a more precise result.
Step 4: Sand the Uneven Area
Begin by sanding the uneven area with coarse-grit sandpaper (e.g., 60 or 80 grit) to remove the bulk of the material and create a more even surface. Use a sanding block or electric sander to apply even pressure across the surface, and frequently check your progress with a straightedge or carpenter’s square.
Step 5: Refine the Surface
Once the majority of the uneven material has been removed, switch to medium-grit sandpaper (e.g., 100 or 120 grit) to refine the surface and remove any remaining roughness or unevenness. Continue checking your progress with a straightedge to ensure the surface is becoming more even.
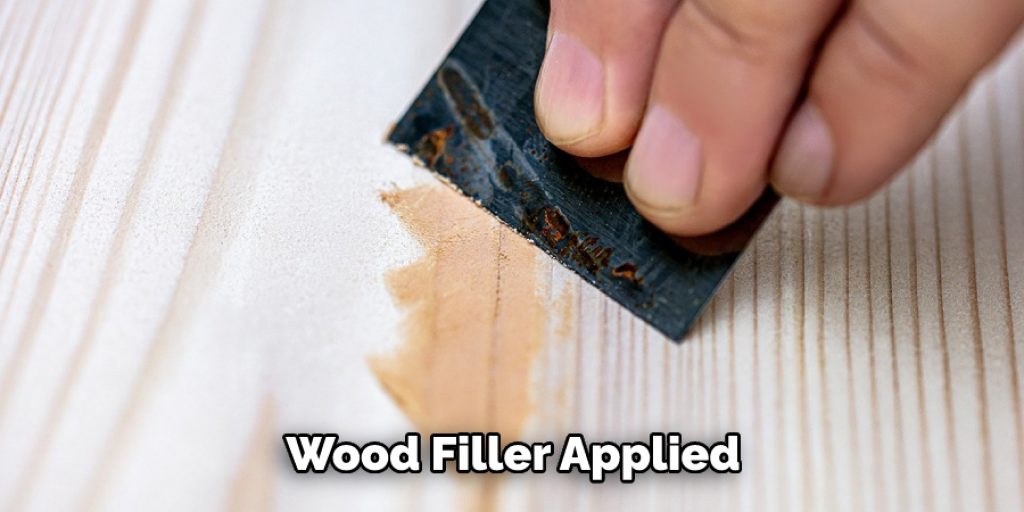
Step 6: Apply Wood Filler or Putty (if Necessary)
If the uneven cut has left any gaps, holes, or imperfections in the wood, apply a wood filler or putty that matches the color of the wood. Use a putty knife to press the filler into the gaps and smooth it out, removing any excess material.
Step 7: Allow the Filler to Dry
Allow the wood filler or putty to dry completely, according to the manufacturer’s instructions. This may take several hours or even overnight, depending on the product and environmental conditions.
Step 8: Sand the Filled Area
Once the filler has dried, use fine-grit sandpaper (e.g., 180 or 220 grit) to sand the filled area and blend it seamlessly with the surrounding wood. Be careful not to remove too much material or damage the surrounding wood during this process.
Step 9: Repair Splits or Cracks (if Necessary)
If the uneven cut has resulted in a split or crack in the wood, apply wood glue to the affected area, and clamp the pieces together until the glue dries. Follow the manufacturer’s instructions for drying time and application.
Step 10: Remove Excess Glue and Sand the Repaired Area
After the glue has dried, use a chisel to carefully remove any excess glue from the repaired area. Then, sand the area with fine-grit sandpaper to blend it with the surrounding wood and create a smooth, even surface.
Step 11: Clean the Work Area
Use a clean cloth or tack cloth to remove any dust and debris from the work area and the repaired wood surface.
Step 12: Apply a Finish (if Necessary)
If the repaired wood surface will be visible in the final project, apply a finish such as paint, stain, or varnish to protect the wood and create a consistent appearance. Follow the manufacturer’s instructions for application and drying time.
Step 13: Inspect the Repair
Examine the repaired wood cut to ensure that the surface is now even and smooth. If necessary, make any additional adjustments or touch-ups to achieve the desired result.
Step 14: Maintain Your Woodworking Tools
To prevent future uneven wood cuts, ensure that your woodworking tools are well-maintained and properly calibrated. Keep saw blades sharp, and regularly inspect and adjust your saws and other cutting tools for accuracy.
Step 15: Practice Good Woodworking Techniques
Develop and practice good woodworking techniques, such as making accurate measurements, marking cuts clearly, and using appropriate tools and methods for each task. This will help to minimize the occurrence of uneven cuts and improve the overall quality of your projects.
Step 16: Learn from Your Mistakes
As you gain experience in woodworking, learn from any mistakes or challenges you encounter. This will help you to develop better skills and techniques, and to avoid repeating the same errors in future projects.
Step 17: Share Your Knowledge
If you have successfully repaired an uneven wood cut, consider sharing your experience and knowledge with others who may be facing similar issues. Participate in online forums or discussion groups dedicated to woodworking or carpentry, or offer your assistance to friends or family members who may need help with their own woodworking projects. By sharing your expertise, you can help others successfully repair and improve their work.
By following these steps, you can effectively repair uneven wood cuts and restore the appearance and integrity of your woodworking projects. Regular maintenance of your tools and good woodworking techniques can help ensure that your work remains high-quality and free of imperfections. As you gain experience and confidence in your woodworking skills, you can tackle more complex repairs and share your knowledge with others, contributing to a community of woodworkers dedicated to preserving and improving their craft.
Step 1: Inspect the Board
The first step is to inspect the board for any major problems. Look for warping, cupping, or twisting. These are all signs that the board is not healthy and will not be able to be fixed with just a simple fix. If you have a board with any of these problems, it is best to replace it.
Step 2: Find the Problem
Once you have determined that the board is healthy, you need to find the problem. Uneven woodcuts are usually caused by one of two things: how the board was cut or how it was milled. If the board was cut unevenly, you could usually fix it by using a jointer or a planer. If the board were milled unevenly, you would need to use a saw to correct the problem.
If you find a big problem, such as warping, cupping, or twisting, then the board is unhealthy and cannot be fixed with a simple fix. In this case, you will need to replace the board.
Step 3: Replace the board: (Optional)
If the board is not healthy, you will need to replace it. First, use a saw to cut the board down to size. Then, use a jointer or a planer to straighten the board’s edges. Finally, use a saw to cut the board to the desired length.
Step 4: Mark the Cut Line
After you’ve placed your straight edge on the board, it’s time to mark the cut line. Use a pencil or sharpie to draw a line along the edge of the straight edge, making sure the line is as close to the board’s edge as possible. This will help you make a clean cut.
Step 5: Cut the Board
After you’ve marked where you want to cut the board, use a saw to cut it. Be careful not to cut too deeply – you only want to cut through the thickness of the board, not through the width.
If you are using a hand saw, make sure you use a sharp blade and saw smoothly. If you are using a circular saw, make sure the blade is sharp and set the depth of cut to just the thickness of the board. Then, cut along the marked line, careful not to let the saw drift away from the line.
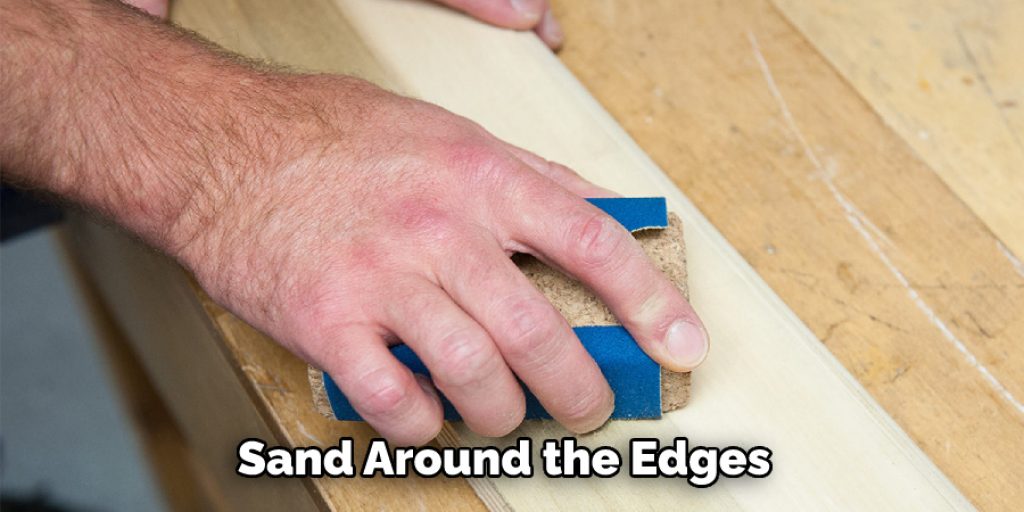
Step 6: Sand the Edges
If your board is rough around the edges, you’ll need to sand it down. First, use a sanding block or sandpaper to smooth out the edges. Start with coarse-grit sandpaper and then finish with fine-grit sandpaper. Make sure to sand in the direction of the wood grain.
If you have any splinters or rough spots, use a wood file to smooth them out.
Step 7: Finish the Board
The board is ready to be finished after it is sanded. You can choose a wood finish, paint, or sealant to match the rest of your project. Follow the instructions on the product to apply it evenly.
Step 8: Use a Belt Sander to Sand the Wood until It Is Even.
If your cuts are uneven, you will need to use a belt sander for sanding them down until they are even. This will take some time and patience, but it is worth it. Use a light touch, so you don’t sand away too much of the wood. After sanding, clean the wood surface with a tack cloth to remove any sanding dust.
Finally, apply some finish of your choice. If you want a more natural look, use a clear coat of polyurethane.
Step 9: Apply a Stain or Paint to the Wood
If the wood is unfinished, you may want to apply a stain or paint. This will help to even out the color and hide any blemishes. Be sure to read the directions on the can carefully, as different products require different application methods.
Step 10: Let the Paint or Stain Dry
Once you have applied your paint or stain, it’s important to let it dry completely before moving on to the next step. Depending on the weather and the type of paint or stain you are using, this could take a few hours to a few days. Make sure to check the manufacturer’s instructions for more specific information. If you want to know more about how to fix uneven wood cuts, keep reading.
You Can Check It Out to Fix Warped Wood Dresser
Common Uneven Woodcutting Mistakes And Their Solutions
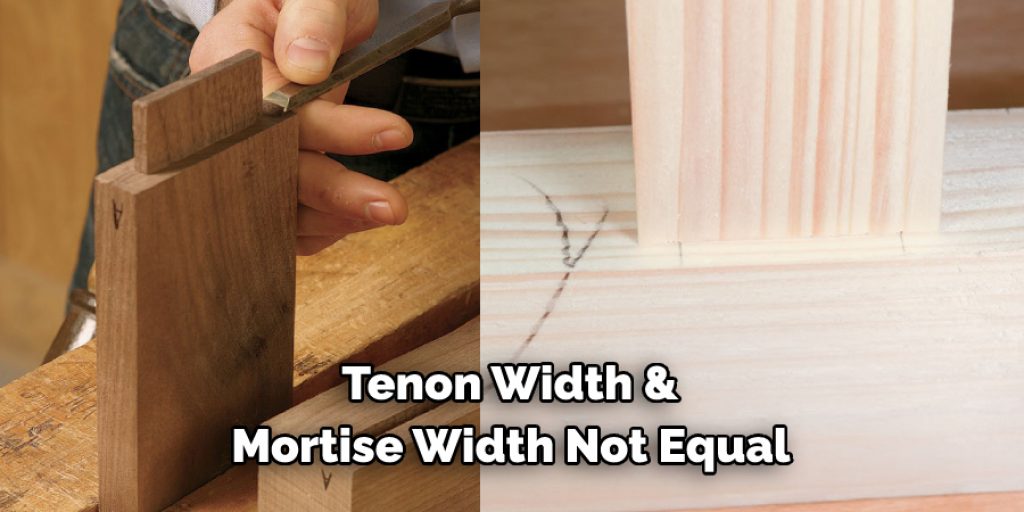
1: Uneven Mortise and Tenon joints
This can be caused by several factors, such as the width of the tenon not being equal to the width of the mortise or the thickness of the tenon not being equal to the thickness of the mortise. This can also be caused by how you cut your mortise and tenon joints. To fix this, make sure that the width of the tenon is equal to the width of the mortise, and make sure that the thickness of the tenon is equal to the thickness of the mortise.
2: Uneven Dovetails
This can be caused by several factors, such as how you cut your dovetails or how much you take off the ends of the tails and pins. To fix this, make sure that you cut your dovetails evenly and take the same amount of material off the ends of the tails and pins.
3: Uneven Dadoes
If you notice that the dadoes (the slots cut into the wood) in your project are not all the same width, there is a way to fix this. You will need a chisel and some sandpaper.
4: Uneven Rabbets
If you have cut rabbets (grooves) in your wood, but they are not even, you can fix this by using a chisel. First, find the high spots on the rabbet and mark them with a pencil. Then, use a chisel to remove the high spots until the rabbet is even. Be careful not to remove too much wood, or the rabbet will be too shallow.
5: Uneven Face Frame Joint Cuts
If you have a face frame joint that is uneven, there are a few ways to fix it. One way is to use wood filler to fill in the gaps on the shorter side of the cut. You can also use a chisel to even out the cut. If you have a router, you can use it to make a rabbet on the longer side of the cut to make it even. Lastly, you can use a saw to make a straight cut on the shorter side of the joint. Whichever method you choose, use wood glue and clamps to hold the joint together while it dries.
6: Short Board
If you have a shortboard, you can use wood glue to extend the length of the board. You will also need clamps to hold the board while the glue dries. Keep reading for more information about how to fix uneven wood cuts.
You Can Check It Out To Fix Chewed Baseboard Corners
Frequently Asked Question
How Do You Fix Wood Filler Blotches?
When wood filler is applied to an uneven surface, it can create blotches or streaks—using a putty knife to spread the filler evenly over the surface before it dries.
Can Rough Sawn Wood Be Sanded Smooth?
Yes, rough sawn wood can be sanded smooth with a medium or fine-grit sandpaper. Be sure to use a sanding block to help keep the wood grain aligned.
How Do You Smooth Rough Wood without Sanding?
There are a few ways to smooth rough wood without sanding. One way is to use a wood conditioner to help the wood absorb a finish better. You can also use a wood filler to fill in any gaps or cracks in the wood. Once the filler has dried, you can apply a finish to the wood.
What Tool Makes Wood Smooth?
The best way to make wood smooth is to use a sanding block and medium or fine-grit sandpaper. This will help keep the wood grain aligned and ensure a smooth finish.
You Can Check It Out To Fix Uneven Crochet Blanket
How Do You Mark Miter Cuts?
You can use a pencil or a carpenter’s square to mark miter cuts. You can also use a T-bar or speed square for more accurate cuts.
How Do You Cut Wood Cleanly?
When cutting wood, always use a sharp blade and ensure the saw is aligned correctly. In addition, apply even pressure when cutting and use a slow, steady motion. This will help ensure clean, accurate cuts every time.
You Can Check It Out To Fix a Wobbly Cat Tree
Conclusion
There you have it—your guide to fixing uneven wood cuts. Now, get out there and start sawing! We hope these tips help make your projects easier (and neater). If you have any questions or comments, please share them in the comment section below. And don’t forget to Pin this post for later reference! Thanks for reading our post about how to fix uneven wood cuts.