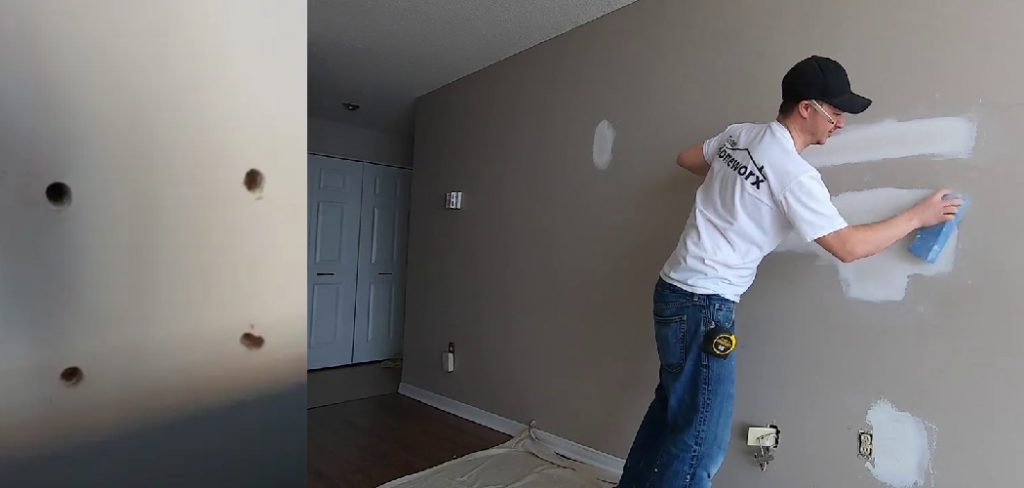
If you have recently mounted your TV to the wall, you may have noticed a few holes left behind from where the screws were. Don’t worry; there is an easy way to fix this! You can cover up those ugly holes in just a few simple steps and make your TV mount look seamless. Today in this article, we’ll show you how to fix tv mount holes. Read on for instructions on how to do it.
Summary: Fixing TV mount holes is a straightforward and simple process. Start by making a plan and determining the size of your new holes. Measure twice and drill once to ensure accuracy, then remove any existing holes from the wall. Clean up any residue before attaching your new mount. Caulk around the gaps for a neat finish, mount your TV, connect the cables, and enjoy!
What You’ll Need
- Tape measure
- Pencil
- Drill
- 1/8 inch drill bit
- Cordless screwdriver
- Phillips head screwdriver bit
- Flathead screwdriver
- Hammer
- Nail setter tool
- Wood putty or Spackle
- Paintable caulk
- Caulking gun
A Step by Step Guide on How to Fix TV Mount Holes
Step 1: Make Your Plan
The first step is to take a close look at the back of your TV and make a note of where the threaded inserts are located. Then, use a tape measure to find the center point between each set of holes. Once you have the measurements, transfer them to a piece of paper and draw a line connecting the dots. This will give you an idea of where you need to position your new holes.
Step 2: Determine the Size of Your New Holes
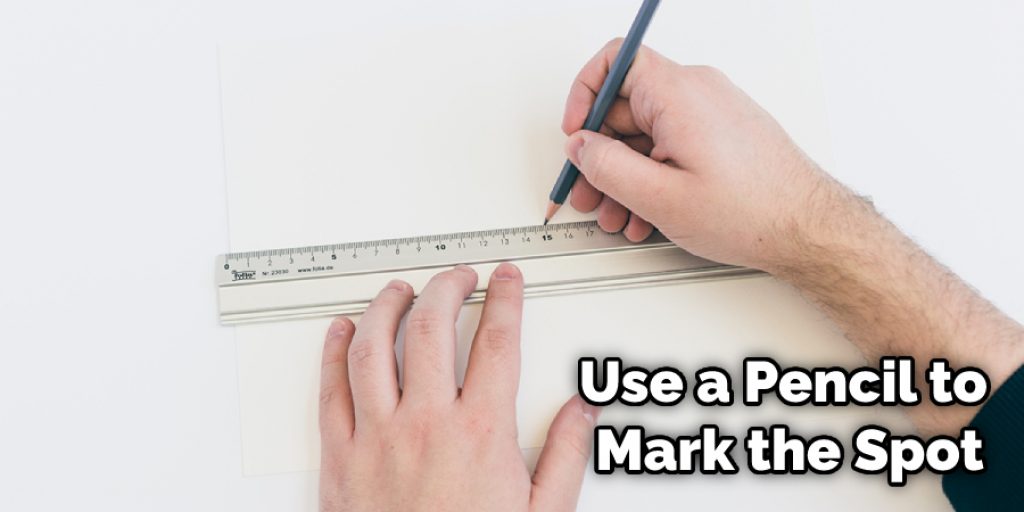
Now that you know where your new holes need to go, it’s time to determine what size they need to be. The best way to do this is to look at the screws that came with your TV mount and find one that barely fits through the hole in the back of your TV. Once you have found the right size, use a pencil to mark the spot on your paper template.
Step 3: Measure Twice, Drill Once
Now that you know where your new holes need to go, it’s time to start drilling. But before you do, it’s always a good idea to measure twice and drill once. This will help ensure that your new holes are in the right place and the correct size.
When you’re ready to start drilling, set your power drill on the slowest setting and gently drill into the ceiling until you reach the studs. Once you hit a stud, stop drilling and switch to a larger bit that’s big enough for your new fixtures.
To start, use a 1/8 inch drill bit to create a pilot hole at each mark on your paper. Then, take a look at the back of your TV again and make sure that the pilot holes align with the threaded inserts. If everything looks good, you can move on to drilling the final holes.
For the final holes, you’ll want to use a drill bit that is just slightly larger than the threaded inserts. This will ensure a tight fit and make it easier to screw in the new mounting screws.
Step 4: Remove the Old Holes
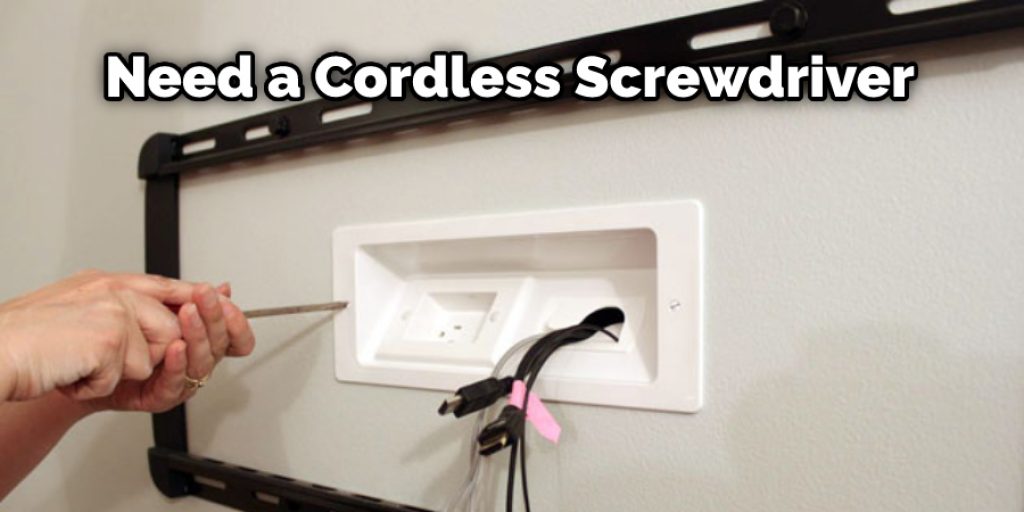
Now that you have your new holes drilled, it’s time to remove the old ones. To do this, you’ll need a cordless screwdriver and a Phillips head screwdriver bit.
Start by removing the screws from the back of your TV. Then, use the cordless screwdriver to loosen the threaded inserts. You may need to use a flat head screwdriver to help with this. Once the inserts are loose, you can pull them out with your fingers.
Step 5: Clean Up the Holes
Now that the old holes are gone, it’s time to clean up the area so that your new mount will have a nice, clean surface to attach to. Start by using a hammer and nail setter tool to drive any remaining nails below the surface of the wood.
Then, use wood putty or Spackle to fill holes or cracks. Once the filler is dry, sand it down until it is flush with the rest of the surface.
Step 6: Attach Your New Mount to the Wall
Now that your old mount is off the wall, it’s time to attach your new one. If you’re using a different mount brand, follow the instructions that came with it. But if you’re using the same brand, the process should be pretty similar.
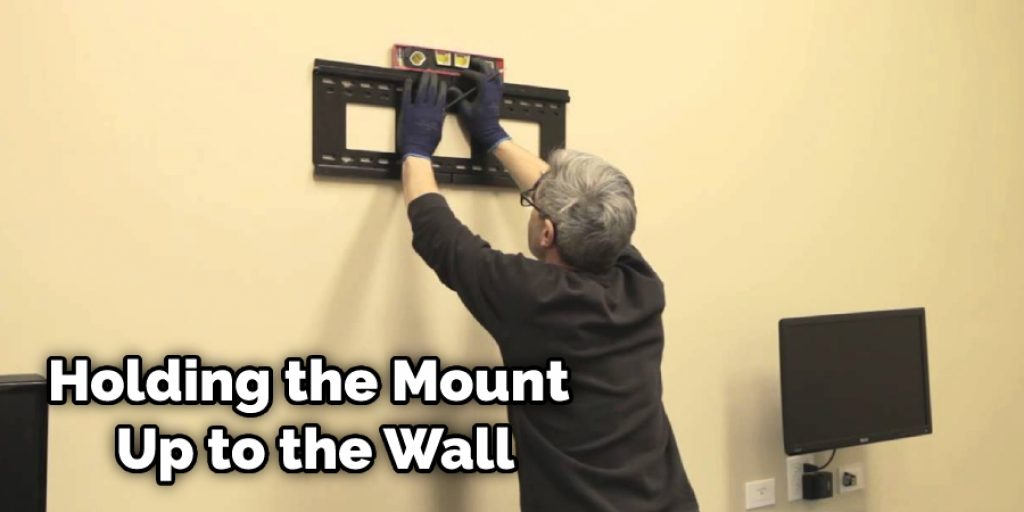
Start by holding the mount up to the wall where you want it. Use a level to make sure it’s straight, then mark the four holes with a pencil. Drill pilot holes at these marks, be careful not to drill too deeply and damage any wires or pipes behind the wall.
Next, insert the lag bolts into the pilot holes and tighten them down. Finally, attach your TV to the mount according to the instructions that came with it. And that’s it! Your TV is now safely mounted to the wall.
Step 7: Caulk the Gaps
Once your new mount is in place, it’s time to caulk any gaps between the mount and the TV. This will help create a watertight seal and prevent moisture from getting inside.
To start, load a tube of caulk into a caulking gun and cut off the tip. Then, apply a bead of caulk around the edge of the mount. Next, use your finger to smooth out the caulk and make sure there are no gaps.
Let the caulk dry for 24 hours before mounting your TV.
Step 8: Mount Your TV
Now that you have your TV mount, it’s time to get your television up on the wall! Start by holding the mount up to the wall where you want it to go. Once you have an idea of where it will go, use a level to make sure it is even. Once you have found the perfect spot, mark the four holes with a pencil.
Next, use a drill to create pilot holes in the four marked spots. Be careful not to drill too deep – you don’t want to damage any wires that may be behind the wall. Once your pilot holes are all set, screw in the lag bolts (or whatever type of hardware came with your specific mount).
Finally, it’s time to hang your TV on the wall! The exact method will vary depending on the type of mount you have, so be sure to follow the instructions that came with it. In general, though, you’ll need to attach the brackets that came with your mount to the back of your television. Once they’re in place, lift your TV and hook it onto the mount.
Step 9: Connect the Cables
Now that your TV is mounted, it’s time to connect the cables. Again, you’ll need a drill, a cordless screwdriver, and the screws that came with your mount.
Start by holding theTV in place and using a drill to create pilot holes at each marked location. Once the pilot holes are drilled, remove the TV and use a cordless screwdriver to screw in the mounting screws. Be sure to use enough pressure to ensure a tight fit.
Step 10: Enjoy Your New TV!
You’ve now successfully mounted your TV to the wall! So sit back, relax, and enjoy your new television setup. Thanks for following along!
Tips and Warnings
Tips:
- Before you attempt to fix your tv mount holes, it is essential that you take measurements. This will ensure that you do not make the hole more significant than it needs to be.
- If the hole is too big, you may need to use a spackle or another type of filler to make it smaller.
- It is also essential that you test the fit of the new mount before you screw it into place. This way, you can make sure that everything lines up correctly and that there will be no gaps between the mount and the wall.
- When fixing tv mount holes, always use a level when mounting the bracket onto the wall. This will help keep your television from being crooked once it is hung up.
- Finally, make sure to use the proper screws and anchors when fixing tv mount holes. This will ensure that your television is secure and will not fall off the wall.
Warnings:
- Do not use a power drill to make the hole bigger. This can damage the wall and create a more giant hole than necessary
- Do not mount the television too high on the wall. It should be at eye level to avoid neck strain.
- Make sure that the screws that you use to mount the television are long enough to go through the thickness of the drywall and into a stud. Otherwise, the television could come crashing down.
Can You Reuse Holes TV Mount
You can reuse your old TV mount if it is still in good condition and has the same TV model. To do this, you will need to find the VESA holes on the back of your TV. The VESA holes are the four screws used to attach the mount to the back of the TV. Once you have found the VESA holes, you will need to remove the old mount from the wall.

You will need to unscrew the four screws holding the mount in place to do this. Once you have removed the old mount, you can place your new mount in the exact location and screw it. When you are finished, you should have a new TV mount securely attached to your Tv.
Frequently Asked Questions
Can You Repair Wall After TV Mount?
Yes, you can repair the wall after the TV mount. There are various ways to do it. One way is to remove the TV mount and use a tape measure or a laser to make a precise cut in the drywall where the TV mount was. Then, use a hammer and nails to secure the new mount in the same location.
What is the Fastest Way to Fix a Hole in the Wall?
The fastest way to fix a hole in the wall is typically to use a drywall patch. This involves removing the damaged section of the drywall, cutting out the hole, and replacing it with new drywall. Make sure that you measure your area carefully beforehand so that you get an accurate estimate of what size patch will be necessary. Once you have decided on a size, cut out the desired piece of drywall using a jigsaw or miter saw. Be careful not to tear any insulation or other material while doing this.
Next, remove all debris from around the perimeter of the opening and clean up any messes made during construction (hence the need for proper measuring!). Then, lay down the new DryWall Patching compound along the sides and top of a new piece of drywall, ensuring one coat is applied every 6-8 inches (15-20 cm). The wet sandpaper should then be used to rough up edges before applying finish once the compound has dried completely (usually takes 2 – 3 days).
Can I Remount a Tv in the Same Spot?
No, you cannot mount a TV in the same spot multiple times. The TV mounting system is specifically designed to hold your specific model of television in place and cannot be adjusted or reused.
What Household Items Can Fix a Hole in the Wall?
If you spot a hole in the wall, don’t panic! There are many household items that can help fix it. Some of the most popular include cement, plaster of Paris, and spackle.
Cement is often used to patch walls that have been damaged by water leakage or insect infestations. Plaster of Paris is an affordable and easily accessible material that is used to create realistic murals or portrait frames. It comes in rolls, so you can cut it to fit your needs, and once it’s dried, you can paint over it with any color your heart desires.
Can You Use Caulk to Fill Holes in Wall?
In this particular instance, caulking can be used to fill holes in wall. Here’s how:
- Use a level to make sure the hole is even – Once you have located the hole, use a level to make sure it is even and plumb. This will ensure that the caulking goes evenly throughout the hole.
- Choose the right type of caulk – There are a few different types of caulk that are designed for different purposes. Choose the type that is best suited for your needs – for example, if you are filling a small hole, choose a less-permanent type of caulk that will dry quickly. If you are filling a large hole, choose a more permanent type of caulk that will last longer.
- Apply the caulk – Apply the caulk by using a putty knife or an applicator gun. Make sure to apply enough caulk to cover the entire surface of the hole and seal it off completely.
- Wait for the caulking to dry – Wait until the caulking has dried completely before using any tools or finishing on top of it. If you need to touch up the caulk after it has dried, be sure to clean off any excess with a damp cloth first.
Conclusion
Now that you know how to fix your TV mount holes, it’s time to get started! The sooner you can get your TV up and mounted on the wall, the sooner you can start enjoying its many benefits. We hope you found this article on how to fix tv mount holes helpful and informative.