If you’ve ever had to deal with cheap dresser drawers that continually fall apart, you know how frustrating it can be. In this post, we’ll show you how to fix cheap dresser drawers, so they stay together longer. Follow these simple steps, and your dresser will be good as new!

Summary: With the right tools and a little bit of know-how, you can fix your dresser drawer yourself. Start by assessing the damage and gathering the materials you’ll need.
Remove the damaged drawer and prepare the new one for installation. Install it and finish up with any additional repair work that may be necessary.
What Is a Cheap Dresser Drawer?
A cheap dresser drawer is a type of furniture that is designed to provide storage space for clothing and other items. Dressers typically have several large drawers that can be used to store folded clothes, shoes, linens, and other items. Some dressers also have smaller drawers or shelves that can store socks, underwear, belts, ties, and other small items. While dressers are typically made from wood, many different types of materials can be used to construct them.
As a result, dressers can vary widely in terms of price. However, there are a few things that all dressers have in common. First, they all provide a way to store clothes and other items. Second, they all have drawers or shelves that can be used to organize items. Third, most dressers are made from wood or other sturdy material. As a result, cheap dressers tend to be made from less sturdy materials or have fewer features.
Why Should You Fix Cheap Dresser Drawers?
Fixing dresser drawers may seem daunting, but it’s quite simple – and well worth the effort. Drawers that are poorly fitting or have damaged hardware can be frustrating to use and can even damage your dresser over time. By taking the time to fix cheap dresser drawers, you can ensure that your dresser will last for years to come.
One of the most common problems with dresser drawers is that they become difficult to open and close over time. This is often due to the hardware becoming worn or damaged. Replacing the hardware is a relatively easy fix that anyone can do, and it can make a world of difference in the function of your dresser. If the drawer itself is damaged, you may need to replace it entirely. This is usually a more complex repair, but it’s still within the realm of possibility for most people.
No matter what type of repair you need to make, fixing cheap dresser drawers is definitely worth the effort. Not only will you extend the life of your dresser, but you’ll also make it much more enjoyable to use daily. So don’t put it off any longer – get started on those repairs today!

6 Steps to Follow on How to Fix Cheap Dresser Drawers
Step 1: Assess the Damage to Your Dresser Drawer
The first step is to take a good look at the dresser drawer and determine what type of damage has been done. If the drawer is simply scratched, then you may be able to fix it with some sandpaper and paint. However, if the drawer is cracked or broken, then you will need to replace it.
Step 2: Gather the Materials You Will Need
Once you have determined the extent of the damage, you will need to gather the materials you will need to fix the dresser drawer. If you only need to sand and paint the drawer, then you will just need some sandpaper and paint. However, if you need to replace the drawer, you will need to get a new one and some wood glue.
Step 3: Remove the Damaged Drawer
If you are just sanding and painting the drawer, you can skip this step. However, if you are replacing the drawer, you will need to remove the damaged drawer from the dresser. To do this, you will need to use a screwdriver to remove the screws holding the drawer.
Step 4: Prepare the New Drawer for Installation
If you are replacing the drawer, then you will need to prepare the new drawer for installation. To do this, you will need to sand down the edges of the new drawer so that they are smooth. You will also need to put some wood glue on the edges of the new drawer.
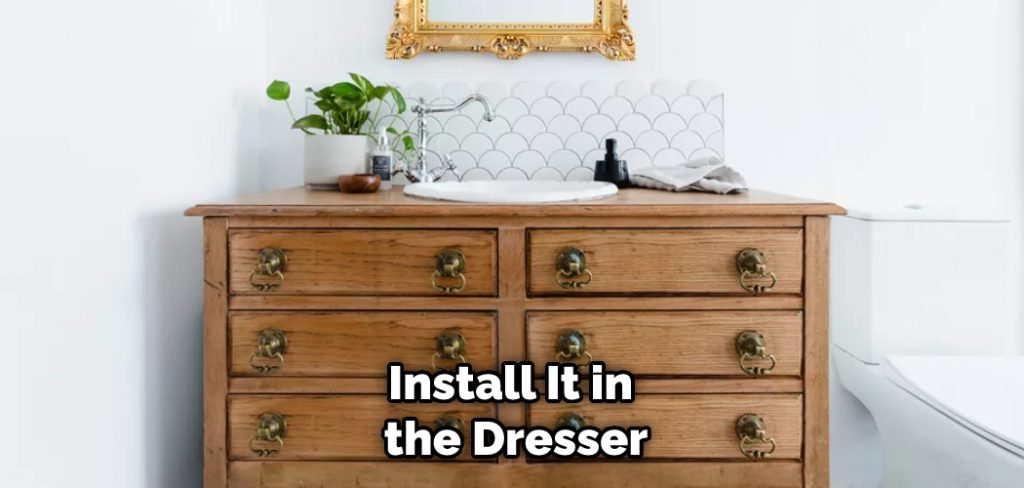
Step 5: Install the New Drawer
Once you have prepared the new drawer, you can now install it in the dresser. To do this, you will need to line up the holes on the new drawer with the holes on the dresser. Once the holes are lined up, you can screw the drawer into place.
Step 6: Finish Up
Once you have installed the new drawer, you will need to finish up the job by sanding down any rough edges and then painting the drawer. You may also want to put some handles on the drawer so that it is easier to open and close.
That’s it! You’ve now learned how to fix cheap dresser drawers. So, the next time your dresser drawer looks worn down, don’t hesitate to follow these steps and give it a new lease on life.
How to Fix a Broken Dresser Drawer
A dresser drawer that won’t open or close properly can be frustrating, but it’s a common problem that’s relatively easy to fix. The first step is to identify the cause of the problem. Is the drawer misaligned? Are the tracks damaged? Or is something else preventing the drawer from opening or closing smoothly? Once you’ve pinpointed the problem, it’s time to take action.
For example, if the tracks are damaged, you may need to replace them. If the drawer is misaligned, you may need to readjust it. And if something else is causing the problem, you’ll need to take whatever steps are necessary to address the issue. However, with a little patience and a few simple tools, you can get your dresser drawer working like new again.
How to Fix a Stuck Dresser Drawer
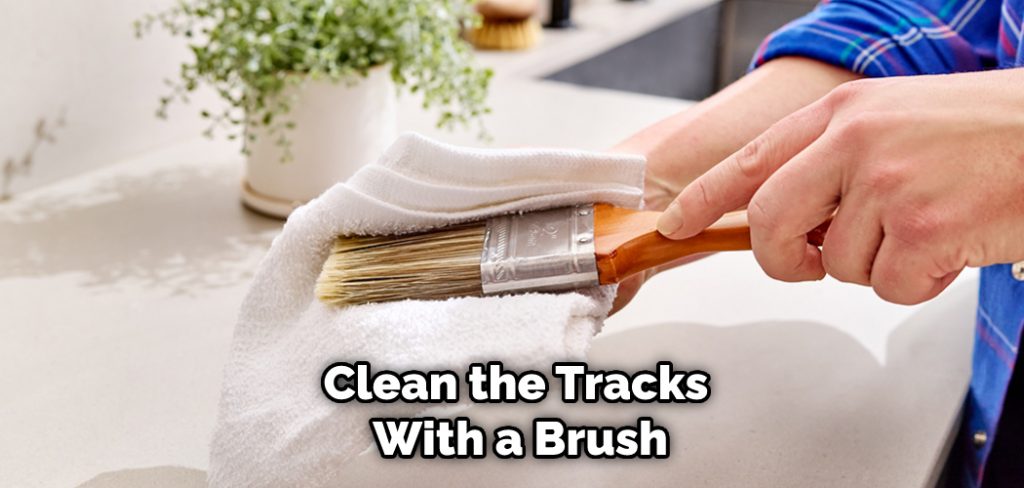
A dresser drawer that won’t open can be frustrating, but luckily there are a few easy ways to fix the problem. One common cause of a stuck drawer is dirt or debris buildup in the tracks. Simply remove the drawer and clean the tracks with a brush or vacuum to fix this. If the tracks are severely damaged, they may need to be replaced.
Another potential cause of a stuck drawer is misalignment. This can usually be fixed by loosening the screws on the side of the drawer and adjusting the position of the drawer until it slides smoothly. If these simple solutions don’t work, then the problem may be with the drawer itself. In this case, you may need to replace the drawer slides or hinges.
You can easily fix a stuck dresser drawer with a little patience and some basic DIY skills. Keep reading for more information about how to fix cheap dresser drawers.
How to Fix a Drawer that Is Difficult to Open
Any experienced handyman knows that a sticking drawer is a common problem in older homes. Drawers can become difficult to open for several reasons, including misaligned runners, warped wood, or build-up of dirt and grime. Fortunately, there are a few simple tricks that can help to fix a sticking drawer. First, check to see if misaligned runners cause the problem. If so, try loosening the screws that attach the runners to the frame of the drawer.
Next, check to see if other objects hinder the drawer in the cabinet. If not, then the most likely culprit is warped wood. To fix this problem, sand down the inside of the drawer until it is smooth. Finally, you may need to replace the drawer slides if all else fails. With a little patience and elbow grease, any sticking drawer can be fixed.
How to Fix a Drawer that Is Crooked or Uneven
A crooked or uneven drawer is a common problem that can be easily fixed with a few simple tools. The first step is to remove the drawer from the dresser or cabinet. Once the drawer is out, take a look at the tracks that the drawer slides on. If the tracks are bent or damaged, they will need to be replaced. If the tracks are in good condition, the next step is to check the alignment of the drawer itself.
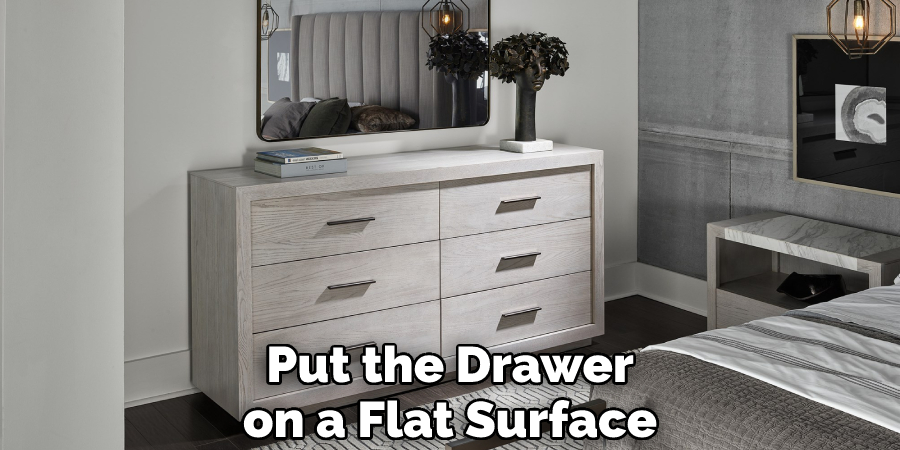
The easiest way to do this is to put the drawer on a flat surface and see if it rocks back and forth or sits evenly. If it rocks, then the sides of the drawer are not flush with the tracks. To fix this, loosen the screws that hold the drawer slides in place and adjust them until the drawer is level. Once the drawer is level, tighten the screws and replace the drawer in the dresser or cabinet. With a few simple adjustments, you can fix a crooked or uneven drawer in no time.
Frequently Asked Questions
Can Dresser Drawers Be Fixed?
the best course of action may vary depending on the damage and severity of your dresser drawer problems. However, many homeowners find fixing their dresser drawers relatively easy using a few simple tools and some DIY repairs.
When it comes to repairing drawer bottoms, most people use wood filler or epoxy sealant in order to fill any tears or gaps in the veneer. Once everything is dry, they sand down the area until it’s smooth and then apply another coat of finish. For dresser drawers with broken knobs or other hardware issues, often all you need are new screws and washers (or whoever made those original repairs)
Depending on how bad your drawer problems are, you might also be able to glue them back together if possible. In addition, some homeowners choose not to repair their dresser drawers at all instead opting for a more contemporary look by simply replacing them with new cabinets. It’s important to weigh each option carefully before making any major decisions regarding your Dresser Drawers!
Can I Fix a Drawer With Wood Glue?
Wood glue is one of the most common and versatile household repairs. It can be used to fix just about anything that needs fixing, including drawers. If your drawer doesn’t close properly or if it’s starting to come apart at the seams, you can use wood glue to secure the parts together and prevent further damage.
You will need a small amount of wood glue for each joint, so start by gluing two joints together before proceeding to additional sections. Allow the glued section to dry completely before using it again.
What is the Best Glue for Wood Furniture?
There are a variety of adhesives that can be used to securely attach wood furniture to the wall or floor. Each has its own advantages and disadvantages, so it is important to choose the right one for the job. Here are a few of the most popular types of glue for wood furniture:
- Wood glue – This is probably the most common type of glue for attaching wood furniture to the wall or floor. It is a water-based adhesive that is usually easy to apply and comes in a variety of colors and formulations.
- Urea-formaldehyde glue – This type of glue is often used for attaching wood furniture to other wood surfaces, such as cabinets or doors. It has a long-term bond and is tough enough to withstand daily use.
- Acetone-based glues – These types of glues are less common but are often preferred by DIYers because they are easier to work with and less toxic than traditional glues. However, they may not have a long-term bond and may require multiple applications in order to achieve a strong bond.
- Epoxies – Epoxies are similar to glues in that they have a long-term bond and can be used to attach wood furniture to other surfaces. However, epoxies are more difficult to apply and may require special tools in order to achieve an accurate result.
Ultimately, it is important to test out different types of glue before selecting the one that is best suited for your project. By doing so, you will be able to ensure that your wood furniture will stay attached for years to come!
What Are the Different Types of Drawer Slides?
There are many different types of drawer slides, each with its own unique benefits. Here are a few:
- Magnetic Drawer Slides – These slide easily along the rails and can be locked in place to keep your items secure. They come in both single and multiple rail options for added versatility.
- Dual-Rail Drawer Slides – This type of slider has two parallel tracks that allow it to move effortlessly between shelves and open more smoothly since there’s less resistance from friction. It also features adjustable dividers so you can customize the space within your drawer accordingly.
- Rolling Drawer Slide Kits – If you don’t need any extra storage or mobility, then this option may be ideal for you as it simply rolls out when pulled out from under the cabinet (no locks required). Simply install it according to the instructions included, plug it in, and start organizing!
Conclusion
So there you have it! Here are a few simple solutions for fixing cheap dresser drawers. If your dresser drawer is still giving you trouble, check the hardware and ensure all screws are tightened firmly. And if that doesn’t do the trick, it might be time for a new dresser drawer set! Thanks for reading our post about how to fix cheap dresser drawers.