Astro a10 is a gaming headphone used by many people around the world. Unfortunately, this headphone comes with a cord that sometimes becomes loose and needs to be fixed. This blog post will show you how to fix Astro a10 cord. We hope that this information was helpful for you!
Summary: The Astro A10 cord is a common problem for gamers. To fix it, first check to make sure the cord is plugged in correctly. If it is not, try unplugging and plugging it back in. Then, check the headset settings in your device’s audio settings to ensure that the headset is selected as the default option. Finally, test the headset to confirm whether or not it has been fixed.
Why Do You Need to Fix Astro A10 Cord?
There are several reasons why you might want to fix the cord on your Astro A10 gaming headset. The most common reason is that the cord becomes loose and needs to be fixed. However, there are other reasons you might want to fix the cord. For example, if the cord is damaged, you will need to fix it to use the headset properly. Additionally, if the cord becomes too short, you can fix it by lengthening it.
Required Materials
To fix the cord on your Astro A10 gaming headset, you will need the following materials:
- Astro A10 gaming headset
- Phillips head screwdriver
- solder iron
- solder
- wire cutter/stripper
- electrical tape
Once you have gathered all of the required materials, you can begin fixing the cord.
4 Methods to Follow on How to Fix Astro A10 Cord
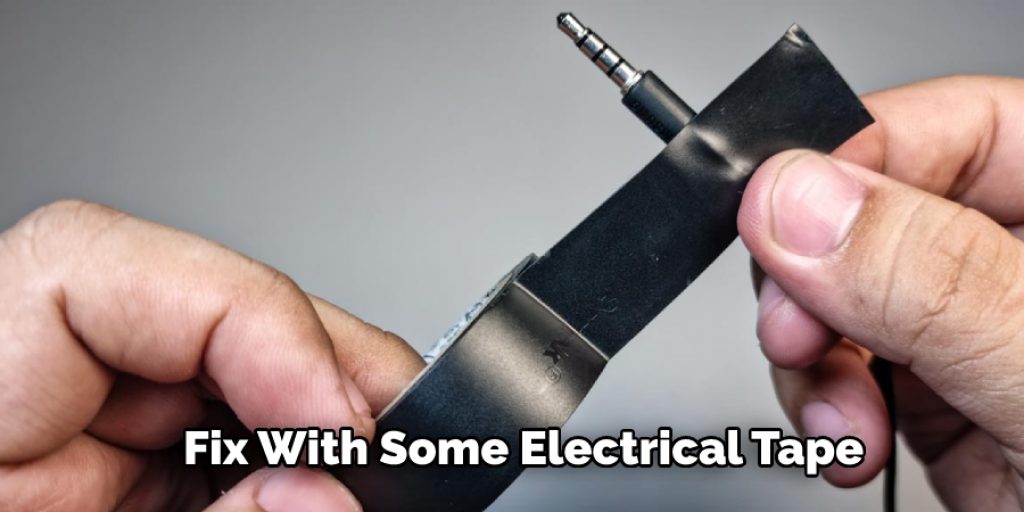
Method 1: Wrap It with Electrical Tape
If your Astro A10’s charging cord is damaged, you can easily fix it with some electrical tape. Wrap the cord in a few layers of tape, and it will be good as new.
Prep your wire:
Cut the wire to the desired length, strip the insulation off of both ends, and twist the strands together.
Connect the wires:
Twist one end of the wire around the positive connector on the Astro A10, and twist the other end of the wire around the negative connector. Make sure that they’re tightly wrapped, so there’s no risk of them coming loose.
Wrap it:
Wrap electrical tape around the entire connection to keep the wires in place and insulated.
Method 2: Use Heat-Shrink Tubing
Heat-shrink tubing is a tube that you can slide over a wire to protect it. You can use a blowtorch to heat up the tube and make it shrink around the wire.
Next, Snap off the sleeve and gently press down around the shrunken part until it has cooled enough to maintain its size. If you need more length, just cut about 3″ from your heat shrink sheet and repeat this process until done!
Check the Material:
When looking for a good heat-shrink tubing, it is important to check the material. Some materials will not hold up to the heat and can melt or become brittle. For this project, you will need a heat-shrink tubing made of Polyolefin.
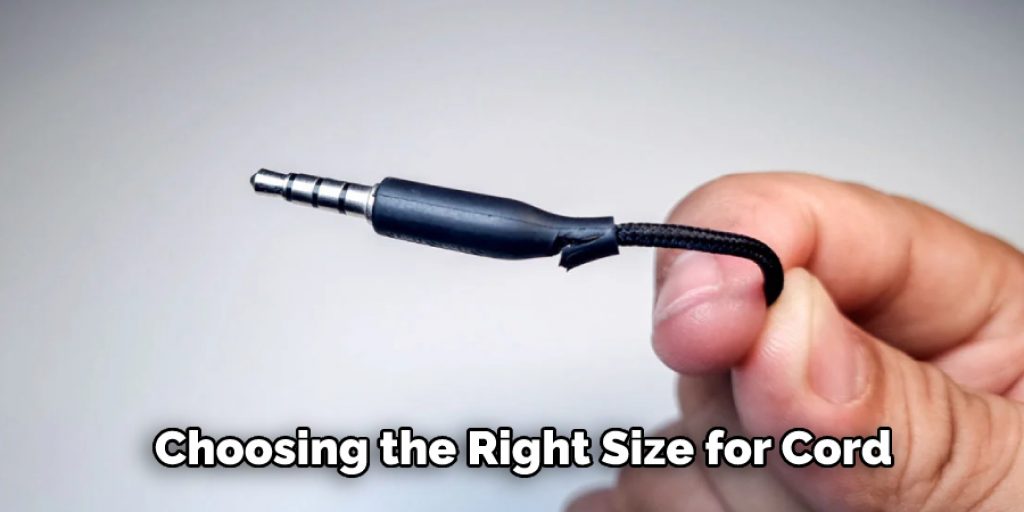
Choose the Right Size:
When choosing the right size for your cord, you want to ensure that it’s not too small or too big. A too-small cord will be difficult to use, and a too big cord will be bulky and inconvenient.
Clean the Area to Be Wrapped:
To wrap an electrical cord, first clean the cord where you will be wrapping it. This is important because any dirt or dust on the cord will make it harder for the electrical tape to stick.
Insert the Tubing Into the Headphones’ Cables:
You need to cut the tubing to the right length. Then, you need to insert it into the headphones’ cables. Make sure that the cut end of the tubing is facing the headphone end of the cable and not the connector side.
Apply Heat Around the Area:
If the power cord to your appliance is frayed, you may be able to fix it by applying heat to the area with a hairdryer. Hold the hairdryer close to the cord for about 30 seconds on the highest setting. If this does not fix the problem, you will need to replace the cord.
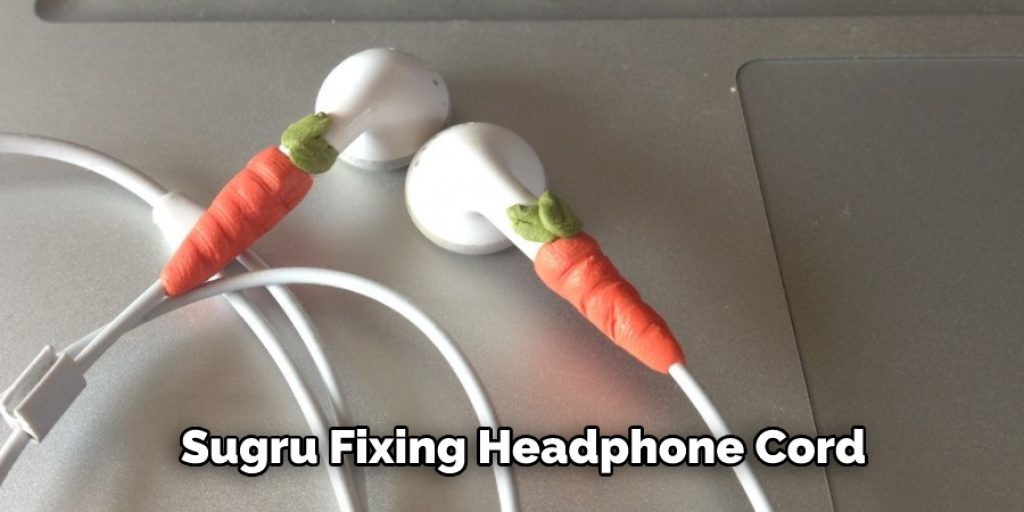
Method 3: Mould Sugru Around It
If the cord is fraying, you can use Sugru to fix it. Mold a small ball of Sugru around the fraying area and allow it to dry.
Clean the Wire:
The first step is to clean the wire. Use a cloth to clean off any dirt or dust on the wire. You can also use a wire brush to remove any rust.
Next, use a pair of pliers to twist the wire into a spiral shape. Start at the top of the wire and twist it clockwise until you reach the bottom.
Finally, use your fingers to bend the wire into a heart shape. Make sure the two ends of the wire meet in the center.
Mold It:
Mold a small ball of Sugru around the fraying area. Ensure that the Sugru is thick enough not to break off when you pull on the cord.
Let it Dry:
Let the Sugru dry for 24 hours. Once it has dried, the cord will be stronger and less likely to fray.
Test it Out:
Once the Sugru has dried, test out the cord to ensure that it is working properly. If it is not, you can re-mold the Sugru until it is fixed.
Method 4: Use Cable Savers
If your Astro A10 cord is fraying or coming apart, you can use cable savers to prevent it from happening. Cable savers are small pieces of plastic that fit over the end of a cord and protect it from being damaged. You can find them at most stores that sell electronics. Slip the cable saver over the end of the cord, and it will keep it from fraying or coming apart.
Choose the Right Cable Saver Size:
There are different sizes of cable savers, so you need to choose the right one for your cord. The size of the cable saver should be just a little bit bigger than the cord itself. If it’s too big, it will slide off; if it’s too small, it won’t protect the cord from being damaged.
Cut Off the Excess Plastic:
Once you have chosen the right size cable saver, you need to cut off the excess plastic. This will leave just enough to fit over the end of the cord.
Wrap:
Wrap the cable saver around the cord a few times. This will help keep it in place.
Adjust:
If the cable saver is too big or too small, you can adjust it by cutting off more or less plastic. Just be sure to leave enough to fit over the cord. If you want to know more about how to fix astro a10 cord, keep reading.
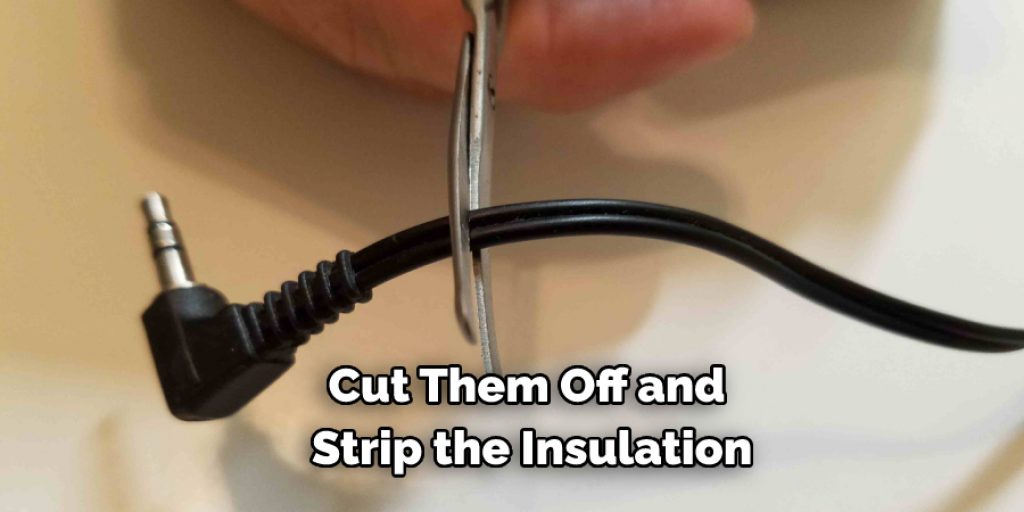
What to Do With More Severely Damaged Headphone Wires
If the wires are severely damaged, you will need to cut them off and strip the insulation off the ends. Then, twist the exposed wire strands together and solder them. Finally, you will need to cover the soldered connection with heat-shrink tubing.
Be Sure to Follow These Process Carefully
Process 1: Repair with Soldering
If the cord is frayed near the micro-USB plug, you may be able to fix it by soldering. First, cut off the frayed part of the cord and strip about ½” of insulation from each wire. Next, twist the wires together and tin them with solder. Then, reattach the connector and solder it in place.
Start stripping the wire:
Cut off about 2 inches of the end of the headphone wire and strip away the outer insulation. You should be left with about four exposed wire strands.
Cut the Wire:
If the wires are severely damaged, you will need to cut them off and strip the insulation off the ends. Then, twist the exposed wire strands together and solder them. Finally, you will need to cover the soldered connection with heat-shrink tubing.
Sand the Wires to Expose the Copper:
Use fine-grit sandpaper for sanding the exposed wire strands until they are shiny. This will help the solder stick better.
Twist Together and Solder:
Once you have stripped the wire, cut it to the appropriate length, and sanded it, you can twist the exposed wire strands together and solder them. Again, ensure that the solder connection is covered with heat-shrink tubing to protect it from the elements.
Wrap Each Wire Carefully with Electrical Tape:
Wrap each wire carefully with electrical tape to protect the solder connection and keep it from coming undone.
Process 2: Repair without Soldering
If you are not comfortable with or unable to solder, you can also use electrical tape to fix the wires. Start by cutting off about 2 inches of the end of the headphone wire and strip away the outer insulation. You should be left with about four exposed wire strands.
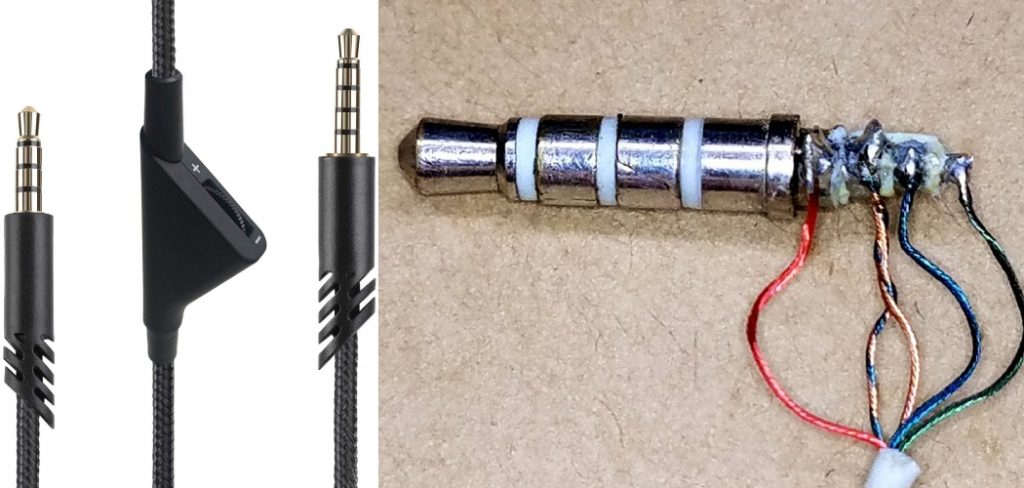
Remove the Rubber Covering or Sheath:
The Astro a10 cord has a rubber covering that needs to be removed before you can fix it. This can be done using a knife or scissors to cut it off. Be careful not to damage the cord while you’re doing this.
Separate the Wires by Color:
After the covering has been removed, you need to separate the wires by color. There should be four different colors: white, red, green, and black. Again, be careful not to mix up the wires while you’re doing this.
Melt Off the Thin Enamel Coating:
After the wires have been separated, you need to melt off the thin enamel coating. This can be done by using a lighter or matches. Be careful not to damage the cord while you’re doing this.

Isolate the Wirings:
After the enamel coating has been melted off, you need to isolate the wirings. This can be done by using a pair of pliers. Be careful not to damage the cord while you’re doing this.
Wrap It Up:
Now that the wirings have been isolated, you need to wrap them up. This can be done by using electrical tape. Make sure to wrap it up tightly so that the wires don’t touch each other. Keep reading for more information about how to fix Astro a10 cord.
Frequently Asked Question
Can You Use a Regular Aux Cord for Astro A10?
Yes, you can use a regular aux cord for Astro A10.
Will Any Aux Cord Work with Astros?
No, not all aux cords will work with Astro A10 headsets. Instead, you will need to use an aux cord specifically designed for audio devices, such as the ones included in the Astro A10 headset package.
Conclusion
So, if you are an Astro A10 user and your headphone cable is giving you trouble, don’t despair. There are a few ways to fix the issue and get back to listening to your favorite tunes.
We hope this article has helped provide some useful information on how to resolve the problem. Have you tried any of these methods? Let us know in the comments below. Thanks for reading our post about how to fix Astro a10 cord.
You Can Check It Out To Fix 3ds Charger Port