The Nintendo 3DS is a handheld gaming system that gamers have enjoyed for years. Unfortunately, one of the most common issues with the 3DS is a charging port that does not work correctly. If your 3DS charger port is not working, don’t worry! You can fix it using a few simple tools.
In this guide, we will show you how to fix 3ds charger port. We will also provide some tips on preventing the charger port from malfunctioning in the future. Whether your 3ds is not charging at all, or it’s taking longer than usual to charge, hopefully, these tips can help! Let’s get started!
Summary: This short guide explains how to fix a 3DS charger port if it’s not working properly. The steps involve disconnecting the 3DS from the charger, removing the Phillips screws from the bottom of the console, gently pulling the bottom of the console, locating and disconnecting the cable from the charger port, cleaning any dirt or debris out of the port, applying a little pressure to the charging port and reconnecting. Following these steps should help resolve any issues you may be having with your 3DS charger.
10 Common Nintendo 3ds Problems
1. 3ds Charger Port Not Working
If your 3DS charger isn’t working, there are a few things you can try. First, if your 3DS is still under warranty, you can take it to the store, and they will most likely fix it for free. If your 3DS is not under warranty, you can try the following:
- Clean the charger port using a toothpick or a q-tip.
- Make sure that the charger is plugged in all the way.
- Try using a different charger.
- If none of these solutions work, you can purchase a new charger port from Nintendo.
2. 3ds Screen is Blank
If you can’t see anything on your 3DS screen, it might be because the battery is low on power. Plug the AC adapter in and let it charge for a while. If the problem keeps happening, there might be something wrong with the console itself, and you might need to send it in for repair.
3. 3ds Turns off Automatically
If your 3DS turns off automatically, the battery is likely low on power. Plugin the AC adapter and let it charge for a while. If the problem persists, you might need to send your console in for repair.
4. Buttons Aren’t Working
If your 3DS buttons aren’t working, something is probably stuck inside the console. You’ll need to take it apart and clean out all the dirt and dust to fix it. Be very careful when doing this, as you could damage the console if you’re not careful.
5. Low Battery Life
If your 3DS is losing battery life quickly, it might be because the console is overheating. To fix this, you need to clean the fan inside the console and make sure there’s enough airflow. You can also try putting the console in a cooler place.
6. 3ds Freezes
If your 3DS is freezing, there is likely something wrong with the software. You can try restarting the console or updating the software to fix this. However, if the problem persists, you might need to send your console in for repair.
7. Game Save Corrupt or Erased
If your game saves are suddenly corrupted or erased, it might be because of a faulty 3DS charger port. In this case, you’ll need to fix the port to continue saving your progress. There are a few ways to do this. You can try using a toothpick or a paper clip to clean the port, or you can try using a conductive adhesive to fix any broken connections. If none of these methods work, you might need to replace the entire charging port.
8. Cannot Connect to the internet
If you cannot connect to the internet, there is likely a problem with your wireless router or modem. Try resetting your router and modem by unplugging them from the wall for 30 seconds and then plugging them back in. If you are still having trouble connecting to the internet, contact your internet service provider for assistance.
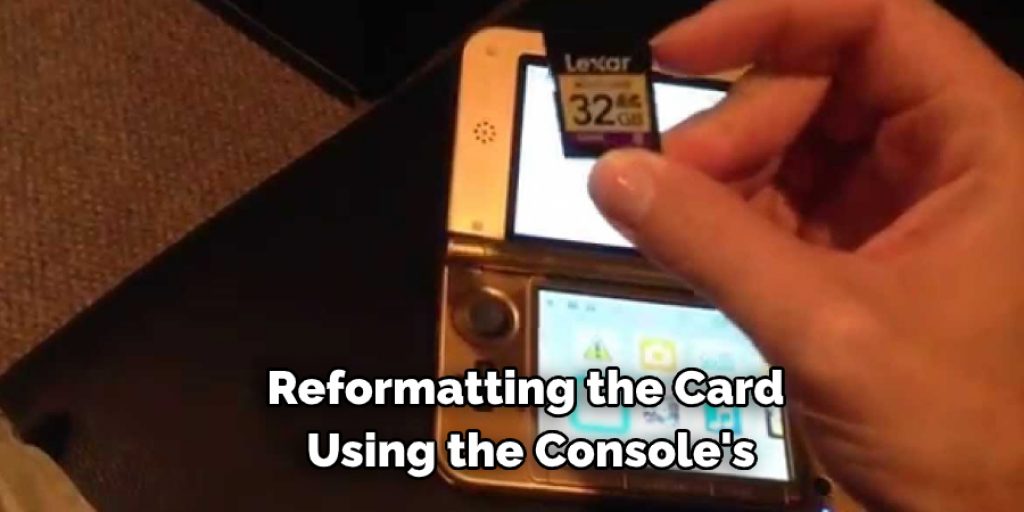
9. Memory Card Not Recognized
If your 3DS are not recognizing your memory card, there might be a problem with the card itself. First, try reformatting the card using the console’s settings. If the problem persists, you might need to purchase a new memory card.
10. 3ds Overheating
If your 3DS is overheating, you will need to clean the fan inside the console and ensure enough airflow. If the console is still overheating, you can purchase a cooling fan to attach to the console.
Step by Step Procedure: How to Fix 3ds Charger Port
Step 1: Disconnect the 3DS from the charger
In order to begin, you must unplug the 3DS from the charger. It is safer to work on the inside of the console when it is not turned on.
Step 2: Remove the Phillips Screws from the Bottom of the Console
Four screws in total will need to be removed. Two are located on either side of the 3DS, and the other two are just below the charging port. Set them aside once they have been removed as they will not be needed again.
Step 3: Gently Pull the Bottom of the Console
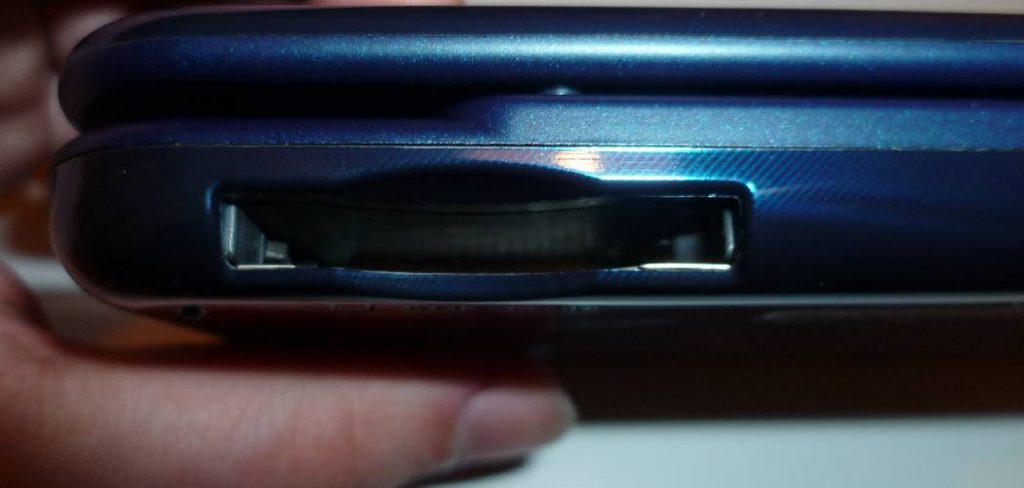
Now that the screws are removed, gently pull the bottom of the console away from the top. This will separate the two halves and give you access to the inside of the device. You should now see the charging port, which is located on the upper-left side of the motherboard. If it appears that something is lodged in the port, use a small, thin object like a paper clip to try and remove it.
If the obstruction cannot be removed using a paper clip, you may need to take the console in for repair. If this is the case, be sure to backup all of your data before sending it in, as it will likely be erased during the repair process.
Step 4: Locate the Charger Port and Disconnect the Cable
The charger port is located just to the left of the battery. It is a small, circular port that is encased in metal. You will need to use a small Phillips head screwdriver to disconnect the cable. There is a small notch in the metal casing that you will need to align with the screwdriver to release the cable. Set the cable aside once it is disconnected as it will not be needed again.
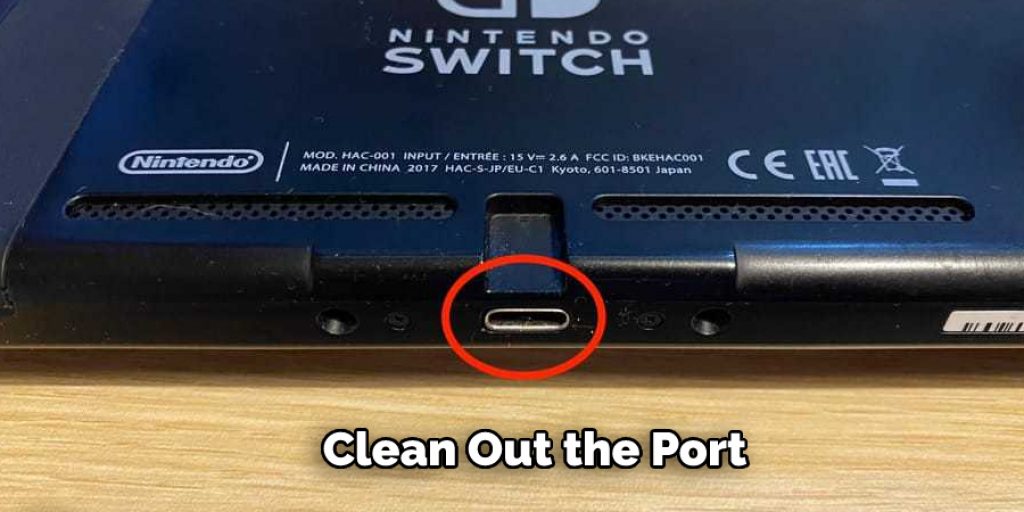
Step 5: Clean Any Dirt or Debris Out of the Port
Now that the cable is disconnected, it is time to clean out the port. Use a cotton swab or a toothpick to remove any dirt or debris blocking the connection. Be cautious and avoid using too much force, as you could damage the port.
Step 6: Apply a Little Pressure to the Charging Port
Now that the obstruction has been removed apply a little pressure to the charging port to ensure that it is properly connected. If everything looks good, reattach the bottom half of the console and replace the screws. Be sure to tighten them securely to not come loose over time.
Step 7: Reconnect the Cable to the Charger Port
Once the console is reassembled, reconnect the cable to the charging port and reattach the charger. Plug it into an outlet and wait until the 3DS indicates that it is fully charged. Once it is done, unplug the charger and put it away.
If you follow these steps, you should be able to fix your 3DS charger port without sending it in for repair. However, if you are still experiencing problems with the port after attempting these steps, be sure to consult with Nintendo support or a qualified technician.
You Can Check It Out To Fix Payroll Mistakes in Quickbooks
Some Helpful Tips and Suggestions
Here we have given some tips on how to fix 3ds charger port.
1. If you can, try and clean the charging port using a cotton bud dipped in alcohol.
2. If that doesn’t work, use a toothpick to gently poke any debris or dirt out of the charging port.
3. If it’s still not working, you might need to get a new charging port. You can find them online or at your local electronics store.
4. Make sure you always use the correct charger and cable for your 3DS. Using the wrong charger can damage your console.
5. If your 3DS is constantly turning off while you’re trying to charge it, there might be a problem with the battery. You can find replacement batteries online or at your local electronics store.
6. If you’re having problems charging your 3DS, and none of these solutions seem to work, please contact Nintendo Customer Support for more help.
Frequently Asked Questions
Is There A Way To Charge 3ds Without A Charger?
While it’s not possible to charge 3ds without a charger, there are ways to power them indirectly. For example, you can use an external battery or solar panel to recharge the device. Additionally, many people also use third-party charging cables that attach directly to the console.
What Else Can Charge A Nintendo 3ds?
There are a variety of things that can charge a Nintendo 3ds, including the popular Anker PowerCore 10000. This portable charger is small enough to take with you on the go and has enough juice to fully recharge your 3ds multiple times. It also includes an AC power cord for easy use at home or in the office. Other options include charging stands and cases, which provide convenient locations for recharging your device while it’s plugged into an outlet.
Is There Any Other Way To Charge A 3ds?
the best way to charge a 3DS may vary depending on the specific model and condition of your device. However, some general tips that may help include using an AC adapter or USB cable to connect your 3DS to a power source, or using the Hands-Free mode in the Nintendo 3DS system software to charge your device while you are playing games.
Can You Wirelessly Charge A 3ds?
While it is possible to wirelessly charge a 3ds, there may be better options available. For example, you can use a battery pack or charging stand that plugs into an outlet. Furthermore, many wireless chargers are designed specifically for smartphones and tablets, so if your device is compatible with one of those categories, it might be a better option.
Conclusion
The 3DS Charger Port is one of the most important ports on the device. It is used to charge the device and to connect it to a computer so that data can be transferred. If this port becomes damaged, it will need to be repaired for the 3DS to function properly again. However, there are a few ways to fix a 3ds charger port yourself if it becomes damaged.
The first way is by using a toothpick or paper clip. This method involves straightening out the toothpick or paper clip and then inserting it into the charging port until you feel resistance. Once you have felt resistance, pull out the toothpick or paper clip and see if your 3DS works now. We hope this blog post on how to fix 3ds charger port has been helpful. If you have any questions or want to know more, then feel free to comment below!
You Can Check It Out To Fix Ps3 USB Port