What do you do when your children play on their plastic slide, and it cracks? Depending on the severity of the crack, there are a few ways that you can fix it. However, a broken slide can be dangerous, so it’s best to take care of the issue as soon as possible.

Summary: Swimmer’s hair can be tricky to manage, but there are a few tips to help. First and foremost, it’s important to avoid chlorine and other harsh chemicals found in pool water. To do this, wear a swimming cap when swimming and rinse your hair with fresh water after each swim. Conditioning your hair regularly will also help keep it hydrated and prevent damage caused by chlorine.
Five Common Reasons That Causes a Broken Plastic Slide
1. Lack of Maintenance
A broken slide can often be the result of a lack of maintenance. You should keep the slide surface clean and clear of any debris or trash that could cause someone to slip. In addition, if the slide is used often, you will need to wax it regularly to keep it safe and slippery.
2. Heavy Use
A slide that is used a lot can get damaged. The friction from people’s feet can make it wear down and crack. If you have a heavily used slide, check it often for damage. A small crack can be fixed with superglue, but a bigger crack might need a new slide.
3. Weather Damage
Another common cause of slide damage is weathering. Extreme temperature changes can cause the plastic to crack and break. If you live in an area that experiences extreme weather conditions, it is important to take steps to protect your slide from the elements. You can do this by covering it with a tarp or a slide cover when it is not in use.
4. Heat Damage
Direct sunlight or exposure to heat can cause the plastic to warp, crack, or even melt. Therefore, if your slide is in a sunny spot, it is important to ensure that it is shaded by the sun. You can do this by planting trees or shrubs around the slide or installing a shade cloth.

5. Poor Maintenance
If you don’t clean your slide regularly, it can get damaged. Clean it with a damp cloth to keep it in good condition.
14 Easy Steps on How to Fix a Cracked Plastic Slide
Step 1: Assess the Damage
Begin by inspecting the cracked plastic slide to determine the extent of the damage. Check for any sharp edges or jagged pieces that may pose a safety hazard. Note the location and size of the crack, as this will help you determine the best repair method.
Step 2: Gather the Necessary Materials
Gather the materials you’ll need for the repair process. These may include:
- Plastic adhesive or epoxy specifically designed for plastic repair
- Sandpaper (ranging from 80- to 220-grit)
- A clean cloth or rag
- Rubbing alcohol or acetone
- Paintbrush or applicator for the adhesive
- Clamps or heavy objects to apply pressure during the curing process
Step 3: Clean the Area
Before starting the repair, clean the cracked area thoroughly. Use a clean cloth or rag dampened with rubbing alcohol or acetone to remove any dirt, grease, or debris from the surface. Allow the area to air dry before moving on to the next step.
Step 4: Sand the Area
Sand the area around the crack with 80-grit sandpaper to create a rough surface for the adhesive to bond to. Be sure to sand at least one inch around the entire crack. After sanding, use a clean cloth or rag to remove dust or debris.
Step 5: Apply the Adhesive
Read the instructions on the plastic adhesive or epoxy packaging carefully to ensure proper application. Use a paintbrush or applicator to apply the adhesive to both sides of the crack, covering the entire sanded area. Make sure the adhesive is applied evenly and extends slightly beyond the edges of the crack. For larger cracks, you may need to apply multiple layers of adhesive, allowing each layer to dry according to the manufacturer’s recommendations before applying the next one.
Step 6: Align the Crack
Carefully align the two sides of the crack, pressing them together firmly. Ensure that the edges are properly aligned and that there are no gaps or misalignments. This is crucial for a strong and effective repair.
Step 7: Apply Pressure
Once the adhesive has been applied and the crack is properly aligned, use clamps or heavy objects to apply pressure to the repaired area. This will help the adhesive bond the two sides of the crack together and create a strong repair. Follow the adhesive manufacturer’s recommendations for the amount of pressure and duration of the curing process.
Step 8: Allow to Cure
Allow the adhesive to cure for the recommended amount of time, which can vary depending on the type of adhesive used. Curing times can range from a few hours to several days. Do not use the slide or subject it to any stress during this time, as this could weaken the repair.
Step 9: Sand the Repaired Area
Once the adhesive has fully cured, remove the clamps or heavy objects. Use 220-grit sandpaper to smooth the repaired area and remove any excess adhesive or rough edges. Be careful not to sand too aggressively, as this could weaken the repair or damage the surrounding plastic. Sand in a circular motion, blending the repaired area into the surrounding plastic to create a seamless appearance.
Step 10: Clean the Area Again
After sanding, use a clean cloth or rag dampened with rubbing alcohol or acetone to remove any dust or debris from the repaired area. Allow the area to air dry completely before moving on to the next step.
Step 11: Apply a Sealant (Optional)
If you want to add an extra layer of protection to the repaired area, you can apply a clear plastic sealant. This step is optional but can help protect the repair from UV damage and further wear and tear. Read the instructions on the sealant packaging for proper application and drying times.
Step 12: Paint the Repaired Area (Optional)
If the repaired area is visible and you want to restore the slide’s appearance, you can paint the area to match the rest of the slide. Choose a paint specifically designed for use on plastic and follow the manufacturer’s instructions for application and drying times. Ensure that the paint is safe for use on children’s play equipment and non-toxic.
Step 13: Inspect the Repair
Once the paint and sealant (if applied) are completely dry, inspect the repaired area to ensure that the crack is no longer visible and the surface is smooth to the touch. Check for any sharp edges, uneven surfaces, or areas where the adhesive may not have bonded properly. If you notice any issues, repeat the necessary steps to correct them before allowing the slide to be used again.
Step 14: Monitor the Repair
After completing the repair, it’s essential to monitor the area over time to ensure the repair remains strong and effective. Regularly inspect the slide for any signs of the crack reopening, new cracks forming, or the adhesive losing its bond. If you notice any issues, address them promptly to maintain the safety and integrity of the slide.
By following these steps, you can successfully repair a cracked plastic slide and restore its functionality and safety. Regular maintenance and inspections will help ensure that the slide remains in good condition for years to come.
You Can Check It Out To Fix a Cracked Fiberglass Ladder
Some Helpful Tips and Suggestions
Here we have given some tips on how to fix a cracked plastic slide.
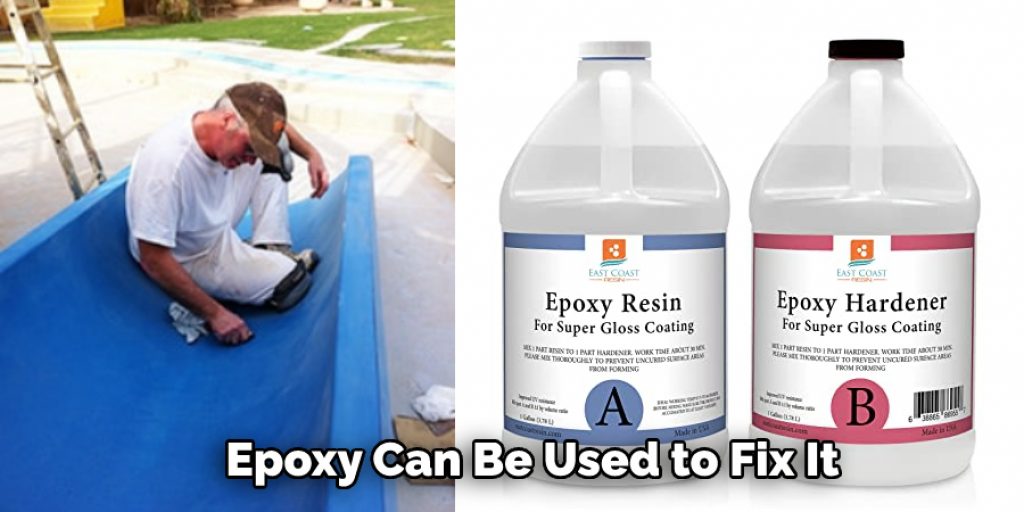
1. If the crack is small, a strong adhesive like epoxy can be used to fix it.
2. If the crack is large, the slide may need to be replaced.
3. Before fixing or replacing the slide, make sure that all of the screws are tight and in place.
4. If you are repairing a slide, make sure that the adhesive is dry before using it.
5. If you are replacing a slide, make sure that the new slide is the correct size.
6. It is also important to ensure that the slide is properly lubricated. A light film of silicone oil can be used to do this.
7. If the slide is creaking or making noise, check to see if any of the screws are loose. Tighten them if necessary.
8. If the slide is dirty, clean it with a damp cloth. Do not use any harsh chemicals or detergents.
You Can Check It Out to Fix a Cracked Plastic Flower Pot
How to Secure a Plastic Slide?
To secure a plastic slide, you will need to tighten all the screws. Make sure that the screws are tight before using the slide. If any of the screws are loose, they can cause the slide to crack or break. You should also check if the slide is creaking or making noise. If it is, tighten the screws until the noise stops.
If the screws are tight and the slide is still making noise, then there may be a problem with the slide itself. In this case, you will need to replace the slide. If you have any questions or concerns about installing or repairing a plastic slide, please contact a professional. They will be able to help you get the job done properly.
You Can Check It Out To Repair Plastic Screw Mounts
How To Prevent Plastic Slide from Cracking?
You can do a few things to help prevent your plastic slide from cracking. One of the most important is to ensure that it is installed properly and securely. You should also keep it lubricated using a light film of silicone oil. And, finally, clean it regularly with a damp cloth. Do not use any harsh chemicals or detergents. Following these tips will help keep your slide in good condition and prevent cracking.
You Can Check It Out To Fix a Pinhole Leak in Pex Pipe
Frequently Asked Questions
Can a Plastic Slide Be Repaired?
Yes, a plastic slide can be repaired. The main reason why they often break is because of the repeated bending and stretching that occurs when the slide is in use. In order to fix it, you’ll need to remove the bottom part of the slide and replace it with a new piece that has been reinforced with metal rods.
You will also need to install SportsFix’s special adhesive on both sides of the sliding surface so that it grips firmly onto any flooring surfaces while in use.
Once everything is assembled, simply apply pressure using your hands or weight against the adhesive until it becomes fixed in place.
What is the Best Glue to Bond Plastic to Plastic?
There are many types of glues that can be used to bond plastic to plastic, but some of the best include epoxy glue, cyanoacrylate (cyanogen) glue, and silicone adhesive.
Each has its own unique benefits and should be used in accordance with the manufacturer’s instructions. Epoxy is often considered the strongest type of glue and can withstand extreme temperatures and environmental conditions. It also dries quickly which makes it ideal for use on mobile devices or other delicate objects.
Cyanogen is a quick-drying cyanoacrylate that is ideal for applications where speed is important, such as manufacturing or repairs. Silicone adhesive offers multiple advantages over other adhesives including high resistance to moisture, UV radiation, acidity/alkalinity, corrosion, and wear.
Do You Fix Large Cracks in Plastic?
In general, however, if a crack is large enough to allow water or other debris to seep in, then it likely needs to be fixed. Some factors that may help determine if a crack needs to be fixed include the size, shape, and location of the crack. If you are unsure whether or not you should fix a crack, please contact us for more information. Thank you!
What Paint Can Be Used on Plastic?
Plastic is a difficult material to paint. While some paints can be used on plastics, others may not be effective and could damage the plastic. When painting plastic, it’s important to test the paint first before using it on your project. Some of the best paints for plastic include acrylics, oil painters, and watercolors.
Conclusion
Plastic slides can be a fun addition to any backyard, but they can also become cracked and dangerous. If you have a cracked plastic slide, several ways to fix it. You can use a glue gun, epoxy resin, or fiberglass repair kit.
These methods will require some preparation and work, but the result should be a functional slide that is safe for your children to play on. We hope you found this guide on how to fix a cracked plastic slide helpful and that you are now able to fix your broken slide quickly and easily. If you have any questions or want to know more, then feel free to comment below!