If your tile floor is starting to look a little worse for wear, it might be time to re-grout the lines. Uneven grout lines can be a real eyesore, but they’re also a relatively easy fix. Grouting tile floors can seem like a daunting task, but it’s a breeze with the right tools and techniques.
In this blog post, we’ll walk you through how to fix uneven grout lines. So whether your tiles are starting to crack or the grout is just looking dingy, read on for inspiration and instruction. Soon your floor will be looking brand new again! Here’s how to do it yourself the right way.
Summary: Uneven grout lines can be an eyesore, but they don’t have to ruin a project. Start by ensuring you have ready the correct mix of water and grout. Use a leveling system and the proper trowel size to ensure accuracy before applying mortar.
Next, apply even pressure with a straight edge before wiping any excess grout away. Allow the grout to dry completely, then apply caulk or sealer for added protection before admiring your even lines.
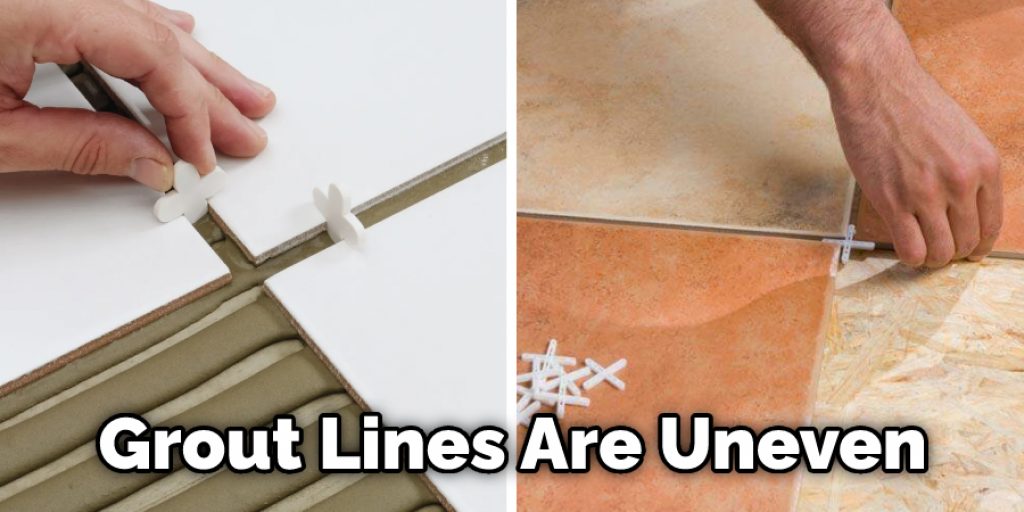
10 Common Reasons That Causes Uneven Grout Lines
1. Grout Wasn’t Mixed Properly:
The most common reason for uneven grout lines is that the grout mix wasn’t stirred properly before application. This will cause an uneven consistency in your grout and result in uneven lines.
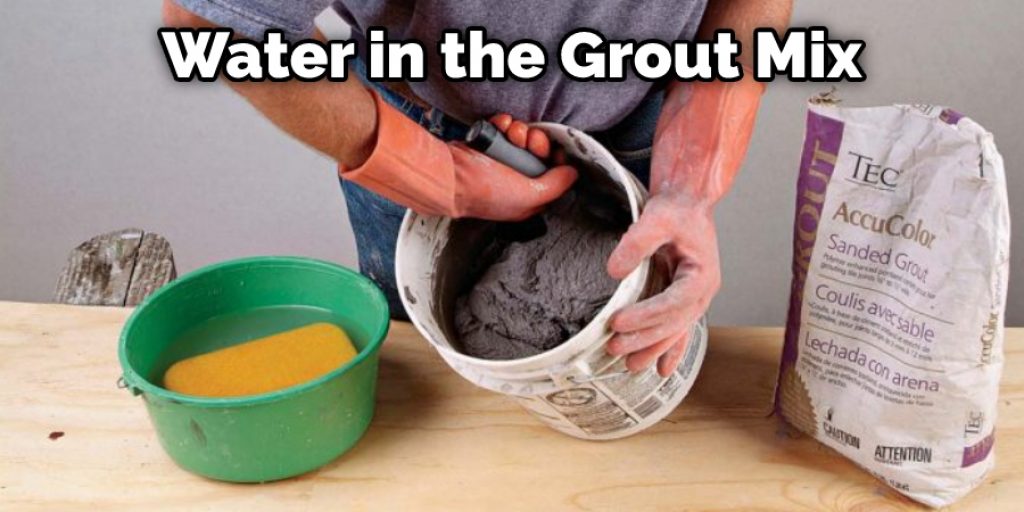
2. Incorrect Ratio of Water to Grout:
If you use too much water when you mix the grout, it will be runny and will settle into the spaces between the tiles before it can be appropriately set. This will also cause uneven lines. If you don’t use enough water, the grout will be too thick and difficult to spread evenly.
3. Grout Was Applied Too Thick or Too Thin:
If the grout is applied too thick, it will shrink as it dries and pull away from the tile edges, creating uneven lines. If it’s applied too thin, it won’t fill the spaces between the tiles properly and will result in uneven grout lines.
4. Tiles Aren’t Level:
If the tiles are not level, the grout will settle into the lower areas and create uneven lines. A tile leveling system can be used to fix this by elevating the higher tiles to the same level as the rest. Once the tiles are level, grouting can continue as normal.
5. Trowel Size Is Incorrect:
The size of the notched trowel you use to apply the grout will also affect the consistency and level of the grout lines. If the trowel is too small, the grout will be too thick. If it’s too large, the grout will be too thin. Therefore, it’s important to use a trowel that’s the correct size for your tile spacing. For a tile project, you’ll need to select a trowel size based on the tile thickness and type. I generally use a 3/16 x 5/32 inch notched trowel for floor tile and 1/4 x 3/8 for wall tile. If your tile is large or stone, use a larger notched trowel. If the tile is very small, such as mosaic, use a smaller notched trowel.
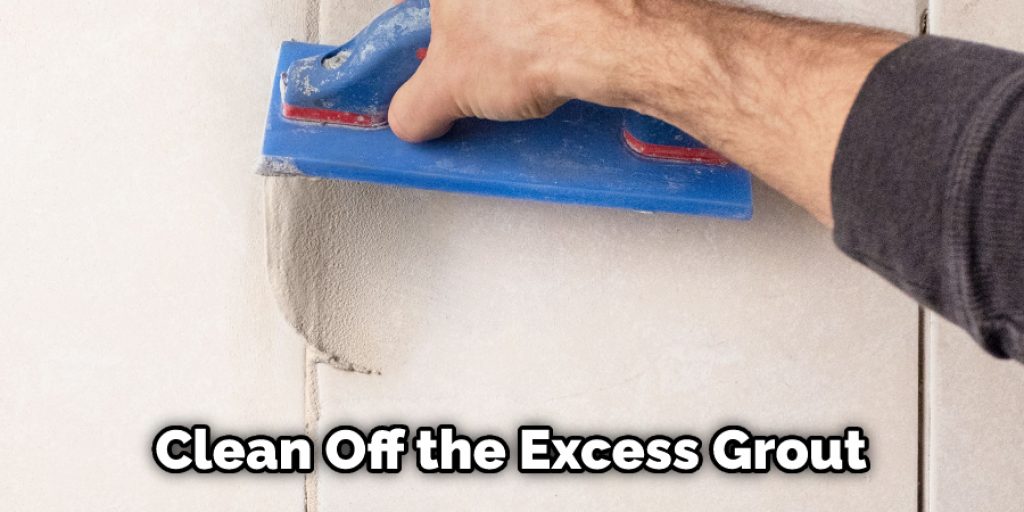
6. Grout Was Applied Too Early:
If you apply the grout too early, before the mortar has had a chance to set properly, it will be difficult to clean off the excess grout. The best way to avoid this problem is to wait 24 hours after applying the mortar before grouting the joints.
7. Not Enough Mortar Was Used:
If you don’t use enough mortar, getting a good bond between the tiles and the substrate will be very difficult. This can lead to problems, including cracked tiles and uneven grout lines. Therefore, it’s essential to use the proper amount of mortar, typically about 1/4″ thick.
8. Tile Spacing Is Inconsistent:
If the tile spacing is inconsistent, getting an even grout line won’t be easy. This problem is often caused by using spacers that are too small. Therefore, it’s important to use spacers that are the correct size for your tile spacing.
9. Excess Mortar Was Not Removed:
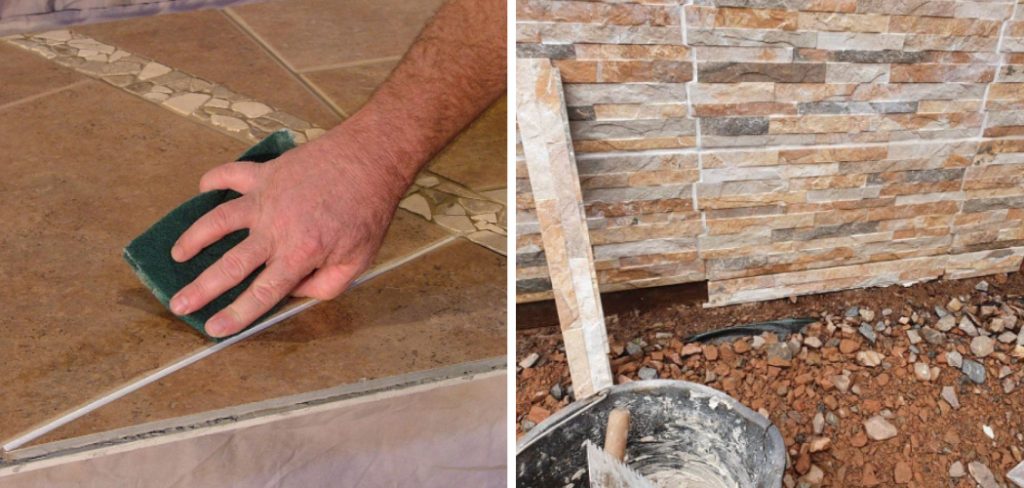
If you don’t remove the excess mortar before grouting, getting an even grout line will be very difficult. The best way to remove excess mortar is to use a damp sponge and lightly wipe the surface of the tiles.
10. Grout Was Not Packed Into The Joints Properly:
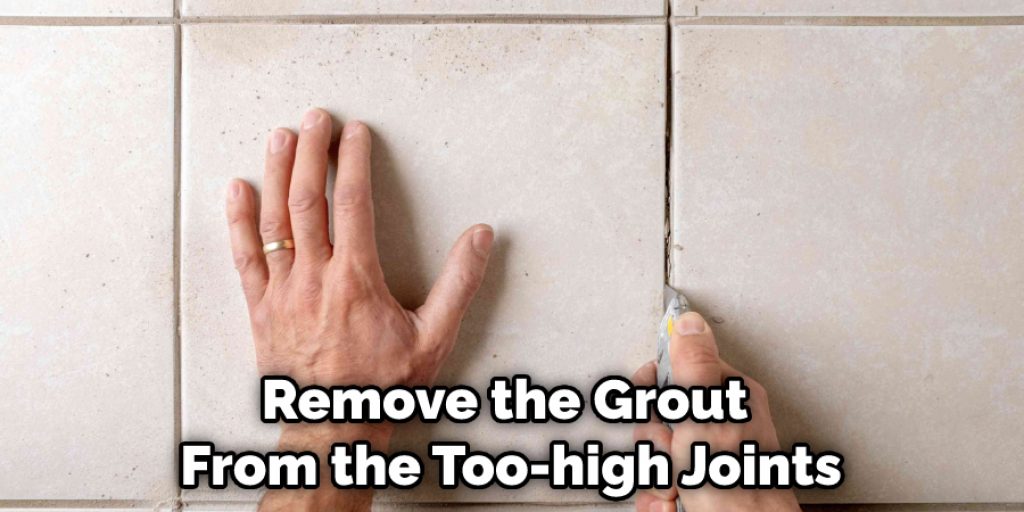
The number one issue with grout lines not being level is that the grout was not packed into the joints properly. If you notice that your grout lines are higher in some areas and lower in others, the person who installed the tile did not evenly pack the grout into the joints.
This is an easy fix; remove the grout from the too-high joints and add more grout to the too-low joints. You can use a putty knife or a small screwdriver to remove the grout and a rubber float to add more grout. Once the grout is level with the tile’s surface, use a damp sponge to remove any excess grout.
14 Effective Steps on How to Fix Uneven Grout Lines
Step 1: Gather Necessary Materials and Tools
To fix uneven grout lines, you will need the following materials and tools:
- Grout saw or utility knife
- Grout removal tool (optional)
- Vacuum or brush
- Pre-mixed grout or grout powder and water
- Grout float
- Bucket (if mixing grout)
- Sponge
- Clean water
- Rubber gloves
- Safety goggles
Step 2: Identify Uneven Grout Lines
Inspect your tiled surface to identify any uneven grout lines or areas where the grout has not been applied consistently. Pay attention to the width and depth of the grout lines, as well as any areas where the grout has cracked, crumbled, or is missing.
Step 3: Remove Old Grout
Put on your rubber gloves and safety goggles to protect your hands and eyes during the grout removal process. Using a grout saw or utility knife, carefully remove the old grout from the uneven grout lines. Be cautious not to damage the tiles or surrounding grout during this process. If you have access to a grout removal tool, it can make this process easier and more precise.
Step 4: Clean the Grout Lines
After removing the old grout, use a vacuum or brush to clean the grout lines, ensuring that all debris, dust, and residue are removed. This will provide a clean, even surface for the new grout to adhere to.
Step 5: Mix Grout (If Necessary)
If you are using pre-mixed grout, you can skip this step. If you are using grout powder, follow the manufacturer’s instructions to mix the grout with water in a bucket. Be sure to achieve a smooth, lump-free consistency.
Step 6: Apply New Grout
With your rubber gloves on, use a grout float to apply the new grout to the uneven grout lines. Hold the float at a 45-degree angle and press the grout firmly into the grout lines, ensuring that they are filled evenly and completely. Be sure to wipe away any excess grout from the surface of the tiles as you work.
Step 7: Shape the Grout Lines
As you apply the new grout, use the edge of the grout float or a shaping tool to shape the grout lines, creating a consistent width and depth. This will help to create a professional, even appearance.
Step 8: Allow Grout to Set
Allow the newly applied grout to set for the amount of time recommended by the manufacturer, typically around 15-30 minutes. Avoid walking on or disturbing the tiled surface during this time.
Step 9: Clean the Tiles
Once the grout has set, use a damp sponge and clean water to gently wipe away any remaining grout residue from the surface of the tiles. Be careful not to disturb the new grout lines during this process. Rinse the sponge frequently to ensure a clean, streak-free finish.
Step 10: Allow Grout to Dry
Allow the grout to dry completely, following the manufacturer’s recommended drying time, usually 24 hours. During this time, avoid walking on or placing items on the tiled surface.
Step 11: Seal the Grout (Optional)
If your grout is not pre-sealed, consider applying a grout sealer to protect the grout lines from staining and moisture. Follow the manufacturer’s instructions for the application and drying time of the grout sealer.
Step 12: Inspect the Grout Lines
After the grout has dried and, if applicable, the sealer has been applied, inspect the grout lines to ensure that they are even and consistent. If necessary, repeat any of the previous
Step 13: Maintain Your Grout Lines
To keep your grout lines looking their best, regularly clean them using appropriate cleaning products and techniques. Avoid using harsh chemicals or abrasive cleaning tools, as these can damage the grout and surrounding tiles. In addition, consider reapplying grout sealer periodically, as recommended by the manufacturer, to maintain the grout’s integrity and appearance
Step 14: Address Future Issues Promptly
If you notice any issues with your grout lines in the future, such as unevenness, cracking, or staining, address them promptly to prevent further damage and maintain the appearance of your tiled surface. Regular inspection and maintenance can help to extend the life of your grout and ensure that your tiled surface remains in good condition.
By following these steps, you can effectively fix uneven grout lines, creating a professional, consistent appearance for your tiled surface. Patience and attention to detail are key to achieving a successful result, as rushing through the process or using improper techniques can lead to additional issues or an unsatisfactory outcome. With proper care and maintenance, you can keep your grout lines looking their best and enjoy the beauty and functionality of your tiled surface for years to come.
You Can Check It Out To Fix Hydro Flask Dent
Some Helpful Tips and Suggestions
Here we have given some tips on how to fix uneven grout lines.
- Use a dampened cloth or sponge to clean the tile’s surface before starting.
- Remove loose grout with a putty knife or other sharp tool.
- Mix fresh grout according to the manufacturer’s directions.
- Use a rubber float or other applicator to spread the grout evenly over the surface.
- Use a dampened cloth or sponge to wipe away any excess grout.
- Allow the grout to dry completely before sealing it.
- Apply a grout sealer according to the manufacturer’s directions.
Why You Should Fix Uneven Grout Lines?
The tiles in your home are a big investment. They are expensive, but they also add value to your home. You want to make sure that they are installed correctly and that they look their best. One of the ways to ensure this is by having even grout lines.
If your grout lines are uneven, it can make your whole tile installation look sloppy and unprofessional. Fortunately, there is an easy fix for this problem. You can easily fix uneven grout lines and make your tile installation look its best with a little time and effort.
How Do You Know When You Have Uneven Grout Lines?
If you have tile floors, you’ll inevitably notice some grout lines are higher or lower than others. It’s a common problem that occurs during installation and easily fixed. The best way to determine if your grout lines are uneven is to use a level. Place the level on the floor and check if the bubble is centered. If it’s not, then you have uneven grout lines.
How Do You Make Uneven Grout Lines Straight?
There are a few ways that you can make uneven grout lines straight. Using a small amount of pressure, you can use a putty knife or your finger to push the grout into the cracks. You can also use a toothpick to help guide the grout into the cracks.
Another way is to use a caulk gun to apply pressure to the grout, which will help push it into the cracks. Finally, you can use a wet sponge to smooth out the grout lines. Whichever method you choose, make sure that you work slowly and carefully to don’t damage the tile or grout.
How Long Does an Open Bag of Grout Last?
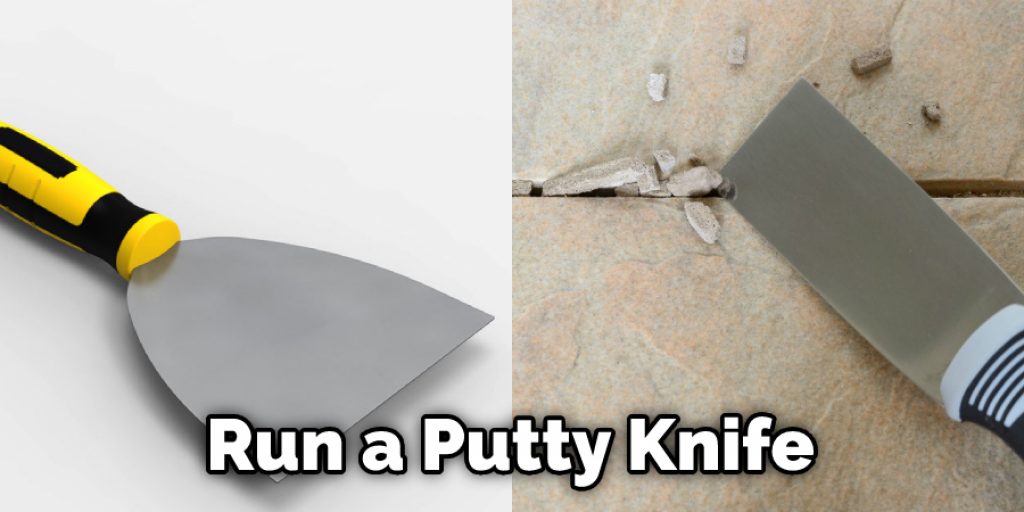
You can store an unopened grout bag in a cool, dry place for two years. However, once you’ve opened the grout bag, you must use it within 30 days, or it will start to harden. Hardened grout cannot be used. To keep your grout from drying out after opening the bag, seal the opening with plastic wrap or a resealable storage bag. If your grout lines are uneven, it’s likely because you applied too much pressure while spreading the grout.
To fix this, run a putty knife or other flat edge along the grout line to level it out. You may need to do this a few times to get the desired results. If your grout lines are still uneven after leveling them out, you can try using a grout saw or rasp to remove some of the excess grout. Be careful not to damage the surrounding tiles while doing this.
Frequently Asked Questions
Can You Fix Grout After It Dries?
Unfortunately, you cannot fix grout that has dried out. In order to restore the integrity of the tile, it will need to be replaced. This is not a DIY project and should only be undertaken by a professional who is familiar withTilefix restoration and repair procedures. The reason why repairing grout after it dries out isn’t possible is due to the high levels of moisture in this type of material.
If your tiles are showing signs of cracking or peeling, then you may also want to consider replacing them with something more durable, like porcelain tile or slate flooring.
Can You Put More Grout Over Dried Grout?
It depends on the type of grout and how long it has been dry. Generally speaking, if you have new or freshly-mixed grout that is still soft and wet, then adding more grout may be a good solution. If the grouts are older or harder and have dried out significantly, then you will likely need to replace them entirely.
Can You Apply a Second Layer of Grout?
Yes, you can apply a second layer of grout to improve the overall appearance of your tiles. By doing this, you will increase the lifespan of your tiles and reduce the need for future repairs. Here’s how to do it:
1. Empty the bucket of old grout. Use a plunger or a vacuum cleaner to suction up as much of the old grout as you can.
2. Pour a small amount of new grout into the bucket. Use a trowel or a putty knife to spread it evenly throughout the surface of the tile. Make sure to get any crevices and corners.
3. Apply pressure with your hand to smooth out the grout and ensure that it is completely dry before putting your tiles back in place.
Can Grout Be Touched Up?
While Grout may not be the most appealing option for a floor, it can usually be touched up with a little elbow grease and some white vinegar. All you need is clean water, white vinegar (5-10%), dish soap (or detergent), soft cloths or paper towels, a bucket or pan to catch the runoff, and your trusty hose.
First, make sure that all of the grime and dirt are removed from the surface that you’re going to paint. This will include anything on top of the tile as well as any stains or debris that may have been left behind by previous attempts at painting. Once everything is cleaned off, mix together enough white vinegar to cover the area being painted fairly generously (about 1 part vinegar to 3 parts water). Make sure that there are no bubbles in this solution and then start spraying it onto the areas that need help brightening up. Be very liberal with this spray; just pour it on until everything feels wetted down but it doesn’t turn into liquid mud when shaken loose. Allow this mixture to sit for about 15 minutes before rinsing it off completely with fresh, clean water using a rag soaked in plain old tap water tissue down slowly over time (). Don’t worry if there’s still some residual color left on the tiles; once they’ve dried out again, they should look almost like new!
Conclusion
Grout lines are often one of the first places that show wear in a tiled surface. It can be very noticeable and an eyesore when they’re not even. Filling is the simplest option to fix grout lines; all you need is some epoxy filler and a putty knife or spatula.
Squeeze out a small amount of epoxy onto the end of your tool, then press it into the grout line until it’s flush with the tile surface. Then, smooth it out as best you can and let it dry completely before using your shower or tub again. Recaulking is similar to a filling, but you’ll be using a silicon-based caulk instead of an epoxy.
Make sure that the caulk you use is food-safe if your kitchen counters are tiled. We hope this blog post on how to fix uneven grout lines has been helpful. If you have any questions or want to know more, then feel free to comment below!