Have you ever had an issue with your door stopper that just won’t budge no matter what you tried? If so, this blog post is here to help and provide insight on properly fixing the stubborn doorstopper.
Door stops come in many shapes, sizes, and colors and can serve both the functional purpose of holding open doors and decorative purposes used to spice up interiors. No matter why you intend on using one, knowing how to install or repair, it is necessary for hassle-free maintenance. With a few crafty steps and some elbow grease, you can repurpose any odd trinket into a practical and decorative feature of your home.
In this post, we’ll walk through exactly how to fix the door stopper! So if you’re ready to give your living space an extra touch of charm without spending big bucks on renovations – keep reading!

What Can Damage a Door Stopper?
Before jumping into fixing the door stopper, it’s important to understand what can damage them. Generally speaking, door stops have two main components: the base and the stem. Each component is prone to wear and tear over time due to its exposure to moisture, temperature changes, as well as heavy use. This can all lead to loose screws, rust, and broken pieces.
Moving or adjusting the door stop without properly tightening the screws can also lead to more serious issues, such as warped wood, cracked paint, and broken stems.
Now that you know what can damage a doorstop, let’s go over how to fix them.
What Will You Need?
Before starting, ensure you have the necessary tools and materials.
Tools:
- Hammer
- Screwdriver (Phillips’s head)
Materials:
- Wall anchors
- Nails and screws
- Doorstop (preferably one that matches your décor)
Once you have all the materials and tools, you are ready to start fixing your door stopper!
10 Easy Steps on How to Fix the Door Stopper
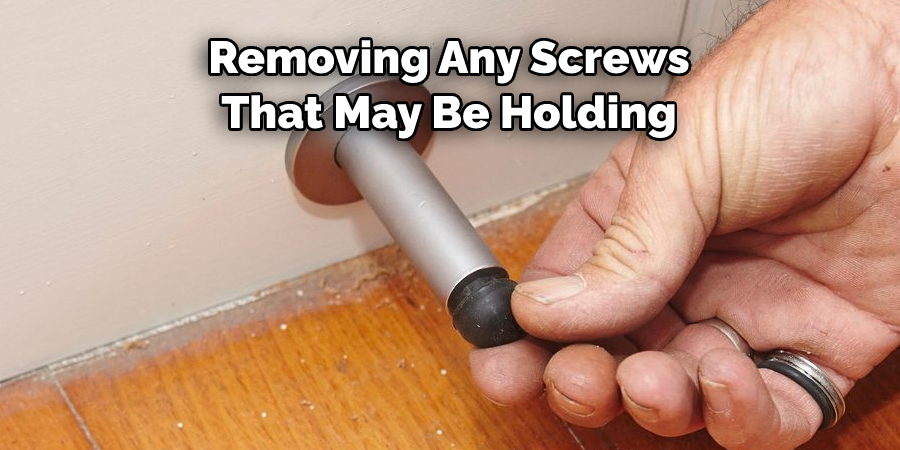
1. Remove Any Screws:
Start by removing any screws that may be holding the door stop in place. This could be as simple as loosening a few screws with a Phillips head screwdriver or more complex like driving out nails with a hammer. If you find any corroded screws, replace them with new ones.
2. Remove the Damaged Door Stop:
Now that all screws and nails have been removed, it’s time to remove the damaged door stop from the wall or flooring. Depending on how much damage has been done to the stopper, you may need to pry off any remaining pieces with a flathead screwdriver carefully. Try to remove as much of the doorstop without damaging the surrounding area.
3. Clean Up Area:
Once the old doorstop is out of the way, use a damp cloth or vacuum cleaner to clean up any debris or dust in the area where you plan on installing your new one. Doing this will help ensure a seamless installation as well as prevent further damage from occurring later down the line. It will also make the space look neat and tidy.
4. Install Wall Anchors:
If you’re installing your doorstop on a wall or other hard surface, the next step is to install wall anchors. To do this, drill two small holes in the wall and insert the appropriate size screws. This will act as a secure base for installing your doorstop later.
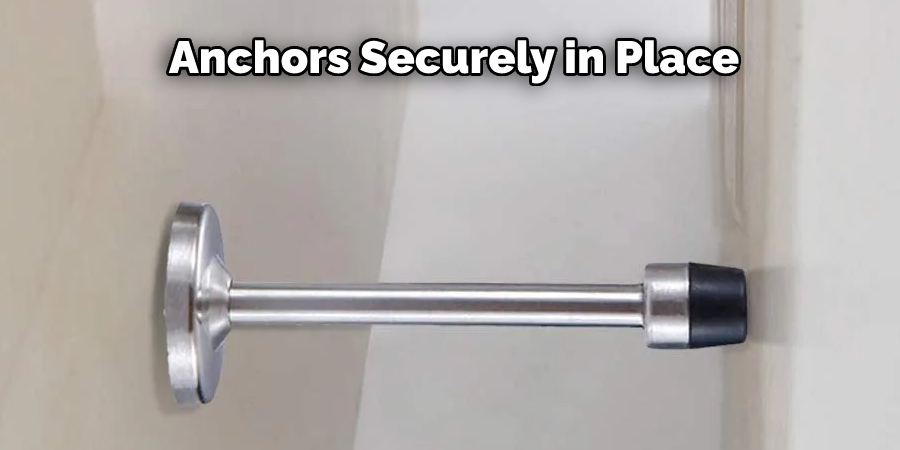
5. Secure Door Stop Base:
With the anchors securely in place, it’s time to attach the door stop base. Depending on how heavy the duty of a stopper you need, you can use either nails or screws with the appropriate size heads (look at the packaging for suggested sizes). Make sure they are firmly secured before moving on to the next step.
6. Attach the Stem:
Now that the base is in place, attach the doorstop’s stem to it. This is done by simply sliding it into its designated slot and lightly pushing it down until you feel it click into place. Additionally, you may need to use a screwdriver or hammer to secure the stem in place.
7. Secure With Screws:
The last step is to secure the stem with screws (or nails). Ensure they are tightly screwed in before moving on to testing your new stopper. Don’t forget to wipe away any excess dust from the installation with a damp cloth.
8. Test Out Your Door Stopper:
Before you consider your door stop completely installed, you’ll need to test out how well it works by slowly opening and closing a door over the top. Make sure all pieces are securely fastened and functioning properly, or you may need to go back and adjust the pieces. Be careful not to over-tighten and strip the screw heads.
9. Clean Up:
Before calling it a day, make sure to clean up any debris that may have been created during installation. This will help keep your home neat and tidy and prevent any further damage from occurring due to dust or dirt buildup. There’s nothing worse than a messy home!
10. Enjoy!
Congratulations – you’ve successfully installed a new doorstop! Now sit back, relax, and enjoy your handiwork, knowing you just saved yourself some money on renovations! Remember to check the doorstop periodically to ensure it’s in good working order.
By following these simple steps, you can easily repair or replace a door stopper in no time, saving big bucks on renovations! So remember: even if your old doorstop is damaged or worn out, don’t worry – you have the skills to fix it.
5 Additional Tips and Tricks
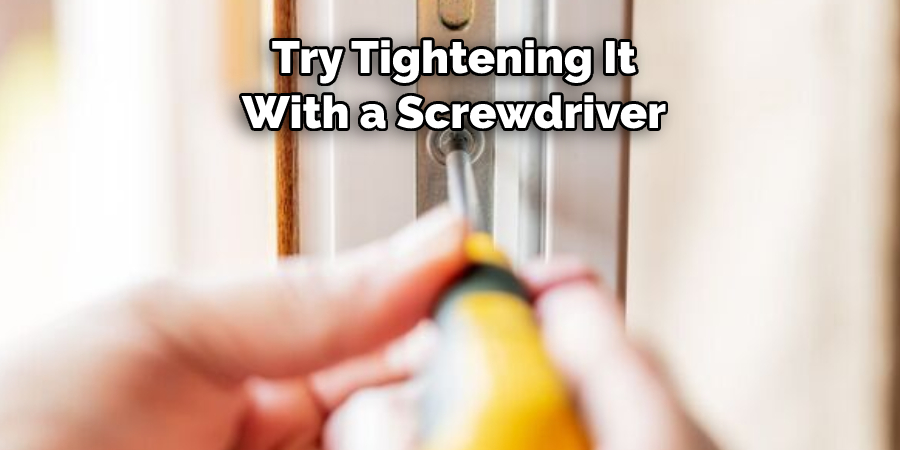
1. If the door stopper is too loose, try tightening it with a screwdriver.
2. If the door stopper has broken off, you may need to remove the base plate and replace it with a new one.
3. If your door stopper has been damaged due to wear and tear, you can purchase replacement
parts from most hardware stores.
4. Consider installing an adjustable spring-loaded door stopper for more consistent performance for doors that swing both ways.
5. Lastly, if you are dealing with stubborn stains on the door stopper, use a damp cloth or sponge and some mild detergent to clean it off thoroughly. This should help keep your door stopper looking its best for years to come!
By following these simple tips and tricks, you should be able to fix any issue with your door stopper quickly and easily – no matter what type it is. Always remember to use the right tools and parts for the job, and you’ll be able to enjoy a fully functioning door stopper in no time. So don’t delay – get your door stopper taken care of today!
5 Things You Should Avoid
1. Don’t try to fix the door stopper with a hammer if the screws won’t turn. This could damage the stopper and cause more harm than good.

2. Don’t use strong chemicals to clean the door stopper, as these may cause damage to the surface material.
3. Avoid using a drill or other power tools when attempting your door stopper, which could cause permanent damage.
4. Don’t try to force open a stubborn door with your foot or by placing objects in the way – this will only break the door stop and make it harder to fix later on.
5. Lastly, never attempt a repair if you don’t feel comfortable doing it yourself – always contact an experienced professional for help!
By following these guidelines, you can ensure that your door stopper is fixed up properly and safely. If you have any doubts or questions, don’t hesitate to contact a professional for help – it’s always better to be safe rather than sorry! Happy fixing!
How Does a Door Stopper Work?
A door stopper is a device that prevents the door from swinging open too far and potentially causing damage. The most common type of door stopper is mounted to the base of the door, typically in the form of a small metal plate with rubber or felt on one side. This allows it to grip onto the floor when pressure is placed on it, preventing the door from opening past a certain point.
Some door stoppers may also be adjustable so that you can customize them depending on your needs. In addition, there are also free-standing models available for doors that swing both ways. These function similarly to mounted types, but they don’t require any installation – just place them at the desired angle, and you’re good to go!
Conclusion
Having the tools necessary to do basic home repairs is always a good idea. Being able to fix the door stopper yourself was a great experience! You got to save money, and you learn something new, which will only help make you more equipped for future tasks. Who knew replacing the door stopper could be so easy? It’s also interesting how something so small can greatly impact your daily life when it needs repair.
With patience and a few materials, anyone can tackle projects like this one with confidence and ease. The satisfaction that comes from the successful completion of this project is just one of the many benefits of being handy around the house. And now that everything is fixed, you can rest assured that your door stopper will take care of you for years to come.
Hopefully, the article on how to fix the door stopper was helpful and informative. Good luck with any future repairs, and stay safe!