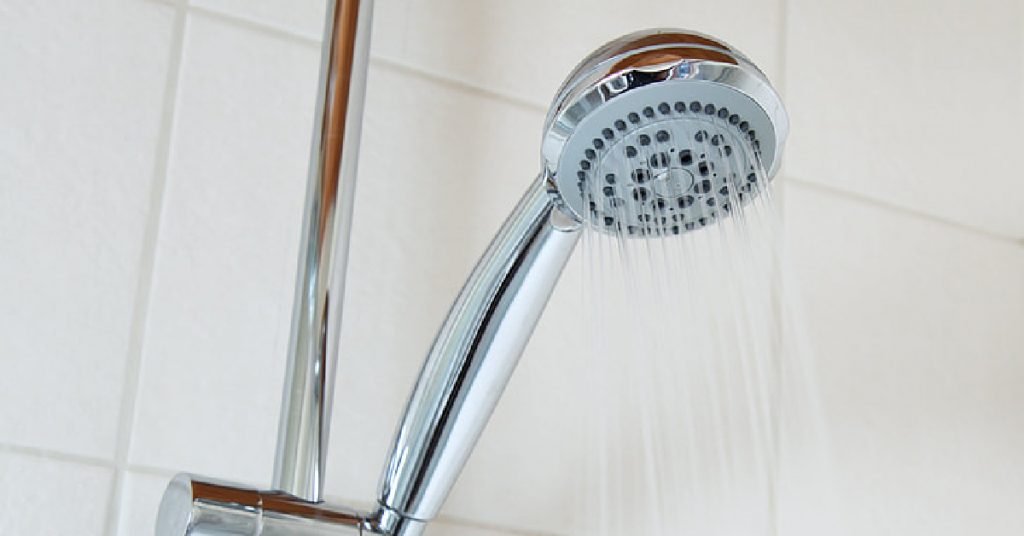
If you’ve ever had a shower that wouldn’t get hot or something else, you may have a problem with your shower pipe in the wall. This is a common issue, but it can be fixed relatively easily. In this blog post, we’ll walk you how to fix shower pipe in wall. So don’t worry – your shower is just around the corner. Keep reading to learn more.
Summary: If you have a leaking shower pipe in the wall, there are several steps you can take to fix it. You can start by adjusting the water pressure, cleaning the pipe and clearing any blockages. Next, fix any leaks and repair the valve. Additionally, clean the showerhead and adjust the temperature before replacing the entire pipe if necessary. If all else fails, hire a professional plumber for help.
What Causes a Problem with the Shower Pipe in Wall?
There are a few things that can cause your shower pipe in wall problems. One of the most common issues is that the pipe itself is old and needs to be replaced. Another possibility is that there’s a blockage in the pipe.
This can be caused by anything from soap scum to mineral deposits. The other possibility is that there’s a leak in the pipe. This is usually the most serious problem, as it can lead to water damage in your home. Finally, the problem may be with the valve that controls the water flow to your shower. This is usually a relatively easy fix.
Some Effective Ways How to Fix Shower Pipe in Wall:
1. Adjust the Water Pressure
The first thing you should do if you think you have a problem with your shower pipe in the wall is to adjust the water pressure. If the pressure is too high, it can put a strain on the pipe and cause it to leak. If the pressure is too low, the water won’t flow properly, and you’ll have a weak flow.
You can adjust the water pressure by turning the knob on your shower or faucet. First, turn it to the left. If this doesn’t help, turn it to the right until you find a comfortable setting.
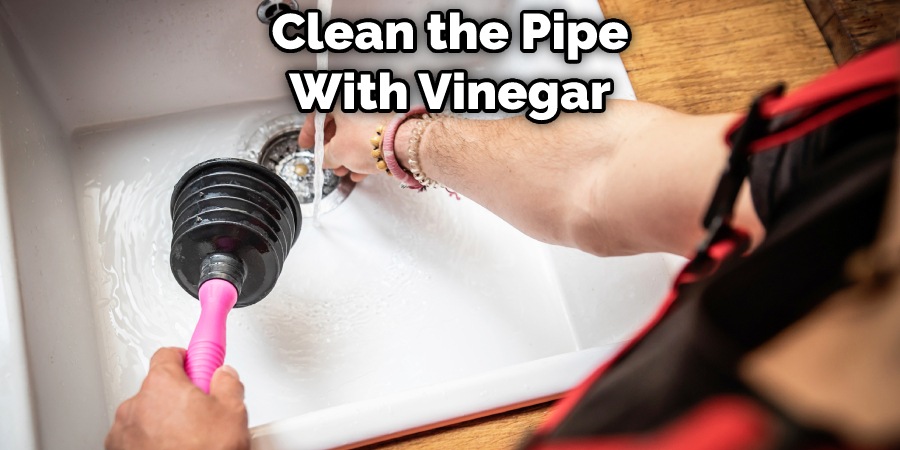
2. Clean the Pipe
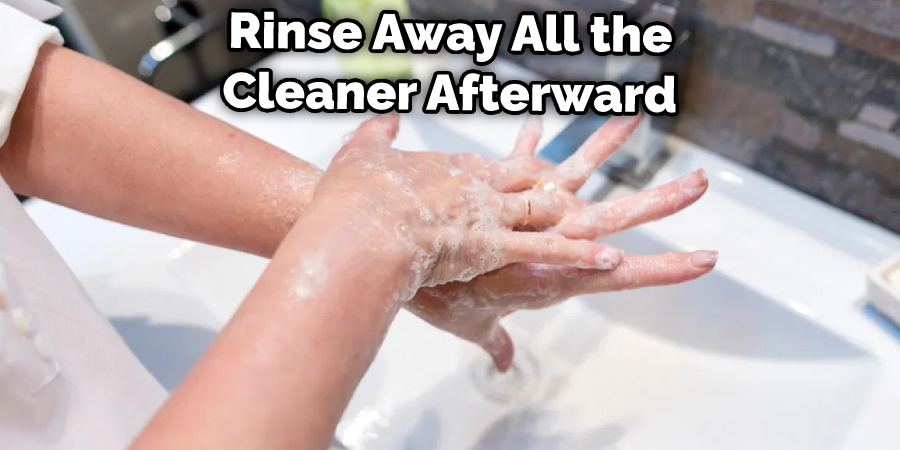
Clean the pipe with vinegar, CLR, or another chemical agent specifically to remove mineral deposits. First, remove the shower head and soak it in a vinegar solution. Then, use a brush to scrub the pipe itself. Be sure to rinse away all the cleaner afterward. Cleaning the pipe will help to remove any blockages that might be causing your water pressure issues.
3. Clear the Blockage
If you think there’s a blockage in your shower pipe, you should first try to clear it out. You can do this with a plunger or a plumber’s snake. If you have a dishwasher, you can also run a cycle with vinegar to clear out the pipe. To clear the pipe with a plunger, first, make sure there’s enough water in the tub or sink to cover the plunger.
Put the plunger over the drain and push and pull it up and down. You may need to do this several times before the blockage is cleared. To use a plumber’s snake, insert the snake into the drain and turn it clockwise. The snake will grab onto the blockage, and you can pull it out.
4. Fix the Leak
If you think you have a leak in your shower pipe, you’ll need to fix it as soon as possible. Otherwise, the water damage could become extensive. To fix a leak, you’ll need to find the source of the leak and then patch it up with epoxy or another sealant.
Once you’ve found the leak, turn off the water to your home and dry the area around the leak. Then, apply the epoxy or sealant and allow it to dry. Once it’s dry, you can turn the water back on. You can usually find epoxy or other sealants at your local hardware store. If you’re not sure how to apply them, you can ask a staff member for help.
5. Repair the Valve
If the problem is with the valve that controls the water flow to your shower, you’ll need to repair it. To do this, first, turn off the water in your shower. Next, remove the valve from the wall and take it apart.
Once you have the valve dismantled, clean all the parts with vinegar or CLR. Be sure to rinse away all the cleaner afterward. Once the parts are clean, put the valve back together and reattach it to the wall. Then, turn the water back on and test the valve. If it’s still not working properly, you may need to replace it.
6. Clean the Showerhead
If your showerhead is low flow, it might be because it’s clogged. To clean it, first, remove the showerhead from the arm by unscrewing it. Next, soak the showerhead in vinegar for a few hours to loosen the mineral deposits.
Finally, scrub the showerhead with a toothbrush to remove any remaining debris and reattach it to the arm. You can also sand the showerhead with sandpaper to help remove any buildup. If your showerhead is still low flow after cleaning it, you might need to replace the showerhead.
7. Adjust the Temperature
If your shower water is too hot or too cold, it can cause the pipes to expand and contract, which can lead to leaks. To adjust the temperature, first, find the knob that controls the water flow. Next, turn the knob to the left to decrease the flow or to the right to increase the flow. You can also adjust the temperature by turning the knob on your water heater. If you’re not sure how to do this, you can ask a plumber for help.
8. Replace the Pipe
If none of the above solutions fix your problem, you may need to replace the pipe. This is a more extensive repair. To replace the pipe, first, turn off the water to your home. Next, remove the old pipe and take it to a hardware store to find a replacement. Once you have the new pipe, cut it to size and attach it to the fittings. Finally, turn the water back on and test the new pipe.
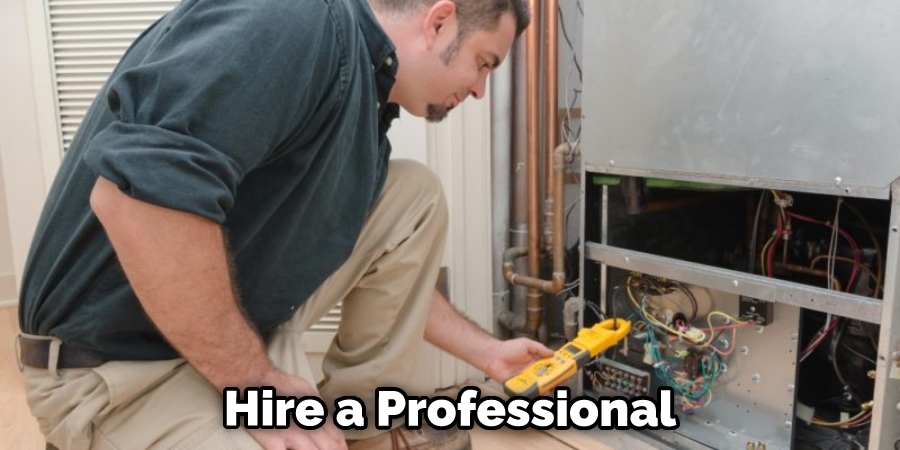
9. Hire a Professional
If you still have problems with your shower pipe, you may need to hire a professional. A professional can diagnose the problem and make the necessary repairs. They may also be able to give you advice on how to prevent future problems.
You Can Check It Out to Fix a Leaning Exterior Brick Wall
How Much Does It Cost to Fix a Shower Pipe?
Normally, the cost to fix a shower pipe ranges from $50 to $350. The cost of fixing a shower pipe will vary depending on the extent of the damage and the type of repair that’s needed. For example, a small leak might only cost a few dollars to fix, while a more extensive repair could cost hundreds or even thousands of dollars.
If you’re not sure how to fix the problem, you can ask a plumber for an estimate. If the cost of repairing the shower pipe is more than half the cost of replacing the pipe, it might be cheaper to replace the pipe. The new pipe will come with a warranty, which will protect you from future problems.
You Can Check It Out To Fix Black Well Water
How to Prevent Shower Pipe Problems
1. Use a Water Softener
If you live in an area with hard water, it’s important to use a water softener. Hard water can cause mineral buildup, which can clog the pipes and lead to leaks. A water softener will remove the minerals from the water, which will help prevent clogs.
2. Don’t Use Chemicals
Chemicals can damage the pipes and cause leaks. To prevent this, only use cleaning products that are safe for use on plumbing. For example, avoid using drain cleaners, as they can damage the pipes. Chemicals can also cause the pipes to corrode. If you must use chemicals, be sure to flush the pipes with water afterward.
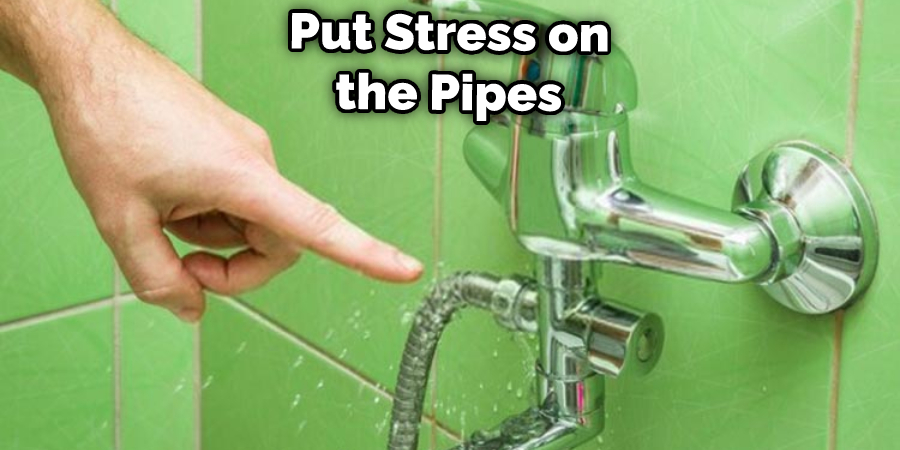
3. Don’t Use Too Much Water
If you use too much water, it can put stress on the pipes and cause them to leak. To prevent this, only use as much water as you need. For example, don’t let the water run for more than a few seconds when you’re brushing your teeth. It would be best if you also took shorter showers to conserve water.
4. Repair Leaks Right Away
If you notice a leak, it’s important to repair it right away. Small leaks can turn into big problems if they’re not fixed. To repair a leak, you’ll need to find the source of the leak and then make the necessary repairs. You might need to replace a pipe or tighten a fitting.
5. Check the Pipes Regularly
It’s a good idea to check the pipes regularly for signs of wear or damage. If you notice any cracks or leaks, you’ll need to make the repairs right away. By checking the pipes regularly, you can prevent small problems from turning into big ones.
You Can Check It Out to Fix Shower Leaking Behind Wall
Frequently Asked Questions
Is My Shower Leaking Behind the Wall?
There are a few things you can do to check if your shower is leaking behind the wall. One way is to dig out some of the drywall around the area and see if water is seeping through. If so, it’s likely that there’s a leak in your bathroom ceiling or wall structure. You may also be able to hear an audible dripping noise when you take a shower, which indicates that something inside the wall isn’t sealed properly. In either case, it might be advisable to have professional repair work done on your bathroom flooring or walls in order to fix the issue and prevent further water damage.
Do I Need to Turn Off the Water to Change a Shower Head?
There is no need to turn off the water when changing a shower head. In fact, doing so could actually cause damage to your pipes. Instead, use this simple method: unscrew the old shower head by turning it counter-clockwise (the direction that the arrows are pointing). Once it’s loose, pull it out of the wall and replace it with the new one. Make sure to tighten down all of the screws before replacing the cover.
Can I Claim Home Insurance for Leaking Shower?
Yes, you can usually claim for a leaking shower if it has caused any water damage. The amount of water damage that is considered covered by your home insurance will depend on a few factors, including the extent of the leak, how often the leak occurs, and your home’s construction. If you have any questions about whether or not you can claim your home insurance for a leaking shower, feel free to contact your insurance company or consult with an insurance agent.
Which Pipes Are Better Copper or Plastic?
the best pipe for you depends on a variety of factors, including what type of tobacco you smoke, your budget, and your location. However, one popular option that may be worth considering is copper pipes.
Copper pipes are often regarded as being more aesthetically pleasing than plastic ones and have a higher resistance to corrosion. Additionally, they are easier to clean and maintain because they don’t absorb flavors from cigarettes or other substances like waxes. While there aren’t any concrete studies that support the claim that copper pipes protect smokers from cancer more effectively than plastic ones do, anecdotal evidence suggests that they may be effective in this regard.
So if you’re looking for an upgrade over your current smoking device (whether it’s a traditional pipe or electronic cigarette), copper might be the right choice for you.
Conclusion
So there you have it, your complete guide on how to fix shower pipe in wall. If you follow these simple steps, you will be able to repair your shower quickly and easily. And remember, if you feel uncomfortable or uncertain about what you are doing at any point, always stop and call a professional! Thanks for reading, and happy repairing!