A base coat is the first paint layer applied to a car. It provides a surface for the topcoat, which is the layer of paint that contains the color and shine to adhere to. Sometimes, the base coat can become rough due to various factors such as dirt, debris, or improper application.
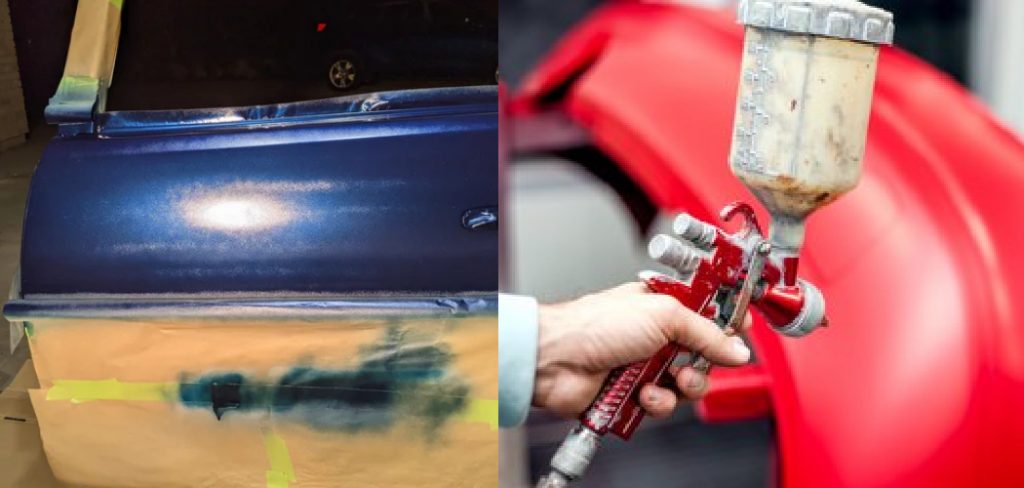
When this happens, it is important to fix the issue so that the topcoat will go on smoothly. In this blog post, we’ll show you a step-by-step guide on how to fix rough base coat. So keep reading to learn more!
Summary: Start your base coat repair process by cleaning the surface of the base coat. Use a pressure washer and a mild detergent to remove any dirt, dust, and grime from the area. Once clean, sand down the affected area with fine-grade sandpaper until it is smooth.
Then apply an automotive primer over the sanded area to protect it against rusting or chipping. Lastly, you can use either a brush or roller to apply two coats of matching base coat paint to complete the job.
Why Should You Fix Rough Base Coat?
If you have a roughened base coat on your walls, you may wonder why you should fix it. After all, the rough texture can add character to a room. However, there are several reasons why you may want to smooth out the surface of your base coat. First, a smooth surface is much easier to paint over. If you’re planning on redecorating, you’ll find that getting an even coat of paint on a door or wall is much simpler if the surface is smooth.
Second, a rough base coat can be difficult to clean. Dust and dirt can accumulate in the crevices, making it difficult to keep your walls looking clean. Finally, rough base coats can be dangerous. If you have small children or pets, they could easily scratch or cut themselves on the sharp edges of the base coat. For these reasons, fixing a rough base coat is generally best before proceeding with other repairs or renovations.
7 Steps to Follow on How to Fix Rough Base Coat
Step 1: Clean the Surface
The first step is to clean the car’s surface where the base coat is rough. This will remove any dirt, debris, or other particles that may be causing the roughness. Use a mild soap and water solution and a soft cloth or sponge to avoid damaging the paint. Once you have cleaned the area, use a garden hose to rinse it off completely. Allow the car to dry completely before moving on to the next step.
Step 2: Apply Primer
Once the car is clean and dry, you will need to apply primer to the area where the base coat is rough. This will help smooth out the surface and provide a good foundation for the new base coat. Use a brush or roller designed for applying primer and follow the instructions on the container for the best results. Allow the primer to dry completely before proceeding.
Step 3: Sand the Surface
The next step is to sand the car’s surface where the base coat is rough. This will help further smooth the surface and prep it for the new base coat. Use fine-grit sandpaper and sand in a circular motion until the entire area is evenly sanded. Be sure to wipe away any dust created by the sanding process before moving on.
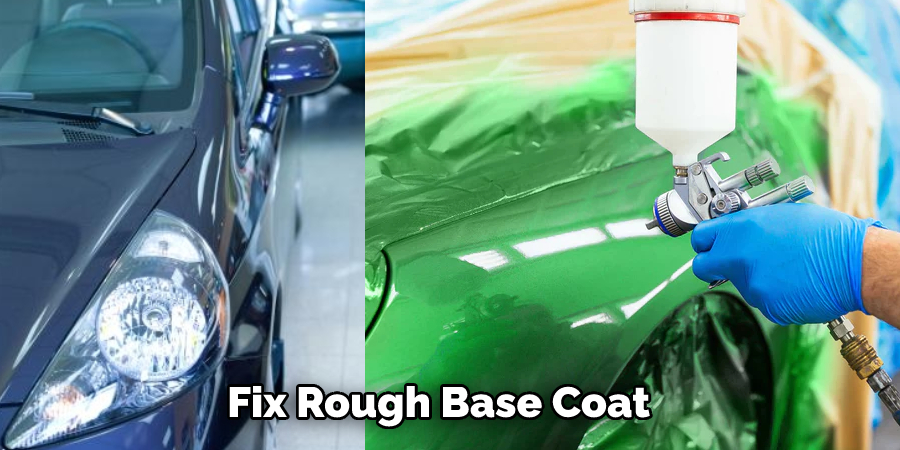
Step 4: Apply the Base Coat
Once the surface is sanded, you must apply the new base coat. Use a brush or roller designed for applying paint and follow the instructions on the container for the best results. A good rule of thumb is to work in small sections and use long, even strokes. Be sure to go over the edge of each section to ensure that the new base coat will adhere properly.
Step 5: Apply the Clear Coat
After the base coat is dry, you must apply a clear coat. This will protect the new base coat and give it a shine. When applying the clear coat, make sure to do it in a well-ventilated area. You will also need to apply several thin coats instead of one thick coat. Allowing each coat to dry in between will give you the best results.
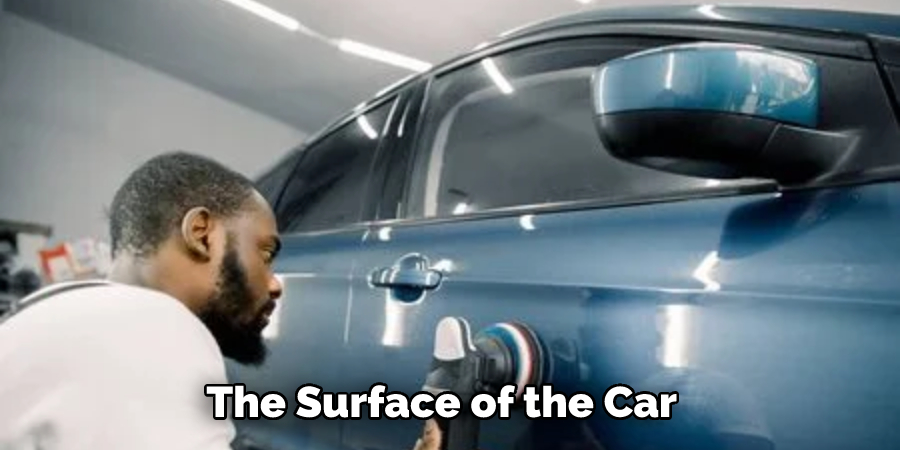
Step 6: Buff the Surface
The next step is to buff the surface of the car. This will help to remove any imperfections in the new base coat and give it a smooth, glossy finish. Use a buffing pad and buff in a circular motion until the entire area is evenly buffed. Be sure to wipe away any dust the buffing process creates before moving on.
Step 7: Enjoy Your New Base Coat!
Once you have completed all of the steps, you should have a smooth, new base coat that looks great! So enjoy your newly fixed base coat, and be sure to show it off to your friends and family.
That’s it! You’ve now learned how to fix rough base coat. Follow these steps, and you’ll have a smooth, new base coat in no time.
What Causes a Rough Base Coat?
A base coat is supposed to be the first layer of paint on a wall and is usually smoothed out before the topcoat is applied. However, sometimes the base coat can come out rough, leaving an uneven surface that is difficult to paint over. Several possible causes of a rough base coat include poor application, inadequate preparation, and incompatible materials.
In most cases, the best way to fix a rough base coat is to sand it down and start over. However, if the problem is due to incompatible materials, it may be necessary to strip the entire wall and start from scratch. Nevertheless, with a little patience and attention to detail, it is possible to achieve a smooth base coat that will provide a perfect foundation for the rest of the room.
How to Prevent a Rough Base Coat
A smooth, even base coat is essential for a professional-looking paint job. Unfortunately, it can be all too easy to end up with a rough base coat, especially if you’re working with textured walls. Fortunately, there are a few simple tricks that you can use to ensure a smooth base coat. First, be sure to sand your walls before you start painting. This will help to create an even surface for the paint to adhere to.
Second, use a high-quality primer. A good primer will help to camouflage any imperfections in the wall and make it easier for the paint to flow evenly. Finally, don’t be afraid to thin out your paint if necessary. If your paint is too thick, it will be more likely to clot and produce an uneven finish.
By following these simple tips, you can avoid ending up with a rough base coat and ensure a beautiful finished product. Keep reading for more information about how to fix rough base coat.

How to Tell if You Have a Rough Basecoat
It’s always a good idea to test your basecoat before you start your project. Here are a few ways to tell if you have a rough basecoat:
- Feel the surface of the base coat.
- Run your hand over the surface of the basecoat.
- Look at the surface of the basecoat.
If you’re unsure whether or not your basecoat is too rough, err on the side of caution and sand it down until it’s smooth. It’s better to spend a little extra time preparing your surface than to have to redo your entire project because of an uneven basecoat!
What Are the Signs of a Bad or Rough Base Coat?
The base coat is the first layer of paint on a car. It is applied after the primer and before the color coats. The base coat is usually clear, but it can be tinted to improve the appearance of the color coats. A bad or rough base coat can cause the color coats to appear uneven or patchy. It can also cause the paint to chip or flake off more easily. There are several ways to tell if a base coat is bad or rough.
First, look at the surface of the paint. If it is lumpy or has an irregular texture, this is a sign that the base coat is bad. Second, look at the color of the paint. If the base coat is tinted, it should be a consistent color throughout. If it is patchy or has streaks, this is another sign that it is bad.
Finally, run your hand over the surface of the paint. If it feels rough or bumpy, this is another indication that the base coat is not good. If you notice any of these signs, you should have the base coat sanded down and reapplied by a professional.
What to Do if Your Rough Base Coat Is Too Thin
If you’re painting a wall and your base coat appears too thin, you can take a few steps to remedy the situation. First, ensure you’ve given the paint enough time to dry. Then, if it’s still wet, add another layer of paint and let it dry completely.
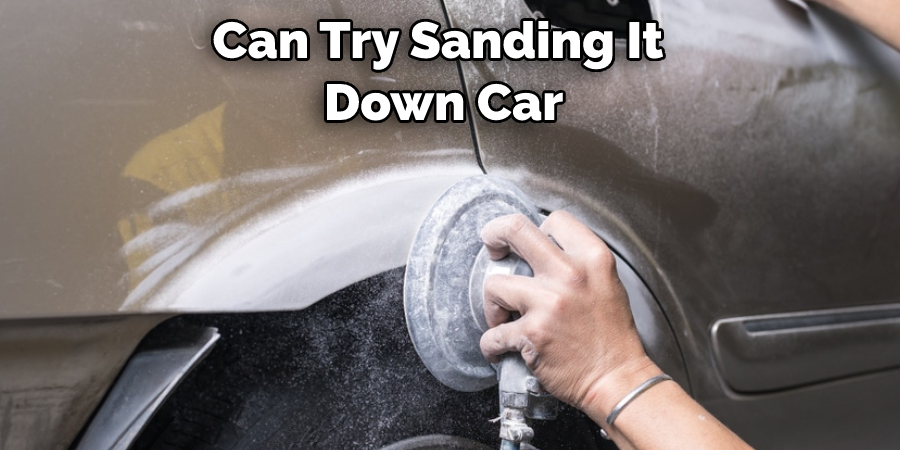
If the base coat is dry but still too thin, you can try sanding it down before adding another layer of paint. This will help to create a more even surface. Once you’ve added another layer of paint, allow it to dry completely before proceeding with the next step in your painting project.
Frequently Asked Questions
Can You Sand Basecoat?
Yes, you can sand basecoat. However, it is important to be careful and follow the instructions that come with your product. If you do not properly sandbasecoat your paintwork, it could lead to damage or peeling over time. Always use a low-grit coating if you are sanding as this will help avoid excessive scratching or tearing of the surface.
Why Does My Paint Feel Rough After Painting?
The paint might feel rough after painting because of a few reasons. The paint might be too dry or too wet. The paint might be too thick or too thin. The paint might have condensed in the can and is now difficult to get out. There might be dust, dirt, or other substances in the paint that are now clogging the brush or dripping onto the canvas. Any of these factors can cause the paint to feel rough when you’re painting.
Do You Sand After Base Coat?
it depends on the type of finish you are using and your personal preference. However, most experts recommend that you do not sand after a base coat has been applied. This is because the grit in sand can scratch the surface of your paintwork and cause it to lose its shine. Instead, wait until the final step – mixing water with acrylic or oil paints – before applying any sanding products.
Why Did My Paint Dry Rough?
Paint can dry out for a number of reasons, but the most common ones include incorrect painting techniques, high humidity levels, and too much paint being used. Here are a few tips that can help you remedy the situation:
- Check the paint consistency – When painting, it’s important to use a paint that is of the right consistency – thin enough to be applied easily but thick enough to coat the surface. If the paint is too thick, it will not apply easily and may even cause bubbling or peeling.
- Avoid high humidity levels – High humidity levels can cause paint to become brittle and dry out quickly. Keep your studio at a comfortable temperature and make sure that the AC is on when you’re working so that the area is not too humid.
- Use proper painting techniques – Make sure to use a brush with soft bristles and allow the paint to dry completely before moving on to another area. Do not over-paint or you will end up with drips and runs.
- Use painters tape – Painters tape can be used to cover areas that will not be painted for a period of time in order to prevent them from drying out. Simply remove the tape when you’re done painting so that the surface can breathe again.
Conclusion
A rough base coat can ruin an otherwise perfect paint job. But with a little elbow grease, you can fix this problem quickly and easily! Just follow these simple steps, and you’ll have your car looking good as new in no time flat! Thanks for reading our post about how to fix rough base coat.