Concrete is a durable and versatile material that can be used for various projects, from driveways and patios to sidewalks and basement flooring. But concrete needs to be properly finished to achieve its full potential. Otherwise, you might end up with a surface that’s uneven, full of holes, or simply not as smooth as you’d like.
If you’re dealing with poorly finished concrete, all is not lost. There are a few ways to fix the problem and end up with a surface you’re happy with. In this blog post, we’ll show you how to fix poorly finished concrete.
Summary: Poorly-finished concrete can be fixed with a few simple steps. First, clean the surface of the concrete thoroughly. Second, fill in any cracks or depressions with a repair material. Third, apply an overlay material such as epoxy to give the concrete a consistent finish. Finally, seal the concrete for protection against future damage and wear.
What Is a Poorly Finished Concrete?
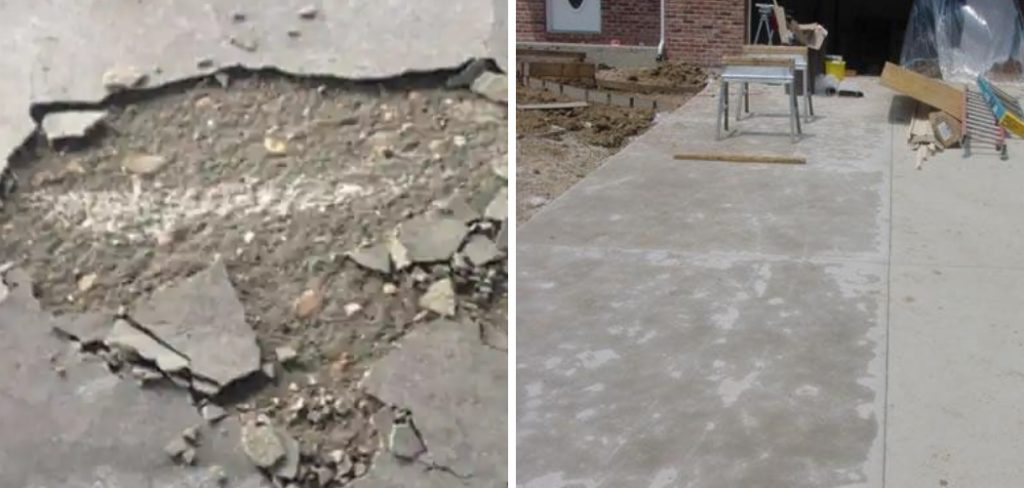
A poorly finished concrete is concrete that has not been properly mixed, poured, or cured. This can lead to several problems, including cracks, uneven surfaces, and weakened structural integrity. In some cases, poorly finished concrete can even be dangerous. Therefore, it is important to be aware of the risks associated with poorly finished concrete and to take steps to avoid them.
One of the most common problems with poorly finished concrete is cracking. Cracks can occur for several reasons, including inadequate mixing, poor drainage, or excessive weight on the surface. If left unrepaired, cracks can continue to grow and eventually cause the concrete to crumble. In addition to being unsightly, cracks can create trip hazards and allow water to enter the structure, leading to further damage.
Uneven surfaces are another common issue with poor finishing. This can be caused by improper leveling or troweling of the surface. Uneven surfaces can create trip hazards and make applying finishes such as paint or sealant difficult. In addition, they can allow water to pool on the surface, which can lead to staining or even mold growth.
Finally, poorly finished concrete can be weaker than properly finished concrete. This is because poorly mixed concrete will not have the same strength and durability as properly mixed concrete. As a result, poorly finished concrete is more likely to fail during an earthquake or other disaster. In addition, it is more likely to crack or break under heavy loads.
For these reasons, it is important to ensure that any concrete you use is properly mixed and cured before using it in any construction project.
Why Should You Fix Poorly Finished Concrete?
Poorly finished concrete can be unsightly, but it can also create a trip hazard and make it difficult to clean. In addition, poorly finished concrete is more susceptible to staining and may not last as long as well-finished concrete. For those reasons, it’s important to fix poorly finished concrete as soon as possible. The good news is that there are several ways to improve the look of concrete, including resurfacing, staining, and sealing.
Resurfacing is a great option if the concrete is in good condition overall but just has a few cosmetic imperfections. Staining and sealing can both be used to enhance the color and protect the surface of the concrete. With a little effort, you can have beautiful, long-lasting concrete that will add value to your home.
7 Steps to Follow on How to Fix Poorly Finished Concrete
1. Remove All the Debris
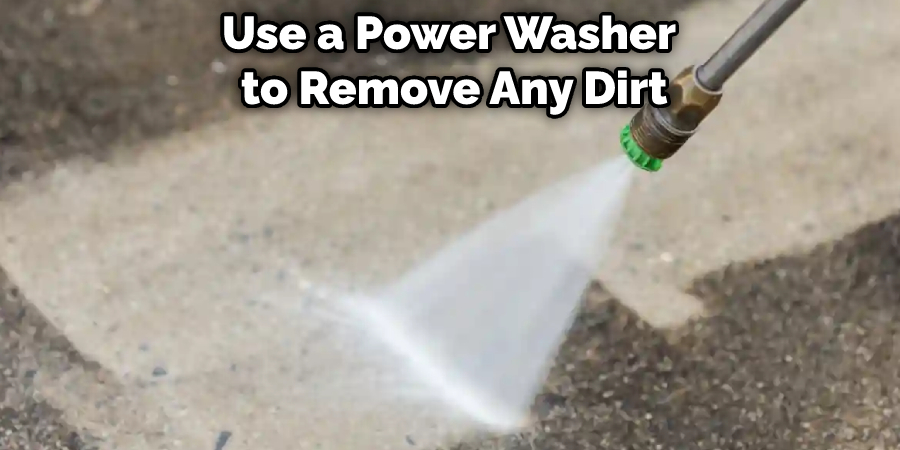
The first step to take is to remove all the debris from the surface of the concrete. This includes any dirt, dust, or lose particles. Once you have removed all the debris, you will need to clean the surface of the concrete with a power washer or pressure washer.
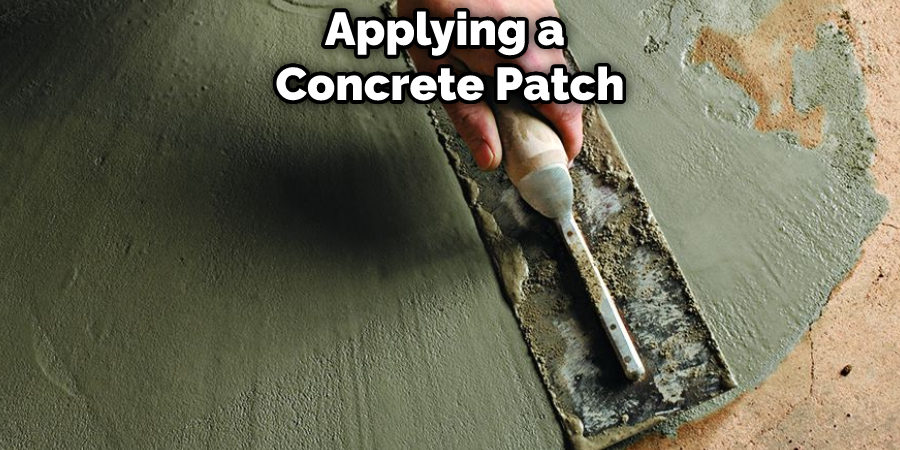
2. Apply a Concrete Patch
Once you have cleaned the surface of the concrete, you will need to apply a concrete patch to any cracks or holes that are present. You can purchase concrete patches at your local hardware store. Be sure to follow the instructions on the package for the best results.
3. Apply a Concrete Sealer
After applying a concrete patch, you will need to apply a sealer to the surface of the concrete. This will help to protect the concrete from weathering and other damage. There are many different types of sealers available, so you must choose one that is right for your specific needs.
4. Allow the Concrete to Cure
After applying a sealer to the surface of the concrete, you will need to allow it to cure for 24 hours before proceeding to the next step. Curing allows the sealer to set and harden properly to protect the surface of the concrete effectively.
5. Apply a Concrete Stain
After the sealer has had time to cure, you can then apply a stain to the surface of the concrete. This will help to give it a more finished look and can also help to protect it from further damage. You can purchase concrete stains at your local hardware store. Be sure to follow the instructions on the package for the best results.
6. Allow the Stain to Dry
After applying stain to the concrete’s surface, you will need to allow it time to dry completely before proceeding to the next step. This usually takes around 24 hours but may take longer depending on environmental conditions such as humidity and temperature.
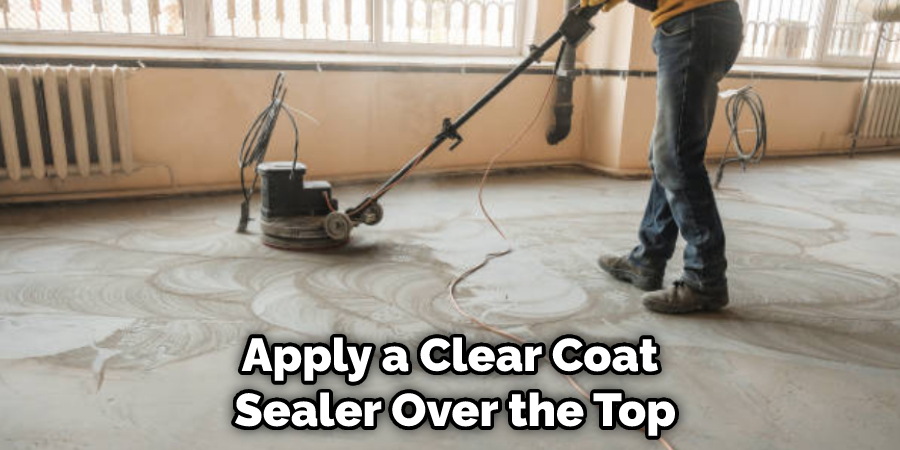
7. Apply a Clear Coat Sealer
After the stain has had time to dry, you can apply a clear coat sealer over the top for extra protection against weathering and other damage. You can purchase a clear coat sealer at your local hardware store. Be sure to follow the instructions on the package for the best results.
That’s it! You’ve now learned how to fix poorly finished concrete. Be sure to follow these steps carefully to achieve the best results.
You Can Check It Out To Fix Cinder Block Foundation
The 5 Most Common Mistakes Made When Finishing Concrete
Finishing concrete is an important step in creating a smooth, level surface. However, it is also a delicate process that can be easily ruined if the proper precautions are not taken. Here are five of the most common mistakes made when finishing concrete:
- Not allowing the concrete to cure properly before starting the finishing process. Concrete needs to be allowed to cure for at least 24 hours before any type of finishing work can begin.
- Not using the proper tools for finishing. Using the wrong tools, or using tools that are in poor condition, can result in a poor finish.
- Not using enough water when float finishing. The float should always be wet during the float finishing process. Otherwise, the concrete will start to set too quickly and will be difficult to work with.
- Applying too much pressure when trowelling. Trowelling should be done with light pressure to avoid damaging the surface of the concrete.
- Not sealing the concrete after finishing. Sealing helps to protect the concrete from weathering and staining. Sealing the concrete as soon as possible after finishing is important to get the best results.
6 Tips for Avoiding Poor Concrete Finishes
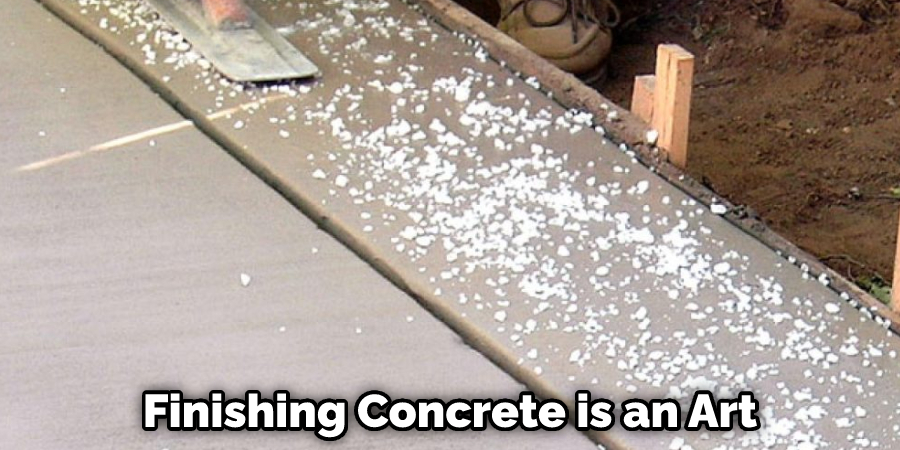
Finishing concrete is an art form. Achieving a smooth, level surface requires attention to detail and a steady hand. Unfortunately, even the most experienced finishers can sometimes end up with an inferior finish. Here are six tips for avoiding poor concrete finishes:
- Avoid using too much water when mixing the concrete. The ideal ratio is about three parts aggregate to one part water. Using too much water will weaken the concrete and make it more difficult to achieve a smooth finish.
- Be careful not to overwork the concrete. Once it has been placed, allow it to set for at least 30 minutes before beginning the finishing process. Otherwise, you run the risk of creating surface imperfections.
- Use a trowel or floats to create a smooth, level surface. Start in the middle of the slab and work your way outwards in a circular motion. Be sure to apply even pressure to avoid creating dips or divots in the concrete.
- Finishing concrete is a two-person job. One person should hold or float the trowel while the other person keeps an eye on the finished surface and helps guide the tool along evenly.
- Use a soft bristle brush to remove any stray bits of dirt or debris from the surface of the concrete before applying a sealer or topcoat.
- Inspect the finished surface carefully before walking on it or allowing anyone else to do so. Look for any dips, divots, or other imperfections that could cause someone to trip and fall. If necessary, make repairs with a patching compound before allowing foot traffic on the surface.
By following these simple tips, you can avoid poor concrete finishes and ensure that your next project turns out to look its best.
How to Fix Pitted or Rough Concrete Surfaces
Concrete is a strong and durable material that can withstand a lot of wear and tear. However, it can show signs of age over time, such as cracks, pits, or rough patches. Although these blemishes may seem difficult to fix, there are several ways to restore the surface of the concrete. One option is to use a concrete resurfacer, which is a type of repair mortar that can be spread over the surface of the concrete.
Resurfacers are available in both powder and liquid form, and they can be tinted to match the color of the existing concrete. For smaller areas, patching compounds can be used to fill in cracks or pits. These compounds come in different colors and textures, so choosing one that matches the surrounding concrete is important. With a little effort, it is possible to repair pitted or rough concrete surfaces and restore them to their original condition.
How to Fix Discolored Concrete
Over time, concrete can start to discolor and lose its original luster. Several factors can cause this, including exposure to sunlight, chemical spills, and even simple wear and tear. While there is no guaranteed way to restore concrete to its original color, a few methods can help improve its appearance. One option is to use a power washer to remove any dirt or grime that has built up on the surface.
Another possibility is to treat the concrete with a sealant or stain remover. This can help to restore some of the concrete’s original color and protect it from future discoloration. With a little effort, it is possible to bring new life to old concrete and keep it looking its best for years to come.
Conclusion
If your concrete finishing project didn’t turn out quite as planned, don’t despair! There are ways that you can fix common problems like unevenness, holes, and roughness. By following the tips in this blog post, you’ll be able to salvage your project and end up with a beautiful finish that you’re happy with. Thanks for reading our post about how to fix poorly finished concrete.
You Can Check It Out To Fix Uneven Concrete Around Pool