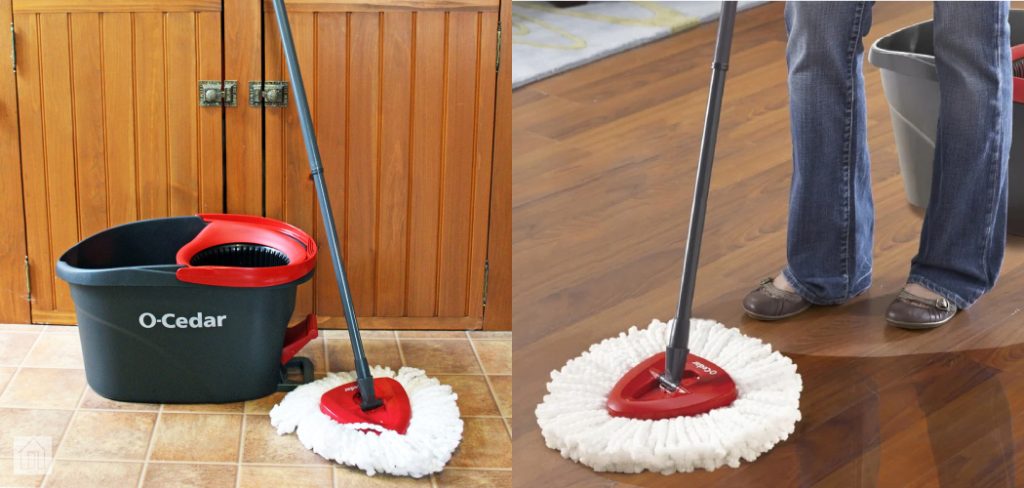
O-Cedar Mop is a type of cleaning product designed to make cleaning floors easier. It is made up of a mop head and a handle, which are connected by a pole. The mop head is usually made of cotton or microfiber, soaked in water before being wrung out. The mop head is then attached to the handle, and the user can start mopping the floor.
Unfortunately, when the O-cedar mop handle breaks, it can be frustrating. Thankfully, it is easy to fix. This blog post will show you how to fix o-cedar mop handle and make it as good as new. Keep reading to learn more.
Summary: If your O-Cedar Mop Handle is broken, you can easily fix it yourself. Start by removing the damaged handle from the mop head and replacing it with a new one. Before beginning, make sure to gather all your supplies including a screwdriver and two screws that fit the handle.
Then, carefully remove the old parts, taking care not to damage any existing parts. Once the old handle is removed use the screwdriver to attach the new handle in place. Finally, put everything back together, making sure each part fits securely into place before turning it on and using it again.
What Causes an O-Cedar Mop Handle to Break?
There are a few different reasons why an O-Cedar Mop handle might break. The most common reason is that the handle is made of plastic; over time, the plastic can break down. Additionally, if the mop is used frequently, the handle might become loose and eventually break. Another common reason for a broken O-Cedar Mop handle is that the user did not follow the instructions correctly.
For example, if the user did not soak the mop head in water before attaching it to the handle, the handle might become damaged. The other reason why an O-Cedar Mop handle might break is that it was not stored properly. If the mop is stored in a humid environment, the handle can become warped and eventually break. Lastly, if the mop is dropped, the handle can break.
Why Is It Important to Fix an O-Cedar Mop Handle?
It is important to fix an O-Cedar Mop handle for several reasons. First, if the handle is broken, the mop will be unusable. You will have to buy a new mop, which can be expensive. Additionally, if the handle is broken, the mop head might come detached from the handle, leading to a messy situation. Another reason why it is important to fix an O-Cedar Mop handle is that a broken handle can be dangerous.
If the mop head comes detached from the handle while you are using it, you might get injured. Finally, if the handle is broken, it can be difficult to store the mop, leading to the mop getting damaged.
Step by Step How to Fix O-cedar Mop Handle
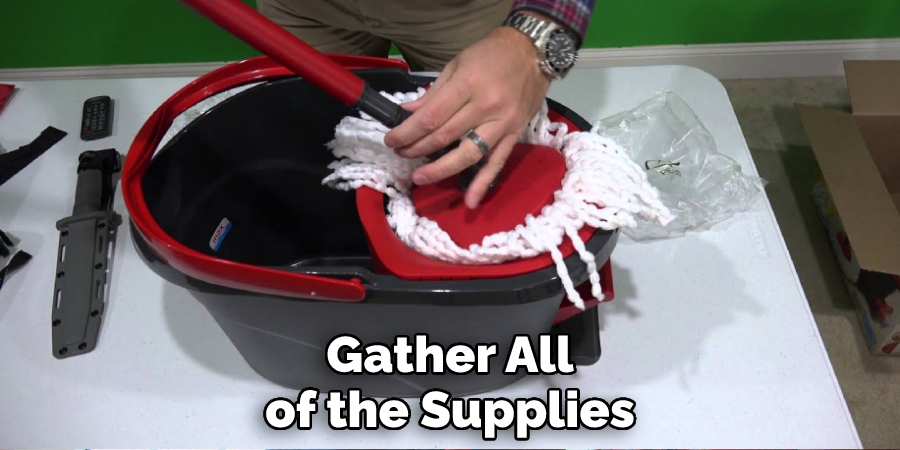
1. Gather the Supplies
The first step in how to fix o-cedar mop handle is gathering the supplies you will need to fix the O-cedar mop handle. You will need a PVC Pipe, screws, a drill, and a screwdriver. You can find all of these supplies at your local hardware store. Gather all of the supplies before you begin the repair process. If you have all of the supplies, it will be easier to fix the mop handle.
2. Remove the Old Handle
Once you have gathered all of the necessary supplies, the next step is to remove the old handle. To do this, first, remove the screws that are holding the handle in place. Next, pull the handle off of the mop head. If the handle is stuck, you can use a screwdriver to pry it off. Be careful not to damage the mop head while you are removing the handle. You will need to buy a new handle if the handle is damaged.

3. Measure the PVC Pipe
Now that the old handle has been removed, the next step is to measure the PVC pipe. You will need to know the length of the pipe so that you can cut it to size. First, hold the pipe up to the mop head to measure it. Next, mark the length of the pipe with a pencil. Use a measuring tape to double-check the length of the pipe.
4. Cut the PVC Pipe
After you have measured the PVC pipe, the next step is to cut it to size. First, find a saw that can cut through PVC pipe. Next, place the pipe on a stable surface. Make sure the surface is level so that the pipe does not move while cutting it. Finally, cut the pipe to the correct length. If you do not have a saw that can cut through PVC pipe, you can take the pipe to a hardware store and have them cut it for you.
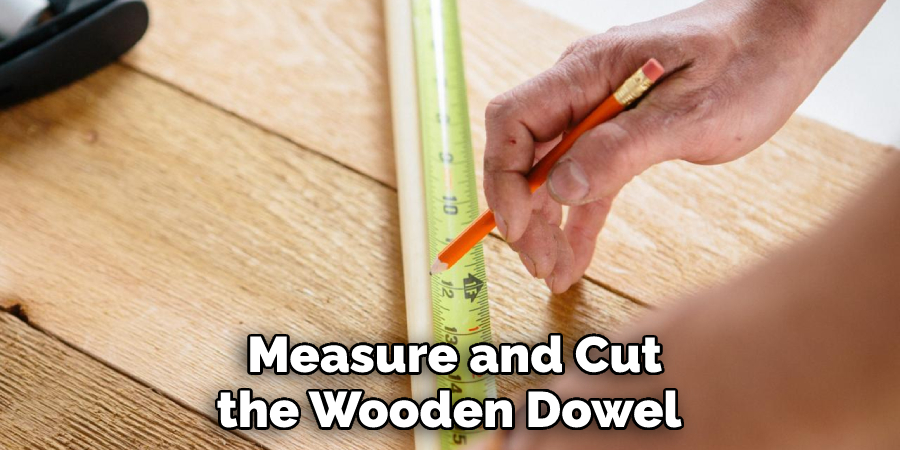
5. Measure and Cut the Wooden Dowel
The next step is to measure and cut the wooden dowel. You will need a dowel that is the same diameter as the metal rod on the mop handle. Cut the dowel to be about 2 inches longer than the metal rod. If you do not have a dowel that is the same diameter as the metal rod, you can take the metal rod to a hardware store, and they will be able to help you find a dowel that is the right size.
6. Drill Holes in the Wooden Dowel
Once you have cut the wooden dowel, the next step is to drill holes in it. You will need to screw the dowel into the PVC pipe. First, find a drill bit with the same diameter as the screws you will use. Next, mark where you will drill the holes with a pencil. Make sure that the holes are evenly spaced and drilled in straight lines. Finally, drill the holes in the dowel. Avoid drilling too deeply, or you will damage the dowel.
7. Insert the PVC Pipe into the Wooden Dowel
After you have drilled the holes in the wooden dowel, the next step is to insert the PVC pipe into it. First, find one end of the PVC pipe and insert it into the dowel. Make sure that the pipe is inserted all the way into the dowel so that there is no gap between the two. Next, take the other end of the PVC pipe and insert it into the other hole in the dowel.
Again, ensure that the pipe is inserted into the dowel, so there is no gap between the two. Now, you should have a PVC pipe that is inserted into the wooden dowel, with no gaps between the two. If there are any gaps, make sure to fill them with wood putty.
8. Screw the Wooden Dowel Into Place
Now that the PVC pipe is inserted into the wooden dowel, the next step is to screw the dowel into place. First, find the screws you will use to attach the dowel to the frame of your mop. In most cases, these will be included with the kit you purchased. If not, any small screws will do. Now, insert the screws into the holes at the top of the dowel, and screw them in until they are tight. Be careful not to overtighten the screws, or you may strip the holes in the dowel. Avoid using too much force when screwing in the screws.
9. Cut the Rubber Hose to Size
The next step is to cut the rubber hose to size. This is because the rubber hose will be used to connect the PVC pipe to the metal rod on the mop handle. First, find a sharp knife or a pair of scissors. Next, measure the length of the metal rod on the mop handle. Finally, cut the rubber hose to be the same length as the metal rod. If you cut the hose too long, you can always trim it down to size. Once you have cut the hose, the next step is to attach it to the PVC pipe. Try to avoid stretching the hose too much, or it may tear.
10. Wrap the Duct Tape Around the Joint
Once you have attached the rubber hose to the PVC pipe, the next step is to wrap the joint with duct tape. This ensures that the connection is secure and will not fall apart. Start by wrapping the tape around the circumference of the joint, then crisscrossing the tape over the top of the joint. This will create a stronger hold and will help to prevent any leaks.
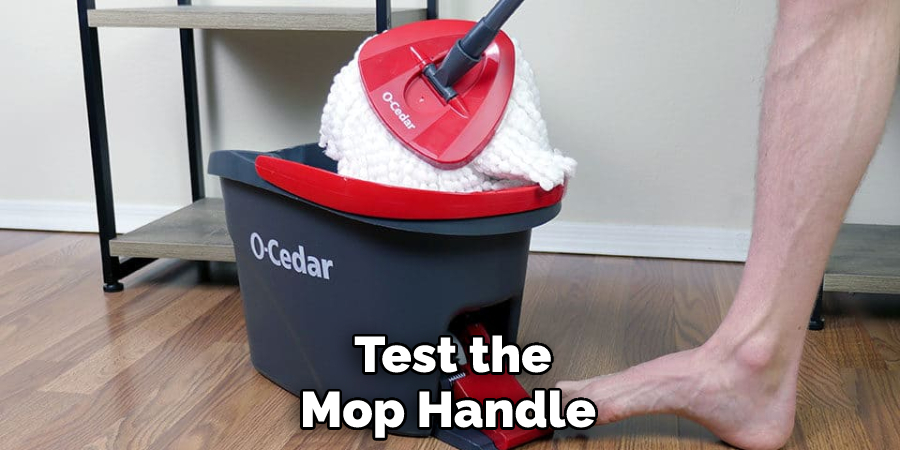
11. Test the Mop Handle
Once everything is put together, the final step is to test the mop handle. Fill a bucket with water and submerge the mop head in it. Then, squeeze the trigger on the handle to see if water comes out. If water does not come out of the mop head, ensure that all connections are secure and there are no leaks. If there are any leaks, reapply the duct tape around the joint. Once you have confirmed that the mop handle is working properly, you can use it to clean your floors.
You Can Check It Out To Fix Vileda Mop
How Much Does It Cost to Fix an O-Cedar Mop Handle?
The cost of fixing an O-Cedar mop handle will vary depending on the severity of the damage and the type of repair that is needed. In most cases, the cost of fixing a broken mop handle will be less than $10. However, if the damage is severe, the cost could be as high as $30.
You Can Check It Out To Fix Broken Microwave Handle
Frequently Asked Questions
Can You Wash O-cedar Mop Head in Washing Machine?
Unfortunately, most O-cedar mop heads are not machine-safe and should not be washed in a washing machine. Washing these types of mops with harsh detergents could damage the fibers and cause them to fade or outright disintegrate. Instead, you should dry them completely after each use and store them out of direct sunlight or moisture until the next time they’re needed.
Can I Put My Mop Head in the Dryer?
There is no definitive answer to this question, as it depends on the type of mop head that you are using and the dryer that you are using. Some people believe that putting a mop head in the dryer may damage the fibers or fabric, while others claim that it does not have any negative effects. Ultimately, it is best to test this out by placing a small amount of water onto the mop head and seeing how long it takes for it to start bubbling. If there is any indication of harm being done, then avoid putting your mop head in the dryer.
Do You Use Soap With O Cedar Mop?
There is some debate on the best way to clean surfaces with soap and cedar mop. Some people feel that using soap with the mop will help to remove more dirt and debris, while others believe that cedarwood oil is a better choice because it has a natural disinfectant property. If you’re not sure which approach is best for you, it might be a good idea to try both and see which works better for your specific situation.
Why is My Floor Still Dirty After I Mop?
Mopping may be the most common task in a busy household, but it can also be one of the most frustrating. Dirt and dust tend to accumulate on floor surfaces quickly, which is why you need to regularly mop them if you want them clean and look their best.
There are several things that affect how dirty your floor gets while mopping: how wet the cloth is when it’s applied to the floor, how much liquid is used during mopping (this includes both water & cleaning solutions), and the height of the head/cloth relative to the surface being cleaned.
All of these factors influence not only how dirty your floors get right after they’re mowed but also over time as dirt accumulates again on top.
Conclusion
So there you have it, a complete guide on how to fix o-cedar mop handle. Follow the steps in this guide, and your mop handle will work like new in no time. Remember, if you ever have any questions or concerns, write them down in the comments section below, and we will be happy to help. Thanks for reading!