We’ve all been there. You’re woWe’ve on a project andYou’rething is going great until you realize your paint has become lumpy. Acrylic paint can dry out quickly, which can cause it to become thick and unusable. But don’t worry, there are ways to do this! Read on to learn how to fix lumpy acrylic paint so that you can get back to your project.
Lumpy acrylic paint is caused by the paint drying out quickly. This can be due to several factors, such as painting in a dry environment or not using a medium. When the paint dries out, it can become thick and unusable.
Summary:
Acrylic paint can become lumpy and ineffective if not used or stored properly. To fix lumpy acrylic paint, start by stirring the paint with a stir stick or palette knife to break up any lumps. If stirring does not work, try adding a few drops of water to the paint and stirring again until it reaches the desired consistency.
For extra lumpy paints, use a sieve or strainer to strain out any large chunks before using them. Finally, store acrylic paints in airtight containers away from direct sunlight for maximum shelf life.
Why It’s Important to Fix Lumpy AcrIt’s Paint?
When you’re painting, it’s important to fix any lumpy areas in the paint. Otherwise, it will be difficult to continue working on your project. The paint will be difficult to apply and may not look as good as it should. By fixing the lumpy paint, you can continue with your project and have a finished product that you’re proud of.
Required Material for Lumpy Acrylic Paint
- Water
- Paint Thinner
- Medium (optional)
How to Fix Lumpy Acrylic Paint Step by Step Guide
Step 1: Understand the Paint Quality
Check the paint container to see how long it’s been open. If it’s been more than six months, the paint may have gone bad, and you’ll need to start over with fresh paint. Test your paint before you start. Most paint manufacturers add a small amount of paint to the can that won’t affect how much coverage you get, but it does help to ensure the paint is fresh. Pour some paint onto a piece of scrap paper or cardboard, and if it’s still wet, it should be usable.
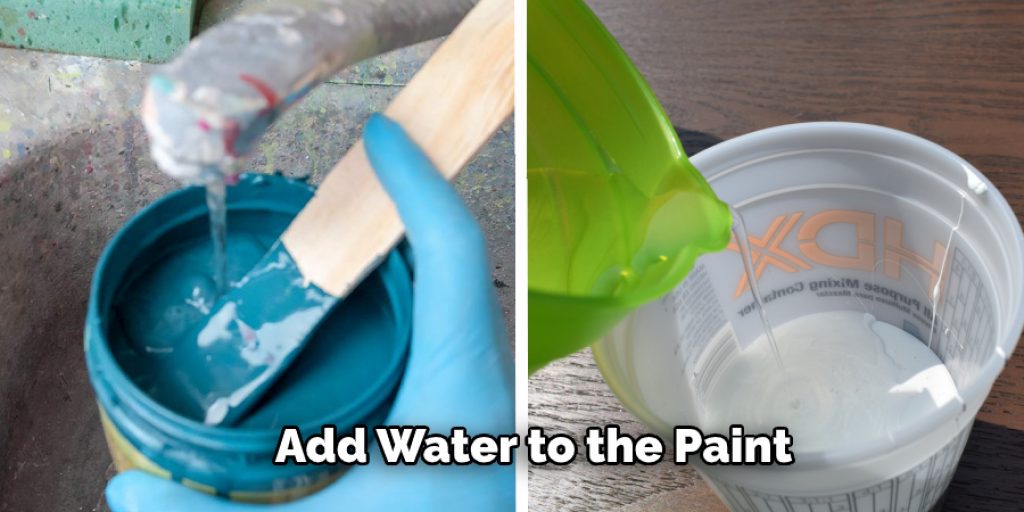
Step 2: Add Wateraren’te Paint
Before you start painting with acrylics, you need to add water to the paint. The amount of water you’ll need will depend on how thin you want your paint to be. A good rule of thumb is to start with about two tablespoons (30 ml) of water for each cup (237 ml) of acrylic paint. You can always add more later if needed.
Step 3: Add Thinner to the Paint
If your paint is too thick, you can add water or an acrylic medium to thin it out. But be careful not to add too much at once, or the paint will become runny. If you need to, you can always add more.
Step 4: Use a Strainer
If your paint is still too lumpy after stirring, you can use a strainer to help smooth it out. Just pour the paint through the strainer into another container, and the lumps will be left behind.
Step 5: Shake and Stir
Now that your paint is perfect, it’s time to give it a good shake and stir. This will help to distribute the pigment evenly and prevent any further clotting.
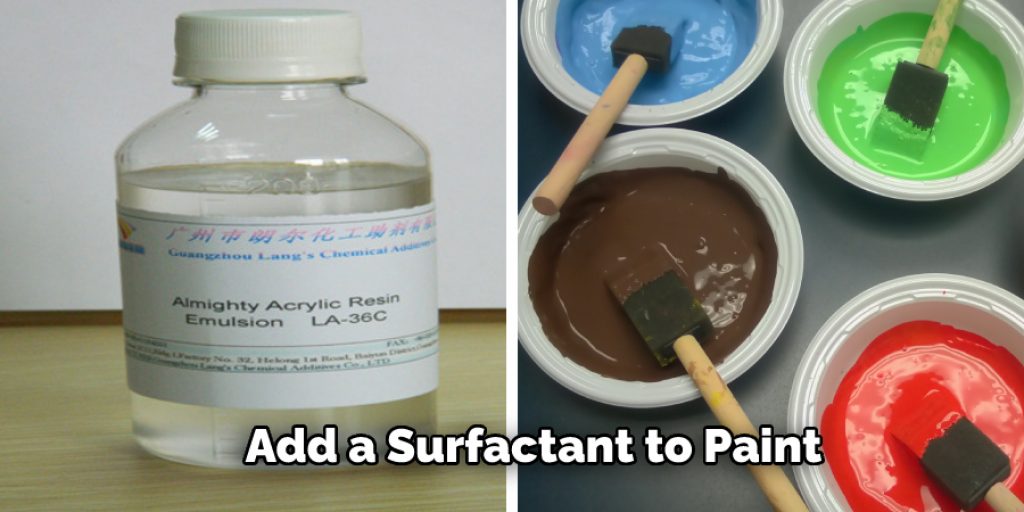
Step 6: Add a Surfactant to Your Paint
You can also add a surfactant to your paint to help with the issue of lumpy paint. A surfactant is a substance that helps to reduce the surface tension of a liquid, which in turn allows for better wetting of surfaces and improved flow properties. Many different surfactants are available, but you can generally find them at your local hardware store. Just read the labels carefully and follow the directions for adding them to your paint.
Step 7: Use a Heavier Gauge Needle or Tip
Sometimes, even if you’re using the right material, the paint is well-mixed, it can still be lumpy. In this case, you can try using a heavier gauge needle or tip. This will help push the paint through the bristles more forcefully, which will help smooth it out. Just be careful not to push too hard, or you might have brush strokes in your paint!
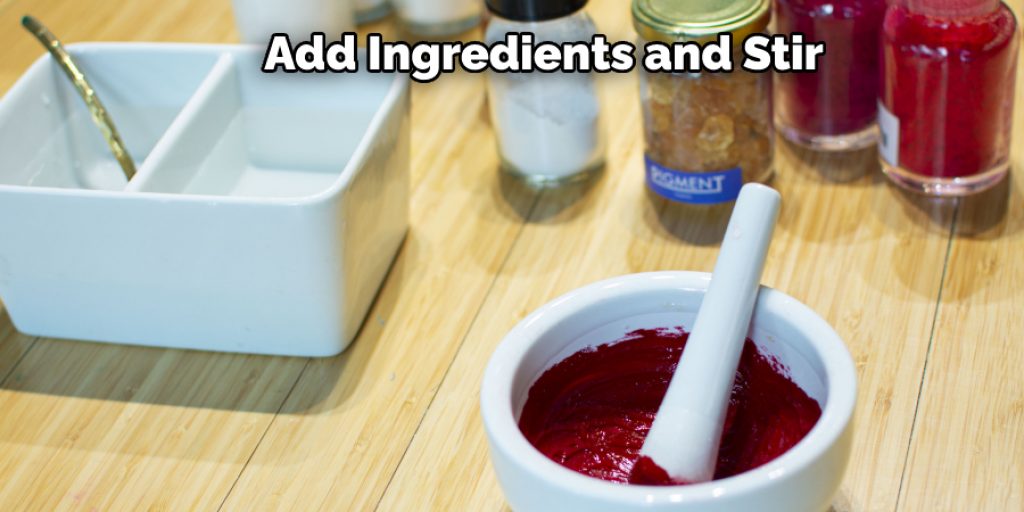
Step 8: Experiment
If the paint is still lumpy after following all of the steps listed above, you may need to experiment with a few different methods to get the desired result. One way to fix lumpy paint is to add a little bit of water and stir it until it’s smooth.
Another option is to add some solvent, such as mineral spirits, to the paint and stir until the lumpiness disappears. You can also try thinning the paint with a professional-grade acrylic thinner. If all else fails, you may need to start with new paint.
Step 9: Try Using a Different Type of Paint
If your acrylic paint is lumpy and not painting smoothly, you may need to try a different type of paint. There are many different paints available on the market, so it’s worth trying a different one to see if it will help.
Watercolor paints, for example, can be more fluid than acrylics and may produce a smoother finish. You can also try using acrylic paint with a higher viscosity, which will be less likely to produce lumps.
If you’re still having trouble getting your painting to smooth out, you can also try thinning it with water or using a different thinner type. Be sure to test the paint on a scrap piece of paper before applying it to your project to ensure it will work well. Keep reading for more information about how to fix lumpy acrylic paint.
You Can Check It Out To Fix Sticky Spray Paint on Wood
Common Problems With Acrylic Paint
One of the common problems with acrylic paint is that it can sometimes form lumps in the container. This can be especially frustrating when you are in the middle of the painting and have to stop to try and fix the lumps.
Some other problems with acrylic paint:
The Paint May Have Gone Bad
Acrylic paint has a limited shelf life, especially if it’s been opened and used before; the paint is no longer fluid and has started to form lumps; it’s likely gone bad. You can try to salvage it by adding a bit of water and stirring it well, but it’s probably best to start over with new paint.
The Paint Has won’t Up
If your acrylic paint has dried up, there are a few things you can do to try and fix it. One option is to add a small amount of water to the paint and mix it until it is smooth again. You can also try adding thinners, such as white spirit or turpentine. However, be aware that adding too much thinner can affect the quality of the paint.
If you’re not sure how much thinner you’re adding, start with a small amount and mix it in gradually until the paint is smooth. You can also try heating the dried-up paint to make it more liquid. However, be careful when doing this, as heat can cause the paint to change color or even explode.
The Paint Has Separated in the Tube
This is a common problem with acrylic paint, and it’s easy to fix. All you need is solvent that will break down the paint and allow it to mix properly. Acetone is a good choice for this, but you can also use nail polish remover or any other solvent containing acetone.
Pour a small amount of the solvent into the paint tube and shake it up. The paint should start to loosen up and become easier to work with. If it’s still too thick, you can add a little more solvent until it reaches the desired consistency.
The Paint is Drying Out Too Quickly
One possible reason your acrylic paint is drying out too quickly is that you are using the incorrect type of paint for the surface you are painting on. Acrylic paint is designed to be used on various surfaces, including canvas, paper, wood, and metal. If you are using it on a surface that is not designed to be used on, it will not adhere correctly and dry out quickly.
The Paint is Not the Best Quality
If you use acrylic paint that is not of the best quality, it is likely to become lumpy over time. This can be frustrating, as it can ruin the overall aesthetic of your painting. If you want to know more about how to fix lumpy acrylic paint, keep reading.
You Can Check It Out to Fix a Paintball Gun That Won’t Shoot
Frequently Asked Question
Can You Fix Lumpy Paint?
There is no definite answer to this question, as the best way to fix lumpy paint may vary depending on the type of paint and how severe the issue is. In most cases, adding more paint to the lumpy area should fix the problem. You can also mix the paint with a little bit of water to make it more fluid or use a paintbrush to smooth out the surface. If the lumpiness is caused by how the paint was mixed, you may need to add more solvent to make it smoother.
Can You Fix Dried Acrylic Paint?
If your paint dried up, there are a few things you can do to try and fix it. One option is to add a small amount of water to the paint and mix it until it is smooth again. You can also try adding thinners, such as white spirit or turpentine.
Can You Add Water to Acrylic Paint?
Water can be added to acrylic paint to make it thinner and easier to apply. Adding more water will also make the paint more transparent.
What Do You Add to Acrylic Paint to Make It Flow?
You can add a few things to acrylic paint to help make it flow better. One is a retarder, which helps to slow the drying process and keep the paint from getting too thick. You can also add liquefied, which will thin out the paint. Alternatively, you can add a small amount of acrylic medium to help the paint to flow better. Experiment with different additives to find the one that works best for you.
You Can Check It Out to: Fix Ghosting on Ceiling
Conclusion
By following these simple steps, you can avoid the dreaded lumpy acrylic paint and have a smooth, flawless finish every time. Have you ever had trouble with your acrylic paint looking lumpy? If so, don’t worry – we’ve got you covered. In this article, we’re shown how to fix lumpy acrylic paint using three easy steps. So what are you waiting for? Get started and see how smoothly your paintings can turn out!
You Can Check It Out To Fix Lumpy Cheesecake Batter