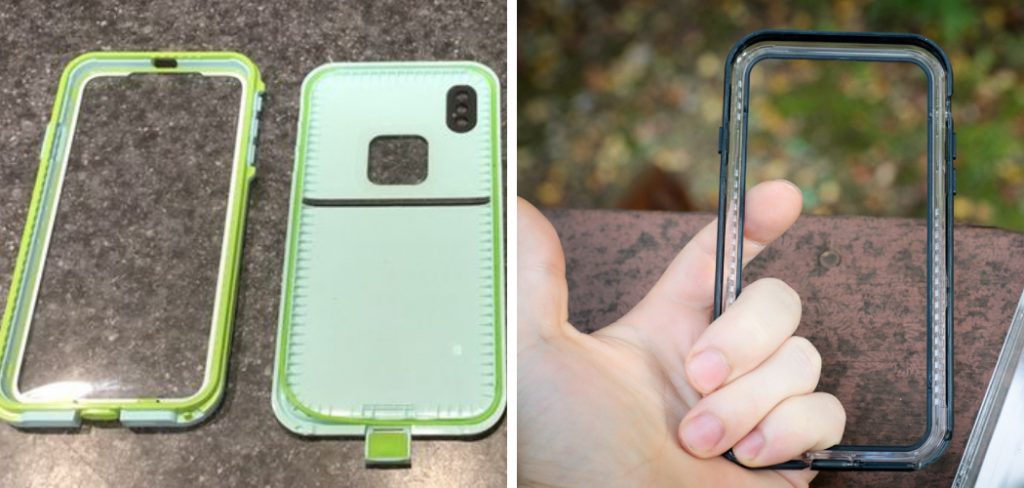
If you have a Lifeproof case for your iPhone, you may have noticed a small gap between the screen and the case. This can be frustrating, but there is a way to fix it! With a few simple steps, you can eliminate the screen gap and enjoy using your Lifeproof case again. Keep reading to learn how to fix LifeProof case screen gap.
Summary: This blog post will guide readers through the steps to fix a screen gap in a Lifeproof case, including seven steps such as removing the case, locating the gaps and flaws, cleaning the phone and case, filling in the gaps with a credit card or something similar, gluing the material, letting it dry and reattaching the case.
Why Fix Lifeproof Case Screen Gap?
If there’s a big gap between your Lifeproof case and your phone’s screen, it can be hard to use the touchscreen. Plus, the gap can let dust and other stuff get between the case and the screen, and that can damage your phone. You can avoid damage and make using your phone easier by fixing the screen gap.
A Stepwise Guide on How to Fix Lifeproof Case Screen Gap
Step 1: Gather Necessary Tools and Materials
Before starting the repair process, gather the required tools and materials to ensure a smooth workflow. Some essential items include a clean cloth or microfiber towel, rubbing alcohol, a hairdryer or heat gun, a plastic opening tool or a thin plastic card, and a small amount of adhesive (if required).
Step 2: Assess the Screen Gap
Inspect the Lifeproof case to determine the severity of the screen gap. A small gap may be due to misalignment or dust trapped between the case and the device, while a larger gap may indicate damage to the case or a manufacturing defect.
Step 3: Remove the Device from the Case
Carefully remove the device from the Lifeproof case, following the manufacturer’s instructions for proper removal. Be cautious not to damage the device or the case during the process.
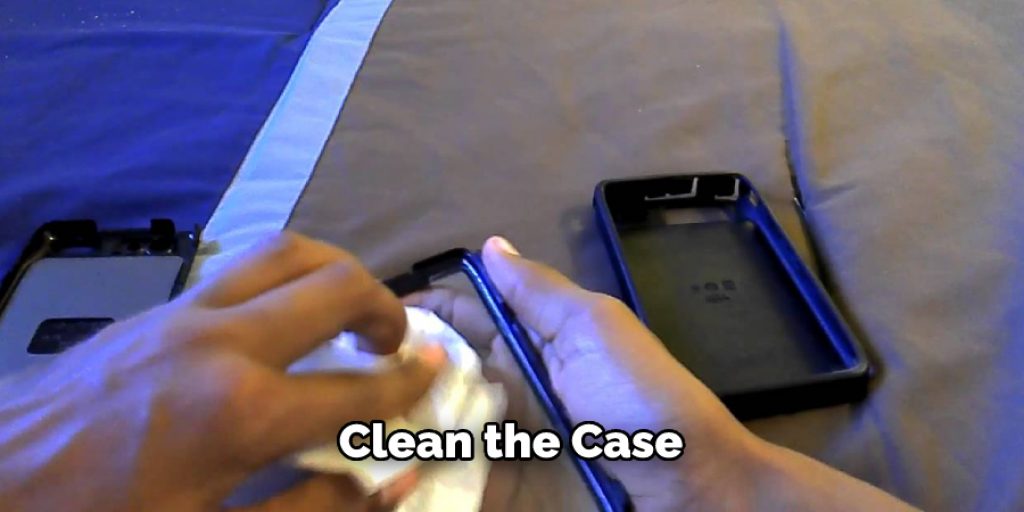
Step 4: Clean the Device and Case
Use a clean cloth or microfiber towel and rubbing alcohol to thoroughly clean both the device and the interior of the Lifeproof case. This will remove any dust, debris, or residue that may be causing the screen gap. Ensure that both the device and case are completely dry before proceeding.
Step 5: Reassemble the Case
Follow the manufacturer’s instructions for properly assembling the Lifeproof case onto the device. Ensure that all parts of the case are correctly aligned and securely fastened. If the screen gap is still present after reassembling the case, proceed to the next step.
Step 6: Apply Heat to the Case
Use a hairdryer or heat gun to apply heat to the area of the case with the screen gap. This will soften the material and make it more pliable. Be cautious not to apply too much heat, as this may damage the case or the device. Hold the heat source at least 6 inches away from the case and apply heat for no more than 10-15 seconds at a time.
Step 7: Press the Case into Place
While the case material is still warm and pliable, use a plastic opening tool or a thin plastic card to press the case into place, closing the screen gap. Apply firm, even pressure along the edge of the case until the gap is closed. Be careful not to damage the case or the device while applying pressure.
Step 8: Allow the Case to Cool
Allow the case to cool and set in place for several minutes. As the material cools, it should retain its new shape, effectively closing the screen gap.
Step 9: Inspect the Repair
Once the case has cooled and set in place, inspect the repair to ensure the screen gap has been closed. If the gap is still present, repeat steps 6-8 as needed until the issue is resolved.
Step 10: Apply Adhesive (Optional)
If the screen gap persists after attempting the previous steps, consider using a small amount of adhesive to close the gap. Apply a thin layer of adhesive, such as clear silicone sealant, along the edge of the case where the gap is present. Be cautious not to use too much adhesive, as this may cause damage to the case or the device. Allow the adhesive to dry according to the manufacturer’s instructions before using the device.
Step 11: Test the Case’s Functionality
With the screen gap closed, test the functionality of the Lifeproof case to ensure it still provides the desired level of protection. Test features such as the touch screen sensitivity, button functionality, and waterproof capabilities, following the manufacturer’s guidelines for proper testing.
Step 12: Perform Regular Maintenance
To prevent future issues with the Lifeproof case screen gap, perform regular maintenance checks. Inspect the case for signs of wear, damage, or loosening, and address any issues promptly. Regularly clean the case and the device to ensure a proper fit and maintain the case’s protective capabilities.
Step 13: Contact Lifeproof Support (Optional)
If the screen gap issue persists after attempting the previous steps or if the case is damaged or defective, consider contacting Lifeproof customer support for assistance. They may be able to provide guidance on additional repair options or offer a warranty replacement if the case is still under warranty.
Step 14: Consider a New Case (Optional)
If the Lifeproof case screen gap cannot be resolved through the above steps, and the case is no longer providing the desired level of protection, consider purchasing a new case. Research and select a new case that offers the features and protection you require for your device.
How To Get Rid Of Air Bubbles In Phone Case?
There are a few ways to get rid of air bubbles in your phone case. You can try using a hairdryer on low heat, a vacuum cleaner with the hose attachment, or a syringe. If these methods don’t work, you can also try popping the bubbles with a needle.
Ways to get rid of air bubbles:
Wash It
The first step is to clean the case. This can be done with a wet cloth. Be sure to get all of the dirt and dust off the case.
It’s also important to clean the screen on your device. This can be done with a microfiber cloth or a screen protector.
Degrease It
The next step is to degrease the phone case. This can be done by using a microfiber cloth and some rubbing alcohThen, wipe down the entire case until it is completely clean.
Lift the Corner
If your Lifeproof case has a screen gap, you can fix it by lifting the corner of the phone case. This will create more space between the case and the screen, which should help to eliminate the gap. However, be careful when lifting the corner, as you don’t want to damage your phone or case.
Use Non-Transparent Covers
One way to fix the screen gap on your Lifeproof case is to use non-transparent covers. This will help to fill in the space and close up the gap. You can find these covers at most stores that carry Lifeproof cases.
Add a Protective Film
Adding a protective film is another way to close up the screen bubbles on your Lifeproof case. This can be done by purchasing a film kit or using a third-party product. The protective film will help keep out dirt, dust, and other debris that may cause the screen to become damaged over time. Keep reading for more information about how to fix lifeproof case screen gap.

Frequently Asked Question
What Happens if Your Phone Cracks in A Life Proof Case?
If your phone cracks while in a Life Proof case, the warranty will still be valid. The Life Proof case is designed to protect your phone from everyday wear and tear and accidental drops and spills. However, if the case fails to protect your phone from damage, you may be eligible for a replacement under warranty.
Can I Have a Screen Protector Under My Lifeproof Case?
There are a few ways you can fix the screen gap on your Lifeproof case. One way is to cut a screen protector to size and place it over the screen. You can then use a piece of tape to secure it in place. Another way is to use a sticker or decal to cover the gap.
How Long Are Lifeproof Cases Supposed to Last?
Lifeproof cases are supposed to last a long time, but they may start to show signs of wear and tear over time. If your Lifeproof case is not performing as well as it used to, you may need to replace it.
Why Are Lifeproof Cases Expensive?
Lifeproof cases are expensive because they are high-quality cases that offer protection against water, dust, and shock. They are also designed to be slim and lightweight, making them a popular choice for people who want to protect their smartphones.
Why the Bubbles Form?
There are a few reasons why the bubbles form in your Lifeproof case. The main reason is that the case doesn’t fit your phone perfectly. This causes a gap between the phone and the case, allowing air to seep in. Another reason is that the case isn’t sealed properly. If there are any gaps around the edges of the case, air will seep in and cause bubbles to form.
You Can Check It Out To Fix AirPods Case Lid
Do Air Bubbles Go Away on Their Own?
Yes, air bubbles will eventually go away on their own. However, if you want to speed up the process, you can use a hairdryer in a cool setting. Point the hairdryer at the case for about 10 seconds. Hold the phone in a safe place while you’re doing this!
Are Air Bubbles Bad for Your Phone?
Air bubbles can be bad for your phone if they’re not taken care of properly. If the bubble is too big, it can cause your phone to fall out of the case and crack. If there are a lot of bubbles, it can also affect the sound quality of your phone.
You Can Check It Out To Fix Scratches on Computer Case
Conclusion
If you are experiencing the Lifeproof screen gap issue, there is hope. You can fix it! All you need is a little bit of time and some patience. Follow our simple guide to fixing your Lifeproof case, and you will be back to enjoying your device in no time. Have you tried this method? Let us know how it worked for you in the comments below. Thanks for reading our post about how to fix lifeproof case screen gap.
You Can Check It Out To Fix Engine Kickback