Whether you have one light that’s a different color or an entire string of lights out of sync, don’t worry – we’re here to help. In this post, we’ll show you how to fix LED lights that are different colors. So get out your toolbox, and let’s get started!
Summary:
Led lights can be very useful in illuminating a home or office. However, if the led lights are not working properly, they may emit different colors than expected. In this case, the most common cause is a low voltage, wiring problem, or defective bulb.
To resolve the issue, check the voltage of the power source, make sure all connections are secure and tight, and ensure that all bulbs are working correctly. If none of these issues address the problem, then it’s best to replace the affected bulbs with new ones to achieve uniform lighting.
How to Fix Led Lights that Are Different Colors Step by Step Guide
Step 1: Identify the Issue
Before attempting to fix LED lights that are displaying different colors, identify the specific issue. Possible problems could be a faulty LED chip, inconsistent color temperature, damaged or poor-quality wiring, or incorrect LED driver.
Step 2: Gather Necessary Tools and Materials
To fix LED lights that are showing different colors, you will need the following tools and materials:
- Multimeter
- Screwdriver
- Wire cutter and stripper
- Soldering iron and solder
- Heat shrink tubing
- Replacement LED chips or strips (if necessary)
- Replacement LED driver (if necessary)
Step 3: Check the LED Driver
An incorrect or malfunctioning LED driver can cause the lights to display different colors. To test the driver, use a multimeter to check the output voltage and current according to the specifications provided by the manufacturer. If the driver is not providing the correct output, consider replacing it with a compatible driver.
Step 4: Inspect the Wiring
Damaged or poor-quality wiring can cause inconsistencies in color among LED lights. Inspect the wiring for any visible damage, such as frayed insulation, exposed wires, or loose connections. If you find any damaged wiring, you will need to repair or replace it.
Step 5: Repair or Replace Damaged Wiring
To repair damaged wiring, use a wire cutter to remove the damaged section, and then strip the insulation from the ends of the remaining wires. Use a soldering iron and solder to connect the wires together, and then cover the connection with heat shrink tubing. If the entire wiring system is damaged or of poor quality, consider replacing it with a higher-quality wiring system.
Step 6: Test the LED Chips
If the wiring and LED driver are functioning correctly, the issue may be with the LED chips themselves. Test the LED chips by connecting them to a power source and observing the color output. If any chips are displaying different colors, they may need to be replaced.
Step 7: Replace Faulty LED Chips or Strips
To replace faulty LED chips or strips, first disconnect the power source and carefully remove the damaged chips or strips from the lighting system. Install the replacement chips or strips according to the manufacturer’s instructions, making sure to match the color temperature and type of the existing LEDs.
Step 8: Check for Consistency in Color Temperature
Ensure that all the LED chips or strips in your lighting system have the same color temperature. Mixing different color temperatures can result in an inconsistent color output. If necessary, replace any mismatched chips or strips with the correct color temperature.
Step 9: Reassemble the LED Lighting System
After repairing or replacing any damaged components, reassemble the LED lighting system. Reconnect the wiring, LED driver, and power source, and then test the system to ensure that the colors are consistent and functioning correctly.
Step 10: Adjust the LED Driver (Optional)
If you continue to experience color inconsistencies in your LED lights, you can try adjusting the LED driver’s output voltage and current. This can help balance the color output, but be cautious not to exceed the manufacturer’s specifications, as this can damage the LEDs or shorten their lifespan.
Step 11: Consider Professional Assistance
If you have tried all the above steps and still cannot fix the issue with your LED lights displaying different colors, consider consulting a professional electrician or lighting specialist. They can help diagnose and repair the issue, ensuring that your LED lighting system functions correctly and safely.
By following these steps and using the appropriate tools and materials, you can effectively fix LED lights that are displaying different colors. Regularly inspect and maintain your LED lighting system to ensure that it continues to provide consistent, high-quality lighting for your space.
Step 12: Maintain Your LED Lighting System
To prevent future issues with color inconsistencies, regularly inspect and maintain your LED lighting system. Keep an eye out for any signs of damage or wear, such as flickering lights or changes in color output. Address minor issues as they arise to prevent more extensive and costly repairs in the future.
Step 13: Ensure Proper Installation
Proper installation of your LED lighting system is crucial to preventing color inconsistencies. Follow the manufacturer’s instructions and guidelines for installation, ensuring that all components, such as wiring, LED drivers, and LED chips, are compatible and correctly connected.
Step 14: Invest in High-Quality Components
Investing in high-quality LED lighting components can help prevent color inconsistencies and prolong the lifespan of your lighting system. Look for reputable brands and products with good reviews, and avoid low-quality, cheap alternatives that may be prone to color issues or malfunctioning.
Step 15: Keep Track of LED Specifications
To avoid color inconsistencies, keep track of the specifications for your LED lighting system, such as the color temperature, voltage, and current requirements. When purchasing replacement components or adding new lights to the system, ensure that they match the existing specifications.
Step 16: Use LED Dimmers Designed for LEDs
If you are using dimmable LED lights, ensure that you are using an LED-compatible dimmer switch. Some traditional dimmer switches may not work correctly with LED lights, resulting in color inconsistencies or flickering. Consult the LED manufacturer for recommendations on compatible dimmer switches.
Step 17: Monitor Ambient Temperature
LED lights are sensitive to temperature fluctuations, which can impact their color output. Monitor the ambient temperature in the area where your LED lighting system is installed, and take steps to maintain a consistent temperature, such as adding insulation or adjusting the thermostat.
Step 18: Avoid Overloading the LED Driver
Overloading the LED driver can cause color inconsistencies in your LED lights. Ensure that the total power requirements of your LED lighting system do not exceed the capacity of the LED driver. If necessary, use multiple drivers or upgrade to a driver with a higher capacity.
Step 19: Ensure Proper Grounding
Improper grounding can cause issues with your LED lighting system, including color inconsistencies. Ensure that your LED lighting system and all its components are properly grounded, following the manufacturer’s guidelines and local electrical codes.
Step 20: Educate Yourself on LED Lighting
The more you know about LED lighting, the better equipped you will be to prevent and address color inconsistencies in your lighting system. Educate yourself on the different types of LED lights, their specifications, and how they work. This knowledge will help you make informed decisions when purchasing and maintaining your LED lighting system.
By following these additional steps and maintaining a proactive approach to the care and upkeep of your LED lighting system, you can minimize the occurrence of color inconsistencies and prolong the lifespan of your LED lights. With proper installation, maintenance, and attention to detail, your LED lighting system will provide consistent, high-quality lighting for your space.
You Can Check It Out to Fix Monster Led Lights
Why Are Your LEDs Lights Is Different Colors
There could be a few reasons why your LED lights are different colors. One possibility is that you have a bad connection in one LED. Another possibility is that you have the wrong resistor installed in the circuit.
There are some other reasons why LEDs light shows different colors:
Over Heating
When LEDs are over-heated, their colors will start to change. This is because the heat will cause the diodes to start melting.
Chemicals
If there are any chemicals near the LED light, it could change the color of the light. This is usually because of how the chemicals react with the LED light.
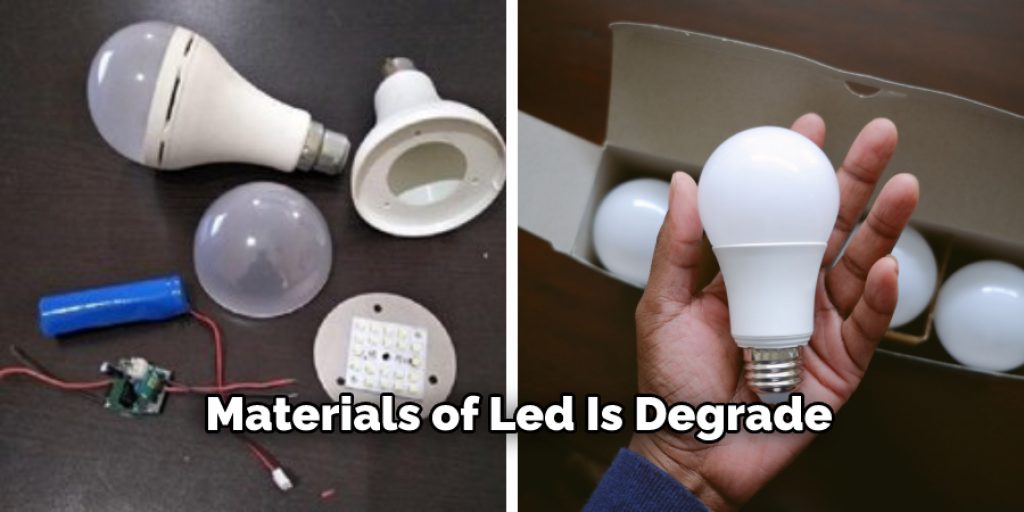
Age
As LED lights age, their colors may start to change. This is because the materials inside the LEDs will slowly degrade over time.
Not Enough Air Ventilation
If your LEDs are in an area without enough air ventilation, it could cause the colors to change. This is because the heat will build up and cause the colors to shift.
Voltage Drop
If the voltage drops, it could also cause the colors of the LED lights to change. Again, the different voltages will affect how the light is displayed.
Why Strip Lights Blink?
If you have a set of LED strip lights and some or all of them are blinking in different colors, there are a few things you can do to try to fix the issue.
The first thing you should do is check the connections between the light strips and the power supply. Make sure that all the connections are tight and secure and that no debris or dust is blocking the path of the light.
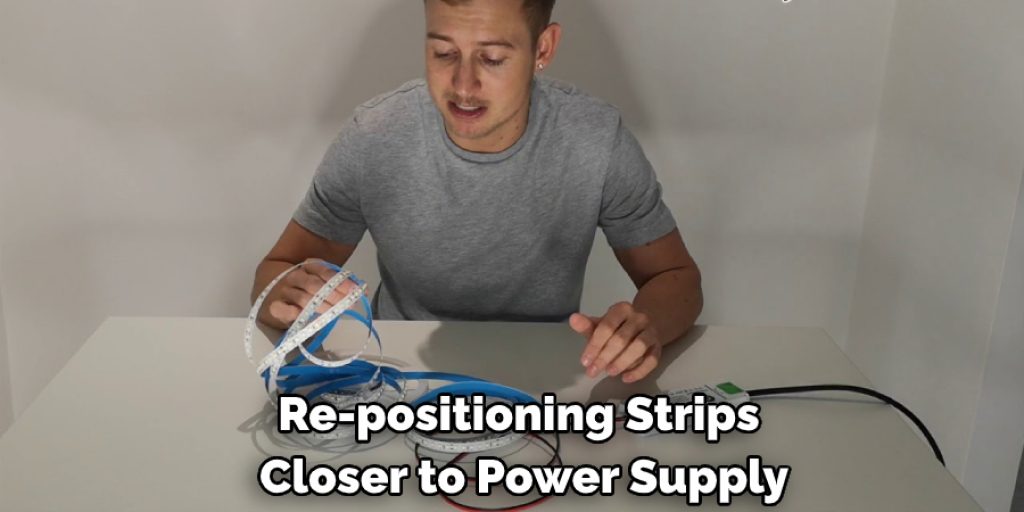
If the connections are all good, the next step is to check how well each strip is connected to the power supply. If one or more of the strips are not getting enough power, it can cause them to blink in different colors. Next, try re-positioning the strips closer to the power supply and see if that fixes the issue.
Why Do LED Strip Lights Turn Yellow?
LED strip lights are a popular and affordable way to light up spaces. However, sometimes they can turn yellow or other colors. This is often caused by a bad connection, which can be fixed with a little soldering.
First, identify where the bad connection is. Most likely, it will be at either the beginning or end of the strip. If it’s at the beginning, you can re-solder the connection. However, if it’s at the end, you’ll need to cut the strip and then re-solder it.
Once you’ve identified where the bad connection is, use a soldering iron to re-solder it. Ensure that the connection is solid and that there are no loose wires. If there are, you can use electrical tape to secure them.
Once the connection is fixed, your LED strip light should be back to its normal color. If it’s not, there may be another issue with the strip light that requires further investigation.
You Can Check It Out To Fix the Diy Button on Led Lights
Half Of the LEDs Are Not Working At All
If you have found that only half of your LED lights are working or not working, then there are a few possible causes. This problem may be that the LEDs were not correctly installed. Another possibility is that there is a malfunction with the electrical wiring. Finally, it is also possible that the LEDs themselves are defective.
To determine the cause of the problem, you will need to investigate. Begin by checking to see if the LEDs were installed properly. If they were not, you would need to remove them and reinstall them correctly.
If the LEDs are installed correctly, and the problem persists, you must check the electrical wiring. Finally, if the LEDs are installed correctly, and the problem is with the electrical wiring, then you will need to replace the LEDs. Keep reading for more information about how to fix led lights that are different colors.
You Can Check It Out To Repair Led Light Driver
Frequently Asked Question
Why Are My Strip Lights Different Colors?
Common Issues That Break LED Strip Lights:
- Overloading the strip lightly with too many LEDs
- Installing the strip light in an environment that is too hot or too cold
- Dust and dirt get into the LED strip light
Why Are Some of My Led Lights Different Colors?
The colors of LED lights can be affected by several factors, including temperature and voltage. If some of your LED lights are different colors than others, it may be because they are not getting the same voltage or at different temperatures. You can fix this by adjusting how much voltage you are giving to the LED lights or by using heat sinks to keep the LED lights at a consistent temperature.
Why Are My Led Lights Turning the Wrong Color?
If your LED lights are turning the wrong color, it may be because they are not getting the same voltage. You can try to fix this by adjusting how much voltage you are giving to the LED lights.
If your LED lights are turning the wrong color, they may be at different temperatures. You can try to fix this by using heat sinks to keep the LED lights at a consistent temperature.
How Do I Reset the Color on My Led Lights?
There are a few ways to reset the color of your LED lights. One way is to adjust how much voltage you give to the LED lights. Another way is to use heat sinks to keep the LED lights at a consistent temperature.
Conclusion
With a few simple tips, you can have your LED lights looking their best in no time. However, if you’re still having trouble with your LED lights or would like more information on how to fix led lights that are different colors, please don’t hesitate to reach out to us. We are always happy to help our readers get the most out of their lighting experience! Have you tried any of these methods for fixing LED light colors?
You Can Check It Out To Fix a Broken Button on Jeans