Hollow tiles are a type of tile that is not solid all the way through. Instead, there are small holes or voids in the body of the tile. These voids can be created during the manufacturing process, or they may occur naturally due to mineral deposits in the clay body of the tile.
Although hollow tiles are not as strong as solid tiles, they are less likely to break or crack if installed properly. Therefore, checking the tile for hollow spots and making sure it is properly supported is crucial to preventing cracking under weight or stress.
If you are grouting hollow tiles, there are a few things you need to keep in mind. When it comes to tile flooring, many things can go wrong. One of the most common mistakes is when the tiles have too much space between them, otherwise known as a hollow tile. This can be fixed before grouting by using some simple techniques.
In this blog post, we’ll teach you how to fix hollow tiles before grouting so that your floor looks great and lasts for years to come. Let’s get started.
Tile installation can be tricky, but it’s definitely worth it when the end result looks as good as a newly tiled floor or backsplash. One issue during installation is finding that some of the tiles are hollow and don’t have a lot of substance behind them. This can make them difficult to grout and can cause problems down the road.
Summary: If you have a floor covered in hollow tiles, there are a few things you can do to fix them before grouting. First, if the tiles are not broken, you can try to patch them up with a filler such as JB Weld. If the tiles are broken, you can use a tile saw to cut out the damaged area and replace the tiles with new ones.
What Happens When Tiles Are Hollow?
If tiles are hollow, they may crack more easily or collapse under the weight of furniture or people. This can cause serious injury if someone is standing on the tile when it happens. Tiles may also become loose and fall off the wall or ceiling, which can be dangerous. In some cases, hollow tiles can also cause water damage to the home.
Causes Why Are My Tiles Hollow?
If your tiles are hollow, it means that they were not properly installed. This can create a small space between the tile and the subfloor, which can eventually lead to the tile cracking or breaking.
Other causes are using the wrong type of tile adhesive, using an incorrect trowel size, or not allowing the adhesive to cure before grouting properly. If you have hollow tiles, it is important to fix them as soon as possible. The longer you leave the problem, the worse it will become. Call The Tile Doctor to fix your hollow tiles today.
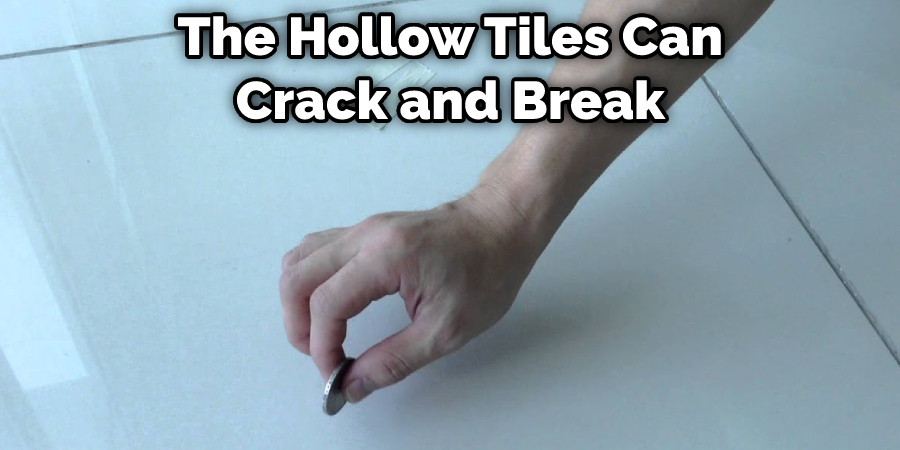
Ignoring the problem will only worsen and eventually lead to serious damage to your floor. If the problem is not fixed, the hollow tiles can crack and break, which will not only ruin the look of your floor but can also create a trip hazard.
Tools and Materials:
- Tile Adhesive
- Caulking Gun
- Silicone Sealant
- Grout
- Trowel
- Sponge
15 Ways How to Fix Hollow Tiles Before Grouting:
1. Remove the Tile With a Chisel and Hammer.
The first step is to chisel out the tile from the rest of the tiles around it. First, use a cold chisel to score the tile around its perimeter. Next, use a hammer to tap the chisel and break the tile into pieces. Finally, use a utility knife to scrape away any residual adhesive.
2. Vacuum the Area to Remove Debris.
Once the tile is removed, vacuum up any debris in the area to clean the area before you begin repairing it. Vacuum the area around the tile and the tile itself to remove any dirt or dust. If there is any grout or mortar on the tile, use a putty knife to scrape it off.
3. Clean the Area with a Cleaning Solution.
After vacuuming the area, clean it with a cleaning solution to remove any residue that may be on the tile’s surface. Be sure to rinse the area well after cleaning it. Then, use a clean cloth to dry the area completely.

4. Inspect the Area for Cracks.
Once the area is clean, inspect it for cracks. If there are any cracks in the tile, use a putty knife to fill them with tile filler. Allow the filler to dry completely before proceeding to the next step.
5. Apply a Bonding Agent.
If the area is free of cracks, the next step is to apply a bonding agent. This will help the grout adhere to the tile. Apply the bonding agent with a paintbrush, making sure to get into all of the crevices. Let the bonding agent dry for the amount of time indicated on the packaging.
6. Mix the Grout.
Once the bonding agent is dry, it’s time to mix the grout. Again, follow the instructions on the packaging for the mixing ratio and amount. You’ll need enough grout to fill all the joints between the tiles. To mix, add the required amount of water to a bucket and slowly add the grout mix.
Use a trowel or wooden spoon to mix until you have a smooth, consistent paste. Let the mixture sit for 5-10 minutes to thicken. If the mixture becomes too thick, add more water a little until you reach the desired consistency.
7. Apply the Grout.
Next, it’s time to apply the grout. Start by spreading grout over a small section of tiles using a rubber float held at a 45-degree angle. Use a light touch and apply gentle pressure to work the grout into the joints between the tiles. Be sure to work the grout into all joints, filling them completely.
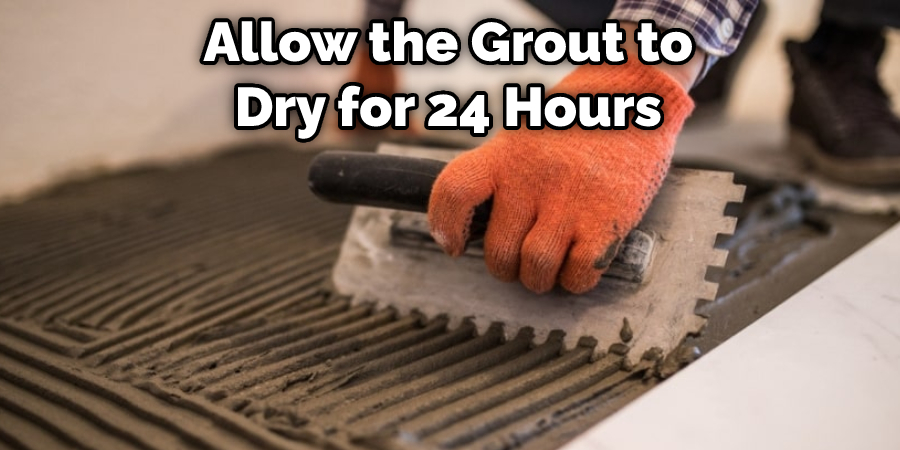
Once you’ve finished spreading the grout, use the float to remove any excess grout from the surface of the tiles. Finally, use a damp sponge to wipe away any grout that’s remaining on the tile surface. Allow the grout to dry for 24 hours before using the shower.
8. Inspect the Area for Holes.
After the grout has had time to dry, inspect the area for holes. If there are any holes in the grout, use a toothpick to apply more grout to the area and then smooth it over. Allow the grout to dry completely before moving on to the next step.
9. Apply Caulk.
Once the grout is completely dry, it’s time to apply the caulk. Caulk is a sealant that helps to fill in any gaps or cracks around the perimeter of the tile. This will help to create a water-tight seal and prevent moisture from seeping behind the tile. To apply caulk, first cut off the caulk tube’s tip at a 45-degree angle.
Then, insert the tube into a caulking gun and apply the caulk around the perimeter of the tile. Use a wet finger to smooth out the caulk and create a seamless seal. Allow the caulk to dry for 24 hours before grouting.
10. Enjoy Your New Tile.
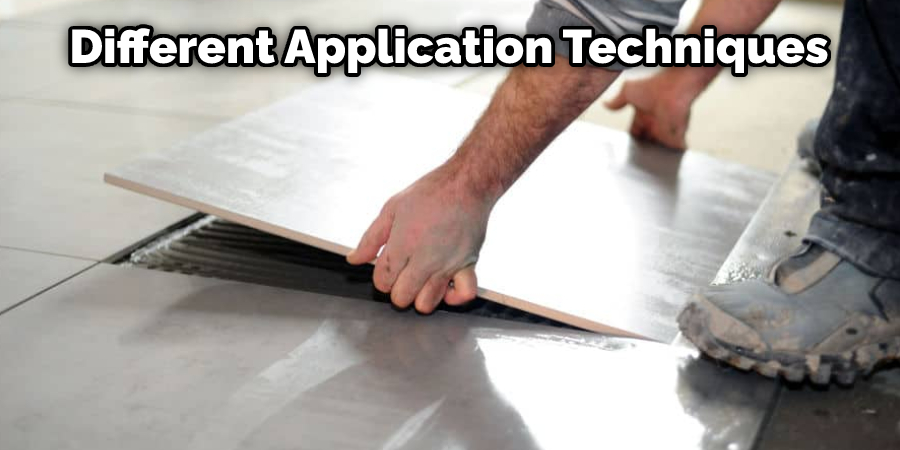
That’s it! You’ve now fixed your hollow tiles and are ready to grout. Be sure to follow the manufacturer’s instructions for grouting, as there are many different types of grout with different application techniques. Once the caulk is dry, enjoy your new tile.
Tips and Warnings on How to Fix Hollow Tiles Before Grouting:
Tips:
- Purchase the correct tile adhesive. Not all adhesives are created equal, and some are not meant for certain types of tile. Ask a professional at your local hardware store what type of adhesive would be best for your tile job.
- Follow the instructions on the adhesive packaging. This may seem like a no-brainer, but it is important to read and follow the adhesive directions to get the best results.
- Wet the back of each tile before applying adhesive. It will help the tile to bond better with the adhesive.
- Apply the adhesive in small sections. This will help prevent the adhesive from drying out before you can apply it to all of the tiles.
- Use a level when placing each tile. It will ensure that your tiles are even and level with each other.
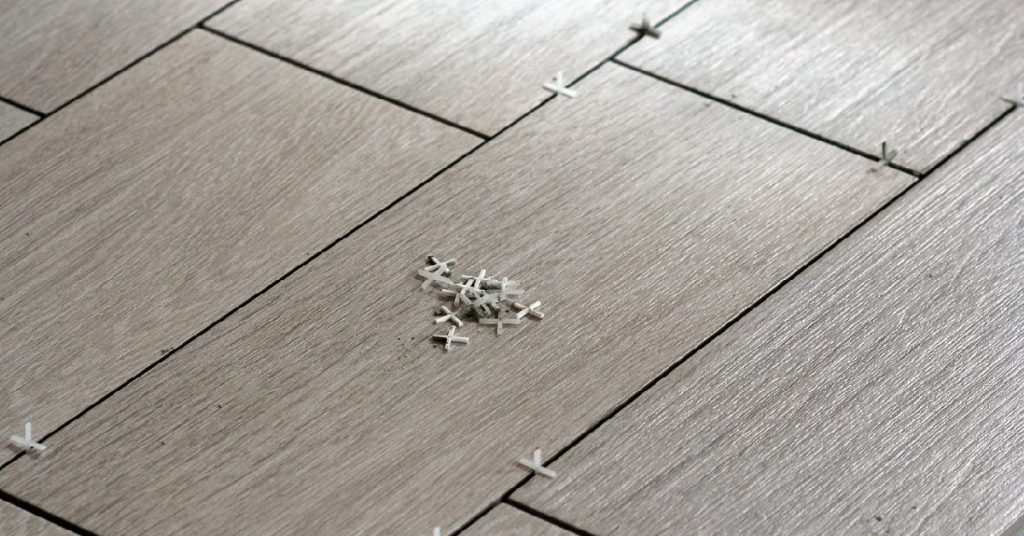
- Use tile spacers between each tile. It will help to keep the tiles even and prevent them from moving around when the adhesive dries.
- Allow the adhesive to dry completely before grouting the tiles. This is an important step in the process and should not be skipped.
Warnings:
- Be sure to wear gloves when working with adhesive. This will protect your hands from the adhesive and any chemicals that may be in it.
- Adhesive can be harmful if inhaled. Be sure to work in a well-ventilated area when using adhesive.
- Use caution when working with power tools. Always read the instructions before using any power tool.
- Wear safety goggles when working with power tools. This will protect your eyes from flying debris.
- Use caution when working with sharp objects. Always cut away from your body and use a cutting board if possible.
- Be careful not to get any adhesive on your clothing. Adhesives can be difficult to remove from fabric.
- Wash your hands after working with adhesive. This will remove any chemicals that may be on your skin.
Frequently Asked Questions
What Causes Hollow Sounding Tiles?
If you are hearing hollow sound when you walk on tiles, it is likely caused by the tiles absorbing moisture from your feet. This can cause the mortar between the tile and adhesive to start to decay and disintegrate. As this happens, small pieces of mortared clay break off which create a “hollow” or “echoing” sound when stepped on.
To prevent this from happening, make sure that your floor is properly sealed at all times using an appropriate sealant/caulk. You can also try drying out the affected area with a blowdryer before walking on the tiles in order for them to become less absorbent.
Can Hollow Tile Be Fixed?
Yes, the hollow tile can be fixed. However, it is important to have the tiles resurfaced by a professional since there may be hidden damage that needs to be repaired. Additionally, if the cracks are wide or deep, the tiles might need to be replaced entirely.
Do I Need to Replace Hollow Tiles?
No, you do not need to replace hollow tiles. Hollow tiles are made from a lightweight plastic that is designed to be moisture-resistant and easy to clean. Over time, the layers of the plastic will wear down and eventually disintegrate. This doesn’t affect the structural integrity of your roofing system in any way – it’s just an aesthetic issue that can be fixed relatively easily with a little paint or stucco refinishing.
Will Grout Hold a Loose Tile?
This is a common question that homeowners ask when they have to replace old tiles or grout with new. Unfortunately, the answer is often unsatisfactory.
Tiles and grout are made of small pieces of cement, which are held together by a plastic or rubber adhesive. When the adhesive deteriorates, the small pieces of cement can start to fall out of the tile or grout, which will result in gaps and misaligned tiles.
To prevent this from happening, you should always apply a fresh sealer to the entire surface of your tiles and grout every few years. This will keep the adhesive from deteriorating and ensure that your tiles and grout stay in place.
Conclusion
This is how to fix hollow tiles before grouting. You can fix your hollow tiles before grouting and avoid any potential problems by following these simple steps. If you have any questions or concerns, don’t hesitate to write them in the comments below. Thanks for reading.