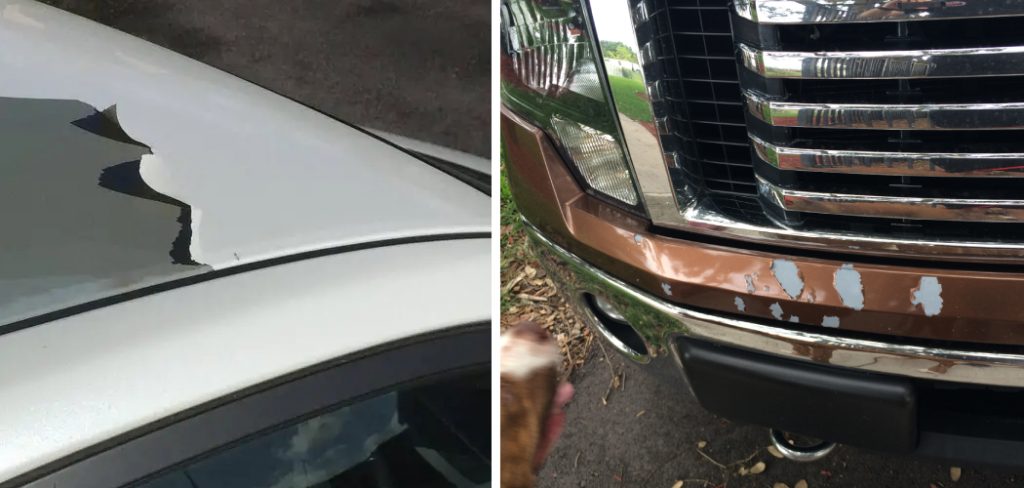
Are you the proud owner of a Ford car? Is your paint starting to flake off and peel away? If so, it may be time to repair that paint job with some easy fixes. Even for those who are novices when it comes to auto repairs, there’s no need to worry — this blog post on how to fix ford peeling paint has all the information you need in order for you to restore your car’s peeling paint in no time! Keep reading and learn everything from primer selection and sanding techniques, through to painting methods and finishing touches — we’ve got all bases covered.
Essential Materials
Given below are the essential tools and materials required when it comes to fixing Ford peeling paint:
Detergent
It is important to clean the car before applying any paint. Make sure you use a good quality detergent in order to get rid of any dirt and grime that could interfere with the painting process.
Sandpaper
The right type and grade of sandpaper are necessary when it comes to prepping your car for a new coat of paint. You will need to use medium or fine-grade paper depending on the state of your car’s existing paint job.
Primer
Primer is an essential step in any painting process as it helps to ensure that the paint adheres properly to the surface of the car. Make sure you select a quality primer that is suitable for automotive use.
Step-by-step Guidelines on How to Fix Ford Peeling Paint
Step 1: Begin by Washing Your Car
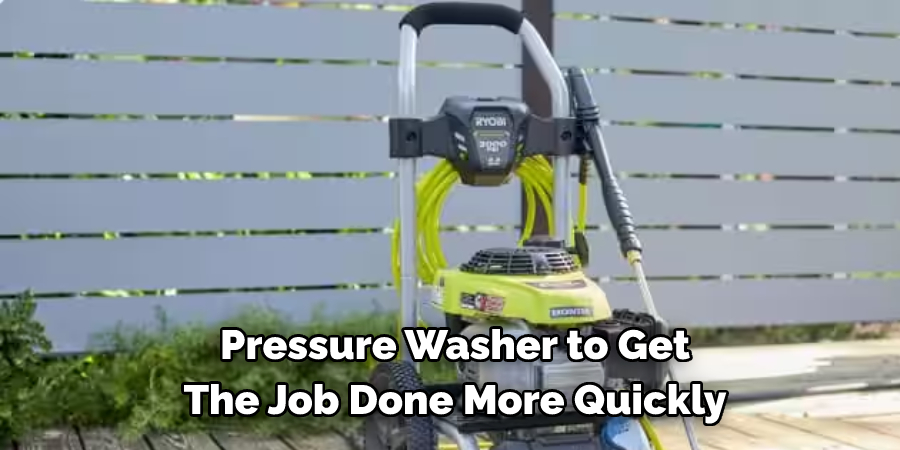
Make sure to give particular attention to the areas that are peeling and ensure that all dirt and grime are removed from the surface. If necessary, use a pressure washer to get the job done more quickly. But be careful not to spray too close as the high pressure might damage the paint. Although you can complete this step by hand, a pressure washer will help to get the best results.
Step 2: Start Sanding
Once the car has been washed and dried, start to sand the area that needs to be painted. It is important to use a suitable grade of sandpaper and to make sure that the area is thoroughly sanded. This will ensure that there are no bumps or imperfections on the surface, making it easier for the paint to adhere evenly.
Step 3: Wipe Off Any Dust
After you are done sanding, use a damp cloth to wipe off any dust particles from the car’s body. Once again, make sure that the area has been completely cleaned before moving on to the next step. If there is any dirt present, it could lead to streaking and uneven paint application. But by wiping off any dust, you will ensure that the paint adheres properly.
Step 4: Apply Primer
Before starting with the actual painting process, apply a coat of primer to the areas that need to be painted. Make sure to follow all instructions given on the primer canister in order for you to get optimal results. If necessary, you can also use a primer spray in order to cover the area more evenly.

Step 5: Choose Your Paint
Now comes the fun part — selecting a colour for your car! Take some time to decide on what kind of paint you would like and make sure it is suitable for automotive use. If you want to save a few dollars, you can also opt for a two-in-one paint and primer combo. Otherwise, you can use one colour for the primer and a different one for the actual paint application.
Step 6: Start Painting
Using either a brush, roller or spray gun, begin to apply the paint onto the car’s body. Make sure to follow all instructions given on the paint canister in order for you to get optimal results and ensure that each layer of paint is applied evenly. If you are using a spray gun, remember to keep the nozzle about 12 inches away from the surface when painting.
Step 7: Allow To Dry
Once you are done with painting, allow the car’s body to dry completely before applying any other coat of paint. Depending on environmental conditions and the type of paint used, this could take anywhere between a few minutes and a few hours. But make sure to wait until the car is completely dry before proceeding.
Step 8: Add The Clear Coat
Once the paint has dried completely, it is time to add the clear coat. This will help to protect the paint from any wear and tear that occurs due to exposure to external elements. Again, make sure to follow all instructions given on the canister in order for you to get optimal results. If you are using a spray gun, remember to keep the nozzle about 12 inches away from the surface when applying.
Step 9: Let It Dry Once Again
After applying the clear coat, let the car’s body dry once again before going ahead with any other steps. Like with the primer and painting process, this could take a few minutes or several hours depending on environmental conditions and the type of materials used.
Step 10: Apply Wax
Once the car’s body has dried completely, it is now time to apply a coat of wax. This will provide an extra layer of protection and help to keep your car looking shiny and new. If necessary, you can also use a wax spray in order to apply the wax more evenly. However, make sure to follow all instructions given on the wax canister in order for you to get optimal results.
Step 11: Clean And Enjoy!
Finally, all that’s left to do is to clean your car one last time and enjoy your newly painted Ford! Now you can drive around in style knowing that your car looks great and is properly protected against any external elements. After following these steps, you will be sure to have a car with amazing paint that will last for years!
Following these steps on how to fix ford peeling paint will ensure that you get the best possible results when fixing Ford peeling paint. Of course, it is always recommended to seek professional help in order for you to get optimal results. But if you are up for a DIY project and have some time on your hands, then these tips should be more than enough to help you fix any areas of peeling paint on your car’s body.
Do You Need to Take Help From a Professional?
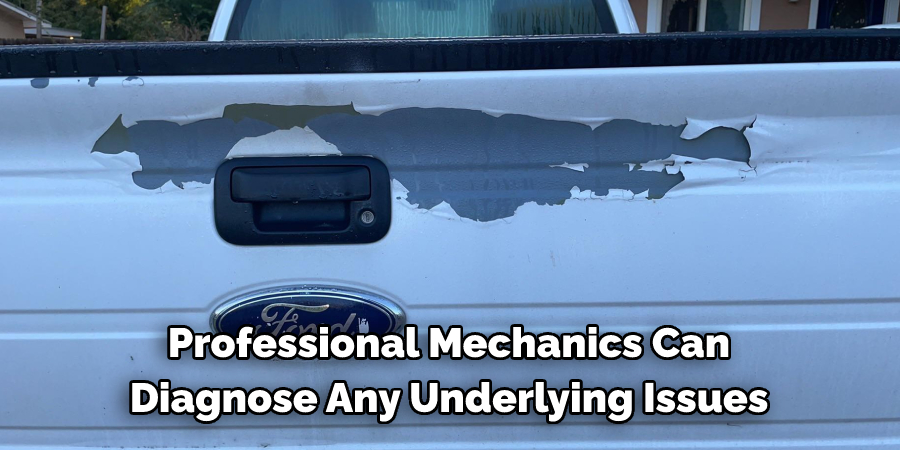
While following the above steps should be enough to get optimal results, it is always recommended to seek help from a professional if you are unsure about how to carry out any of the repair work. Professional mechanics can diagnose any underlying issues that might have caused the paint to peel and provide advice on what needs to be done in order for you to get the best possible results.
So whether you decide to go ahead with a DIY project or hire a professional, following these steps on how to fix Ford peeling paint will ensure that your car looks better than ever!
Frequently Asked Questions
Q: How Often Should I Wax My Car’s Body?
A: This depends on the type of wax used and environmental conditions, but it is recommended to wax your car at least once every month in order to get optimal results.
Q: Is There Any Way to Avoid Ford Peeling Paint in the Future?
A: Absolutely! It is important to keep your car clean and free from any contaminants that may affect its paint job. Additionally, washing it regularly with a suitable solution and applying a coat of wax will also help to prevent any further damage from occurring.
Q: Is Professional Assistance Necessary For Fixing Ford Peeling Paint?
A: While it is possible to fix Ford peeling paint yourself, professional assistance may be required if the damage is extensive. Seek a specialist’s advice before attempting any major repairs on your car’s body.
Q: Is It Possible to Change the Colour of My Ford’s Paint Job?
A: Yes, it is possible to change the colour of your car’s paint job. However, this is a lengthy and expensive process and should be done under professional supervision in order to get optimal results.

Conclusion
All in all, there are several steps you can take to fix Ford’s peeling paint. First, thoroughly clean the surface and secure areas you don’t want to affect with painter’s tape. Next, choose the right primer and paint for your vehicle’s make and model. Once you’ve chosen the right materials, carefully apply each layer using light brush strokes or a spray gun technique. Finally, let the paint dry fully before driving your car.
With these tips on how to fix ford peeling paint in mind and a little extra elbow grease, you can be sure to have a dazzling Ford finish for years to come! If the issue persists after following this process, however, it is best recommended to seek professional advice from an authorized dealership or body shop technician who can properly assess the state of your vehicle’s paint job.