Door trim can be tricky to fix if it’s too short. You might not know where to start or even how to fix it. But don’t worry, we’re here to help! In this post, we’ll walk you through the steps on how to fix door trim that is too short. So whether you’re a pro or a beginner, read on for tips and tricks on how to take care of this common household issue!

Summary: If you find yourself with a door trim that is too short, there are a few steps you can take to fix it. Start by using wood filler and sandpaper to repair any damaged areas. Then use a flat pry bar to carefully remove the existing trim and measure the doorway for your new piece. Cut the new piece of trim to size and attach it with nails or glue, then paint or finish as desired.
Is It Possible to Fix the Door Trim that Is Too Short?
Yes, it is possible to fix the door trim that is too short. It’s a fairly easy fix if you have the right tools and know what you’re doing. So don’t worry if your door trim is a little too short – we’ll show you how to take care of it!
A Stepwise Guide on How to Fix Door Trim that Is Too Short
Step 1: Gather Necessary Tools and Materials
To fix door trim that is too short, you will need the following tools and materials:
- Measuring tape
- Pencil
- Miter saw or handsaw
- Wood trim of the same style and thickness as the existing trim
- Sandpaper (medium and fine-grit)
- Wood glue
- Finish nails or brad nails
- Nail set
- Hammer or nail gun
- Wood filler
- Paint or stain
- Paintbrush or foam brush
Step 2: Measure the Gap
Using a measuring tape, measure the gap between the existing door trim and the floor or adjacent wall trim. This measurement will help you determine the appropriate length for the new trim piece to fill the gap.
Step 3: Purchase Matching Trim
Visit a local home improvement store or lumberyard to find wood trim that matches the style and thickness of your existing door trim. If possible, bring a small sample of the existing trim to help you find an accurate match. Purchase enough trim to cover the gap, plus some extra to account for any cutting errors.
Step 4: Cut the New Trim Piece
Using a miter saw or handsaw, carefully cut the new trim piece to the length you measured in Step 2. If the trim needs to be mitered to match the existing trim, ensure that the miter angle is cut correctly. Always follow proper safety guidelines when using power tools.
Step 5: Sand the Trim Piece
Using medium-grit sandpaper, sand the cut edges of the new trim piece to remove any rough spots or splinters. Then, use fine-grit sandpaper to smooth the surface further. Be sure to sand in the direction of the wood grain to avoid scratching the surface.
Step 6: Dry Fit the Trim Piece
Before attaching the new trim piece, dry fit it in place to ensure that it fits correctly and covers the gap. Make any necessary adjustments to the length or angle of the trim piece to ensure a proper fit.
Step 7: Apply Wood Glue
Apply a thin bead of wood glue along the backside of the new trim piece, focusing on the edges that will be in contact with the existing trim. This will help create a strong bond between the two pieces of trim.
Step 8: Attach the Trim Piece
Carefully position the new trim piece in place, aligning it with the existing door trim. Press the trim piece firmly against the door jamb or wall, ensuring that it is flush with the adjacent surfaces.
Step 9: Secure the Trim Piece
Using finish nails or brad nails, secure the new trim piece to the door jamb or wall. Drive the nails through the trim and into the underlying framing or wall studs, spacing the nails approximately 12 to 16 inches apart. Be sure to countersink the nails slightly below the surface of the trim using a nail set.
Step 10: Fill Nail Holes
Using wood filler, fill any nail holes in the new trim piece. Follow the manufacturer’s instructions for application and drying times. Once the wood filler is dry, sand the filled areas smooth with fine-grit sandpaper.
Step 11: Paint or Stain the Trim
To finish the repair, paint or stain the new trim piece to match the existing door trim. Be sure to apply the paint or stain in thin, even coats, allowing each coat to dry according to the manufacturer’s recommendations. Use a paintbrush or foam brush to ensure a smooth, even finish.
Step 12: Inspect the Repair
Once the paint or stain is dry, inspect the repair to ensure that the new trim piece is securely attached and properly aligned with the existing door trim. If necessary, make any minor adjustments to the position or finish of the trim piece to achieve a seamless appearance.
Step 13: Clean Up
Gather all tools and materials used during the repair process and clean up any debris or dust. Dispose of any waste materials properly and store your tools for future use.
Step 14: Maintain the Door Trim
Regularly inspect and maintain the door trim to ensure that it remains in good condition and functions as intended. Check for any signs of damage, such as cracks or chips, and address any issues promptly to prevent further problems. Proper maintenance will help prolong the life of your door trim and keep it looking its best.
Step 15: Seal Gaps and Cracks
If you notice any gaps or cracks between the door trim and the surrounding surfaces, use a paintable caulk or wood filler to seal these areas. Sealing gaps and cracks will help prevent drafts, moisture infiltration, and insect entry, as well as improve the overall appearance of the door trim.
Step 16: Protect the Door Trim
To help prevent future issues with door trim that is too short, ensure that the door and surrounding surfaces are adequately protected from water, moisture, and temperature fluctuations. This may include maintaining a consistent indoor humidity level, installing a door sweep or weatherstripping, or applying a protective finish to the door and trim.
Step 17: Adjust Door Height If Necessary
If the door trim is consistently too short due to settling or other factors, consider adjusting the height of the door to accommodate the trim. This may involve raising the door threshold, cutting the bottom of the door, or adjusting the door hinges.
Step 18: Consult a Professional If Necessary
If you are unsure about how to fix door trim that is too short or encounter any difficulties during the process, consult a professional contractor or carpenter for assistance. They have the expertise and equipment necessary to assess and repair the issue safely and effectively.
By following these steps and maintaining a proactive approach to door trim care, you can fix door trim that is too short and prevent future issues. Regular maintenance, attention to detail, and proper installation practices will help ensure that your door trim remains functional and visually appealing for years to come.
How to Fix a Too Short Door
Step 1:
Measure the trim to see how much needs to be cut. If it is too short, you will need to cut it to the correct size.
Step 2:
Cut the door trim to the correct size using a saw. Be precise with your cuts so that the trim fits properly.
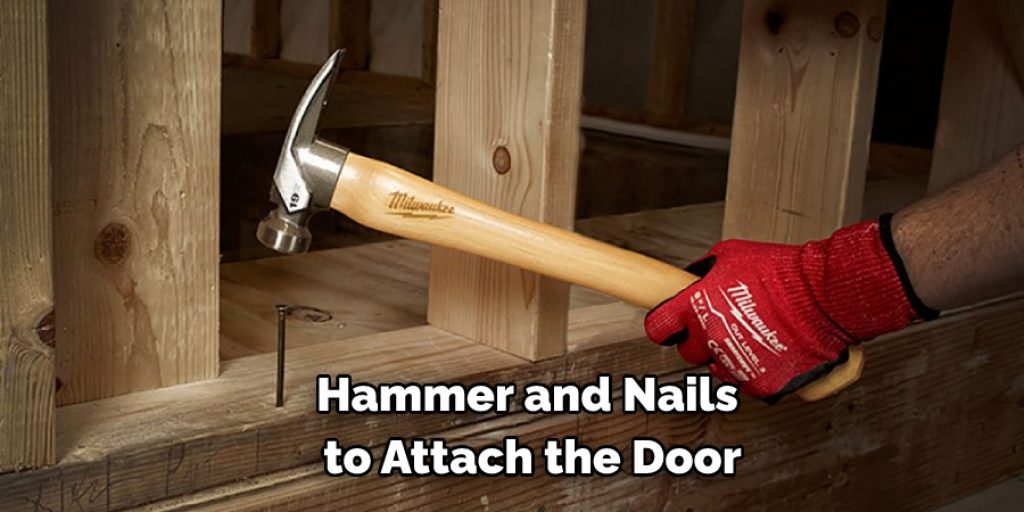
Step 3:
Once the trim is cut to size, use a hammer and nails to attach it to the door. Ensure that the trim is level and straight before nailing it into place.
If your door trim is too short, don’t worry! You can easily fix it by cutting it to the correct size and attaching it with nails. Ensure that the trim is level and straight before nailing it into place. Enjoy your new, properly sized door trim! Keep reading for more information about how to fix door trim that is too short.
You Can Check It Out To Fix Peeling Chrome Trim
Frequently Asked Question
How Do You Fix Door Trim that Has Been Cut Too Short?
If the door trim has been cut too short, you may be able to fix it by adding a new piece of trim. First, you’ll need to remove the old trim and then measure and cut a new piece of trim to fit. Once you have the new trim in place, you can attach it using nails or screws.
How Do You Extend a Door Trim?
If the door trim is too short, you can extend it by adding a new piece of trim to the existing piece. Cut a new trim piece to size and attach it to the existing piece with nails or screws. If the door trim is too long, you can cut it down to size with a saw.
How to Fill a Gap Under a Door Casing?
If the trim is too short and you have a gap between the trim and the door casing, you can fill the gap using caulk or wood filler. First, apply a bead of caulk or wood filler to the gap, and then use a putty knife to smooth it out. Let the caulk or wood filler dry completely before painting or staining.
You Can Check It Out To Fix Sleeves That Are Too Short
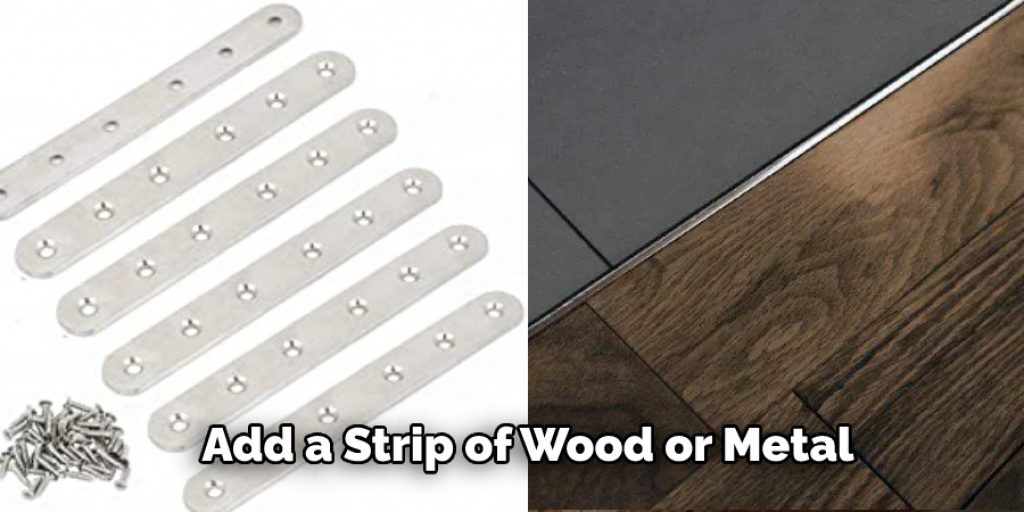
How Do You Fix the Gap at The Bottom of A Door Frame?
There are a few ways to fix the gap at the bottom of a door frame. One way is to add a strip of wood or metal that will create a seal between the floor and the door frame. Another way is to caulk or sealant around the bottom of the door frame.
Should Door Trim Touch the Floor?
No, the door trim should not touch the floor. However, it may be a sign that the trim is too short if it does.
You Can Check It Out To Fix Gap at Top of Garage Door
Conclusion
Door trim can be fixed by adding a new piece of trim that is the same length as the old one. If you cannot find a piece of trim that is the same length, you can cut and attach a new piece of trim. The process for fixing door trim is simple and only requires a few tools. Thanks for reading our post about how to fix door trim that is too short.