Dealing with a deadzone on your Xbox controller can be incredibly frustrating. Whether you’re trying to win a game or enjoy a movie, that little zone of no response can ruin everything. Thankfully, there are ways to fix it. In this article, we’ll walk you through some of the best fixes on how to fix deadzone on xbox controller. So, whether your controller is new or old, keep reading for some tips on making it work like new again!
We all know how important it is to have a functioning Xbox controller. Not being able to use it can be beyond frustrating, especially if you’re in the middle of winning a game. Unfortunately, many people think that once their controller starts having a deadzone, it’s time to get a new one. However, this doesn’t have to be the case. There are ways to fix a deadzone on your controller, and we’re here to show you how.

Summary: If you’re experiencing problems with your Xbox controller’s deadzone, there are a few things you can do to fix it. First, make sure that the controller is plugged into the Xbox and that the controller is turned on. If the controller still isn’t working properly, try resetting it by pressing and holding the power button for three seconds. Finally, if all else fails, you can try replacing the controller’s batteries.
What Is a Deadzone?
A “deadzone” on an Xbox controller is a small area around the center of the analog sticks where input is ignored. This is done to prevent the stick from registering accidental input when it is at rest. The size of the deadzone can be adjusted in the Xbox controller settings, and it is typically set to a minimal amount by default.
The deadzone is an area around the center of the joystick where the stick will not register any input. This is to prevent accidental input, like if you bump the stick while gaming. You can adjust the size of the deadzone to fit your needs.
What Causes Deadzone on an Xbox Controller?
Potential causes of deadzone issues on an Xbox controller include wear and tear on the controller itself, which can break down the material of the joysticks over time and make them less sensitive. Another potential cause is playing too many games that require fast movement or intense action.
If you have other wireless devices in the same room as your Xbox, they can sometimes interfere with the signal from your controller. This can result in input lag or jittery movements.
Finally, there may be something wrong with your console’s hardware. For example, if you’re having deadzone problems with your controller, it’s worth trying a different controller to see if the issue persists. If it does, there may be an issue with your Xbox itself.
How to Identify a Deadzone on an Xbox Controller
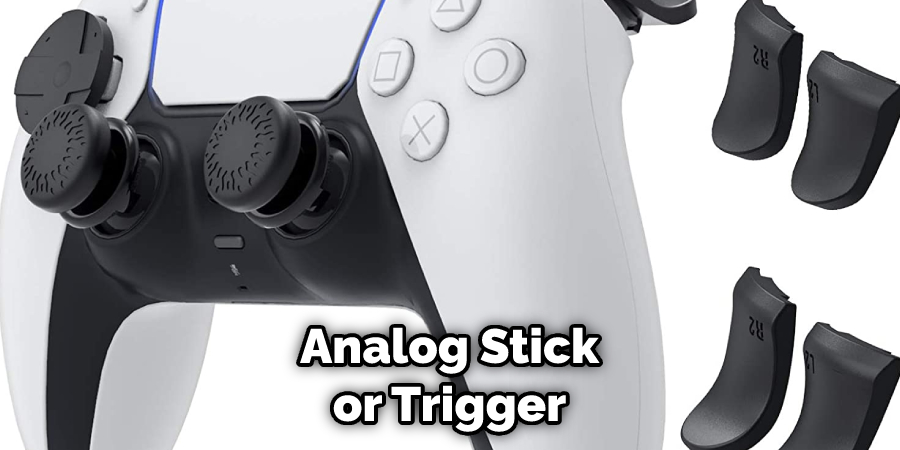
One of the most common issues people have with gaming controllers is a deadzone. A deadzone is an area on the stick or trigger where the game doesn’t register the input. This can result in your character not moving when you want them to or losing control during crucial moments. However, there are a few ways to identify a deadzone on an Xbox controller.
The first way is to pay attention to how your character moves in the game. If they’re not responding the way you expect them to, or if they seem to be lagging behind your input, then there’s a good chance you have a deadzone issue.
The second way is to look at the performance of your controller in the game’s menus. Most games will have some input lag indicator that can help you identify whether or not your controller is having issues. For example, if you see a consistent delay between your input and the game’s response, you will likely have a deadzone problem.
Finally, you can test for deadzones by trying to move the analog stick or trigger in small increments. If the game doesn’t register your input until you reach a certain point, you probably have a deadzone.
A Step by Step Guide on How to Fix Deadzone on Xbox Controller
Step 1: Determine if Your Controller Has a Dead Zone
The first step is to determine if your controller has a dead zone. You’ll need to test it out in a game to do this. Start by playing a game that you’re familiar with and has good controls. As you play, pay attention to how your character or vehicle moves in response to your input.
If you find a delay between when you move the joystick and when your character or vehicle responds, then your controller likely has a dead zone.
Step 2: Adjust the Dead Zone Settings
Once you’ve determined that your controller has a dead zone, the next step is to adjust the settings. This can usually be done in the game’s menus. Look for an option like “controller dead zone” or “dead zone size.”
Experiment with different settings until you find one that feels comfortable. It’s essential to remember that a larger dead zone will make your character or vehicle feel less responsive. Conversely, a smaller dead zone will make it feel more responsive but can also make it harder to control.
Test the different settings in-game to see what works best for you. You can test them out on a PC or console with most games that allow custom button mapping. You’ll be able to get a feel for how responsive your character or vehicle is without having to commit to a new setting.
Step 3: Test Your Controller Again
After adjusting the dead zone settings, it’s time to test your controller again. Start by playing the same game as before and see how the character or vehicle responds to your input.
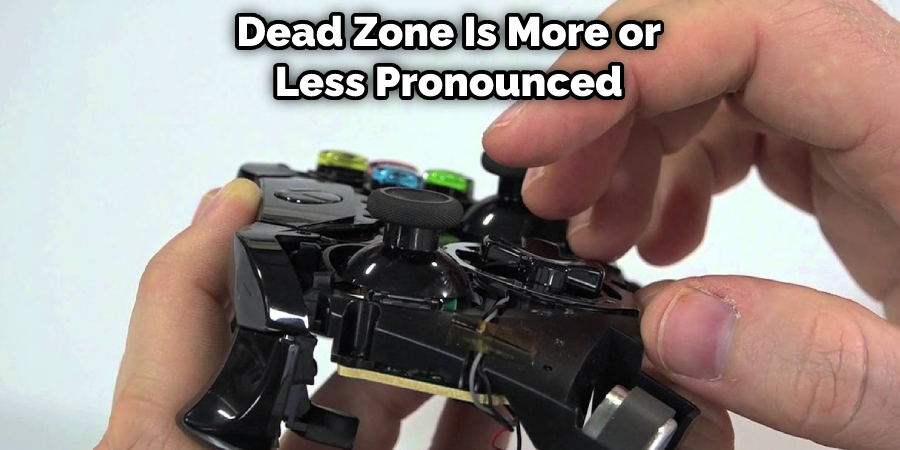
If you’re still not happy with the results, try adjusting the settings again. You may also want to try a different game to see if the dead zone is more or less pronounced.
You Can Check It Out to Fix Squeaky Scroll Wheel
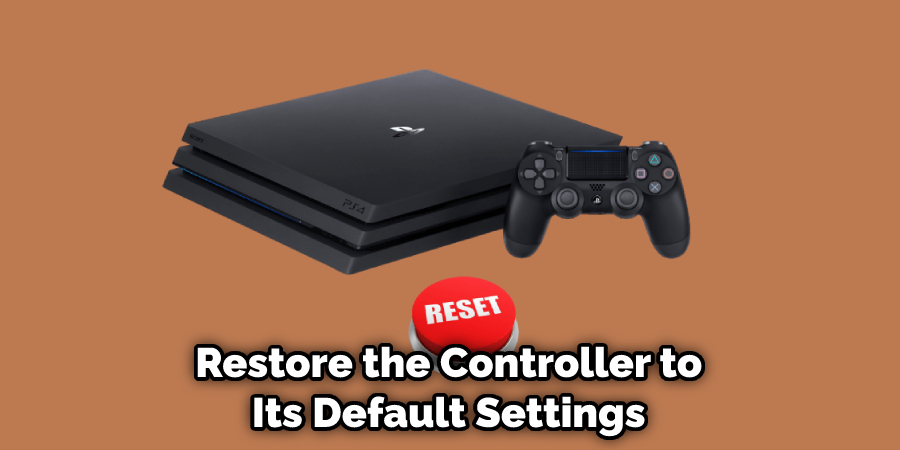
Step 4: Resetting Your Controller
If you’ve tried all of the above and are still not happy with how your controller feels, you may need to reset it. This will usually restore the controller to its default settings, which should fix any dead zone issues.
You will need to find the reset button on the back of the controller near the battery compartment. Press and hold the button for about 10 seconds. You should hear a beep or see the light indicating that the controller has been reset.
Now try using your controller again and see if the dead zone issue has been fixed.
Step 5: Replace Your Controller
If none of the above steps have worked, you may need to replace your controller. Unfortunately, if your controller is more than a few years old, the dead zone is likely simply a result of wear and tear. In this case, the only solution is to buy a new controller. We hope this article helped fix your dead zone issue.
You Can Check It Out to Fix Lb Button on Xbox Controller
Frequently Asked Questions
Can You Fix Controller Deadzone?
The controller dead zone is a common issue that gamers face when trying to play their games. It can affect both PS4 and Xbox One controllers, and it usually occurs when the correct buttons aren’t being detected by the game or software. There are several ways to fix controller’s dead zone, including checking your calibration settings, cleaning your controller’s sensors, or replacing its joystick or thumbstick.
However, in most cases, these solutions are only temporary fixes that may require repeating them over time. If you’re experiencing Controller Dead Zone constantly then it might be best to consult with a gaming expert who can help you resolve the problem permanently.
What Should Controller Deadzone Be?
The number of controllers available can be limited by using controller dead zone. This setting ensures that the system can only handle a certain number of requests at a time, making it easier to determine which controller is best for your application.
Is Higher or Lower Deadzone Better?
There are pros and cons to both high and low dead zones. On one hand, having a lower deadline can give you better overall cell performance because it allows more signal transfers between the phone’s antennas and its radios. This may result in improved call quality and faster data speeds when using cellular networks.
However, on the other hand, having a lower deadline might lead to continual interference problems with nearby wireless devices or WI-FI connections. In addition, if your current phone has a higher than average dBm (decibel) level, then installing an antenna booster may be necessary in order for you to get optimal cell coverage from an adjacent tower.
Ultimately, it is important to test which type of deadline works best for you before making any final decisions about whether or not to switch over.
Do I Fix My Controller Drift Without Opening It?
Controller drift can happen when the controller board (the electronics that controls the movement of the machine) loses its connection to the machine’s motors. If this connection is not regained, the controller will attempt to move the machine in an erratic or random fashion in order to re-establish a connection.
Since opening the controller can Sometimes be the solution to gaining back control of your machine, it is advisable to do so if you notice controller drift occurring. However, be aware that opening the controller may also damage it and may require that it be replaced. In any case, it is always best to consult a repair technician or technician familiar with controller drift in order to determine what course of action is most appropriate for your specific situation.
Conclusion:
If you are experiencing the Xbox controller deadzone issue, we hope that the steps in this article on how to fix deadzone on xbox controller have helped resolve it. However, if they haven’t or you are still having trouble after trying them, please reach out to customer care for more assistance.