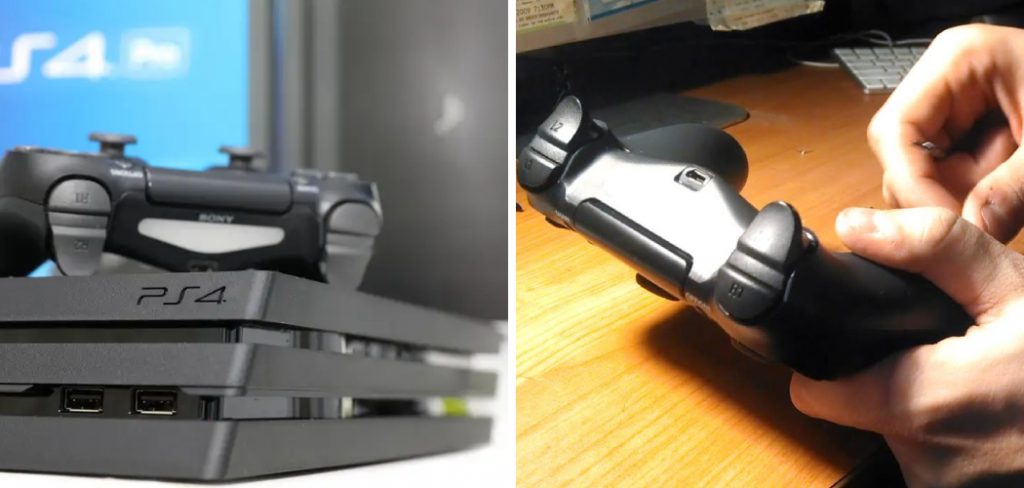
Ps4 controllers are awesome, but sometimes the triggers can get a little bit finicky. A sticky trigger can be a big pain because the triggers are so important for gaming. If you’ve ever played a game on your Playstation 4 and had the joystick stick, then you know how frustrating it can be. The good news is that there is a way to fix it. In this article, we will provide instructions on how to fix a sticky trigger on ps4 controller. So if your joystick has been sticking lately, keep reading for some tips on how to fix it.
Summary: If your ps4 controller is sticking, there are a few things that you can do to fix the problem. First, try dusting the controller with a soft cloth. If that doesn’t work, try spraying the controller with a light coat of lubricant. If that still doesn’t work, you may need to replace the controller.
Things You Will Need
- Phillips screwdriver
- Can of compressed air
- Q-tips
- Isopropyl alcohol (optional)
10 Ways on How to Fix a Sticky Trigger on Ps4 Controller
1. Use a Phillips Screwdriver:
If your trigger is sticking, you can try using a Phillips screwdriver. Insert the tip of the screwdriver into the small hole on the back of the controller, and then twist. This should loosen up the trigger and make it easier to press.
2. Use Compressed Air:
To clean your controller using compressed air, you will need to find a can of compressed air at an electronics store. Once you have found the can of compressed air, point the nozzle at the sticky button on your controller and give it a good blast of air. The high-pressure air will dislodge any dirt or debris that may be stuck in the button, making it easier for you to press.
3. Clean with Alcohol:
If your controller’s trigger is sticky, you can try cleaning it with rubbing alcohol. Dip a cotton swab in the alcohol, and rub it along the underside of the trigger. Let the alcohol dry completely before using the controller again. If the trigger is still sticky, you may need to replace it.
4. Replace the Trigger:
If cleaning doesn’t work, or if the trigger is physically damaged, you’ll need to replace it. You can purchase replacement triggers online or find them at game stores. If you’re handy with a soldering iron, you can also try to solder on a new trigger yourself. However, this is a difficult fix and not recommended for those without experience. When replacing the trigger, make sure to pay attention to its orientation. Triggers are typically manufactured with a flat side and an angled side. The angled side must face the bottom of the controller so the trigger will move freely when pulled.
5. Use Q-Tips:
If your controller is not working properly, you can try using a Q-tip to clean it. First, dip the Q-tip in water and then rub it along the underside of the trigger. The moisture will help loosen any dirt or debris that is stuck in the button. You can also use Q-tips to clean the exterior of your controller.
6. Use a Pencil Eraser:
If you have a pencil eraser, you can try using that to clean your trigger button. Just rub the eraser back and forth over the button until it’s clean. Be sure to use a light touch so you don’t damage the button. If the eraser doesn’t do the trick, you can try using a cotton swab.
7. Clean with Soap and Water:
If your trigger is just slightly sticky, you can try cleaning it with soap and water. Just be sure to use a mild soap and avoid getting any water inside the controller. You can also use a toothpick to help clean out any debris that’s stuck in the trigger.
8. Use Rubbing Alcohol:
If your trigger is still sticking, you can try using some rubbing alcohol to clean it. First, turn off your PS4 controller and remove the battery. Next, use a cotton swab to apply some rubbing alcohol to the problem area of the trigger. Allow the alcohol to sit for a few minutes before wiping it away with a clean cloth.
9. Use WD-40:
If you don’t have to rub alcohol or if the above method doesn’t work, you can try using WD-40. WD-40 is a petroleum-based product that can dissolve many types of residue. It’s also very easy to find and relatively inexpensive.
To use WD-40, spray it on the affected area and let it sit for a few minutes. Then, use a cotton swab or a soft cloth to wipe away the residue.
10. Use a hairdryer:
If the hair dryer method does not work, you can try using a hairdryer to fix your controller. Heat up the affected area for about 30 seconds and then use a cotton swab to remove the residue.
Step by Step on How to Fix a Sticky Trigger on Ps4 Controller
Step 1. Remove the Back Panel:
The first step is to remove the back panel of your controller. This will give you access to the triggers. You can do this by using a small Phillips screwdriver. First, remove the two screws on the back of the controller. Then, use a plastic opening tool to pry the back panel off.

Step 2. Remove the Triggers:
Once you have removed the back panel, you will be able to see the triggers. Four screws are holding each trigger in place. Use your Phillips screwdriver to remove these screws. Once they are removed, you can carefully pull the triggers off of the controller.
Step 3. Clean the Triggers and Controller:
Now that you have removed the triggers, you can clean them with rubbing alcohol and a cotton swab. Rubbing alcohol will break down any oils or dirt that may be causing the problem. Once you have cleaned the triggers, you can also clean the controller itself. Use a cotton swab dipped in rubbing alcohol to clean around the buttons and joysticks. If your controller is especially dirty, you may want to use a can of compressed air to blow out any dirt or debris that is stuck inside the cracks and crevices.
If cleaning the triggers and controller does not fix the problem, you may need to replace the triggers. You can purchase replacement triggers online or at your local electronics store. Follow the instructions that come with the replacement triggers to install them properly.
Step 4. Reassemble the Controller:
Once you have replaced the triggers (if necessary), you can reassemble your controller. Start by attaching the back plate, then screwing it in place. Next, reattach the battery cover and snap it into place. Finally, screw on the front plate and attach the analog sticks and buttons. Your controller is now ready to use!
If your trigger problems persist, you may need to buy a new controller. Fortunately, controllers are relatively inexpensive and easy to find.
Step 5. Check the Controllers:
After following the steps above, you should now have a clean and functional controller. Next, check to see if the buttons and triggers are working as they should be. If not, there may be an issue with the controller itself. You can try troubleshooting the controller or contacting Sony for support.
Tips and Warnings
Tips:
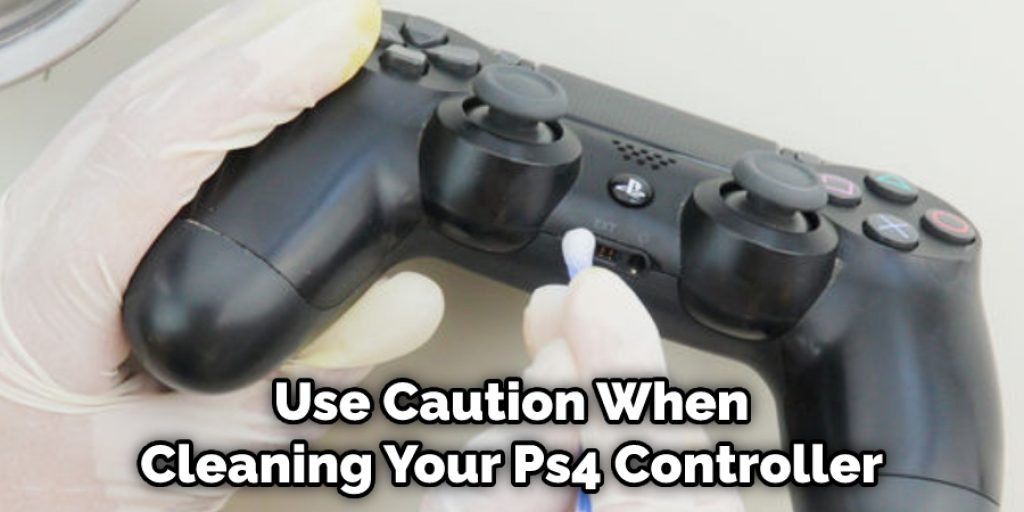
- Always use caution when cleaning your PS4 controller. Avoid getting any liquids inside the controller as this can damage the electronics.
- If you are having trouble removing a screw, try using a different size Phillips head screwdriver. Sometimes, the screws can be tight and may require a bit of force to remove.
- Be careful not to over-tighten the screws when reassembling your controller. This can strip the threads and make it difficult to screw the screws back in.
Warnings:
- Do not use sharp objects, such as knives, to remove build-up from the buttons or triggers. This can damage the plastic and ruin your controller.
- Be careful not to get any liquids inside the controller, as this can also damage it.
- If you are having difficulty removing the build-up, consider taking your controller to a professional for cleaning.
Frequently Asked Questions
How Much Is a Ps5 Controller?
Sony’s next-generation PlayStation 5 console will launch in late 2020, and it’s already available for preorder. The standard PS5 controller will retail for $69.99, while the PS5 Digital Edition will come with a $59.99 price tag. Both versions of the console will come with one DualSense controller.
How do you fix sticky bumpers on ps4 controller?
There are a few things you can try to fix sticky bumpers on your PS4 controller. You can first try to clean the bumper with a cotton swab or toothpick. Next, gently scrape away any dirt or debris that’s stuck in the crevice. You can also try using a can of compressed air to blow away any dust or dirt.
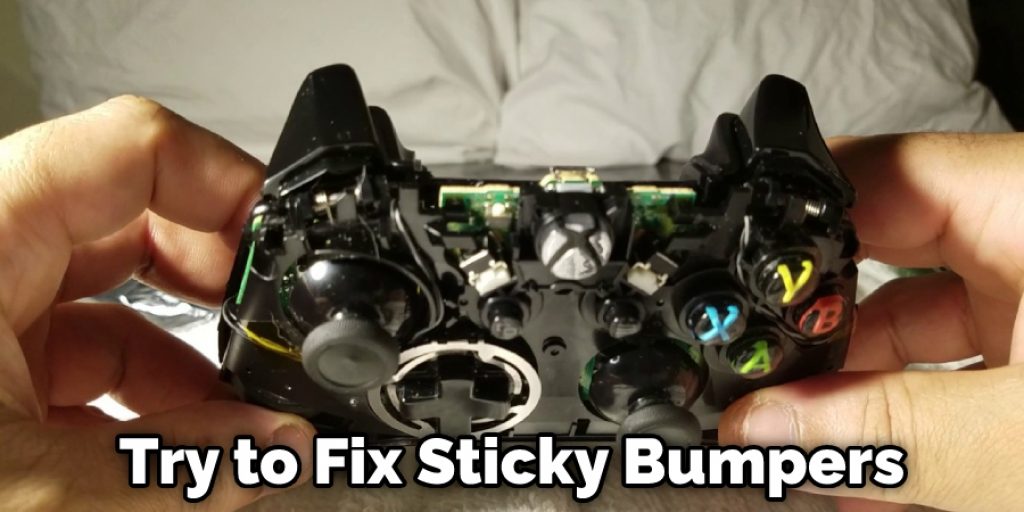
If the bumper is still sticky, you can try applying a small amount of rubbing alcohol to a cotton swab and wiping down the affected area. This will help dissolve any residue that’s causing the bumper to stick.
If none of these solutions work, you may need to replace the bumper itself. You can purchase replacement bumpers online or at your local game store. Be sure to match the correct bumper to your controller model. With a little bit of patience and some trial and error, you should be able to fix your sticky bumper problem.
Conclusion
This article will show you how to fix a sticky trigger on ps4 controller. If your PS4 controller’s trigger is sticking, there are a few things you can do to try and fix it. The first thing you should do is clean the gunk off of the button with a Q-tip and some rubbing alcohol. If that doesn’t work, you can also try applying some pressure to the back of the button while you’re clicking it. Finally, if all else fails, you can try using a hair dryer on low heat to loosen up the adhesive. Hopefully, one of these methods will help get your trigger working like new again. Thanks for reading!