Felt is a versatile fabric often used in a variety of applications, such as crafts, hats, furniture, and pool tables. Unlike other textiles, it is created from wool or synthetic fibers that are pressed together instead of woven, resulting in a dense and durable material. Known for its unique texture and insulating properties, felt has become a popular choice for both functional and aesthetic purposes.

Despite its durability, felt can still experience wear and tear over time. Common issues include tears, burns from excessive heat, stains from spills, and thinning due to regular use and friction. These types of damage are prevalent across various items made with felt, often requiring attention to maintain the material’s integrity and appearance.
This article aims to provide readers with detailed, practical steps on how to fix damaged felt. By exploring a range of repair techniques, you will learn how to restore felt to its original state, ensuring its longevity and continued appeal.
Identifying the Type of Felt Damage
A. Tears and Holes
Cause: Tears and holes in felt commonly occur due to sharp objects making contact with the fabric, careless handling, or excessive wear over time. Felt, although durable, can still be susceptible to punctures and ripping, particularly when used in high-traffic or high-stress situations.
Signs: The most obvious signs of this type of damage are visible rips or holes in the material, which can vary in size and severity. These breaks in the fabric not only detract from the felt’s appearance but also compromise its structural integrity and functionality.
B. Burn Marks
Cause: Exposure to heat sources such as irons, candles, or any hot objects can leave burn marks on felt. Felt can become scorched easily when subjected to high temperatures because it is often composed of natural wool or synthetic fibers which are sensitive to heat.
Signs: Signs of burn damage include areas of the felt that have become discolored or have small, hardened spots where the fibers have been singed or burned. These marks often appear as darkened patches that can be rough or brittle to the touch, affecting the fabric’s look and feel.
C. Stains and Discoloration
Cause: Stains and discolorations commonly result from spills of liquids, oils, or any substances that leave permanent marks. Felt, being a dense fabric, may absorb these substances quickly, leading to difficult-to-remove stains that alter their appearance.

Signs: The signs of stains and discoloration include visible spots or blemishes on the surface of the felt that stand out from its original color. These stains often do not wash out easily with simple cleaning methods, resulting in persistent color changes or unsightly patches on the fabric.
Tools and Materials Needed for Felt Repair
A. Sewing Tools
- Needles: Use fine needles specifically designed for fabric work to sew smaller tears in the felt. This helps ensure the stitching is subtle and doesn’t detract from the appearance of the felt material.
- Thread: Selecting the right thread is critical to achieving a seamless repair. Choose a thread that closely matches the color and texture of the felt to ensure the repair is as inconspicuous as possible.
B. Fabric Glue
- Types of Glue: Fabric glue is essential for repairing small holes or securing patches onto felt. Choosing a glue that dries clear and remains flexible is important, maintaining the aesthetic integrity and flexibility of the felt material during and after application.
C. Patch Material
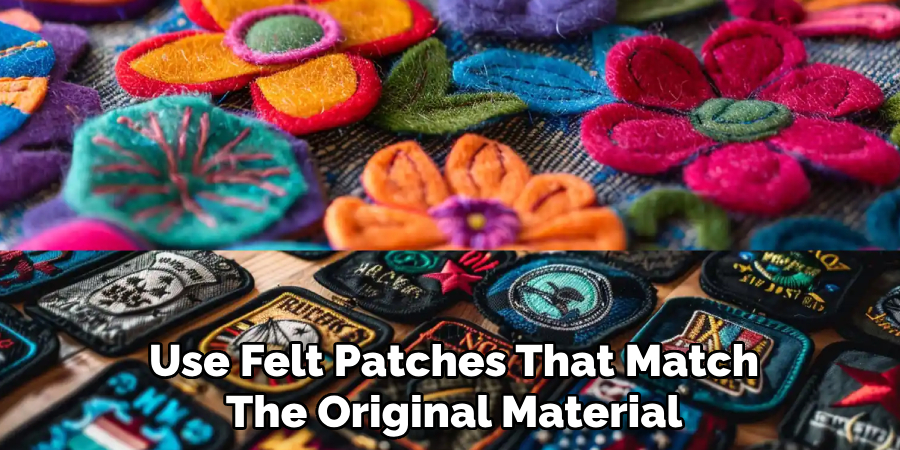
- Matching Felt: For larger tears or holes that require more than just stitching or gluing, use felt patches that match the original material in color and texture. This ensures that repairs blend smoothly with the existing felt, keeping the item looking cohesive and well-maintained.
D. Scissors and Tweezers
- Cutting Tools: Scissors are indispensable when it comes to preparing the felt for repair. They are essential for trimming jagged or frayed edges and crafting precise patch shapes to fit the damaged area. Conversely, Tweezers are particularly useful for making delicate or small repairs, allowing for greater control and precision when handling fine materials and placing small patches or threads.
How to Fix Damaged Felt: Step-by-Step Guide
Step 1: Assess the Damage
Inspect the Tear: Begin by examining the felt closely to identify the size and severity of the tear. Determine whether the damage can be effectively repaired with a simple sewing technique or fabric glue or if it necessitates a felt patch. Assessing the damage accurately will guide you in choosing the most appropriate repair method and materials, ensuring a successful and lasting fix.
Step 2: Prepare the Edges
Trim Frayed Edges: Before commencing the repair, use a sharp pair of scissors to carefully trim away any frayed or loose threads around the tear. This will provide a clean and even edge, which is crucial for achieving a seamless repair. Clean edges improve the final repair’s appearance and facilitate more effective bonding or stitching.
Step 3: Sewing Method for Small Tears
Sewing the Tear: For minor tears, employ a fine needle and thread that closely match the color of the felt. Carefully sew small, neat stitches close to the edge of the tear, pulling the sides together with precision. The key is to maintain a balance—tight enough to hold the felt securely yet discreet enough to blend in with the fabric.
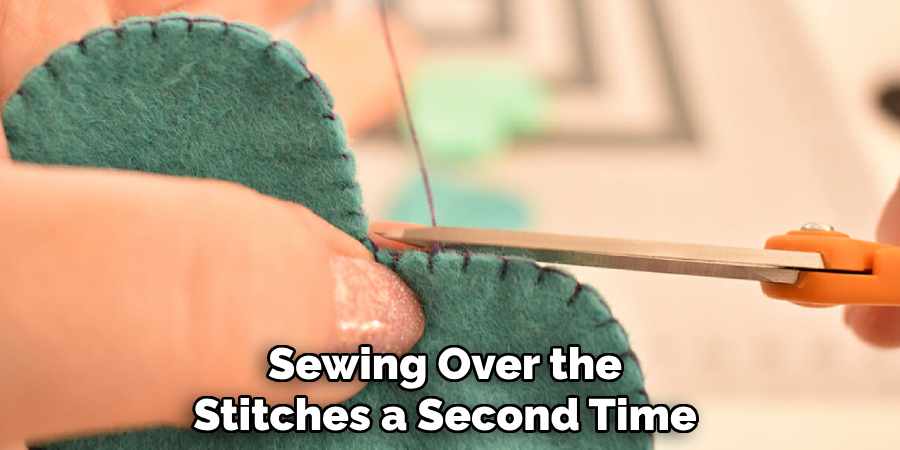
Double Stitching: To enhance the strength of the repair, consider reinforcing it by sewing over the stitches a second time. This added layer of stitching will provide extra durability, helping ensure the tear remains securely closed and that the felt can withstand normal use.
Step 4: Patching Large Holes
Cut a Felt Patch: For more significant damage, such as large holes, prepare a patch by cutting a piece of felt that matches the original material in color and texture. The patch should be slightly larger than the hole, ensuring it covers the entire area and provides ample overlap to secure it properly.
Secure the Patch: Depending on the size and location of the hole, decide whether to use fabric glue or sewing to attach the patch. Apply glue evenly to the patch’s edges and press firmly onto the felt, ensuring complete adherence. For sewing, employ small, secure stitches along the edge of the patch, covering all sides to prevent future fraying or detachment.
Repairing Burn Marks on Felt
Step 1: Trim the Burnt Fibers
Gently Cut Away Burnt Edges: Begin by using small, sharp scissors to carefully trim away any singed or burned fibers from the felt. This step is crucial to prevent further damage and maintain the integrity of the remaining fabric.
Exercise caution to avoid cutting into healthy felt sections, as this could expand the affected area. Focus on removing only the burnt material to achieve a clean edge that will facilitate effective surface repair or patch application.
Step 2: Repair the Surface
Use Sandpaper for Small Burns: For minor burns, lightly sand the affected area with fine-grit sandpaper to gently remove discoloration and smooth the surface. Take care to sand only the discolored fibers without wearing away the felt’s thickness. This method is effective for superficial burns and ensures the surrounding felt remains intact.
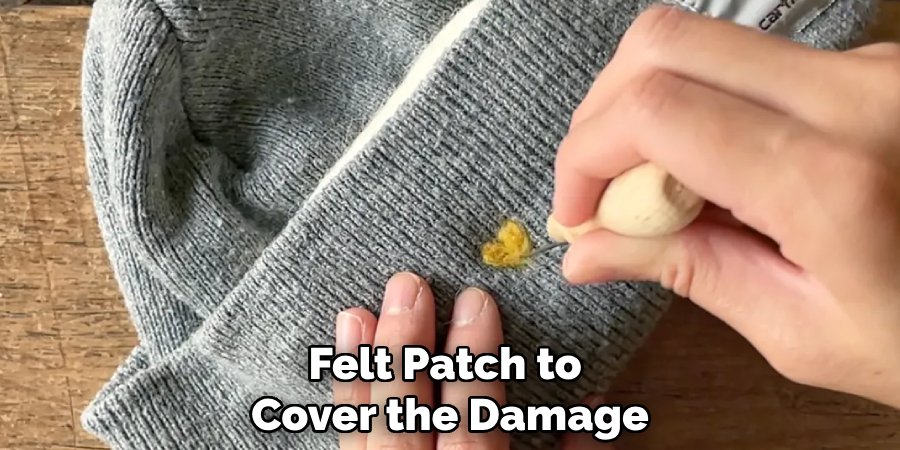
Patch for Larger Burns: In cases where the burn mark penetrates deeper into the fabric, utilize a felt patch to cover the damage. Follow the same procedure as repairing large holes: cut a matching felt patch slightly larger than the burn mark, then use fabric glue or sewing techniques to secure it in place, ensuring full coverage and durability.
Removing Stains from Felt
Step 1: Spot Cleaning
Blot with a Damp Cloth: It is crucial to act quickly when fresh stains on felt occur. Use a damp cloth to gently blot the stained area, avoiding rubbing, as this can cause the stain to spread or sink deeper into the fibers.
Use Mild Soap: If water alone doesn’t suffice, mix a small amount of mild soap with water. Dampen another clean cloth with the soapy solution and carefully dab the stain. Afterward, rinse the area with a separate damp cloth to remove any soap residue and allow the felt to air dry naturally.
Step 2: Stubborn Stains
Use Vinegar Solution: For more stubborn stains that don’t respond to initial cleaning, create a solution of equal parts white vinegar and water. Apply the mixture with a soft cloth, gently blotting the stain without vigorous scrubbing. Continue blotting until the stain begins to lift from the felt.

Specialized Felt Cleaner: If the stain remains after applying a home remedy, consider utilizing a specialized felt cleaner. These products, found in fabric or craft stores, are designed specifically for cleaning felt, offering a safe solution to remove heavy stains without damaging the fabric. Follow the product’s instructions carefully for the best results.
Preventing Future Damage to Felt
A. Handle with Care
Avoid Sharp Objects: Be cautious of sharp objects that can easily tear or puncture. When working with felt on household items or accessories, ensure that the material is adequately protected by using protective covers or padding where needed.
B. Regular Cleaning and Maintenance
Vacuum Regularly: Incorporate regular cleaning into your maintenance routine by using a vacuum with a soft brush attachment to gently clean felt surfaces. This prevents dirt and debris from embedding into the fibers, maintaining the felt’s appearance and durability.
C. Avoid Direct Heat
Keep Felt Away from Heat Sources: Given that felt is highly susceptible to burning or heat damage, ensure it is kept at a safe distance from open flames, hot objects, or heated appliances. Taking such precautionary measures helps preserve the felt’s structural integrity and longevity.
Special Tips for Repairing Felt on Pool Tables
A. Small Tears and Rips
Sewing vs. Replacing: For small tears in the pool table’s felt, it is often possible to sew the area carefully using fine stitches that minimize visibility and maintain the surface’s integrity. However, suppose the damage is significant or involves multiple tears.

In that case, it may be more aesthetically pleasing and practical to replace the entire felt surface to ensure a uniform and even look. This approach also enhances the quality of play by providing a consistently smooth playing surface.
Using Felt Adhesive: When repairing small sections, special adhesives designed specifically for pool table felt are invaluable. These adhesives secure patches effectively without compromising the felt’s playability. Apply the adhesive sparingly to the underside of the patch and press it firmly into place to ensure a seamless and durable repair.
B. Burn Marks from Pool Cues
Spot Repair: Burn marks from improper pool cue use can often be remedied by lightly sanding the affected area to remove discolored fibers and smooth the surface. Once sanded, a small felt patch can be applied to conceal the burn. Carefully align the patch to ensure it is flush with the rest of the felt. This method restores the table’s appearance and ensures a smooth playing surface, preventing disruptions during play.
When to Seek Professional Help
A. For Large-Scale Repairs
Significant Damage: When dealing with someone who has suffered extensive damage or repairs beyond your expertise, it’s wise to consult a professional. This is particularly crucial for items such as pool tables, hats, or high-end crafts that require precision and skilled craftsmanship.
If the damage is widespread with pool tables, professional refelting is essential to ensure the playing surface remains smooth and optimal for gameplay. Attempting large-scale repairs without the proper skills may result in further damage and increased costs in the long run.
B. Felt Restoration Services
Professional Felt Repair: Numerous upholstery and fabric restoration services specialize in felt repair. These professionals possess the specialized tools and knowledge needed to restore felt items to their original condition, ensuring longevity and quality.
Relying on professional services can safeguard your cherished felt pieces, maintaining their aesthetic value and functional integrity. Professional intervention can deliver the best results for sentimentally valuable items or luxury goods, preserving the item’s quality.

Conclusion
Repairing felt can be straightforward with the right tools and techniques. Whether you’re patching holes, removing stains, or fixing burns, learning how to fix damaged felt involves solutions suitable for all types of damage.
Ensuring the longevity of your felt items hinges on proper maintenance—regular cleaning and cautious handling can significantly extend the life of felt items, preventing further damage down the line. It’s crucial to recognize when a repair exceeds your own capabilities.
Don’t hesitate to seek professional assistance for larger repairs or delicate items to ensure the repair is done correctly. Professionals can bring their expertise and specialized equipment to address complex felt damage, safeguarding the item’s quality and appearance. By following these best practices, you can maintain the beauty and functionality of your felt creations for years to come.