Are you having trouble with plastic that is cross-threaded? This can be a frustrating problem, but it can be fixed. In this blog post, we’ll be discussing the causes and solutions of cross-threaded plastic.
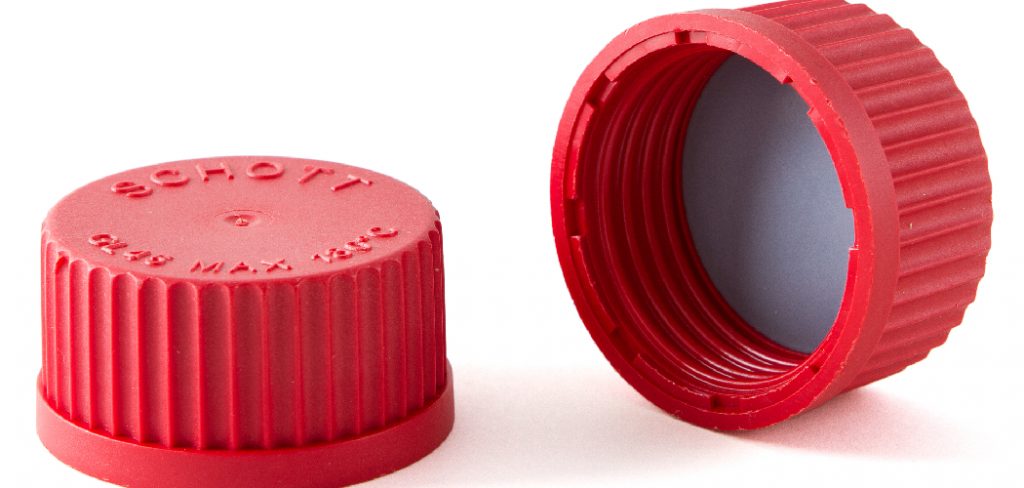
Cross threading is a manufacturing defect that can occur when parts are assembled using threads that are not properly aligned. This can cause damage to the part and difficulty in disassembly. In this article, we’ll outline how to fix cross threaded plastic. We will also provide some tips on avoiding this problem in the future. Keep reading to learn more!
Summary: Fixing a cross threaded plastic can be difficult if not done correctly. One way to fix the plastic is to use a hobby knife to slice the threading away from the plastic and then use a pair of pliers to grip the threads and pull them out. Another way to fix the plastic is to use a hot glue gun to attach the threads back together.
Why do You Need to Fix Cross Threaded Plastic?
Cross-threaded plastic can cause a lot of problems. For example, it can make it difficult to disassemble parts. Additionally, this type of damage can lead to leaks. In some cases, cross threading can even cause the entire part to break. Therefore, as you can see, it is very important to fix this problem as soon as possible.
Cross threading is when your screws or bolts are not going in straight. This can be caused by incorrect assembly, which means putting the parts together wrong. It can also be caused by using screws or bolts that are the wrong size. To fix cross threading, you need to figure out what is causing the problem, and then take steps to fix it.
12 Ways on How to Fix Cross Threaded Plastic
1. Use a Lubricant
Lubricating the threads can help to prevent cross-threading and make it easier to screw the parts together. Use a light oil or grease on the threads before assembly. If you want to avoid getting lubricant on other parts of the plastic, you can also use a thread locker adhesive.

2. Use a Thread Insert
A threaded insert is a small metal or plastic insert that can be used to repair cross-threaded holes. To install a threaded insert, drill out the cross-threaded hole slightly larger than the insert. Next, tap the insert into place using a thread-tapping tool. Finally, screw the fastener into the insert.
3. Use a Thread Repair Kit
If you have a cross-threaded hole that needs repairing, there are several commercially available kits that can help. These kits usually come with a tap and die set for the specific size of hole you need to fix, as well as a guide or jig to make sure the new threads are cut correctly. If you don’t have a thread repair kit, another option is to use a mending plate. Mending plates are metal plates with pre-drilled holes, and come in different sizes.
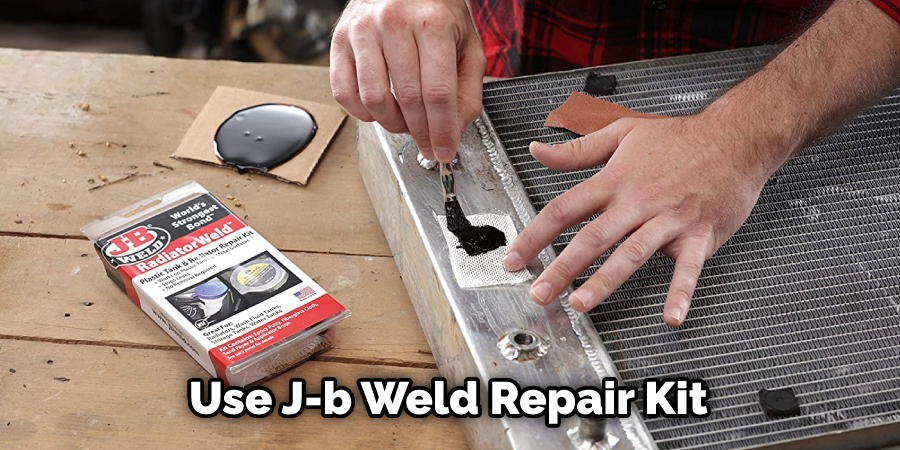
4. Use a J-B Weld Repair Kit
If the hole is too large to be repaired with a thread repair kit or mending plate, you can try using a J-B Weld repair kit. This type of kit includes two-part epoxy that can be used to fill and repair larger holes and cracks in the plastic.
5. Use a Bondo Auto Body Filler
If the damage to the plastic is too extensive to be repaired with a J-B Weld kit, you may need to use a Bondo auto body filler. This type of filler can be used to fill large holes and cracks, as well as to smooth out rough surfaces.
Bondo auto body filler is a two-part epoxy that is mixed together and then applied to the surface with a putty knife. Once it has been applied, it will need to be allowed to dry for several hours before it can be sanded smooth.
6. Use a Fiber-Reinforced Repair Kit
You can try using a fiber-reinforced repair kit for an even stronger repair. These kits include a two-part epoxy reinforced with fiberglass, Kevlar, or carbon fiber. These reinforcements will give your repair even more strength, ideal for high-stress areas.
7. Replace the Damaged Area
In some cases, the damage to the plastic may be too extensive to be repaired. In these cases, the best solution may be to replace the damaged area simply. You can do this by cutting out the damaged plastic section and then attaching a new piece in its place. Again, be sure to use a strong adhesive designed for use with plastics.
8. Use Heat to Repair the Plastic
If the plastic is only slightly damaged, you could try repairing it with heat. Use a heat gun or hair dryer to heat the area around the damage, then gently push the damaged area back into place with a wooden dowel or other blunt object. Finally, cool the plastic with a cold object to allow it to harden into a new shape.
9. Use a Duct Tape Repair
If you have a hole or crack in something, you can try using duct tape to fix it. Put the duct tape over the hole or crack and press down firmly. This will create a temporary seal that will prevent more damage. But the duct tape might come loose over time, so you might have to replace it.
10. Check the Alignment
If the damage to the plastic is causing the parts to become misaligned, you will need to realign them before proceeding with the repair. First, use a ruler or measuring tape to determine how far off the alignment is.
Next, use a hammer or other tool to tap the parts back into place. Finally, check the alignment again to make sure that it is correct. If the plastic is cracked or otherwise damaged, you will need to use a filler material to repair it. First, clean the area around the damage with a cloth and some alcohol. Next, apply the filler material to the crack or damage.
11. Use a Wire Brush
In some cases, the damage to the plastic may be too deep to be repaired with a simple patch. If this is the case, you can try using a wire brush to remove the damaged area. First, use a power drill or rotary tool to remove most of the damage. Next, use a wire brush to remove any remaining debris. Finally, use a sanding tool to smooth out the area and prepare it for a new patch.
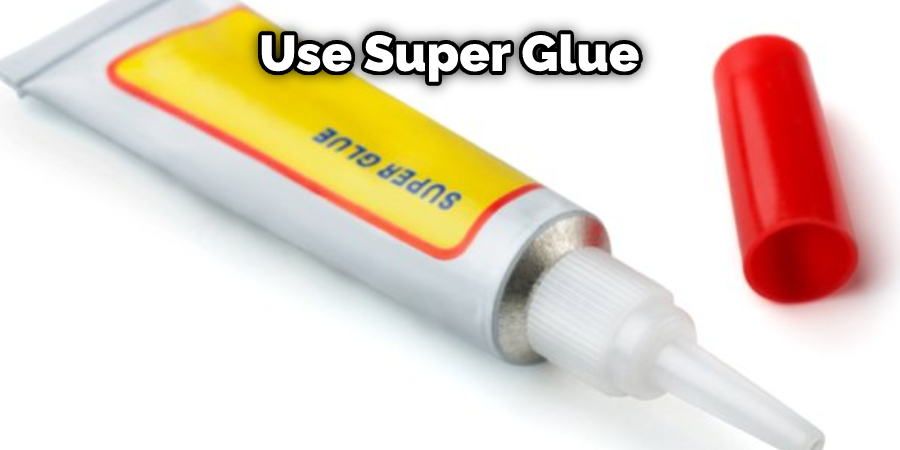
12. Try Using Super Glue
You can try using super glue for small holes or cracks as a quick and easy repair. Place the super glue over the hole or crack and press down firmly. This will create a temporary seal that will prevent further damage. However, you may need to replace the super glue periodically as it can become loose over time.
Some Helpful Tips and Suggestions
- When using a J-B Weld repair kit, follow the instructions carefully.
- If you are using a Bondo auto body filler, wear gloves and a respirator to protect yourself from the fumes.
- When using a fiber-reinforced repair kit, wear gloves and eye protection.
- If you are unsure of which repair method to use, consult with a professional.
- Always test the repaired area before using the item again.
- Never use force to thread a cross-threaded plastic piece, as this can cause further damage.
- Be patient when repairing plastic, as it can take some time to get the repair just right.
- If the damage is too extensive, you may need to replace the entire piece of plastic.
Frequently Asked Questions
Can You Cross Thread Plastic?
Although it might be tempting, you should avoid crossing threads when working with plastic. This can cause tension and damage to the plastic, which may eventually lead to cracks or breaks. It is important to work slowly and carefully so that you don’t create any stress on the Plastic.
Will Loctite Work on Stripped Threads?
Most likely, Loctite will work on stripped threads. This product is designed to fill in holes and gaps that may form from stripping or breaking the threading of a screw. It does not contain any solvents, so it should be safe for use on threads that are painted or plated. Simply apply a thin layer of Loctite to the hole or gap, wait until it has dried, and then re-start your screws by hand as usual.
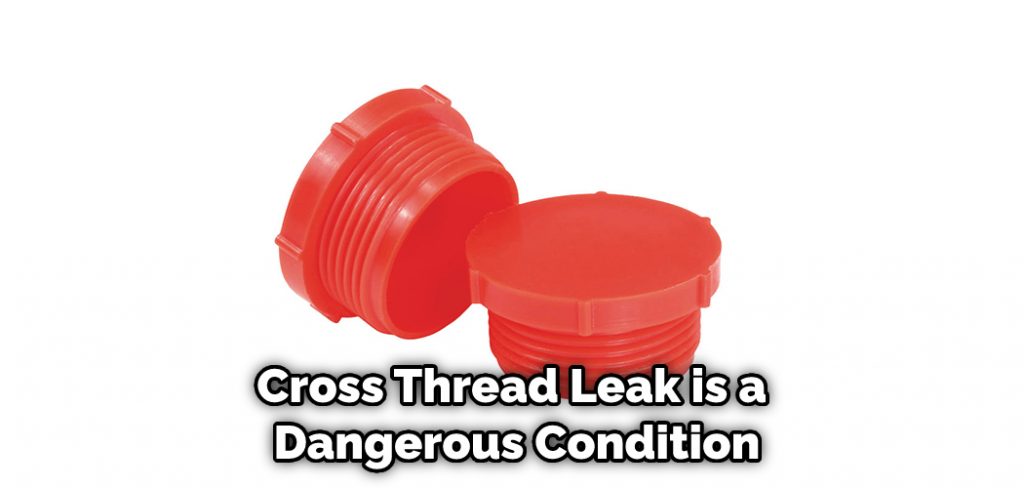
Will a Cross Thread Leak?
A cross thread leak is a dangerous condition in which moisture seeps through the seam between two pieces of fabric. This can lead to mildew and rot, as well as damage to other fabrics nearby. If you notice any signs of a cross thread leak, such as wet spots or discoloration on your clothes, take them into immediately for an inspection.
If there are any signs of major water damage, then it’s recommended that you replace all the affected garments with new ones. In some cases, repairing a cross-thread leak may be impossible and may require reworking the entire garment from scratch.
Conclusion
Cross-threaded plastic is a common issue that can be fixed with the right tools and know-how. Several factors can contribute to cross threading, including incorrect assembly procedures, worn or damaged threads, and incorrect screw size. In most cases, cross threading can be repaired with a simple repair kit.
However, in some cases, the damage may be too extensive to be repaired, and the best solution may be to replace the damaged area. In this blog post, we’ve shown you how to fix cross threaded plastic yourself. If you have any questions or need help fixing your cross-threaded plastic, please reach out to us. We’re happy to help!