Dental posts are used in dentistry to hold a dental restoration in place. However, it can be challenging to fix if a dental post is broken. In this article, we will discuss how to fix broken dental post. We will also discuss the pros and cons of different methods for fixing a broken dental post. Finally, we will give you some tips on how to prevent your dental posts from breaking in the first place.
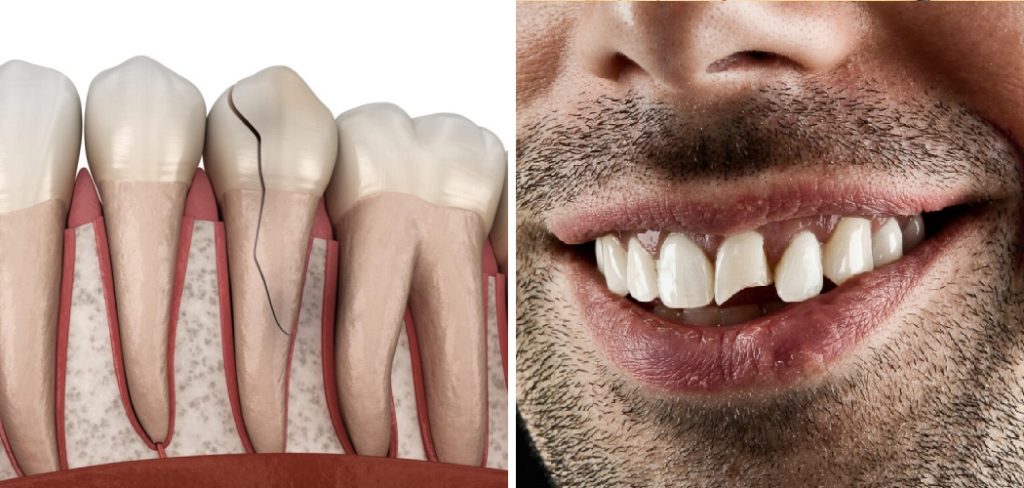
Many people are not aware that dental posts can break. However, a broken dental post can be a fairly common problem. If you have a broken dental post, it is essential to seek out help from a dentist as soon as possible. Several methods can be used to fix a broken dental post. Let’s take a look at some of the most common methods.
Summary: A broken dental post can be a painful and concerning issue. This blog post will provide 3 methods for fixing broken dental post. Learn how to use temporary filling material, dental cement, or a dental repair kit to fix the problem quickly and effectively. With these solutions, you can help ensure that your dental health is properly restored.
A Detailed Guide on How to Fix Broken Dental Post
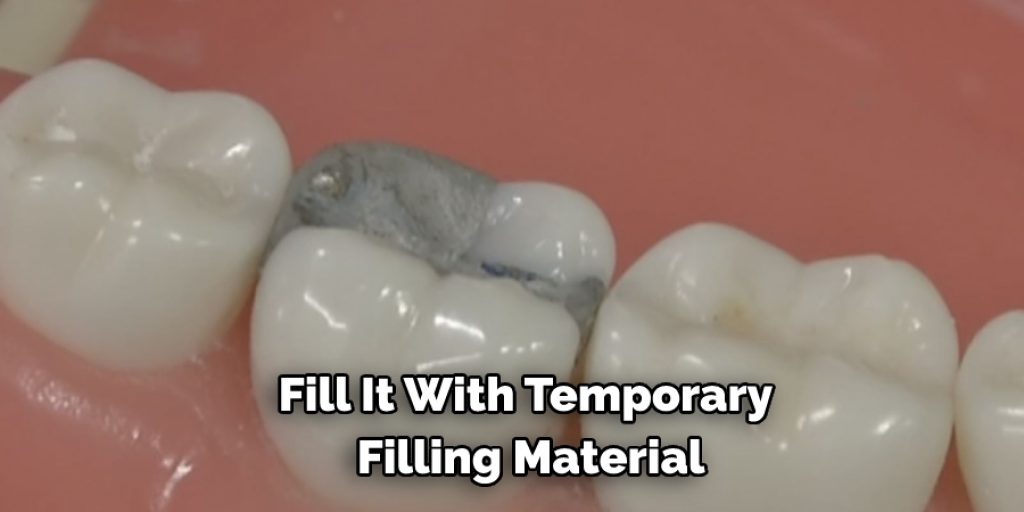
Method 1: Use Temporary Filling Material
One way to fix a broken dental post is to use temporary filling material. This can be done by either your dentist or yourself. If you are doing it yourself, make sure you use a material compatible with the type of post you have.
Things You’ll Need:
- Temporary filling material
- Cotton swab
- Vaseline
- Paper clip
- Drill bit
Step 1: Clean the Area Around the Break
Before you do anything else, you’ll want to clean the area around the break. This will help remove any debris or bacteria present and could potentially cause further damage. Use a gentle soap and water solution to clean the area, then pat it dry with a soft cloth.
Step 2:apply a Temporary Filling Material
If there is a small break in your tooth, you can put a temporary filling material in it. This will help protect the area from further damage and make it easier to find the break later on. To do this, use a cotton swab to apply a small amount of the material to the break, then allow it to dry completely.
Step 3: Apply Vaseline
You should put some Vaseline on the skin around the broken part of your tooth. This will help the fake filling stay in place and stop germs from growing.
Step 4: Secure the Break With a Paper Clip
If your tooth is broken or has a piece missing, you can put a paper clip on it to hold the pieces together while you’re fixing it.
Step 5: Drill a Hole in the Post
To make a paper clip holder, first drill a hole in a post using a drill bit. Make sure the hole is slightly smaller than the width of the paper clip, and drill the hole straight down into the post. Then, insert the paper clip into the hole.
Step 6:insert the Paper Clip
Carefully insert the paper clip into the hole that you drilled. The goal is to hold the break together to be repaired. Step 3: Apply Epoxy
Now that you’ve got the break together, it’s time to apply the epoxy. Your best bet is to use 5-minute epoxy that comes in two tubes.
Step 7: Apply Pressure
Once the paper clip is in place, use your fingers to apply pressure to the break. This will help ensure that the pieces of the dental post are held together.

Step 8: Repair the Break
Now it’s time to repair the break. Use a drill bit that is slightly smaller than the post’s width to drill into the broken pieces. Be careful not to drill too deep, as you don’t want to damage the surrounding teeth.
Step 9: Apply a Temporary Filling Material
Once the break has been repaired, apply a temporary filling material to help protect the area. Allow it to dry completely before eating or drinking anything.
Step 10: Make an Appointment With Your Dentist
Please make an appointment with your dentist as soon as possible so that they can take a look at the repair and make sure that it is appropriately secured.
If you’re having trouble fixing a broken dental post, make an appointment with your dentist. They will be able to look at the repair and make sure that it is properly secured.
Pros:
- Easy to do
- Inexpensive
- Can be done at home
Cons:
- May not be permanent
- Could damage teeth if done incorrectly
- May not be compatible with all types of dental posts
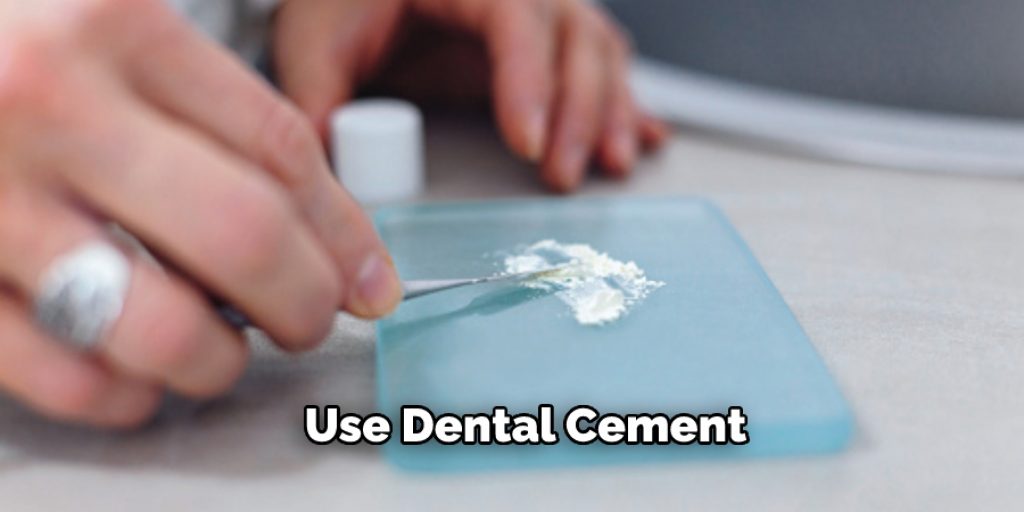
Method 2: Use Dental Cement
Another way to fix a broken dental post is by using dental cement. This is a putty-like material that comes in a variety of colors. It is usually used to adhere dental crowns and bridges to teeth.
To fix the broken post with dental cement, you will need:
- Dental cement
- Dental spatula or wooden toothpick
- Glass or plastic container
- Paper clip
Step 1: Clean the Break
With a cotton ball and alcohol, clean the area around the break to remove any dust or debris.
Step 2: Mix the Cement
Follow the instructions on your dental cement package to mix the cement. It should be a thick, putty-like consistency.
Step 3: Pack the Cement Into the Break
Use a dental spatula or toothpick to pack the cement into the break. Make sure it is packed in tightly, and there are no air bubbles.
Step 4: Let the Cement Set
Leave the cement to set for at least 10 minutes. Do not use your teeth to test if it is set – you could damage them.
Step 5: Clip on the Post
Once the cement has been set, clip the post back onto the crown.
Step 6: Bite Down
biting pressure to help set the cement. Hold for a minute. Bite down with help set the cement. Hold for a minute.
Step 7: Check the Fit
Make sure the post is secure and fits comfortably in your mouth. If it doesn’t, repeat steps 2-6 until it does.
If you are not comfortable doing this yourself, see your dentist. They can fix the broken post quickly and easily.
Pros:
- Quick and easy to do
- No special tools are needed
Cons:
- Cement may not hold permanently
- Can damage teeth if done incorrectly
- May need to see a dentist for a permanent fix.
Method 3: Use a Dental Repair Kit
Many online retailers sell if you cannot find a dental post repair kit at your local pharmacy. Dental repair kits usually come with all the tools you need to fix a broken dental post, including a drill bit, a screwdriver, and a wrench.
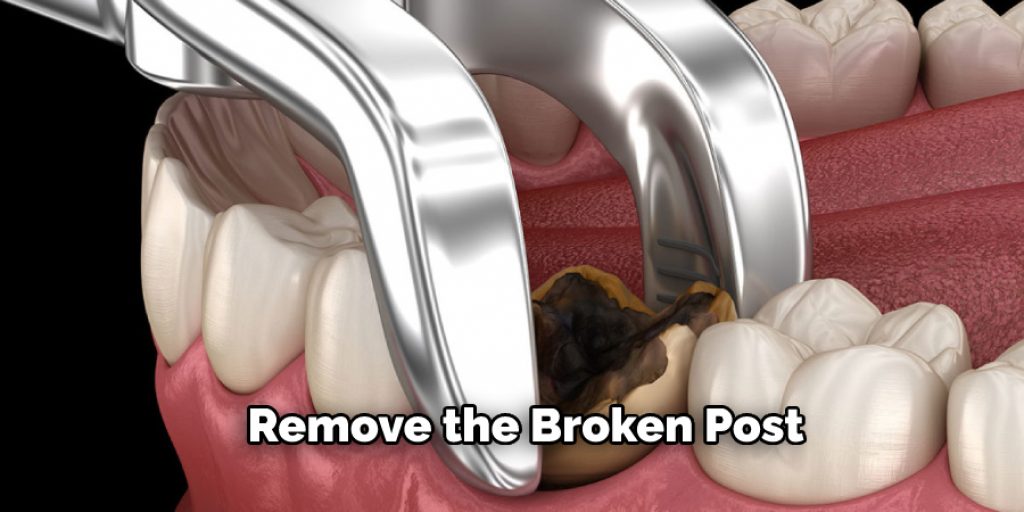
Step 1: Remove the Broken Post
The first step is to remove the broken post from your tooth. This can be done with a screwdriver or a wrench. Be very careful not to damage the surrounding teeth while doing this.
Step 2: Insert the New Post
Once the old post is removed, you can insert the new post into the hole. Make sure it is correctly aligned before tightening it in place.
Step 3: Drill a Hole in the New Post
If the new post does not have a hole drilled in it, you will need to do this yourself. Use a drill bit that is slightly smaller than the diameter of the post. Drill a hole in the center of the post.
Step 4: Secure the Post
Once the post is in place, use the screwdriver or wrench to secure it in place. Next, tighten the post until it is firmly in place.
You Can Check It Out To Fix a Popped Vapormax Bubble
Step 5: Apply Dental Bonding Material
Once the post is secured, you can apply dental bonding material to the surrounding teeth to help protect them from damage. Let the bonding material dry completely before chewing on the repaired tooth.
If your broken dental post cannot be fixed with a repair kit, you may need to have it replaced by a dentist. Contact your local dentist for more information. Thi sis a crucial method in how to fix broken dental post.
Pros:
- Can be done at home
- All the tools you need are included
- No drilling is required
Cons:
- May need to have it replaced by a dentist
- Bonding material may not be permanent
You Can Check It Out To Fix Peg Lateral Teeth
How to Prevent Your Dental Posts From Breaking in the First Place
Dental posts are an important part of your dental restoration, and when they break, it can be a real pain. Here are some tips to help you prevent your dental posts from breaking in the first place:
Ensure that you select a qualified and experienced dentist to perform your restoration.
- Follow the dentist’s instructions for post-treatment care.
- Avoid biting down on hard objects with your restored teeth.
- Use a soft toothbrush and gentle oral hygiene techniques.
If you do happen to break a dental post, here are some steps that you can take to fix it:
- Apply pressure to the broken post with a cotton ball or gauze to help stop the bleeding.
- Rinse the area with warm water.
- Put a cold compress on the area to reduce swelling.
- Call your dentist for an appointment.
Your dentist will most likely repair the broken post using composite resin or another dental adhesive. In some cases, it may be necessary to replace the post altogether. By following these tips and taking care of your dental posts, you can help ensure that they will last for many years.
Frequently Asked Questions
Can a Dental Post Be Replaced?
A dental post can be replaced if it is no longer structurally sound or if there is a cavity that needs to be filled. If the structural integrity of the post has been compromised, then a root canal may not be an appropriate solution and the entire post may need to be replaced.
What Happens When the Post of the Crown Breaks?
When the post of the Crown breaks, it can have serious consequences for both you and your kingdom. This is because when a monarch falls, their vassals are obligated to swear an oath of allegiance to whomever is currently on the throne. Failure to do so can lead to war and even civil unrest.
As such, it is important that you be aware of who holds what position within your kingdom so that any potential conflicts can be managed as smoothly as possible. Additionally, keep track of any important events or happenings in order to make informed decisions about how best to safeguard your interests.
Do All Dental Crowns Require a Post?
All dental crowns require a post, except for some temporary dental crowns. Temporary dental crowns are typically made of a material that dissolves and falls off after a short time.
Temporary dental crowns are not recommended for patients who have significant bone loss in the jawbone, because they may not hold the denture in place. If you have significant bone loss in your jawbone, it is best to see a dentist who can make a custom dental crown for you.
Is a Post Necessary After a Root Canal?
Post-nursing care is important after a root canal, and there are many things that you should do to ensure optimum healing. Most importantly, make sure that your teeth are clean before the procedure by using an oral irrigator or toothbrush.
This will remove any bacteria or environmental material that may have built up on your teeth over time and caused irritation. Next, drink plenty of water to hydrate yourself both physically and mentally.
This will help reduce swelling in the mouth and aid in flushing out toxins from the body. Take ibuprofen for pain relief if needed, but be sure not to exceed maximum dosages as this might lead to further damage down the line.
Finally, eat light foods and avoid acidic reflux remedies like Sudden Infant Death Syndrome (SIDS) patches until after you have had a post-root canal checkup so that you can determine whether they’re contributing towards healthy dental development in your child.
Are Dental Posts Safe?
Dental posts are a great way to support your teeth and protect them from wear and tear. They are also an affordable way to improve your smile whilst protecting your dental health. As long as you select the right type of post, there is little risk involved in installing them.
There are three types of dental posts: threaded inserts, full arch supports, and partial denture plates. Each has its own benefits and drawbacks that should be considered before making a purchase.
Threaded inserts are the safest option because they don’t require screws or bolts which can loosen over time or cause damage to the surrounding teeth during installation. Full arch supports provide more stability than threaded insertions but may not be comfortable for people with large mouths or those who have braces on their teeth.
Conclusion
If your dental post is broken, you should try to fix it as soon as possible. There are a few ways to do this, and it will depend on the severity of the break. If the break is minor, you may be able to fix it using just dental cement. However, if the break is more severe, you may need to use a dental post repair kit. Be sure to follow the instructions on how to fix broken dental post carefully to ensure that the post is repaired correctly. If you have any questions or concerns, speak with your dentist. Thank you for reading!
You Can Check It Out To Fix a Bulging Zipper on a Dress