If you’ve ever had the misfortune of dealing with blotchy spray paint, you know how frustrating it can be. In the age of Pinterest-inspired home makeovers and renovation TV shows, spray paint has become a go-to choice for homeowners wanting to quickly and easily update their decor.
However, spray painting can quickly turn into a disaster if you’re not careful, leaving behind an uneven and blotchy finish.
If your spray paint job has patches of different colors, it’s known as blotchy spray paint. A number of factors can cause this, but there are ways to fix it. In this post, we’ll go over how to fix blotchy spray paint. We’ll also share some tips for avoiding this issue in the first place. Let’s get started!

Summary: If you’re having trouble fixing blotchy spray paint, try using a cloth to clean the area first. Then, use a mild soap and water mixture to scrub the paint until it is clean. Finally, use a dry cloth to buff the paint until it’s smooth.
What Is Blotchy Spray Paint?
The condition known as blotchy spray paint can occur when painting with a spray can. The paint may appear to be uneven, with some areas being darker or lighter than others. This can happen for a number of reasons, including the type of paint used, the temperature and humidity conditions during painting, and how well the surface was prepared before painting.
What Causes Blotchy Spray Paint?
If your spray paint is coming out blotchy, it could be because the paint is of poor quality or you’re not using the right techniques when applying it. But don’t worry, there are ways to fix blotchy spray paint and get a smooth, even finish.
One reason for blotchy spray paint is that the paint itself is old or of poor quality. Unfortunately, if this is the case, you cannot do much to fix it except start over with new paint. So make sure to check the expiration date on the paint can before using it, and always buy from a trusted source. Another reason your spray paint may be blotchy is that your painting surface is not clean enough. If there is any dirt or grease on the surface, the paint will not stick well and will appear patchy. Make sure to thoroughly clean the surface before painting.
If you don’t use the right techniques when applying spray paint, it can dry unevenly and leave streaks or blotches. Always make sure to shake the can well before use, and hold it about 10-12 inches away from the surface you’re painting.
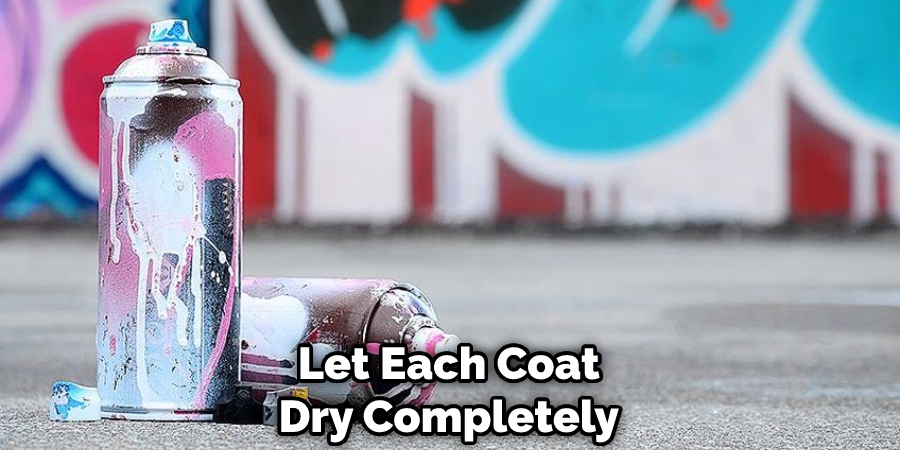
You should apply several light coats of paint instead of one heavy coat. Allow each coat to dry completely before applying the next. With proper application, you should be able to achieve a smooth, even finish.
Supplies You’ll Need on How to Fix Blotchy Spray Paint:
- A can of high-quality spray paint
- A piece of sandpaper
- A clean cloth
- Tape (optional)
- A drop cloth (optional)
13 Ways on How to Fix Blotchy Spray Paint:
1. Use a Higher Quality Paint.
The first way to fix blotchy paint is by using higher quality paint. This is because lower quality paints are more likely to have impurities that will cause the paint to be blotchy. Using a higher quality paint will also help to prevent blotches. Cheap paint is more likely to have impurities that will cause the paint to be uneven.
When you use a higher quality paint, you can be sure that the pigments are fine and evenly distributed, which will give you a smoother, more even coat of paint. In addition, high-quality paints will provide you with a smooth and even finish.

2. Use a Primer.
If you are painting over a dark color, use a primer before applying the paint. This will help to prevent the paint from being blotchy. Primer will also help to provide a smooth surface for the paint to adhere.
3. Use Fine-Grade Sandpaper.
If you are painting over a rough surface, use fine-grade sandpaper to sand down the surface before painting. This will help create a smooth surface for the paint to adhere to and prevent the paint from getting blotchy.
4. Use Thinner Coats.
Applying thin coats is the best way to achieve an even finish with spray paint. It may take a little longer, but it’s worth it in the end. If you find that your first coat is too thick, you can thin it out with a little bit of water. Just be sure to add the water slowly and mix it well, so you don’t ruin the paint.
5. Avoid Overlapping.
When you’re applying spray paint, it’s important to avoid overlapping your strokes. This can cause the paint to become uneven and patchy. Instead, start each stroke in a different area and work your way around the object.
6. Use a Lighter Color Paint.
If you are having trouble with the paint being too light, you can try using a lighter color paint. This will help to even out the color of the paint and make it less noticeable.
7. Use a Darker Color Paint.
If you are having trouble with the paint not covering the previous color or trying to cover a dark color with lighter paint, try using a darker color. This will help ensure that all of the nooks and crannies are covered and give you a more even coat overall.
8. Try a Different Paint Brand.
If you have tried all of the above tips and you’re still having trouble with your spray paint, it might be time to switch brands. Some paints are just better quality than others, and it could make all the difference in your project.
9. Use More coats of Paint.
If you are still having trouble with the paint being too light, you can try using more coats of paint. This will help to even out the paint and make it look more consistent. Just be sure to let each coat dry completely before applying the next one.
10. Use a Different Type of Paint.
If you are still having trouble with your paint being blotchy, you may want to try using a different type of paint. There are many different kinds of spray paints available, so you may want to experiment with a few different types until you find one that works best for you. You may also want to try using a different brand of paint, as some brands are better than others at providing consistent coverage.
11. Use a Larger Nozzle.
If you are still having trouble getting consistent coverage, you may want to try a larger nozzle. A larger nozzle will help evenly distribute the paint and reduce the amount of paint deposited in one spot.
12. Use a Thinner Paint.
If you are using too thick paint, it can cause the paint to be uneven and blotchy. You may need to thin the paint out a bit before you use it. You can do this with a paint thinner or by adding water to the paint.
13. Use a Heavier Grade Sandpaper.
If you are painting over a rough surface, use heavier grade sandpaper to sand down the surface before painting. This will help to create a smooth surface for the paint to adhere to and will also help to prevent any further ruining.
Step by Step Process on How to Fix Blotchy Spray Paint:
Step 1. Clean the Area:
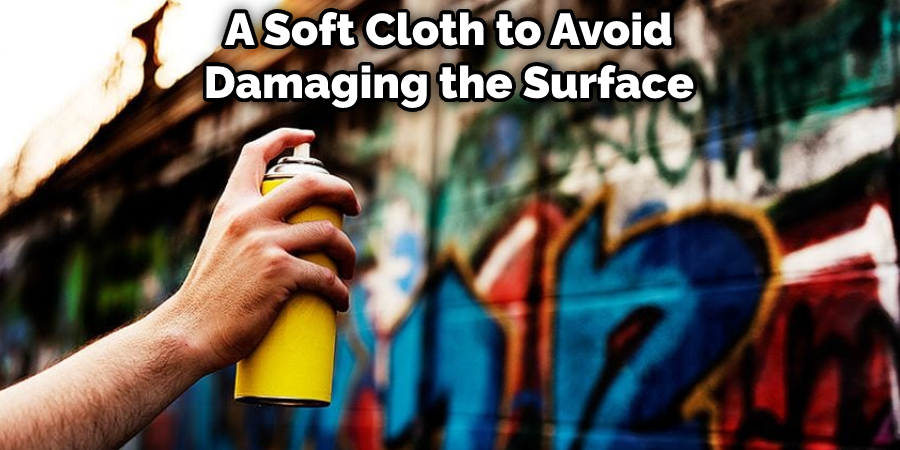
The first step is to clean the area where you will be applying the paint. Make sure to remove any dirt, dust, or debris that could potentially interfere with the paint job. Use a mild cleaner and a soft cloth to avoid damaging the surface.
Step 2. Prepare the Surface:
Once the area is clean, you will need to prepare the surface for painting. If you are painting over a dark color, you may want to use a primer to help ensure even coverage. You can skip the primer if you are painting over a light color.
Step 3. Paint the Surface:
Now you are ready to paint! Begin by spraying a light, even coat over the surface. Be sure to keep the can moving as you spray, or you may end up with blobs of paint. If you see any areas that are too light or too dark, you can go back and add another coat. Allow the first coat to dry completely before adding a second coat if desired.
With a little practice, you should be able to avoid most paint problems. But if you do end up with blotchy spray paint, don’t worry! You can fix it with a little elbow grease and have a beautiful, smooth finish.
Step 4. Touch up the Surface:
Once you have achieved the desired coverage, you can touch up any areas that need it. Next, use a small brush or roller to apply the paint evenly over the surface. If you are using a brush, make sure to use long, even strokes to avoid leaving brush marks. Let the paint dry completely before moving on to the next step.
Step 5. Apply a Clear Coat:
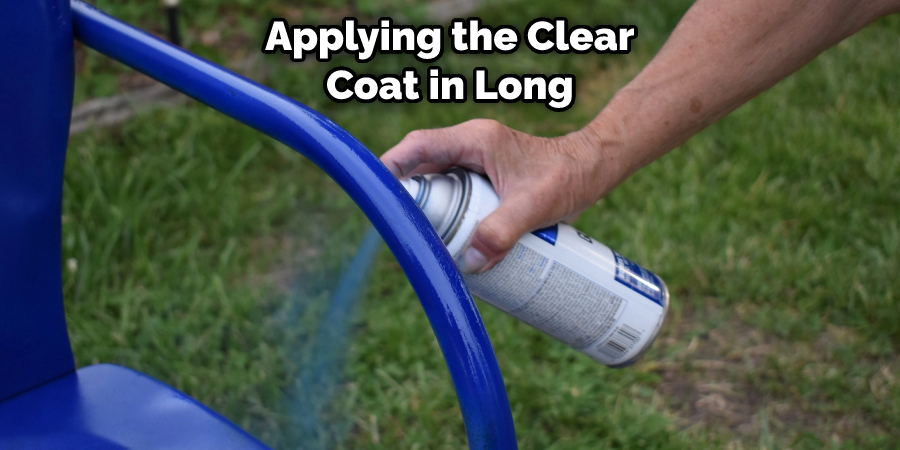
A clear coat will help protect your paint job and make it last longer. Apply the clear coat according to the directions on the can. Clear coats come in spray cans or can be applied with a brush. Applying the clear coat in long, even strokes if you are using a brush.
Step 6. Let the Clear Coat Dry:
Once you have applied the clear coat, let it dry completely before moving on to the next step. Depending on the type of clear coat you use, this could take anywhere from 24 hours to a week. Again, use a fan to speed up the drying process if necessary.
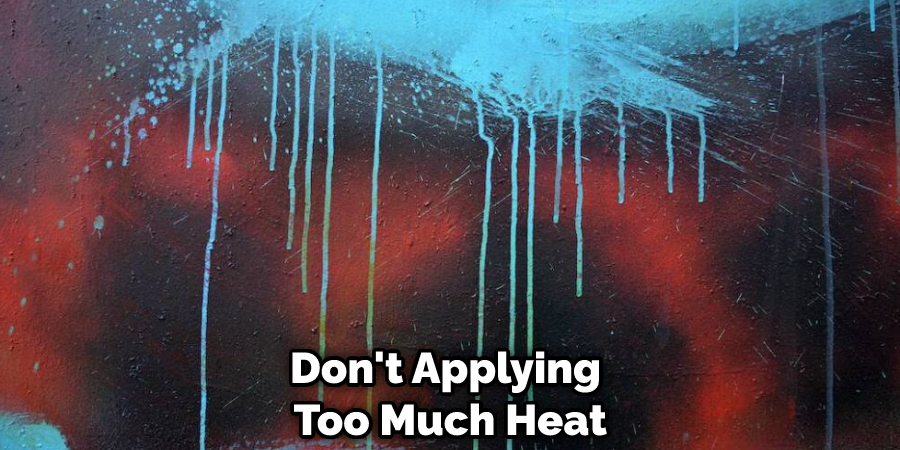
If you’re impatient like me, you might be tempted to speed up the process by using a hair dryer or heat gun. But resist the urge! Applying too much heat can cause the clear coat to be bubbly and ruin your hard work.
Step 7. Apply Another Coat of Paint:
If the blotchy areas are still visible after the clear coat has dried, you can try applying another coat of paint. This time, be sure to use light, even strokes, and avoid going over the same area more than once. If the problem persists, you may need to sand the area down and start from scratch.
Step 8. Let the Paint Dry:
Once you have achieved the desired coverage, let the paint dry completely before moving on to the next step. Depending on the paint you are using and the temperature outside, this could take anywhere from 30 minutes to an hour. Again, use a fan to help speed up the drying process if necessary.
Step 9. Inspect the Surface:
Once the paint is dry, take a close look at the surface. If you see any areas that are still blotchy, you can apply another coat of paint. Let the second coat dry completely before moving on to the next step. If the surface is still not smooth, you may need to sand it down and start again from scratch. This time, make sure to prime the surface before painting evenly.
Step 10. Enjoy Your Newly Painted Surface.
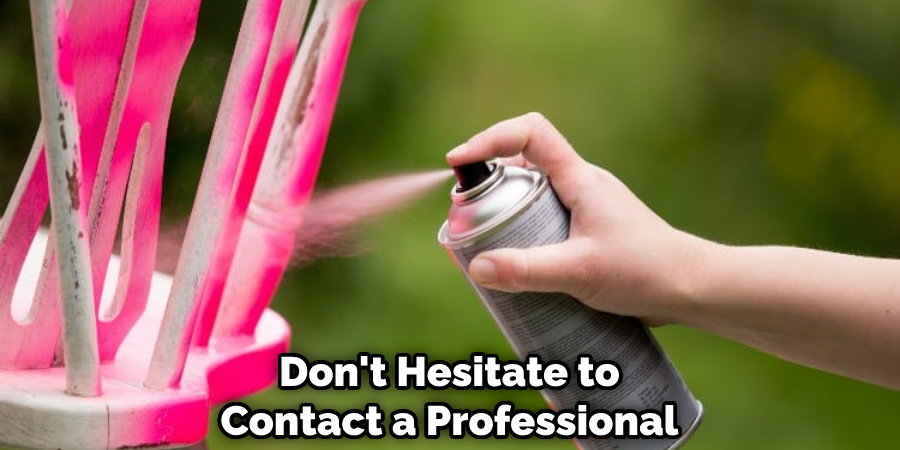
Now that you have a beautiful, smooth finish, it’s time to enjoy your newly painted surface! Be sure to clean your paint supplies immediately after use to avoid any further issues. If you do experience any problems, don’t hesitate to contact a professional for assistance.
Simple Solution for Fixing Blotchy Spray Paint:
If you’ve ever had the misfortune of dealing with blotchy spray paint, you know how frustrating it can be. The good news is that there is a simple solution for fixing this problem. All you need is a can of clear sealer and a few minutes of your time. First, lightly sand the area with blotchy paint.
This will help to rough up the surface and allow the clear sealer to adhere better. Next, apply a thin layer of clear sealer over the area. Allow the clear sealer to dry completely. Once it is dry, the blotchy paint should be gone, and your project will look great.
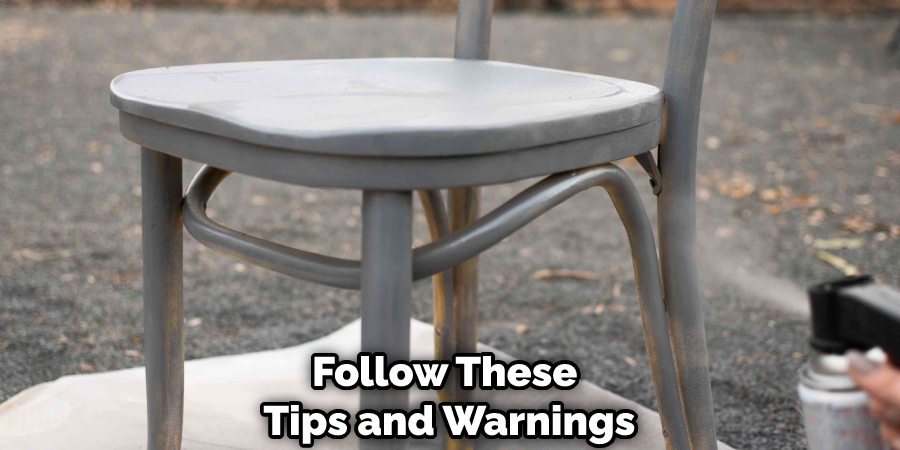
Tips and Warnings on How to Fix Blotchy Spray Paint:
Tips:
1. When you are finished painting, always clean your equipment with soapy water.
2. Use a primer before applying paint to ensure an even coat and consistent color.
3. Choose the right type of paint for your project- there are different types of paint for different surfaces.
4. Always apply thin, even coats of paint and let each coat dry completely before applying the next one.
5. Use spray paint designed for outdoors if you are painting something that will be exposed to the elements.
6. If your paint is still tacky after it is supposed to be dry, try thinning it with mineral spirits or adding more drying time.
Warnings:
1. Always work in a well-ventilated area.
2. Wear gloves and a mask when working with spray paint.
3. Be careful not to over-thin your paint, as this can cause it to run or drip.
4. Never dispose of paint in an unauthorized location- always check with your local waste management regulations first.
5. Dispose of all paint cans and containers properly once you are finished with them.
If you follow these tips and warnings, you should be able to fix blotchy spray paint and get a great finish on your next project.
How to Fix Blotchy Spray Paint on Wood Surfaces:
If you’re looking for a quick and easy way to fix blotchy spray paint on wood surfaces, then this guide is for you. We’ll show you how to fix the problem with just a few simple steps. First, sand down the area that is blotchy.
You can use fine-grit sandpaper to do this. Just make sure to sand evenly so that you don’t create any new problems. Next, apply a primer to the area. This will help to even out the surface and provide a good foundation for the paint. Finally, paint the area with a new coat of paint. This should give you a smooth and even finish.
If you follow these steps, you should be able to fix blotchy spray paint on wood surfaces quickly and easily. Just remember to take your time so that you don’t create any new problems. Then, with a little bit of effort, you can have a beautiful and smooth finish that will last for years to come.
How to Fix Blotchy Spray Paint on Metal Surfaces:
It can be incredibly frustrating to put time and effort into spray painting a metal surface, only to have the final result be marred by blotchy, uneven coverage. If you find yourself in this situation, don’t despair!
There are a few simple steps you can take to fix your problem and achieve a smooth, professional-looking finish. First, assess the extent of the problem and decide whether you need to re-prime the surface before painting. If the blotches are relatively small and few in number, you may be able to get away with simply sanding them down and re-spraying.
However, if the entire surface is uneven, it’s best to start from scratch with a new coat of primer. Once you’ve taken care of any necessary priming, it’s time to start painting. When applying the paint, be sure to use even, sweeping strokes and avoid stopping in one spot for too long.
If you notice any areas starting to look blotchy, go over them again with a light layer of paint. With a little time and patience, you should be able to achieve a smooth, even finish that looks great.
How to Fix Blotchy Spray Paint on Plastic Surfaces:
If your plastic surfaces look blotchy after spraying them with paint, don’t worry – there’s an easy fix! All you need is some sandpaper and a little elbow grease. First, lightly sand the painted surface to even out any rough patches. Then, apply a second coat of paint, making sure to cover the entire surface evenly.
If necessary, you can also apply a third coat. Finally, once the paint is completely dry, give the surface a quick sanding to remove any unevenness. And that’s it – your surfaces should now be good as new.
How to Avoid Blotchy Spray Paint
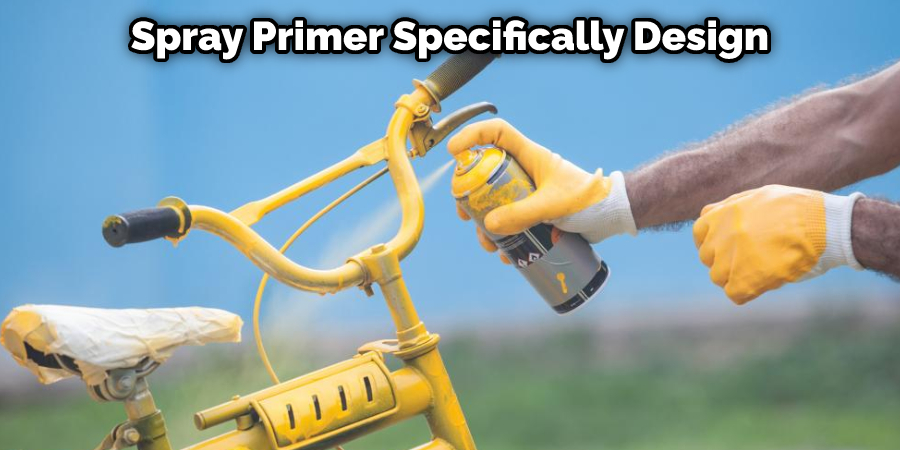
If you’re painting furniture or other objects made of wood, metal, or plastic, you can avoid blotchy spray paint by using a primer. A primer helps create an even surface for the paint to adhere to and blocks out any existing colors on the surface. For best results, use a spray primer specifically designed for the type of surface you’re working with.
If you’re painting a wall or other large surface, it’s also important to use even strokes when applying the paint. Start at the top of the surface and work your way down, overlapping each stroke by about half.
This will help to avoid any patchy areas or streaks in the paint. If you do end up with a few blotches, don’t worry – they can usually be fixed with a little bit of touch-up work.
Touching Up Blotchy Paint:
If you have a few small areas of blotchy paint, you can usually fix them by touching up the area with a brush or roller. Be sure to use the same type of paint that was originally used – this will help to match the color and finish.
If the blotchy paint is on a larger surface, you may need to sand down the area and repaint it. Be sure to use fine-grit sandpaper, so you don’t damage the surface beneath the paint. Once you’ve sanded down the area, apply a new layer of paint using even strokes.
Preventing Blotchy Paint in the Future:
To avoid blotchy paint in the future, first ensure that your surface is properly prepared. This means that it is clean and free of any dirt, grease, or grime. You should also sand the surface to create a smooth texture. If you’re painting over a dark color, you may need to use a white primer before applying your top coat.
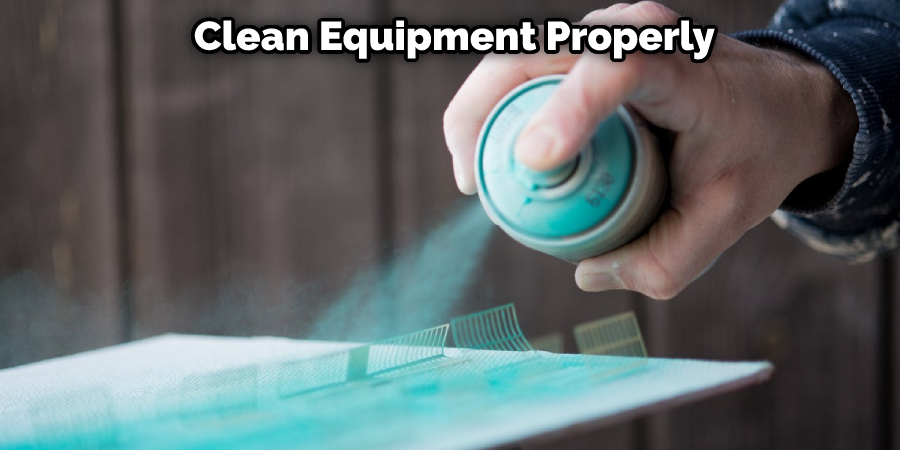
Once your surface is ready, shake your can of paint well and apply even coats of paint, using light, sweeping motions. Allow each coat to dry completely before adding another. When you’re finished painting, clean your equipment properly so that you can use it again in the future.
Frequently Asked Questions
Why Does My Spray Paint Look Splotchy?
There are a few things that can cause spray paint to look splotchy, including inconsistencies in the thickness of the paint, clogged or dirty air filters, low-quality oils or solvents used in the painting process, and incorrect storage conditions. When any one of these factors is present, it causes turbulence within the atomization stream, which results in uneven distribution of pigment throughout the coating.
Can You Wet Sand and Buff Spray Paint?
In general, though, spraying any kind of paint or finish with water can result in uneven and unsightly results. If you’re looking to achieve a more professional finish, then it’s best to use medium or high-quality sandpaper instead.
Should I Sand Between Coats of Spray Paint?
It depends on the type of spray paint that you are using and your specific environment. Some people advocate sanding between coats, while others believe that it does not make a significant difference. Ultimately, it is up to you whether or not you choose to sand between coats.
What Happens if I Recoat Paint Too Soon?
Recoating your paint too soon can lead to a number of problems, including:
- Splotching – When the new coat of paint is applied, it can cause the old paint to splotch and fade.
- Poor adhesion – The new coat of paint may not adhere well to the old paint, leading to peeling and eventual damage.
- Difficult removal – If the new coat of paint is not removed properly, it can become difficult and time-consuming to remove. This can lead to a grungy appearance and potential staining or contamination of your walls or floors.
Conclusion
In this article, we’re going to show you how to fix blotchy spray paint. We’ll cover three different methods: using a primer, light sanding, and adding more paint. Each of these methods has its own set of pros and cons, so be sure to read through all of them before deciding which one is best for your project. If you have any questions or comments, please feel free to leave them below. Thanks for reading!