Whether you’re a first-time gel stainer or a pro, you may have experienced the dreaded result of blotchy gel stain. Although it’s frustrating, don’t throw in the towel just yet! You can fix blotchy gel stains and achieve the perfect finish with a little know-how.
If you’ve ever applied a gel stain to furniture only to make it blotchy, you know how frustrating it can be. Luckily, you can do a few things to fix the problem. So keep reading to learn how to fix blotchy gel stain so that your next project turns out perfect.
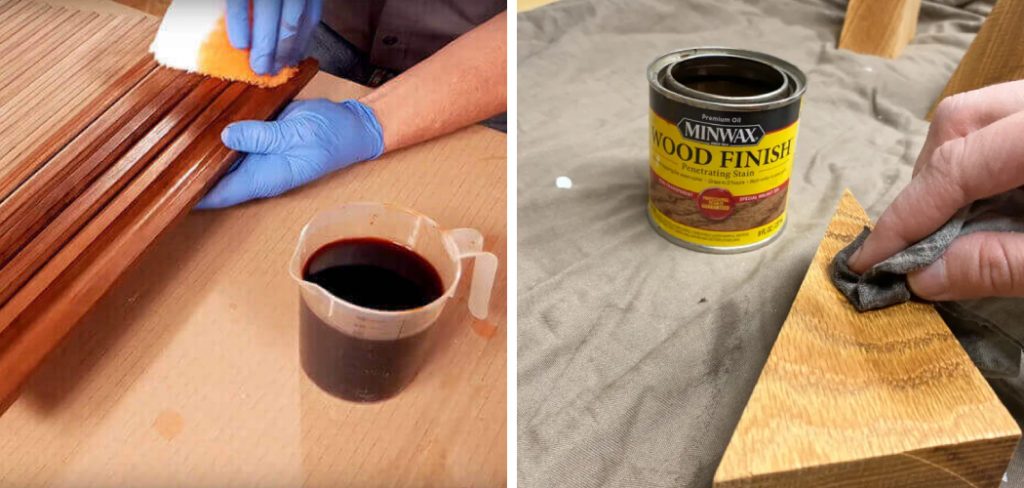
Summary: Blotchy gel stain can be remedied by lightly sanding the wood before applying a new layer of stain. After sanding, wipe down the surface with a damp cloth and make sure to remove any dust or debris from the area. Allow the area to dry before applying the new, even coat of stain. For best results, use a quality brush or rag for maximum coverage and even distribution of pigment.
10 Reasons That Causes Blotchy Gel Stain
1. Improper Dilution:
If you don’t mix the stain with enough water, it will look patchy. Be sure to read the instructions on the can and mix it with the right amount of water.
2. Inconsistent Stirring:
If you don’t stir the stain consistently, it will create patches of different colors in your finished product. To avoid this, stir the gel stain constantly while applying it.
3. Not Blending Enough:
If you don’t blend the gel stain well enough, you’ll have a blotchy finish. Be sure to blend the stain evenly, using long, smooth strokes. Work in the direction of the grain, and don’t forget to blend in the edges and corners.
4. Applying Too Much Stain:
If you want to use gel stain, you should put on a thin layer and then wait for it to dry. If you put on too much, it will become blotchy.

5. Not Stirring the Stain Enough:
The reason your gel stain might be blotchy is because you’re not stirring it enough. You need to stir it well before applying it, and then keep stirring it occasionally as you’re working. This will help make sure the stain is mixed evenly and you don’t end up with any blotches.
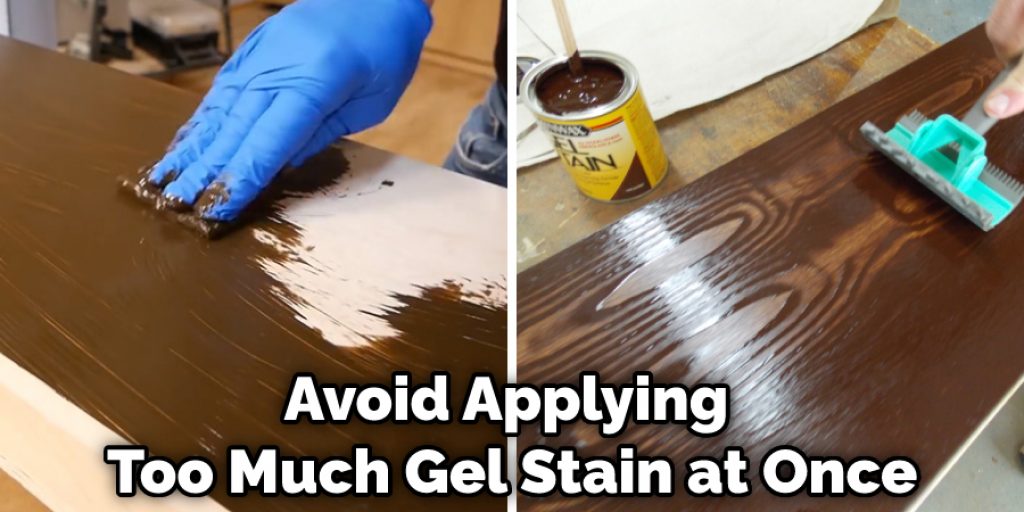
6. Applying the Stain Too Thickly:
If you apply the stain too thickly, it can cause blotching. Avoid putting on too much stain at once, and instead, apply it in thin layers. This will help ensure an even finish. It is important to make sure you apply the stain in a well-ventilated area. It is best to do this outdoors. If you have to do it indoors, open all the windows and doors to get good air circulation.
After applying each coat of stain, you will need to wipe any excess off before it dries. Use a clean rag for this. Wipe the stain in the direction of the grain of the wood.
If you apply the stain too thickly, it can cause blotching.
7. Using the Wrong Type of Stain:
If you let the gel stain dry for too long before wiping it off, it can cause blotching. Be sure to wipe off the stain according to the directions on the can. If you let it dry too long, you may need to sand it down and start over.
8. Excessive Application:
If you apply the gel stain too heavily, it can also cause blotching. Avoid applying too much at once, and instead work in thin, even layers. If you do accidentally apply too much, you can try to remove the excess with a clean cloth before it dries.
9. Inconsistent Wiping:
If you wipe the stain off unevenly, it will also cause blotching. Make sure to wipe the gel stain consistently, using even strokes in the direction of the grain.
10. Insufficient Time for the Stain to React:
If you don’t let the gel stain react long enough, it can also cause blotching. Be sure to follow the directions on the can and let the stain react for the recommended amount of time. If you try to wipe it off too soon, you may have blotchy results.
10 Steps on How to Fix Blotchy Gel Stain
Step 1: Assess the Situation
Examine the wood surface to determine the extent of the blotchiness. Consider factors such as the type of wood, the color of the stain, and the wood’s grain pattern. Different wood species absorb stain differently, which may contribute to an uneven appearance.
Step 2: Gather Necessary Materials and Tools
To fix blotchy gel stain, you will need the following materials and tools:
- Fine-grit sandpaper (120, 150, and 220 grit)
- Tack cloth or damp microfiber cloth
- Gel stain (same color as the original stain)
- Wood conditioner or pre-stain treatment (optional)
- Foam brush or clean cloth
- Clean, dry cloth or paper towels
- Protective gloves
- Drop cloth or plastic sheeting
- Respirator or dust mask
- Safety goggles
Step 3: Prepare the Workspace
Choose a well-ventilated area to work in, ideally outdoors or in a garage with open windows and doors. Lay down a drop cloth or plastic sheeting to protect the surrounding area from dust and stain. Put on your protective gloves, safety goggles, and respirator or dust mask.
Step 4: Sand the Blotchy Area
Start by sanding the blotchy area with 120-grit sandpaper, working with the grain of the wood. This will help remove the uneven gel stain and smooth out the surface. After sanding with 120-grit sandpaper, progress to 150-grit, and finally, 220-grit sandpaper. Each subsequent grit will help create a smoother surface and remove any remaining blotchiness.
Step 5: Clean the Wood Surface
Use a tack cloth or damp microfiber cloth to remove all dust and debris from the wood surface. This is essential to ensure a smooth and even finish when reapplying the gel stain.
Step 6: Apply Wood Conditioner (Optional)
Depending on the type of wood and the severity of the blotchiness, you may want to apply a wood conditioner or pre-stain treatment to the surface. This can help promote even absorption of the gel stain and reduce the likelihood of further blotchiness. Follow the manufacturer’s instructions for application and drying time.
Step 7: Reapply the Gel Stain
Using a foam brush or clean cloth, apply a thin, even coat of gel stain to the wood surface, working with the grain. Start at one end of the wood and work your way to the other, ensuring that the entire surface is covered. Avoid applying too much stain at once, as this can lead to an uneven finish.
Step 8: Wipe Away Excess Stain
Allow the gel stain to sit on the wood surface for a few minutes, as per the manufacturer’s instructions. Then, use a clean, dry cloth or paper towels to gently wipe away any excess stain, working with the grain. This will help create a smooth and even finish.
Step 9: Allow the Stain to Dry
Allow the gel stain to dry completely, following the manufacturer’s recommended drying time. This may vary depending on the specific product and environmental conditions, such as temperature and humidity.
Step 10: Inspect the Wood Surface
Once the gel stain is dry, carefully inspect the wood surface to ensure that the blotchiness has been resolved. If there are still areas of unevenness, repeat steps 4 through 9 to further sand and reapply the stain as needed.
Step 11: Apply a Protective Finish (Optional)
If desired, apply a protective finish, such as polyurethane, to seal and protect the wood surface. Follow the manufacturer’s instructions for application and drying time.
Step 12: Clean Up
Dispose of used stain cloths and paper towels in a sealed plastic bag, as they can be a fire hazard if left unattended. Store any leftover gel stain and wood conditioner in a cool, dry place, away from heat sources and direct sunlight. Clean your brushes and other tools with the appropriate cleaning solution, depending on the type of stain used (water-based or oil-based).
Step 13: Reassemble Furniture or Reinstall Woodwork (If Applicable)
If you were working on a piece of furniture or woodwork that was disassembled or removed from its location, carefully reassemble or reinstall it once the stain and protective finish (if applied) have dried completely.
Step 14: Maintain the Wood Surface
To keep your wood surface looking its best, clean it regularly with a damp cloth and mild soap, if necessary. Avoid using harsh chemicals or abrasive cleaning tools, as they can damage the finish. Periodically inspect the wood for signs of wear or damage, and address any issues promptly to maintain the longevity and appearance of the finish.
Step 15: Share Your Experience
If you have successfully resolved blotchy gel stain issues, consider sharing your experience with others who may be facing similar challenges. Participate in online forums, discussion groups, or social media platforms focused on woodworking or home improvement topics, or offer your assistance to friends and family members who may need help with their own staining projects.
By following these steps, you can effectively fix blotchy gel stain and create a smooth, even finish on your wood surface. With practice and patience, you can master the art of gel staining and tackle a variety of woodworking projects with confidence. Regular maintenance and care will ensure that your wood surfaces remain beautiful and functional for years to come, while sharing your knowledge and experience can foster a community of informed and skilled DIY enthusiasts.
Some Helpful Tips and Suggestions
Here we have given some tips on how to fix blotchy gel stain.
- When using gel stain, always test it on a small, hidden area first to ensure that you like the color.
- If you’re trying to achieve consistent color, avoid using gel stain in direct sunlight or on hot surfaces.
- Always apply gel stain in thin, even coats and allow it to dry completely between each one.
- If you do get a blotchy finish, you can try lightening the area with a rag dampened with mineral spirits or paint thinner.
- You can also apply a second coat of gel stain to even out the color.
- Remember, gel stain is meant to add color, not coverage, so don’t expect it to cover dark stains or imperfections in the wood completely.
- Always seal gel-stained wood with a topcoat of polyurethane or lacquer to protect the finish.
How Do You Fix Uneven Blotches After Staining?
There are a few different ways to approach fixing blotchy gel staining. One option is to use a diluted bleach solution to even out the color. Another is to apply a new coat of stain over the top of the blotchy areas.

Finally, you can also try sanding down the affected areas and re-staining. Whichever method you choose, make sure to test it on a small, inconspicuous area to see how it will react with your particular type of wood.
Frequently Asked Questions
Why Does My Gel Stain Look Blotchy?
There are a few potential causes for blotchy gel staining, and the most common is over-exposure to sunlight or artificial light. This can cause the coloring molecules in your dye to break down and create what seem like spots on your clothes.
Another major culprit is the improper mixing of colors together. When two colors are mixed too closely together, they can form an unstable mixture that will lurk beneath the surface of the fabric without being absorbed. You may notice this when you try to mix different colors together on white fabrics such as t-shirts or blouses.
Will Mineral Spirits Remove Dried Gel Stain?
The effectiveness of mineral spirits in removing dried gel stains depends on the type and severity of the stain, the brand of mineral spirits used, and the cleaning condition of the fabric. However, generally speaking, mineral spirits can be effective in removing dried gel stains.
Does Gel Stain Lighten as Dries?
As different gel stain products will react differently to water and bleach. Some may lighten slightly while others may not change at all. It’s always best to test a small section of the stained fabric first before treating the entire piece.
Can You Lightly Sand Gel Stain?
The best way to lightly sand a gel stain may vary depending on the type and severity of the gel stain. However, some tips that may work well include using a soft cloth and gentle pressure to remove as much of the stain as possible. You may also want to use a solution of diluted bleach and water to lighten the stain before sanding.
Conclusion
The blotchy gel stain on your countertop is unsightly, and you want to know how to fix it. You’re in luck; we’re here to help. In this post, we’ve outlined a few methods for how to fix blotchy gel stain and restore your countertop to its former glory.
Blotchy gel stains can be frustrating, but by following the proper steps and using the right products, you can fix them relatively easily. We hope this article has helped you learn more about properly cleaning and caring for your gel-stained surfaces. Have any questions? Feel free to reach out to us!