If you’ve ever taken a shower and your foot slips off the edge of the shower pan because it’s uneven, you know how frustrating that can be. When it comes to your home, an uneven shower pan can be a real eyesore.
Not to mention, it’s a safety hazard. Fortunately, there is an easy fix for this common problem. In this blog post, we’ll show you how to fix an uneven shower pan in just a few minutes using a few simple tools. So read on and get ready to have a perfectly level shower pan once again!
Tools Requirement
- Drill
- Masonry drill bit
- Level
- Tile grout
- Silicone caulk
- Caulking gun
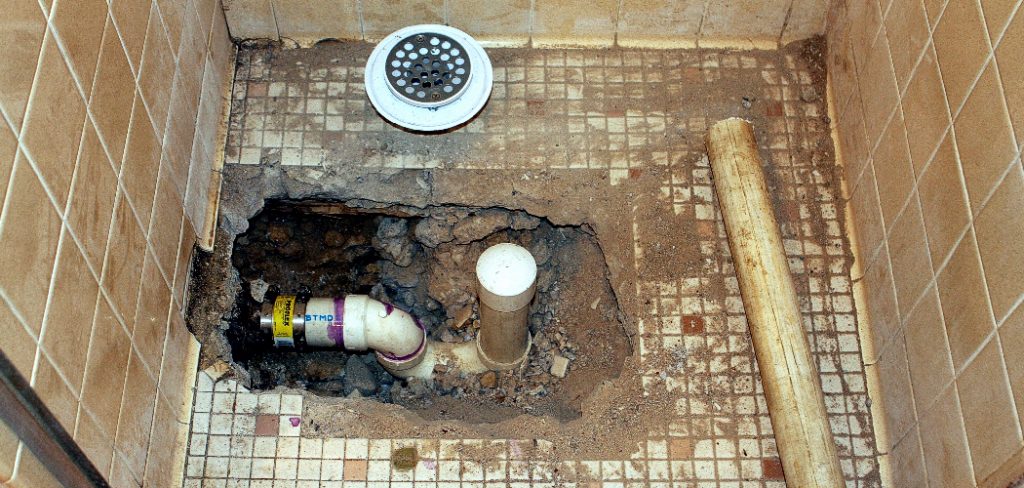
How to Tell if Your Shower Pan is Uneven?
One of the most important parts of your shower is the pan. The pan is what holds the water in and keeps it from seeping out onto your bathroom floor. A pan that is installed properly will be level and even with the rest of the shower. However, over time, it is not unusual for the pan to become uneven. This can be caused by some things, including age, weight, or water damage.
If you suspect that your shower pan is uneven, there are a few things you can do to check. First, take a look at the tile around the outside of the pan. If the tile is cracked or loose, this may be a sign that the pan has shifted. Another way to check is to put a level on the edge of the pan. If the level shows that the pan is not level, then it is likely uneven. Uneven shower pans can lead to leaks and other problems, so it is important to fix them as soon as possible.
8 Steps Guide on How to Fix an Uneven Shower Pan
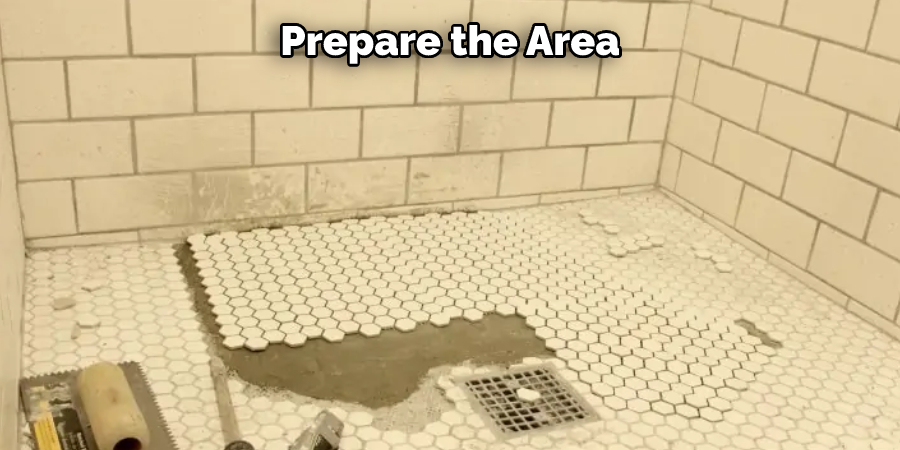
Step 1: Prepare the Area
Before beginning any home improvement project, it is important to take a few moments to prepare the area. This is especially true when working on something like a shower pan, which can be difficult to access once it is installed. By taking the time to remove all items from the shower and clean it thoroughly, you will be able to better see any unevenness in the pan and have easier access when working on it.
In addition, this will help to prevent any damage to your belongings during the repair process. Once you have prepared the area, you can then begin the process of fixing an uneven shower pan.
Step 2: Measure with a Level
A level is one of the most important tools for any homeowner, as it can be used for a variety of tasks, from hanging pictures to fixing an uneven shower pan. Measuring with a level is a simple process, but it is important to take your time and be precise. Place the level on one side of the pan and mark the highest point with a pencil.
Move the level to the other side of the pan and mark the highest point on that side. Use a tape measure to determine how much higher one side is than the other. Once you have this information, you can adjust the pan until it is level. With a little patience and attention to detail, measuring with a level is an easy way to achieve professional results.
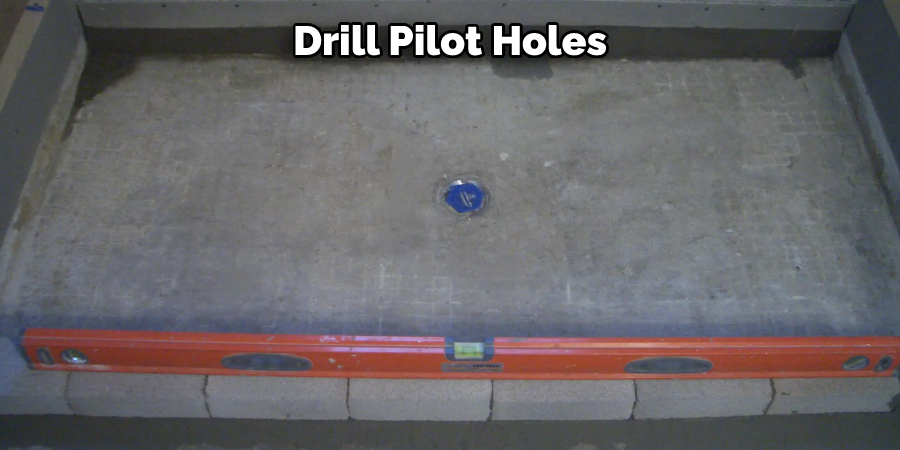
Step 3: Drill Pilot Holes
Tiling a shower pan is one of the most important steps in creating a watertight enclosure. However, it’s also one of the most challenging, especially if the floor is uneven. One way to make the job easier is to drill pilot holes in the higher side of the pan.
This will help to ensure that the tiles are evenly spaced and prevent them from slipping out of place. Make sure to only drill into the mortar and not the tile itself. With a little careful planning, tiling an uneven shower pan can be a successful DIY project.
Step 4: Fill in Mortar Gaps
One common problem with shower pans is that they can become uneven over time, resulting in water pooling in certain areas and making them difficult to clean. If you have an uneven shower pan, there are a few things you can do to fix it. First, check the pan for any cracks or holes. If you find any, use a patching kit to fill them in. Next, fill any gaps between the tiles and the mortar.
This will help to level out the pan and give it a smoother surface. Finally, reseal the edges of the pan with caulk or grout. This will help to prevent water from seeping under the pan and causing further damage. With a little bit of effort, you can easily fix an uneven shower pan and restore it to its original condition.
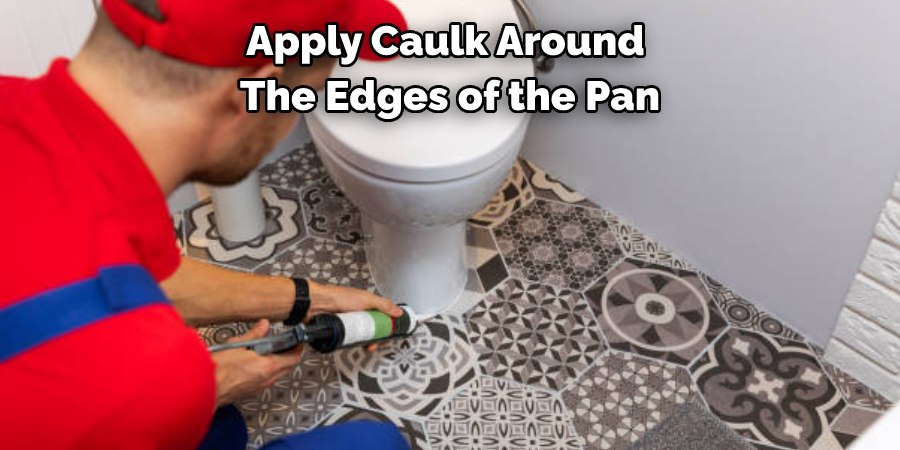
Step 5: Apply Caulk
Over time, shower pans can develop cracks and other damage that allows water to seep through. This can lead to some problems, including mold growth and water damage. If you have an uneven shower pan, it’s important to take steps to repair the damage as soon as possible. One way to do this is to apply caulk around the edges of the pan.
This will help to seal any gaps and provide water-tightness. In addition, it’s important to make sure that the area around the shower pan is properly ventilated. This will allow any moisture that does get through to evaporate quickly, preventing mold and mildew from taking hold.
Step 6: Level the Pan
If you have an uneven shower pan, the first thing you need to do is level it. The easiest way to do this is with a level. Place the level on the pan and adjust it until it is perfectly level. Once the pan is level, you can use grout or caulk to fill in any gaps.
If the gap is too big, you may need to use a shim to fill it in. Once the pan is level and the gaps are filled, you can start tiling. Tiling an uneven shower pan is more difficult than tiling a level one, but it can be done if you take your time and use the right tools.
Step 7: Allow to Dry
Allow the caulk and grout to dry for 24 hours. Once the caulk and grout are dry, you’ll need to use a putty knife to scrape away any excess. You’ll need to apply a new layer of caulk and grout.
Be sure to smooth it out so that it’s level with the rest of the shower pan. Allow the new caulk and grout to dry for another 24 hours before using the shower. By following these steps, you can easily fix an uneven shower pan.
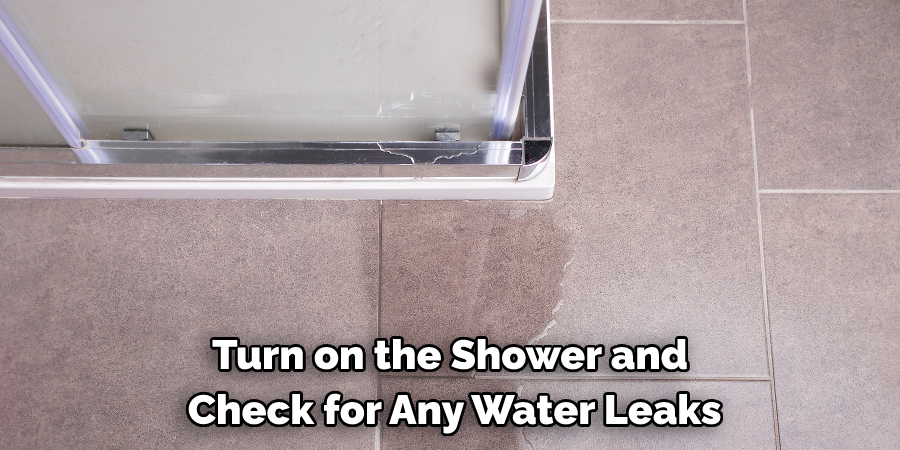
Step 8: Test for Leaks
A shower can be a great way to relax after a long day, but it can also be a source of frustration if it isn’t working properly. One common problem is an uneven shower pan, which can cause water to leak out onto the floor. If you suspect that your shower pan is uneven, there are a few ways to test for leaks.
Turn on the shower and check for any water leaks. Use a level to see if the pan is slanted. Put a piece of tape on the floor outside the shower and see if the water leaks through. If you find any leaks, you’ll need to apply more caulk or repair the tile grout to fix the problem. With a little effort, you can have a shower that works like new.
Following these steps should help fix an uneven shower pan quickly and easily. Remember to use caution when drilling and applying caulk, as both of these materials can be dangerous if not used properly. Once your shower pan is level and dry, you can enjoy a safe and comfortable shower once again!
How to Deal with an Uneven Shower Pan?
An uneven shower pan can be a major annoyance when taking a shower. Not only is it unsightly, but it can also create an unsafe environment. There are a few ways to deal with an uneven shower pan. The first is to use caulk to fill in any gaps. This will ensure that water does not seep through and cause further damage.
Another option is to use a leveling compound to even out the surface of the shower pan. This is a more permanent solution, but it requires more time and effort. Whichever method you choose, make sure to follow the instructions carefully to avoid creating further damage.
Conclusion
An uneven shower pan can be a disaster waiting to happen. You should carefully determine how to fix an uneven shower pan. Loose tiles, water damage, and mold are all potential consequences of an improperly installed or maintained shower pan.
If you have an uneven shower pan, don’t wait to get it fixed – the sooner you address the problem, the better. Thankfully, fixing an uneven shower pan is relatively straightforward, and most homeowners can do it themselves with a little time and effort. With these tips in mind, you should be able to fix your uneven shower pan in no time!