If you’ve ever tried to plug something in to an outlet box that sticks out too far from the wall, you know how frustrating it can be. These boxes are notorious for being difficult to reach and even more challenging to plug things into. But there is a solution! This blog post will show you how to fix an outlet box that sticks out too far from the wall. So read on for tips and tricks that will help you make your electrical outlets more accessible.
Fixing an outlet box that sticks out too far from the wall is important for a few reasons. First, it can be challenging to plug things into an outlet if the box sticks out too far. Second, outlet boxes that stick out too far are more susceptible to being damaged or knocked out of place. And finally, an outlet box that sticks out too far can be a safety hazard, as it makes it easier for people to touch the wiring accidentally.
Summary: Fixing an outlet box that sticks out too far requires several steps, including gathering tools, determining how far the box sticks out, marking cut points, cutting metal conduit (FMC), removing the old outlet box, installing ground screws, inserting wire connectors, attaching FMC and pulling wires through FMC. Then reattach the outlet box and trim FMC before enjoying how much your new outlet box sticks out!
How to Fix an Outlet Box that Sticks out Too Far Step by Step Guide
Step 1: Gather the Required Materials
Before you begin, gather the following materials to ensure a smooth and efficient process:
- Voltage tester
- Screwdriver (flathead and Phillips)
- Wire strippers
- Wire nuts
- Electrical tape
- Outlet box extender or adjustable box
- Outlet spacers
- Drywall saw or utility knife (optional)
- Hammer and nails (optional)
Step 2: Turn Off the Power
Safety should be your top priority when working with electrical outlets. Locate the appropriate circuit breaker for the outlet in question and switch it off. To confirm that the power is off, plug a lamp or other electronic device into the outlet and check that it doesn’t turn on. You can also use a voltage tester to double-check that there is no electricity flowing to the outlet.
Step 3: Remove the Outlet Cover and Outlet
Use a flathead screwdriver to remove the screws holding the outlet cover in place. Set the cover aside, then use a Phillips screwdriver to remove the screws securing the outlet to the box. Gently pull the outlet away from the box, taking care not to damage the wires.
Step 4: Assess the Situation
Determine the cause of the outlet box sticking out too far. It could be due to an improperly installed box, a recessed wall, or an uneven drywall installation. Knowing the root of the problem will help you choose the best course of action.
Step 5: Choose the Appropriate Solution
Based on your assessment, choose the most suitable solution for your specific situation:
- If the outlet box is installed too far out from the wall, you may need to recess it further into the wall or use an outlet box extender to bridge the gap.
- If the wall is recessed or uneven, consider using outlet spacers to level the outlet and bring it flush with the wall.
Step 6: Prepare the Outlet Box
If you need to recess the outlet box further into the wall, carefully remove the nails or screws securing it to the wall stud. If necessary, use a hammer and pry bar to gently pry the box away from the stud. If the box is glued or otherwise difficult to remove, you may need to use a drywall saw or utility knife to cut around the box to free it from the wall.
Step 7: Install the Outlet Box Extender or Adjustable Box
If you’re using an outlet box extender, simply slide it over the existing outlet box, ensuring it’s flush with the wall. If the box is recessed too far into the wall, you can use an adjustable outlet box that can be extended or retracted to the proper depth. Secure the extender or adjustable box to the wall stud using nails or screws, making sure it’s level and properly aligned with the wall.
Step 8: Adjust the Wires
Before reconnecting the outlet, ensure that the wires are long enough to reach the new position of the box. If necessary, use wire strippers to strip the insulation from the ends of the wires, then use wire nuts and electrical tape to extend the wires.
Step 9: Reconnect the Outlet
Carefully reconnect the wires to the outlet, matching the colors of the wires to the appropriate terminals (black to brass, white to silver, and green or bare copper to green). Use a Phillips screwdriver to secure the outlet to the box or extender.
Step 10: Install Outlet Spacers (If Needed)
If you’re using outlet spacers to level the outlet, insert them between the outlet and the box, stacking them as needed to achieve the desired depth. Make sure the outlet is flush with the wall and level before proceeding.
Step 11: Replace the Outlet Cover
Reinstall the outlet cover using the flathead screwdriver and the screws you set aside earlier. Ensure the cover is aligned properly and sits flush with the wall.
Step 12: Restore Power and Test the Outlet
Once everything is securely in place, switch the circuit breaker back on to restore power to the outlet. Test the outlet by plugging in a lamp or another electronic device to ensure it’s functioning properly.
Step 13: Clean Up
After confirming that the outlet is functioning correctly and the outlet box no longer sticks out too far, clean up your work area. Collect any debris or leftover materials, and store your tools safely for future use.
By following these steps, you can successfully fix an outlet box that sticks out too far and achieve a safe, professional-looking result. Remember to always prioritize safety when working with electricity and to use the appropriate materials for your specific situation. With patience and attention to detail, you can create a polished and secure solution for your outlet box.
Can You Fix an Outlet Box That Sticks Out Too Far
As with any home improvement project, you should shut the power off to the outlet before attempting any work. This is a very simple task if you are working with one outlet box, but if you are working with multiple outlets, it’s a good idea to mark each one before shutting the power off. It will make it easier for you to remember which light switch goes to what after everything has been put back together.
Here, we had an outlet box that sticks out too far. I read that following any standards, the builder nailed a 2×4 to the wall and installed the outlet there. We had to work around this when we added in our new light fixtures and ceiling fans—Kee reading for more information about how to fix an outlet box that sticks out too far.
Frequently Asked Question
How Do You Fix a Recessed Outlet Box?
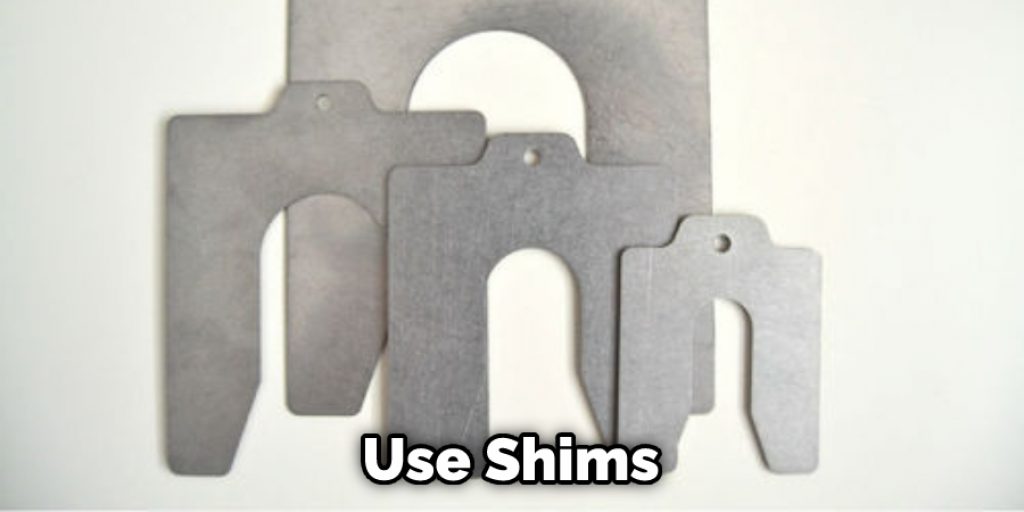
There are a few ways to fix a recessed outlet box. You can use a wider box, you can use shims, or you can use a recessed outlet cover.
How Far Should an Electrical Box Stick Out?
The electrical box should stick out about 1/4 inch from the surface. If it sticks out too far, it can be a safety hazard.
How Do You Fix an Oversized Outlet in Drywall?
If the outlet box is too large for the hole in the drywall, you can use a wider box. You can also use shims to raise the box up, so it is even with the surface of the drywall. If either of these solutions works, you can use a recessed outlet cover to hide the oversized outlet.
What Is the Maximum Distance that A Receptacle Wall Box Can Be Set Back from The Finished Surface?
According to the National Electrical Code, “a receptacle wall box can be set back from the finished surface a maximum distance of 2 1/4 inches.”
You Can Check It Out To Fix Door Trim that Is Too Short
The Conclusion Paragraph
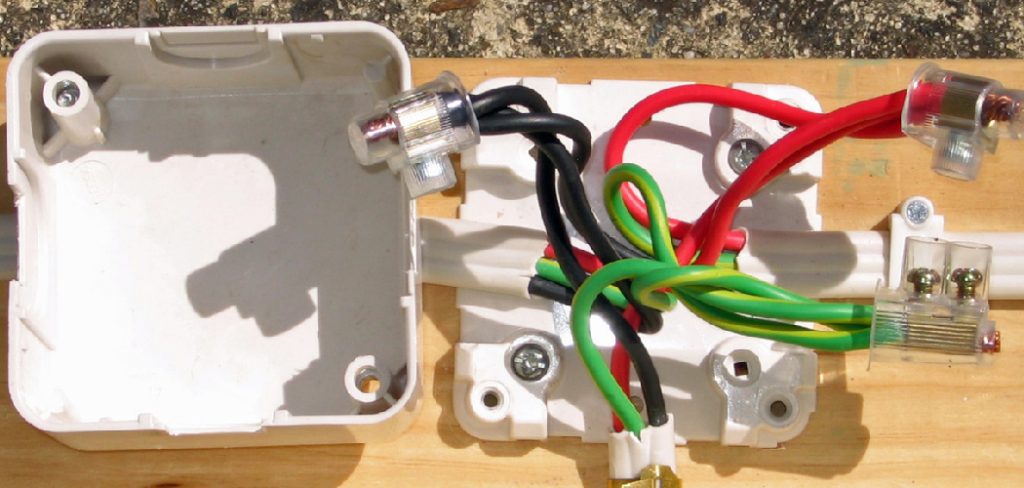
If you have an outlet box that sticks out too far and is in the way of your furniture, here’s how to fix it. Â R moves the screws from both sides of the faceplate with a screwdriver. Pul off the cover plates on each side by sliding them up and then pulling straight back (put these somewhere safe). Move anything blocking access to all four wires coming into or going out of this junction box; if necessary, loosen any clamps holding wiring in place.

Next, remove one wire at a time until there are only two left – they should be white and black/neutral-colored for 120 volts AC systems red and black/hot color for 240 volts AC systems. You can try these tricks to fix an outlet box that sticks out too far. Call an electrician if you still have problems after trying all of the tips! Thanks for reading our post about how to fix an outlet box that sticks out too far.