Are you having trouble with a wet alternator in your car? Have no fear – fixing a wet alternator is not as difficult as it may sound. In this blog post, we will take you through the process step-by-step on how to fix a wet alternator and provide helpful tips along the way so that even if your car repair skills are beginner-level, you can confidently get back on the road before you know it! So roll up your sleeves; let’s get to work and see how easy it can be to fix a wet alternator!
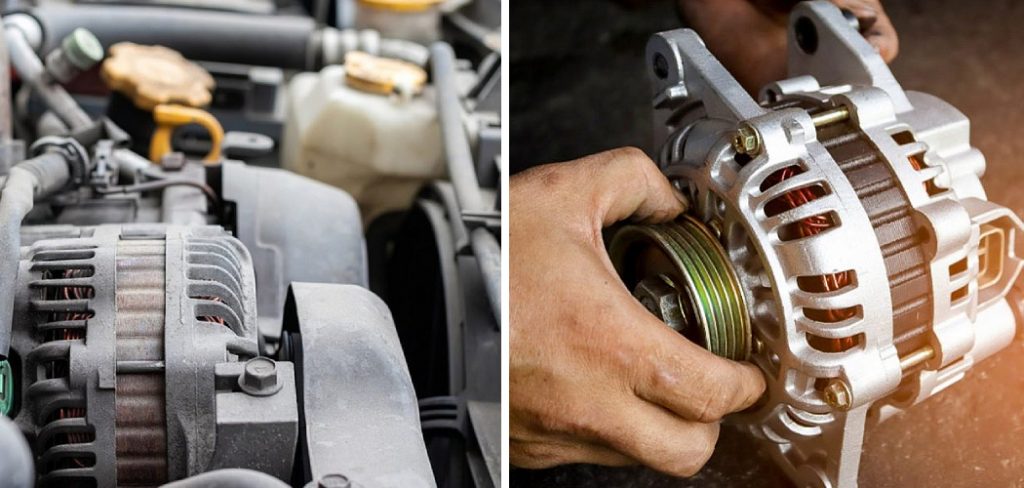
From failing to charge the battery, creating higher levels of resistance between key parts or even causing significant damage if not fixed quickly, fixing a wet alternator is something every driver should know how to do. Here, we will look at what causes wet alternators, why it’s important to address it right away and how you can go about fixing it yourself. So let’s get started!
What Causes a Wet Alternator?
1 . Leaking Engineering
One of the main reasons for a wet alternator is leaking engineering. Over time, the seals and gaskets surrounding the engine bay can wear down and become less effective at containing fluids. This results in liquids from various parts of the car, such as coolant or oil, seeping into the alternator.
2 . Weather Conditions
Weather conditions can also play a role in causing a wet alternator. If you frequently drive through heavy rain or snow, the moisture from these conditions can find its way into your car’s engine bay and onto the alternator.
3 . Accidents or Collisions
Another potential cause of a wet alternator is accidents or collisions. If your car has been involved in a crash, the impact can cause damage to the engine bay and its components, including the alternator. This damage can result in leaks that lead to a wet alternator.
4 . Improper Maintenance
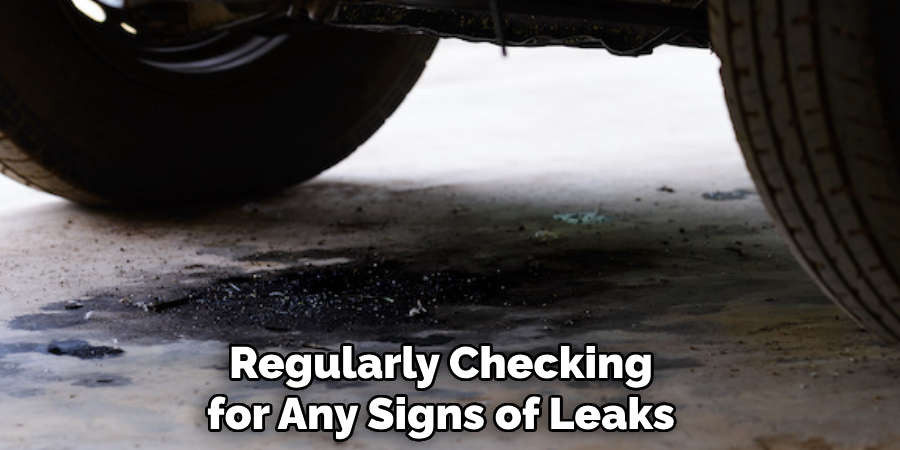
Proper maintenance of your car’s engine bay is crucial in preventing a wet alternator. Regularly checking for any signs of leaks or wear and tear can help catch issues before they become major problems. Additionally, ensuring that all seals and gaskets are in good condition can prevent any fluids from seeping into the alternator.
5 . Faulty Alternator
In some cases, a wet alternator may be caused by a faulty alternator itself. If the internal components of the alternator fail or malfunction, it can cause it to leak fluids onto its own casing. This can result in a wet alternator and potential damage to the alternator’s functionality.
How to Fix a Wet Alternator in 6 Easy Steps
Step 1: Identify the Problem
The first step to fixing a wet alternator is to identify that it is indeed wet. Look for signs of water or moisture on and around the alternator, such as puddles or dampness. If you suspect your alternator has gotten wet, do not attempt to start your vehicle.
Step 2: Disconnect the Battery
Before beginning any work on your alternator, it is important to disconnect the battery. This will prevent any potential electrical shocks or damage to your vehicle.
Step 3: Dry the Alternator
Once the battery has been disconnected, you can begin drying out the alternator. Use a clean cloth or towel to absorb as much water as possible from the exterior of the alternator. You can also use a hairdryer on a low heat setting to gently dry out the alternator.
Step 4: Let it Air Out
After you have removed as much water as possible, it is important to let the alternator air out. This will help remove any remaining moisture that may be trapped inside. Leave the hood of your vehicle open and allow air to circulate for at least an hour.
Step 5: Check for Damage
Once the alternator has had time to air out, it is important to check for any potential damage. Look for signs of corrosion or rust on the exterior of the alternator. If you notice any damage, it may be necessary to replace the alternator.
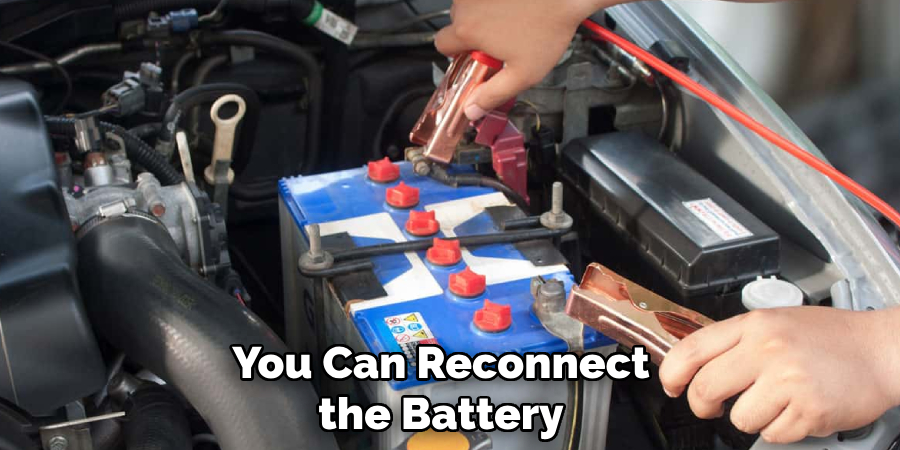
Step 6: Reconnect the Battery and Test
After ensuring that the alternator is dry and undamaged, you can reconnect the battery and test the alternator. Start your vehicle and observe if there are any issues with the alternator or electrical system. If everything appears to be working properly, then your alternator is fixed!
Additional Tips for Preventing a Wet Alternator
1 . Park in Covered Areas
One way to prevent your alternator from getting wet is to park in covered areas, such as a garage or carport. This will protect your vehicle from rain and other sources of water. Also, try to avoid parking near water sources or under trees that could drip on your car.
2 . Regularly Inspect Your Vehicle’s Belts
A damaged or broken belt can cause the alternator to become wet. To prevent this, regularly inspect your vehicle’s belts for any signs of wear and tear. Replace them as needed to ensure they are functioning properly. This will not only help prevent a wet alternator but also keep your vehicle running smoothly.
3 . Check Your Vehicle’s Ventilation System
If your vehicle has a clogged air conditioning drainage hose or a damaged ventilation system, it can lead to moisture buildup under the hood. Regularly check and clean these systems to prevent water from entering your engine compartment and causing a wet alternator.
4 . Be Mindful of Driving Conditions
If you know you will be driving in heavy rain or through deep puddles, take extra precautions to protect your alternator. Slow down and avoid large bodies of water if possible. This can help prevent splashing that could lead to a wet alternator.
5 . Address Any Leaks Immediately
If your vehicle has any leaks, it is important to address them as soon as possible. Leaks can lead to water getting into the engine compartment and causing a wet alternator. Regularly inspect your vehicle for any signs of leaks and have them fixed immediately to prevent potential damage.
Frequently Asked Questions
What Precautions Should I Take Before Fixing a Wet Alternator?
Before attempting to fix a wet alternator, it is important to take the necessary precautions to ensure your safety. Make sure the engine and ignition are turned off, wear protective gear such as gloves and safety glasses, and make sure the area is well-ventilated. It is also recommended to disconnect the battery before starting any work on the alternator.

How Do I Know If My Alternator Is Wet?
There are several ways to determine if your alternator is wet. First, you may notice a decrease in electrical power or strange smells coming from the engine. You may also see visible signs of water damage such as corrosion or rust on the alternator itself. Additionally, if you suspect your vehicle has been exposed to water, it is best to have the alternator checked by a professional.
Can I Fix a Wet Alternator on My Own?
While fixing a wet alternator may seem like a simple task, it is important to note that working with electrical components can be dangerous. If you do not have experience or knowledge in this area, it is recommended to seek the help of a professional mechanic. They will have the necessary tools and expertise to properly fix the affected components.
Can I Prevent My Alternator from Getting Wet?
In some cases, it may be difficult to prevent your alternator from getting wet, especially if you live in an area prone to heavy rain or flooding. However, there are some precautions you can take such as regularly checking for leaks and ensuring all seals and gaskets are in good condition. If you do find water damage on your alternator, it is important to address it as soon as possible to prevent further damage.
What Are Some Common Causes of a Wet Alternator?
A wet alternator can be caused by a variety of factors. These may include driving through deep water, leaks in the engine or surrounding components, or even faulty seals on the alternator itself.
It is important to identify and address the root cause of the issue to prevent recurring water damage. Regular maintenance and inspections can help catch potential problems before they escalate. Also, be sure to park your vehicle in a covered or elevated area during heavy rain or flooding events.
How Many Times Can I Fix a Wet Alternator Before Replacing It?
It is not recommended to repeatedly fix a wet alternator. While minor water damage may be repairable, extensive or repeated exposure to water can cause irreversible damage to the internal components of the alternator. If you have experienced multiple incidents of water damage, it may be time to consider replacing the alternator altogether for the safety and reliability of your vehicle.
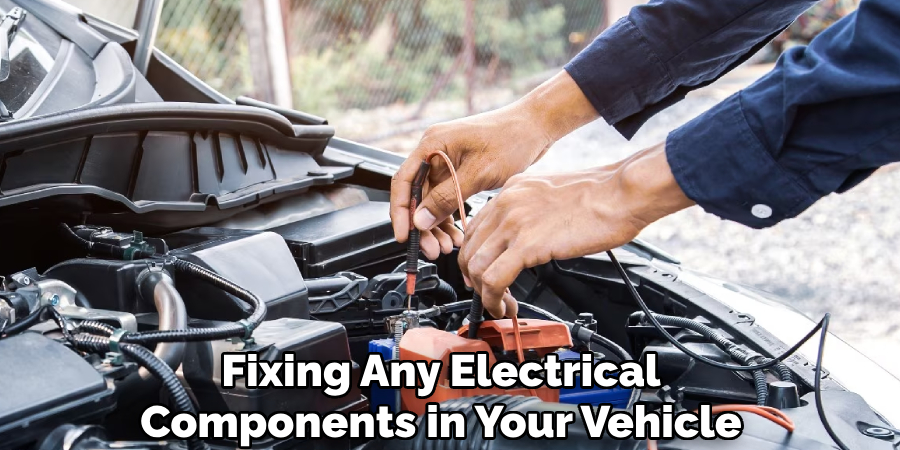
Overall, proper maintenance and precautions can help prevent a wet alternator and save you time and money in the long run. Remember to always work safely and consult a professional if you are unsure about fixing any electrical components in your vehicle.
Conclusion
While a wet alternator can be a frustrating and potentially costly problem, there are steps you can take to prevent it from happening. By following these additional tips, you can protect your alternator and keep your vehicle running smoothly.
Now you know how to fix a wet alternator! Remember to regularly inspect your vehicle and address any issues immediately to avoid a wet alternator in the future. So, by taking proper precautions and being aware of potential causes, you can keep your alternator dry and functioning properly. Keep these tips in mind and happy driving!