It’s inevitable. At some point, your VCR will start to play up and refuse to cooperate with you. Maybe the cassette tapes it once played flawlessly now get stuck, or the video quality is suddenly reduced to a fuzzy mess.
Don’t worry – there are ways to fix a VCR that won’t play. You don’t have to throw it out and buy a new one! With this article, you’ll be able to troubleshoot and hopefully repair the problem yourself. So if your VCR is driving you crazy, read on for tips on how to fix a vcr that won’t play. Keep reading.
Summary: If your VCR won’t turn on, the first step is to check if it’s plugged in and that the outlet and power cord are in good working condition. Once these have been checked, you should inspect the fuse on the VCR to verify that it isn’t broken.
If the fuse is blown, you will need to replace it with a new one. If replacing the fuse doesn’t work, then there may be an issue with one of the internal components such as a capacitor or transistor. To fix this, you will need to disassemble your VCR and use a voltmeter to diagnose which component needs to be replaced.
Causes of VCR Not Playing
There are a few reasons why your VCR might not be playing. It could be a problem with the power, the connections, or the settings. If you’re having trouble getting your Vcr to play, here are a few things you can try:
Faulty Connections:
Check all the connections between your Vcr and other devices. Ensure that the power cord is plugged in and that all the cables are secure. If you have a cable box or satellite box, make sure that it is on and that all the connections are secure.
Ensure that the input setting on your TV is set to the correct setting.
Power Problem:
If your Vcr doesn’t turn on, make sure that it’s plugged into an outlet with power. You may also want to try plugging it into a different outlet to be sure. If it still does not power on, check your owner’s manual for troubleshooting steps.
Wrong Settings:
If you’re having trouble getting your Vcr to play a specific tape, it might be because the settings are wrong. For example, if you’re trying to play an NTSC tape in a PAL Vcr, it won’t work. Check the settings on your Vcr to make sure they match the tape you’re trying to play.
Dirty Heads:
If your VCR is skipping or playing erratically, it could be because the heads are dirty. A simple solution is to clean the heads, which is a relatively easy process.
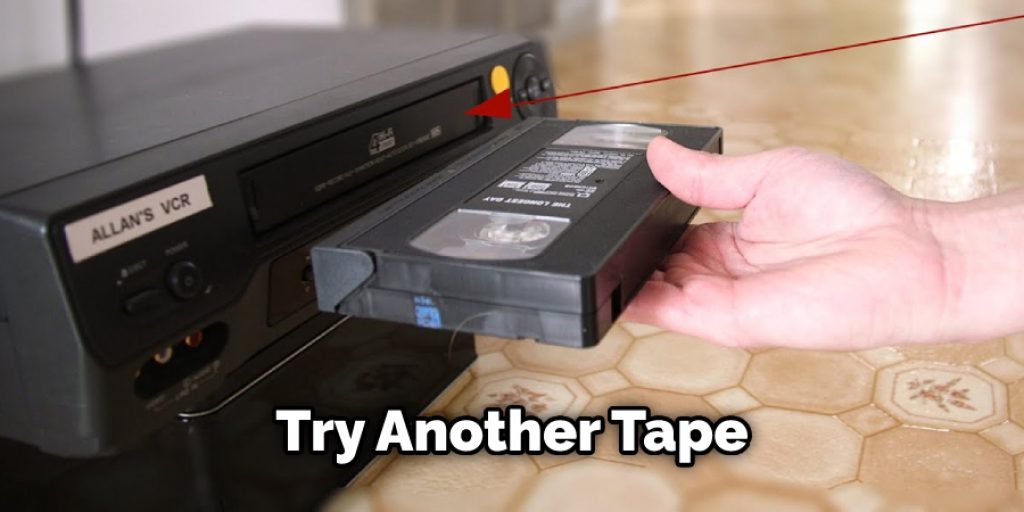
Bad Tape:
In some cases, a bad tape can cause problems with playback. If you’ve tried cleaning the heads and still have trouble, try another tape to see if that makes a difference.
If you’ve tried all of these things and still have trouble, your Vcr may be broken. In that case, you’ll need to take it to a repair shop or buy a new one.
What You’ll Need
- Phillips head screwdriver
- Flathead screwdriver
- Needle nose pliers
- Electrical tape
- Wire cutters
A Step by Step Guide on How to Fix a VCR That Won’t Play
Step 1: Confirming the Connections
To ensure your VCR is properly set up, start by checking that all connections are secure. Make sure the power cord is plugged into the wall outlet and the back of the VCR, then check the video input/output cables. These are usually colored yellow and white. If your TV has more than one input, be sure the wires are plugged into the correct input.
Step 2: Inspecting the Tape
If the connections are all secure and you still can’t get your VCR to play, it may be an issue with the tape itself. First, remove the cassette from the VCR and inspect it for any damage. If the casing is cracked or warped, this could be causing playback problems. If the cassette looks damaged, you may need to purchase a new one.
Step 3: Cleaning the Heads
If the tape and connections seem to be in working order, the next step is to clean the heads. Over time, dust and debris can build up on the heads and cause playback problems. You can purchase a head cleaning kit from most electronics stores. These kits come with instructions on how to clean the heads properly.
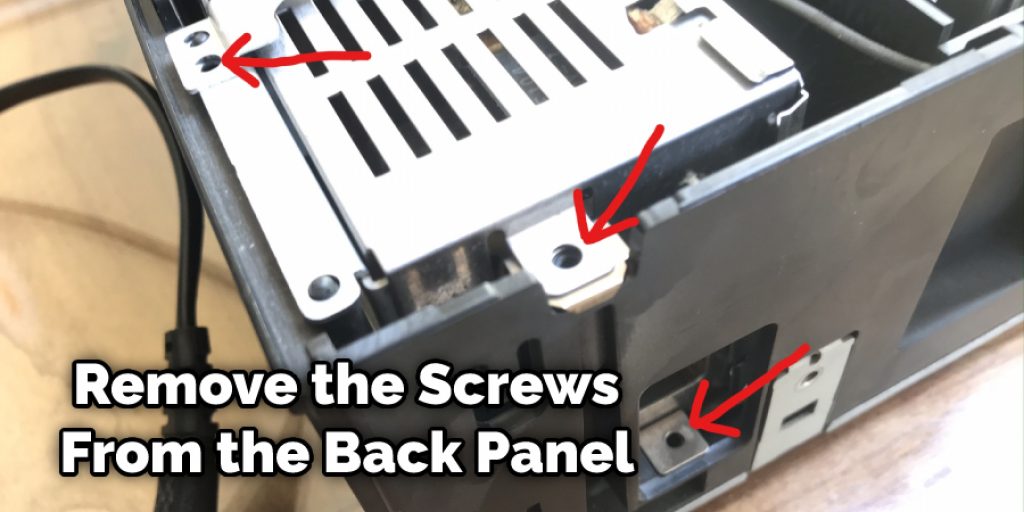
Step 4: Checking for Obstructions
If you’ve tried all of the above steps and your VCR still won’t play, there may be an obstruction inside the machine. First, use a Phillips head screwdriver to remove the screws from the back panel of the VCR. Next, gently pull the panel away from the machine to look inside. Check for any loose wires or objects that may be blocking the path of the tape. If you find an obstruction, carefully remove it and reassemble the VCR.
Step 5: Replacing the Fuses
If your VCR isn’t working, the next step is to check the fuses. First, locate the fuse box, usually found near the power cord. Once you’ve found it, open the fuse box and inspect the fuses. If any of them are blown, you’ll need to replace them with new ones.
Step 6: Contacting a Repair Service
If you’ve tried all of the above steps and your VCR still won’t play, it may be time to contact a repair service. Many electronics stores offer repair services for small electronics like VCRs. You can also check online for repair services in your area.
Step 6: Calling a Professional
If you’ve tried all of these steps and your VCR still won’t play, it may be time to call a professional. A qualified technician will be able to diagnose and fix the problem quickly and efficiently.
Try these troubleshooting tips if your VCR won’t play:
1. Check the power cord and make sure it’s plugged into an outlet.
2. Check the input selector on your TV to make sure it’s set to the correct input (usually “Video 1” or “Input 1”).
3. Make sure the video cassette is inserted correctly into the VCR. The cassette should have the open side facing down and the label facing up.
4. If you’re using an RCA cable to connect your VCR to your TV, check the cables to make sure they’re securely plugged in at both ends.
5. Press the tracking button on your VCR to ensure the tracking is set correctly.
6. If you’re still having trouble, consult the owner’s manual for your VCR or contact the manufacturer.
What Is Causing My Tape to Become Stuck in the VCR
There are several possible causes for your tape becoming stuck in the VCR. One possibility is that the cassette itself is warped or damaged. Another possibility is that the loading mechanism in the VCR is dirty or damaged. If the problem persists, it may be necessary to take your VCR to a repair shop.
One common cause of tapes becoming stuck in a VCR is warping. This can happen if the cassette is exposed to heat or direct sunlight. In addition, if the cassette is dropped or otherwise subjected to physical trauma, it can also occur. If your cassette is warped, it may be possible to straighten it out by applying gentle heat with a hairdryer. However, this is not always successful, and the cassette may need to be replaced.
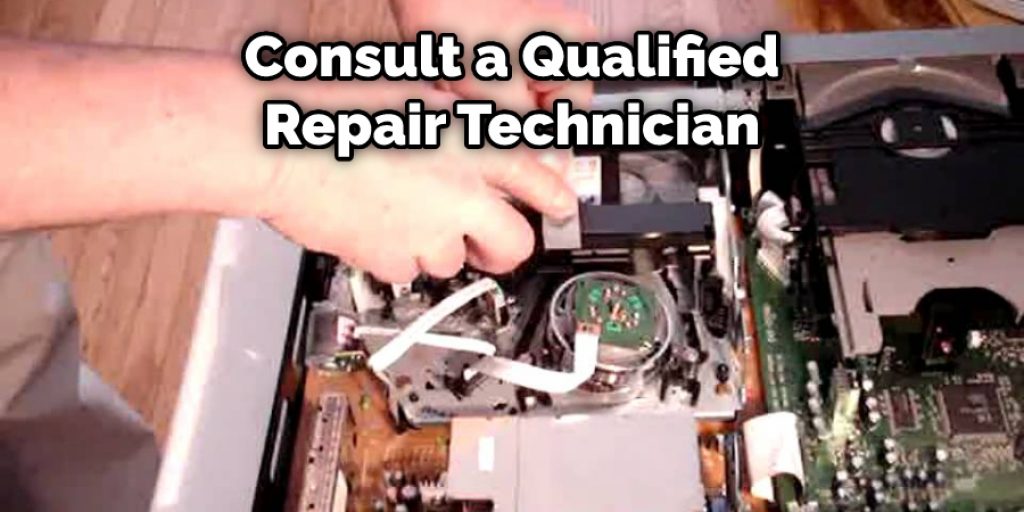
Another common cause of tapes becoming stuck in a VCR is damage to the loading mechanism. This can happen if the VCR is dropped or otherwise subjected to physical trauma. In addition, if the loading mechanism becomes dirty or clogged with dust, it can also occur. If your VCR’s loading mechanism is damaged, it will likely need to be repaired or replaced by a qualified technician.
If you have problems with your VCR, it is best to consult a qualified repair technician. They will be able to diagnose the problem and recommend the best course of action. However, if you are feeling adventurous, several websites offer detailed instructions on repairing common VCR problems. Again, remember to be cautious and consult a qualified repair technician if you are unsure of what you are doing.
How Do I Know if My VCR Is Broken
If your VCR doesn’t play, it may be because it is broken. How do you know if your VCR is broken? There are a few things you can check:
- Check the power cord to make sure it is plugged in correctly and that the outlet is working.
- Check the inputs and outputs to ensure they are all connected properly.
- Inspect the cassette tape itself to see if it is damaged in any way.
- Try playing a different cassette tape to see if the problem lies with the tape itself.
- If none of these solutions work, your VCR may indeed be broken and will need to be repaired or replaced.
You Can Check It Out to: Fix a Vhs Tape That Won’t Play
Frequently Asked Questions
Can a Vhs Player Be Repaired?
While there may be some limited cases where a Vhs player can technically be repaired, the majority of them will not hold up over time. In fact, many parts simply cannot be replaced and are bound to fail sooner or later. That being said, there are still some people who attempt to repair their old Vhs players anyway. However, these repairs typically do not last long and often end in disaster.
If you’re thinking about repairing your old VHS player, it’s important to understand that this is an extremely risky proposition. Not only could you damage the player further by trying to fix it yourself, but also any mistakes made could lead to serious health risks if not handled correctly. Therefore, unless you have no other option (or feel confident in your skills), we advise against attempting any repairs yourself!
Why is My VCR Saying No Signal?
If your VCR is saying “No Signal,” there are a few things that you can do to try and get it working again. First, make sure that your VCR is plugged into an outlet that is working – if not, you may need to consult your owner’s manual to see if there are any specific steps you need to take in order to get it working. If that doesn’t work, you can try resetting your VCR by pressing the power button for a few seconds and then selecting “reset.” Finally, if all else fails, you can try replacing your VCR.
Why Do Tapes Get Stuck in VCR?
There are a few potential reasons why tapes might get stuck in your VCR. One is that the tape may be dirty and infected with bacteria. This can cause it to stick due to static electricity, which is created when the dirt and dust on the surface of the tape attract particles of air. If this happens, you will need to clean your VCR’s playback head using a cloth soaked in vinegar or water and Q-tips.
Another possibility is that there may be something blocking the path of tape movement inside your VCR. This could be something as small as grit or sand from around your TV screen, or it could be larger objects like clothes or magazines that have been thrown onto the machine during operation.
Can a Broken Vcr Tape Be Fixed?
Yes, a broken VCR tape can be fixed. All you need is the right tools and some know-how. Here’s how it works:
- Remove the cassette from the VCR.
- Clean the metal parts of the VCR with a soft, non-abrasive cloth.
- Apply a thin layer of silicone adhesive to the back of the cassette.
- Place the cassette onto the metal parts of the VCR and press down firmly until the adhesive bonds to the cassette.
Conclusion
If you’re having trouble getting your VCR to play, don’t worry – we’re here to help. In this article, we’ll walk you through the steps to take to fix a VCR that won’t play. Hopefully, by following these simple instructions on how to fix a vcr that won’t play, you’ll be able to get your VCR up and running again in no time!
You Can Check It Out to: Fix a Vcr That Won’t Turn on