Do you remember the days of VHS tapes? They seem like a lifetime ago, but you still have a few lying around if you’re like me. Unfortunately, one of those tapes decided to stop working, and now it’s just sitting in your storage bin, taking up space. Luckily, an easy fix will have your tape playing like new in no time. Continue reading for step-by-step instructions on how to fix a VHS tape that won’t play!
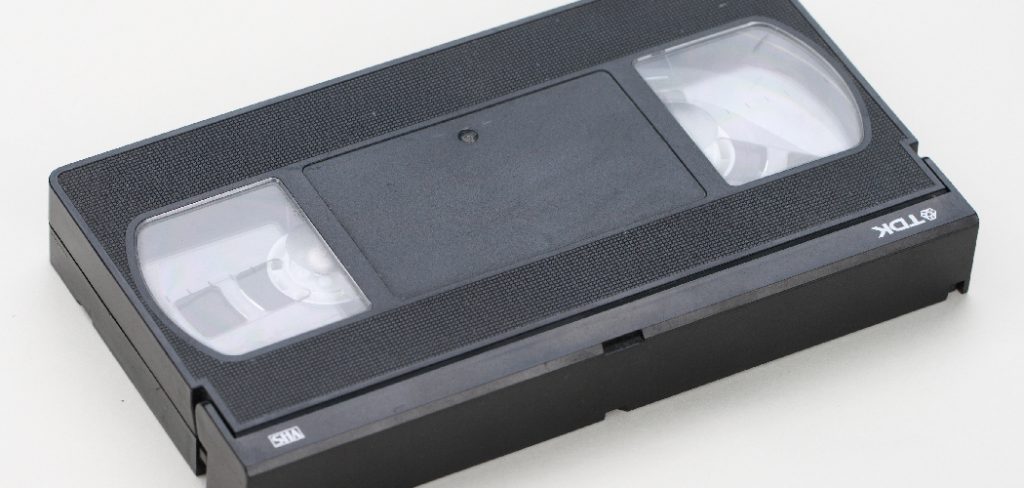
We all have those old VHS tapes that we can’t seem to get rid of. Whether it’s a movie you loved as a kid or a family vacation from years ago, there’s always something sentimental attached to them. It’s frustrating when you pull one out, and it doesn’t work. So what do you do when one of those tapes decides it doesn’t want to play anymore? Don’t panic!
Summary: If your VHS tape isn’t playing, you can take a few steps to diagnose the problem. Start by determining what might be the issue, such as if the tape is damaged or if the VHS player isn’t working properly.
Then check the tape and VHS player for signs of wear and tear. Ensure your TV is set up correctly and your connections are secure. If all else fails, consider replacing parts such as cables or even the entire VHS player.
Reasons for a VHS Tape Not Playing
There are a few reasons why your VHS tape may not be playing. It could be due to the following:
The Video Cassette Recorder Itself Is Not Working Correctly:
Check to see if the power cord is plugged in correctly and that the unit is turned on. If the unit appears fine, try unplugging it and plugging it back in again. If the unit is still not working, it may need to be reset. To do this, unplug the power cord from the outlet and then plug it back in again. The washer should restart on its own.
The Cassette Is Inserted Incorrectly:
Make sure that the cassette is inserted with the label side up. If the problem persists, try flipping the cassette and inserting it again. If the problem persists, your cassette player may be malfunctioning.
You can try restarting your device and trying again, or connecting to another cassette player to see if you have the same issue.
The Heads Are Dirty:
If the heads of your VCR are not clean, your tape may not play well or at all. Use a head cleaning kit or some canned air to clean the heads.
The Video Tracking Is Off:
This can be adjusted by pressing the tracking button on your VCR. If it doesn’t work, you can get a tracking generator, which is an ‘audio-only’ cassette recorder that runs at the same speed as your VCR.
Connect its output to the video input of your VCR and then adjust the tracking until you see a straight line on the screen.
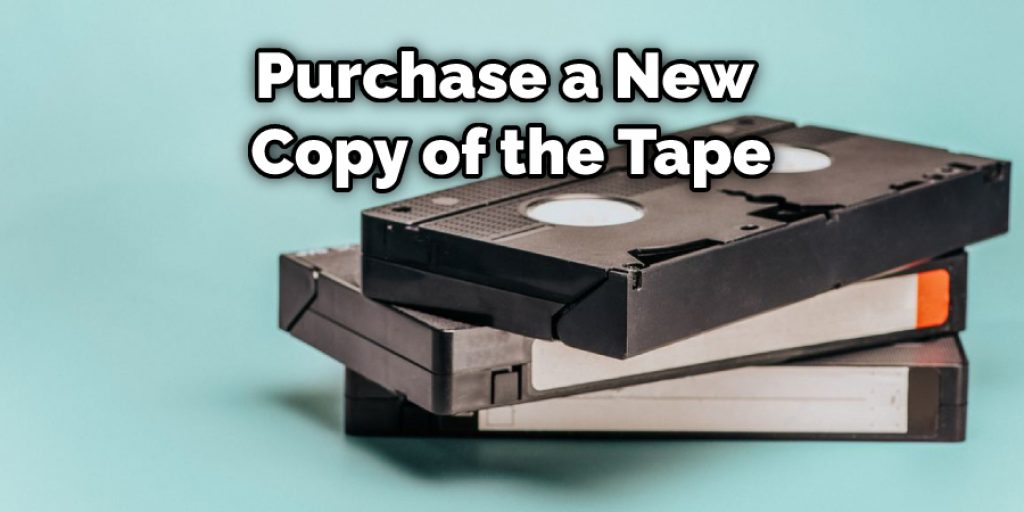
The Video Is Damaged:
The videotape may be damaged if it will not play after trying all of the above. In this case, you will need to purchase a new copy of the tape.
The Power Supply to the Vcr Is Not Working:
Check to see if the power cord is plugged in and that the outlet is working. If the problem persists, try plugging the VCR into a different outlet.
The Input/output Jacks Are Loose:
Check all of the input/output jacks to make sure they are correctly connected. If they appear to be loose, try unplugging and replugging them.
The Fuse Is Blown:
Check the fuse and replace it if necessary.
The Tv Is Not on the Correct Channel:
Make sure your TV is on the correct channel. Consult your TV’s manual for more information on how to do this.
A Stepwise Guide on How to Fix a VHS Tape That Won’t Play
Step 1: Determine the Problem
The first step is to figure out what the problem is. A few things could be causing your VHS tape not to play. For example, it could be a problem with the actual tape, the VHS player, or the TV.
If you have another VHS tape that you know works, try playing it on your VHS player. If it plays fine, the problem is most likely with your tape. If the other tape doesn’t play either, the issue is probably with your VHS player or TV.
Step 2: Check Your Tape
If the problem is with your actual VHS tape, there are a few things you can try to fix it.
First, check the condition of the tape. It may just be time to replace it if it is old and worn out.
If the tape condition isn’t the issue, try cleaning it. Dust and dirt can build up on the tape and cause problems. To clean your VHS tape, you’ll need a soft cloth and some rubbing alcohol. Gently wipe down the tape with the rubbing alcohol, careful not to damage it.
Step 3: Check Your VHS Player
If cleaning your VHS tape didn’t fix the problem, there may be an issue with your VHS player. First, make sure that all of the connections are secure. If everything looks good there, try cleaning out the inside of your VHS player. Dust and dirt can build up in there and cause problems.
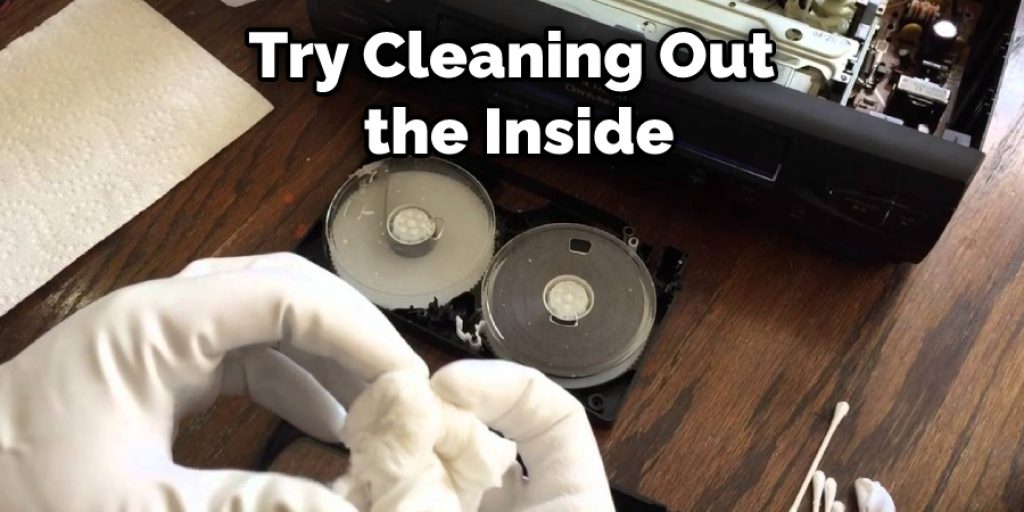
To clean your VHS player, you’ll need a can of compressed air and a soft cloth. First, use the compressed air to blow out any dust or dirt inside the player. Then use the soft cloth to wipe down the player’s inside, being careful not to damage anything.
Step 4: Check Your TV
If the issue is with your TV, there are a few things you can try to fix it.
First, make sure that all of the connections are secure. Then, if everything looks good there, try changing the input on your TV. Sometimes VHS players need to be on a specific input to work correctly.
If changing the input doesn’t work, try unplugging your TV for a few minutes and then plugging it back in. This can sometimes reset the TV and fix problems.
Step 5: Check Connections and Settings
If your VHS player still won’t play your tapes after you’ve cleaned them, it’s time to check the connections and settings. First, make sure that all cables are firmly connected to both the TV and the VCR. If they seem loose, try disconnecting and reconnecting them.
Next, take a look at the input settings on your TV and VCR. Ensure that the TV is set to display video from the VCR (this will be different for every TV and VCR combination). On most TVs, you can do this by pressing the “Input” or “Source” button on the remote control.
Finally, check the tracking on your VCR. This setting controls how the VCR reads the video information on the tape. If the tracking is off, the picture will be fuzzy or jumpy. Press the “Tracking” button on your VCR’s remote control to adjust the tracking. You may need to experiment with this setting to get it just right.
Step 6: Replace Parts
If you’ve tried all of the above steps and your VHS player still won’t play your tapes, it may be time to replace some parts. First, try replacing the batteries in your remote control. If that doesn’t work, you may need to replace the actual VCR.
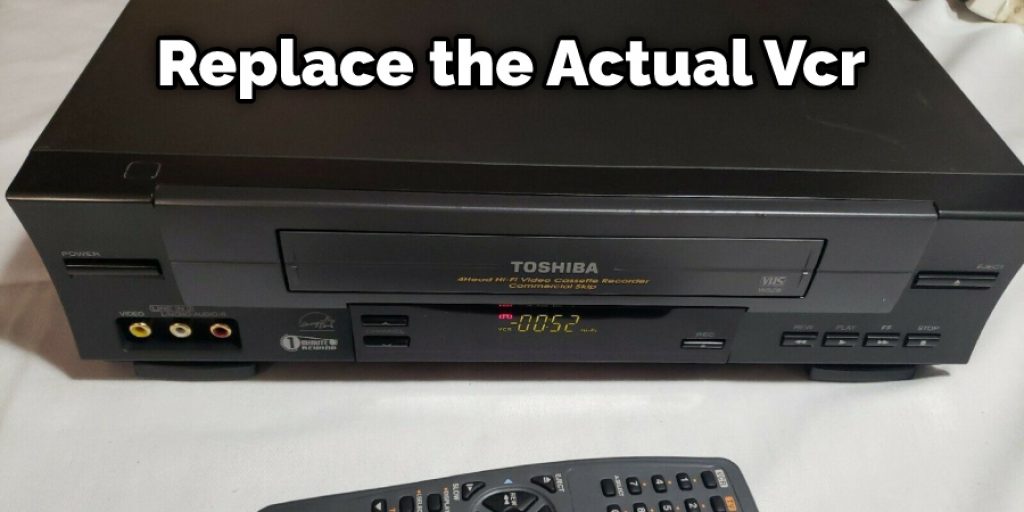
You can usually find replacement VCRs at electronics stores or online. When shopping for a new VCR, make sure to get one compatible with your TV (most VCRs these days are).
Step 7: Call for Help
If you’ve tried all of the above steps and your VHS player still won’t play your tapes, it may be time to call for help. First, contact the manufacturer of your VCR and see if they offer any troubleshooting assistance. You can also take your VCR to a local electronics store and see if they can help you figure out the problem. These steps will help in how to fix a vhs tape that won’t play.
You Can Check It Out To Fix Wahl Clippers Loud Noise
Tips and Tricks
- If the video head is dirty, try cleaning it with a cotton swab or soft cloth.
- Check the condition of the videotape. If it’s old and worn out, it may be time to buy a new one.
- Ensure the VHS player is correctly plugged into an electrical outlet and that all cords are connected correctly.
- If you’re still having trouble, take the VHS player and tape to a professional electronics repair shop for diagnosis and repairs.
Can You Fix a Damaged VHS Tape
Many people have fond memories of watching their favorite movies on VHS tape. Unfortunately, these tapes can become damaged over time, causing the video and audio to degrade. While it is possible to fix a damaged VHS tape, it requires special equipment and a great deal of patience.
First, the damaged portion of the tape must be located. Next, the tape needs to be cleaned and repaired. This can be done with a special adhesive or by splicing the tape. Finally, the repair must be tested to ensure that the video and audio quality are restored. While fixing a damaged VHS tape is possible, it is often a time-consuming and challenging process. As a result, many people prefer to replace their old tapes with new ones.
How Long Do VHS Tapes Last
Videotapes are susceptible to several factors that can cause degradation and deterioration. The most significant factor is temperature and humidity. Exposure to heat and moisture will accelerate the aging process of videotapes. Light is also a contributing factor in the degradation of videotapes. Ultraviolet light, in particular, can cause the color dyes in videotapes to fade.
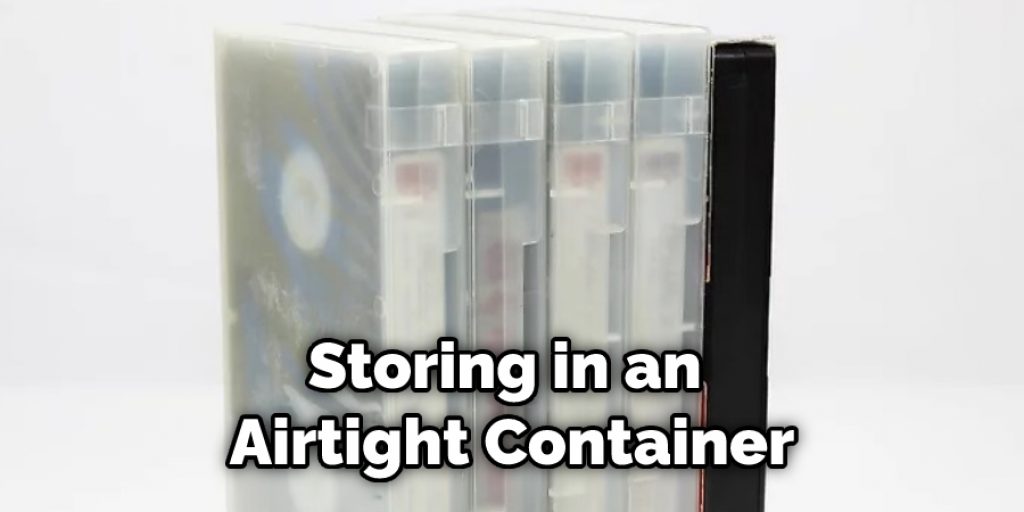
Furthermore, storing videotapes in an airtight container can also lead to problems. If there is not enough airflow, the videotape can develop mold or mildew. Therefore, keeping tapes in a cool, dry, and dark place is essential. When properly stored, a video cassette should have about 10-20 years. However, if you have a videocassette that is more than 20 years old, then it is likely that the tape has already started to degrade and will not last much longer.
Frequently Asked Questions
Why Do VHS Tapes Stop Working?
There are a few reasons why VHS tapes might stop working. One common issue is that the tape’s coating may start to peel off, which can cause malfunctioning of the video circuitry. This problem is often caused by humidity or moisture building up on the surface of the tape over time. Additionally, age and usage might also result in the degradation of the internal electronics that control playback.
If you’re experiencing problems with your VHS tapes, it’s important to try running them through a compatible player first just to make sure there isn’t anything wrong with your equipment. If that doesn’t solve the problem, then it may be necessary to replace the cassette head or cartridge assembly. In most cases, these repairs can be done by an expert without requiring any specialized tools or expertise.
Can You Repair VHS Tape With Scotch Tape?
It depends on the individual’s interpretation of “repair.” In some cases, it might be possible to use Scotch Tape to temporarily fix a broken or worn-out VHS tape. However, repeated use may cause the tape to become irreparable and should be replaced.
What Can Damage VHS Tapes?
There are a few things that can damage VHS tapes, but the most common is the mishandling of the tape itself. In order to avoid damaging your tapes, be sure to keep them in their original packaging and store them away from heat and moisture. Additionally, do not rewind or fast-forward them more than once. If you accidentally put dirty or scratched tape into your player, it may cause damage both visually and mechanically.
Another potential threat comes from short-circuiting due to faulty wiring in your home. If this happens, electrical energy will surge through the cable attached to the video cassette recorder (VCR), which can destroy delicate electronic components such as capacitors and transistors on the equipment’s circuit board.
Does Temperature Affect VHS Tapes?
Yes, the temperature does affect VHS tapes. “Low-temperature recording can cause accelerated aging and degradation of the video signal.” This is because low temperatures slow down or even halt the chemical reactions that are responsible for record wear and tear. In contrast, high temperatures speed up these reactions, which leads to shorter recordings and an increased chance of damage.
Why is My VHS Tape Fuzzy?
If your VHS tape is fuzzy, it likely means that the magnetic coating on the tape has worn off over time. This can happen if your VHS player is left on or if it’s been exposed to high levels of humidity or dust. In either case, the magnetic coating will slowly disappear, and the tape will become fuzzy.
Conclusion
So, there you have it! We’ve shown you how to fix a VHS tape that won’t play. If your tapes are still in good condition, we hope this guide has helped you save them from the trash heap. Now go forth and watch those old movies with pride!