RVs are a great way to travel and see the country, but they do have their fair share of problems. One common issue is a saggy RV floor. Don’t worry, though – there are ways to fix it!
If you’ve been RVing for a while, you may have noticed that your floor is starting to sag. This can be a real problem, as it can make your RV unstable and even unsafe. But don’t worry – there are ways to fix a sagging RV floor.
In this blog post, we’ll walk you through the steps to take to shore up your RV floor and have it looking good as new in no time. Here we’ll show you how to identify the source of the sag and how to fix a sagging rv floor using either adjustable support or some concrete blocks. So, read on for all the info you need!
Summary: Fixing a sagging RV floor isn’t as difficult as it may sound. Start by scanning the floor to identify any soft spots, which could indicate that the joists are rotten or damaged.
Clean and prepare the area by removing furniture, carpeting, and other items. Locate and replace any damaged boards, then add support jacks to secure the floor structure in place by adding new plywood and insulation to restore your RV’s floor.
What Are the Sources of the Sag?
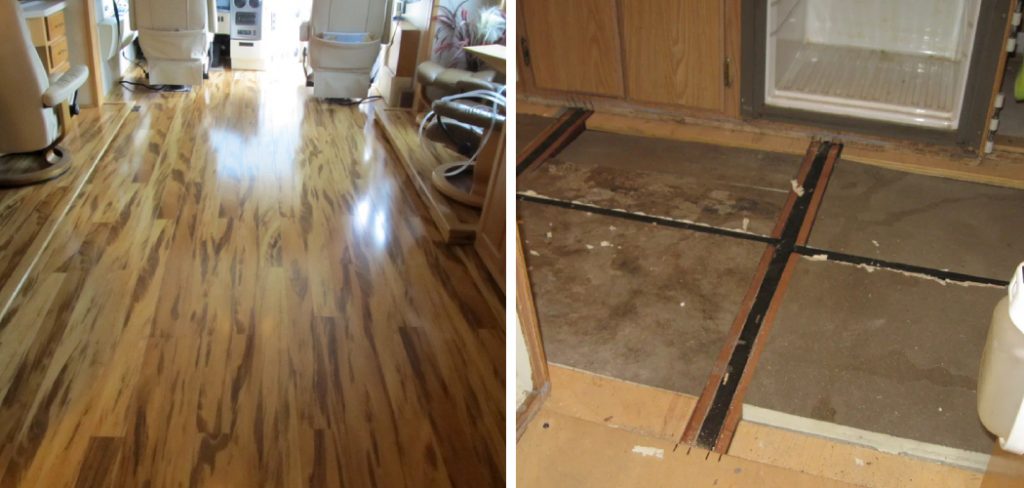
There are a few different things that can cause your RV floor to sag. The most common culprit is water damage. If you’ve had any leaks in your RV, the water can weaken the floor and cause it to start sagging.
Another possible cause of a saggy RV floor simply ages. Over time, the materials in your RV floor will start to break down and weaken. This can cause the floor to sag, especially if there’s a lot of foot traffic in your RV.
Finally, another possible cause of a sagging RV floor is an uneven distribution of weight. If you have heavy furniture or appliances in your RV, they can put a strain on the floor and cause it to sag.
Necessary Materials You Need to Fix It
- 1/2-inch plywood
- 2×4 lumber
- Cinder blocks or other support
- Drill
- screwdriver
Hopefully, these tools are already in your RV toolbox. If not, you may be able to find them at a local hardware store.
10 Steps on How to Fix a Sagging RV Floor
1. Identify the Source of the Sag
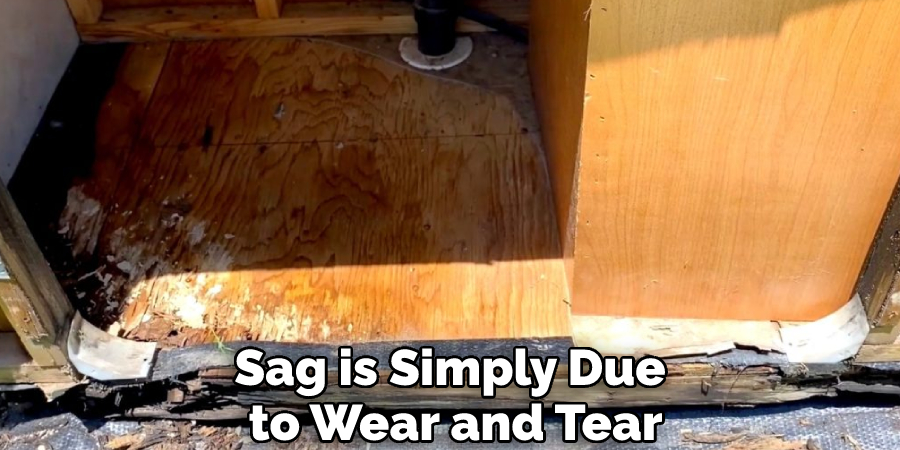
The first step is to identify the source of the sag. If you have a structural issue, such as a rotted floor joist, then you will need to address that before you can move on to repairing the cosmetic issue of the sag. On the other hand, if the sag is simply due to wear and tear, then you can move on to repairing it. Make sure you identify the sag’s source before you begin any repairs.
2. Remove Any Carpet or Flooring
If any carpet or flooring is covering the area that is sagging, you will need to remove it before you can proceed with the repair. Use a sharp knife or scissors to cut through the carpet and then pull it up. If there is any flooring, such as tile or linoleum, you will need to remove that. Use a chisel and hammer to break up the flooring and then scrape it away.
3. Clean the Area
Once the area is clear of any carpet or flooring, you will need to clean it. This is important because you want to make sure the surface is free of dirt and debris before you begin repairing it. Use a vacuum to remove loose dirt, and then wipe down the area with a damp cloth.
4. Inspect the Area for Damage
Once the area is clean, you will need to inspect it for damage. If there is any damage to the flooring, such as cracks or holes, you will need to repair that before you can proceed. Use a putty knife and wood filler to fill in any cracks or holes.
5. Measure the Area
Once the area is free of damage, you will need to measure it. This is important because you want to make sure you have enough material to cover the area that is sagging. Measure the length and width of the area, and then add a few inches to each side. Be careful while measuring, as you do not want to mistake measuring the wrong area.
6. Cut the Material
Once you have measured the area, you must cut the material. You can use a variety of materials for this, such as plywood or particle board. Use a straight edge and a sharp knife or saw to cut the fabric.
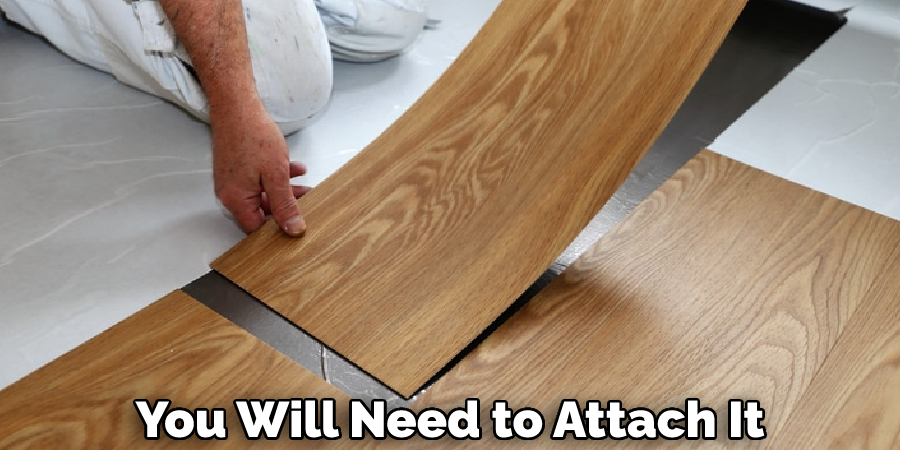
7. Attach the Material
Once you have cut the material, you will need to attach it. This can be done with a variety of methods, such as nails, screws, or adhesives. Be sure to use the appropriate method for the type of material you are using.
8. Add Reinforcement
Once you have attached the material, you will need to add reinforcement. This is important because it will help keep the area from sagging in the future. You can use a variety of methods for this, such as adding supports or braces.
9. Replace Any Damaged Flooring
Once you have repaired the area, you will need to replace any damaged flooring. If carpet or flooring were removed, you would need to install new carpet or flooring. Be sure to follow the manufacturer’s instructions for installation.
10. Test the Area
Once you have repaired the area and replaced any damaged flooring, you will need to test it. This is important to ensure the repair is sturdy and will not give way. Walk on the area and put some weight on it to test it. If it feels sturdy, then the repair is successful. If not, you may need to add more reinforcement or support.
By following these steps, you can easily repair a sagging RV floor. Be sure to take your time and be careful while performing the repair. With a little effort, you can have your RV floor looking like new in no time.
Additional Tips and Tricks
- You can use a putty knife to pry up the flooring.
- Use a hammer and nail to secure the flooring.
- If you have loose nails, you can use a screwdriver to tighten them.
- You can also use a vacuum cleaner to clean up any dust or debris that has accumulated on the floor.
- If you find any cracks or holes in the floor, you can use a patch kit to repair them.
- You can also use a sealant to seal any cracks or holes in the floor.
- If you have any loose screws, you can use a screwdriver to tighten them.
I hope these tips and tricks were helpful. Remember that you can always contact a professional if you have difficulties with your RV floor.

Precautions You Need to Be Taken
- Before you start your repairing work, there are some important things that you need to do to avoid any accidents. First, make sure you disconnect the power source from your RV.
- If you have a gas RV, then turn off the propane tank.
- It is also advisable to put on your safety glasses and gloves before starting the repair work.
- Another important thing you need to do is identify the saggy floor’s location. You can do this by walking around your RV and looking for any dip or low spot on the floor.
- In most cases, the saggy floor is caused by water damage. Therefore, finding and repairing any leaks in your RV before starting the work is important.
- If you cannot find any leaks, then you can check the floor around the toilet. In many cases, the saggy floor is caused by the leaking toilet.
How Much Is Sagging Acceptable?
There are different opinions on how much sagging is acceptable, but most experts agree that any sag greater than 1/2 inch (1.27 cm) needs to be fixed. This is because a saggy floor can cause serious problems, such as:
- Unevenness, which can trip people up
- Difficulty in opening and closing doors
- Problems with the alignment of windows
If you have a sag greater than 1/2 inch (1.27 cm), then you will need to take action to fix it. The good news is that there are a few different ways to do this, and the method you choose will depend on the severity of the sag and your budget.
Conclusion
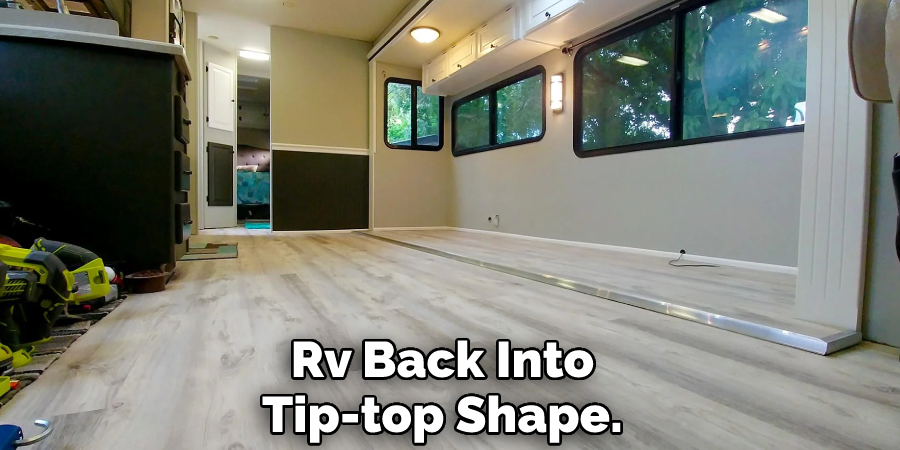
Sagging floors are a common problem in RVs, but they can be fixed. All in all, there are a few things that you can do to help fix a sagging RV floor. While some of these solutions may be more difficult or expensive than others, they will all help get your RV back into tip-top shape.
While fixing a sagging RV floor with simple repairs is possible, it may be time to consider investing in a new RV if the damage is too extensive.
By following the tips we’ve outlined in this post, you can understand how to fix a sagging rv floor– at least for a little while. Have you attempted any of these fixes for your sagging RV floor? Let us know how it went in the comments below.