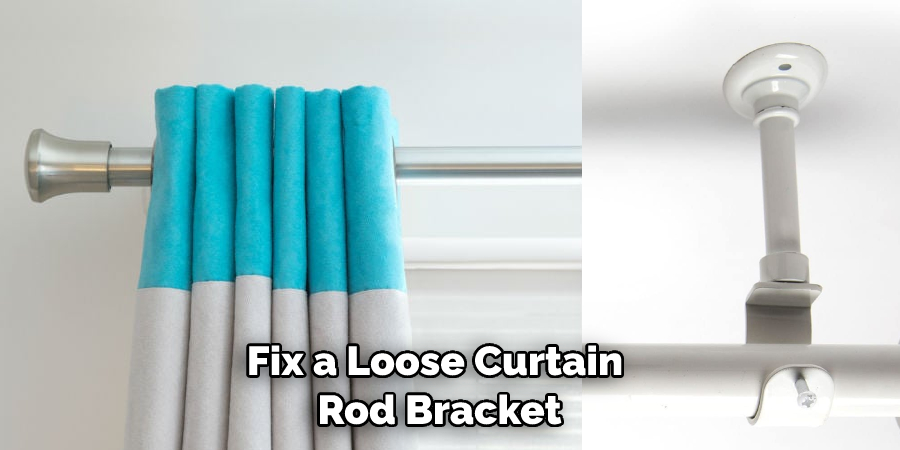
Have you ever had a curtain rod bracket that was loose? It can be frustrating because it seems like it’s impossible to fix. This blog post will show you how to fix a loose curtain rod bracket using just a few simple tools. So bookmark this post and keep it handy the next time your curtain rod bracket starts to lose.
Summary: Installing a new curtain rod bracket doesn’t have to be complicated. Start by removing the old bracket and inspecting the wall for any damage. Use plaster or drywall anchors, new screws or bolts, wall anchors, toggle bolts, expanding foam, adhesive, plaster, heavy-duty brackets, pipe straps, wire or cable ties depending on your needs to help secure the rod in place.
What Causes a Curtain Rod Bracket to Come Loose?
There are a few different reasons why a curtain rod bracket might come loose. The most common reason is that the screws that hold the bracket in place have become loose over time. Another reason can be that the wall around the bracket has shifted or settled, which can cause the bracket to become loose.
The other common reason is that the bracket was not installed properly in the first place. Again, this is something that you might want to check if you’re having problems with a loose bracket. Finally, the bracket might be made of cheap materials that are not very strong and are easily bent or broken.
Why Is It Important to Fix a Loose Curtain Rod Bracket?
It’s important to fix a loose curtain rod bracket for a few reasons. First, it can be a safety hazard if the bracket falls off and the curtain rod comes crashing down. Second, a loose bracket can cause your curtains to sag or wrinkle, which can ruin the look of your window treatments.
Third, a loose bracket can make it difficult to open and close your curtains, which can be frustrating. Finally, a loose bracket can make your window treatment less effective at blocking out light and noise. If your curtains look their best and work properly, you must ensure that the brackets are secure.
Some Effective Ways How to Fix a Loose Curtain Rod Bracket
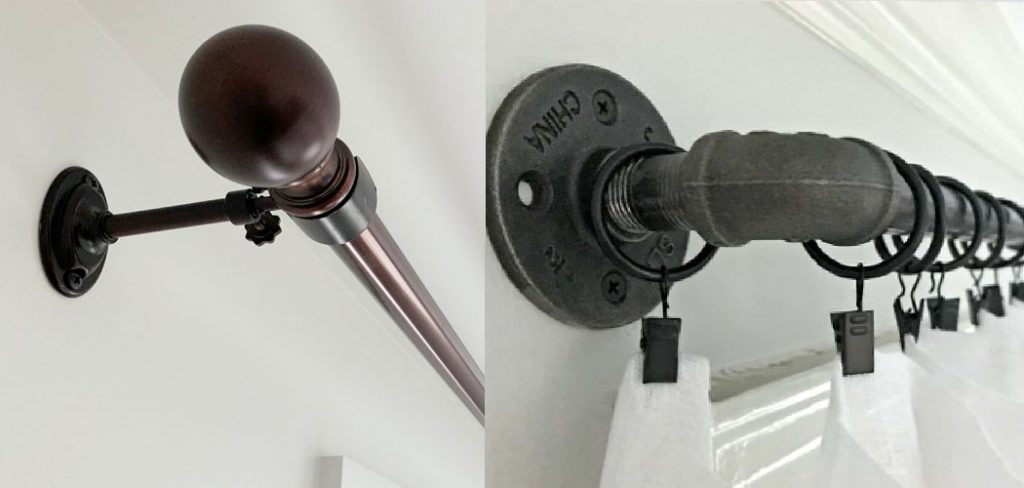
1. Remove the Curtain Rod and Brackets.
The first step is to remove the curtain rod and brackets from the wall. This is because you need to access the screws holding the bracket. Use a screwdriver to remove the screws, and then carefully pull the bracket off the wall. If the bracket is attached to the wall with nails, you will need to use a hammer to remove it. Be careful not to damage the wall as you remove the screws or nails that are holding the brackets in place. First, remove the top bracket, and then remove the bottom bracket.
2. Inspect the Wall for Damage.
Once the brackets are removed, you can inspect the wall for damage. If you see any cracks or holes in the wall, you will need to repair them before you can continue. If the wall is damaged, the bracket will likely become loose again in the future. Once you have repaired the damage, you can move on to the next step.
3. Use Plaster or Drywall Anchors.
If the wall is not damaged, the next step is to use plaster or drywall anchors. These will help to secure the bracket to the wall and prevent it from becoming loose in the future. First, drill a hole in the wall where you want to place the anchor. Next, insert the anchor into the hole and use a screwdriver to tighten it in place. Be sure to follow the instructions with the anchors, as they can be different depending on the anchor you use.
4. Install New Screws or Bolts.
The next step is to install new screws or bolts into the wall. This is because the old screws or bolts might be damaged and not correctly hold the bracket in place. To install the new screws, use a power drill and make sure to drill into a solid part of the wall. First, insert the screw into the wall and then use the power drill to screw it in tightly. Be sure to use screws or bolts that are long enough to go through the wall and into the studs. This will help to ensure that the bracket is securely attached to the wall.

5. Use Wall Anchors.
If you still have trouble with the bracket becoming loose, you can try using wall anchors. Wall anchors are similar to plaster or drywall screws but have plastic or metal sleeves that expand when you turn the screw clockwise.
This will help to secure the bracket more firmly in place. First, drill a pilot hole in the wall where you want to place the bracket to use a wall anchor. Next, insert the wall anchor into the hole and screw it in place. Finally, screw the bracket into the wall anchor. If the bracket is still loose, you can try using a larger wall anchor.
6. Use Toggle Bolts.
Toggle bolts are another option for fixing a loose bracket. Toggle bolts have wings that open up once they are inserted into the wall. This helps to distribute the weight of the curtain rod and prevents the bracket from becoming loose over time.
To use toggle bolts, first, remove the screws from the bracket. Then, insert the toggle bolt through the bracket and into the wall. Next, use a screwdriver to tighten the toggle bolt until it is secure. Finally, replace the screw in the bracket and tighten it. If the bracket is still loose, you can try using a larger toggle bolt.
7. Use Expanding Foam.
Expanding foam is a great option for fixing a loose bracket because it will fill in any gaps around the bracket and prevent the bracket from moving. First, apply the expanding foam around the bracket and allow it to dry. Once it is dry, the expanding foam will provide a strong hold that will keep the bracket in place. If the bracket is still loose, you can try applying more expanding foam or using a stronger adhesive.
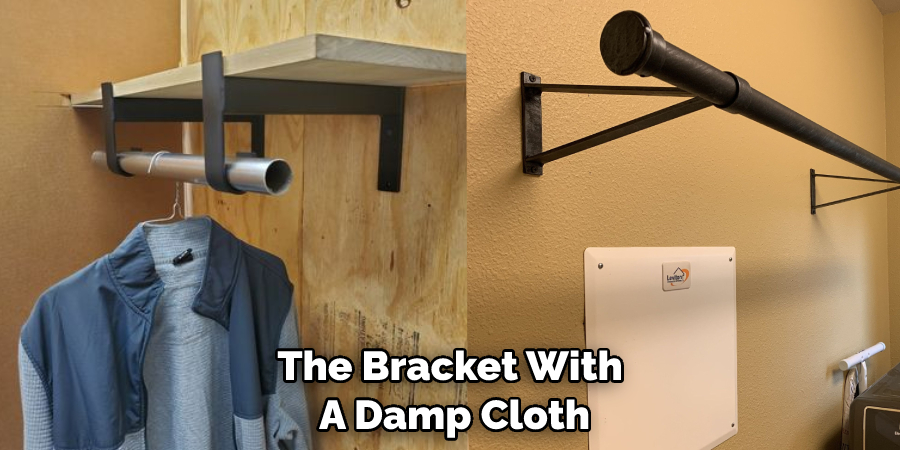
8. Use Adhesive.
If the expanding foam does not work, you can try using an adhesive. This is because the adhesive will provide a strong hold that will keep the bracket in place. Adhesives are available in different strengths, so be sure to choose one that is strong enough to hold the bracket in place.
First, clean the area around the bracket with a damp cloth. This will ensure that the adhesive will have a good grip on the surface. Next, apply the adhesive to the bracket and press it firmly into place. Allow the adhesive to dry for a few hours beforehand your curtains. If the adhesive is not strong enough, you can try using a screw to secure the bracket.
9. Use Plaster.
A plaster is a good option for fixing a loose bracket because it will fill in any gaps around the bracket and prevent the bracket from moving. You will need to apply the plaster to the wall around the bracket and then smooth it out to flush it with the wall. If the plaster is too thick, you can use a putty knife to remove excess plaster. Allow the plaster to dry completely before moving on to the next step.
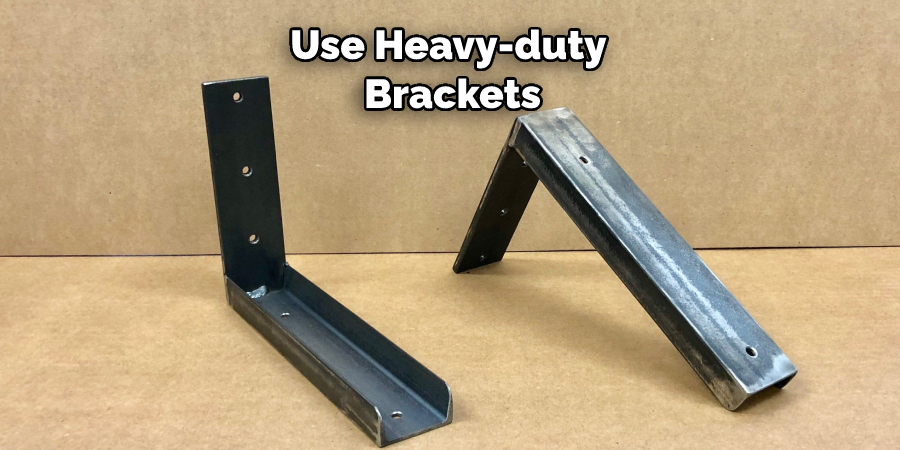
10. Use Heavy-duty Brackets.
If you have a particularly heavy curtain or the bracket is still loose after trying all the above methods, you can try using heavy-duty brackets. These brackets are designed to hold heavier curtains and can be found at most hardware stores. To use these brackets, first, remove the old brackets and then screw the new ones into place. Ensure the screws are tight so the bracket doesn’t lose again.
11. Use Pipe Straps.
If you’re still having trouble with the bracket becoming loose, you can try using pipe straps. Pipe straps are similar to brackets but have a more secure grip. To use them, first remove the existing brackets. Next, measure the distance between the two support points and cut the pipe strap to size. Screw the pipe strap into place, and then re-hang your curtains.
12. Use Wire or Cable Ties.
If you’re still having trouble with the bracket becoming loose, you can try using wire or cable ties. Wire or cable ties are a good option because they’re strong and can be easily tightened or loosened as needed. First, cut a piece of wire or cable tie that’s long enough to go around the bracket and the curtain rod. Then, thread the wire or cable tie through the bracket and around the curtain rod.
Finally, tighten the wire or cable tie until it’s snug. If the wire or cable tie is too loose, you can try using a bigger one. If it’s too tight, you can try using a smaller one.
Tips and Warnings on How to Fix a Loose Curtain Rod Bracket
Tips:
- If the problem is that the curtain rod bracket has come loose from the wall, use a drill to screw it back in place.
- If the problem is that the screws are coming out of the wall, remove them and use wall anchors to secure the bracket in place.
- If the problem is that the bracket is bent, try straightening it with a pair of pliers.
Warnings:
- Be careful not to over-tighten the screws, or you may strip the threads.
- If the wall is made of plaster or drywall, be careful not to damage it when drilling or screwing into it.
- Do not use wall anchors if the wall is made of plaster or drywall, as they may cause the wall to crumble.
- Always read the instructions that come with your curtain rod and brackets before installation.
- If you are unsure of how to proceed or if the problem seems too difficult to fix, consult a professional.
How Much Does It Cost to Fix a Loose Curtain Rod Bracket?
The cost of fixing a loose curtain rod bracket will vary depending on the problem and the chosen repair method. In most cases, the materials needed for the repair will cost less than $10. However, the cost will be much higher if you need to hire a professional to repair it. Usually, the cost of hiring a professional will range from $50 to $100.
Frequently Asked Questions
Do You Reinforce a Curtain Rod Bracket?
Depends on the style of curtain rod bracket that you are using. However, if you are using a swivel-type bracket, then it may not be necessary to reinforce it. If you’re using a fixed or heavy-duty bracket, however, then adding some extra support may be advisable. You can do this by drilling small holes into the brackets and inserting wooden dowels or screws for added stability.
What is a Bypass Bracket?
A bypass bracket is a device that helps to improve the appearance of your teeth. By using this appliance, you can remove up to 2/3rds of your smile’s natural tooth structure and restore its shape. This allows for a more aesthetically pleasing look that will make you stand out from the crowd.
The brackets are custom-made according to your individual oral parameters and are secured in place with either dental cement or plastic adhesive. The process usually takes around two hours and typically requires no additional pain relief other than ibuprofen if needed. After the brackets have been in place for an appropriate amount of time (usually six weeks), they are taken out during a minor surgical procedure known as extraction planning
Why Do My Drywall Anchors Keep Pulling Out?
There are a few reasons why your drywall anchors may be pulling out. Here are some of the most common causes:
- Anchors that are too small – If your anchors are too small, they will not be able to hold the weight of the drywall. This can cause them to loosen and pull out.
- Anchors that are not properly installed – If your anchors are not properly installed, they may not be holding the drywall in place. This can also lead to them becoming loose and pulled out.
- Drywall that is too heavy – If the drywall is too heavy for the anchor, it may pull out due to the anchor’s inability to handle the load.
- Drywall that is not properly sealed – If the drywall is not properly sealed, moisture may get inside the anchor and cause it to become loose and pull out.
Can You Reuse Screw Holes in Drywall?
Some homeowners may be wondering if they can reuse screw holes in drywall. The answer is generally yes, but it depends on the type of drywall and how much damage was done to it during installation. Generally speaking, you should be able to use screwholes in standard gypsum board or fiberglass batt insulation with little problem. However, if the screws went into wood framing or other high-density components, you will likely have to replace those pieces rather than repair them.
Conclusion
So, there you have it. Everything you need to know about how to fix a loose curtain rod bracket: it’s not as hard as it may seem, and by following these simple steps, you should be able to get the job done in no time. Have any questions or feedback? Let us know in the comments section below.