Do you wake up with a leaky roof valley or water stains on the ceiling? Don’t worry – it’s not as daunting as it might seem. In this blog post, we will discuss how to repair your leaking roof valley and get back to living in a home that stays dry regardless of what the weather is doing outside.
You don’t need expensive materials or experience to fix this common problem; you only need a willingness to take action and tackle the job! We will provide easy, step-by-step instructions on how to fix a leaking roof valley and guide you through each task so that by the end of our blog post, your roof will be secure and safe from leaks once again.
So grab a pencil for notes, strap yourself in, and prepare for an informative journey into understanding how fixing a leaking roof valley works.
Necessary Items
Before we get to the actual steps of fixing a leaking roof valley, it’s essential to make sure you have all the necessary items at hand. This will save time and hassle in the long run and ensure your repair job is done correctly. Here are some essential items you will need:
- Ladder – Make sure it is tall enough to reach your roof safely.
- Safety Gear – This includes gloves, safety goggles, and a hard hat.
- Hammer & Nails – You’ll use these for securing shingles in place.
- Roofing Cement or Tar – This helps seal gaps and prevent further leaks.
- Shingles – Have extras on hand to replace damaged ones.
10 Steps on How to Fix a Leaking Roof Valley
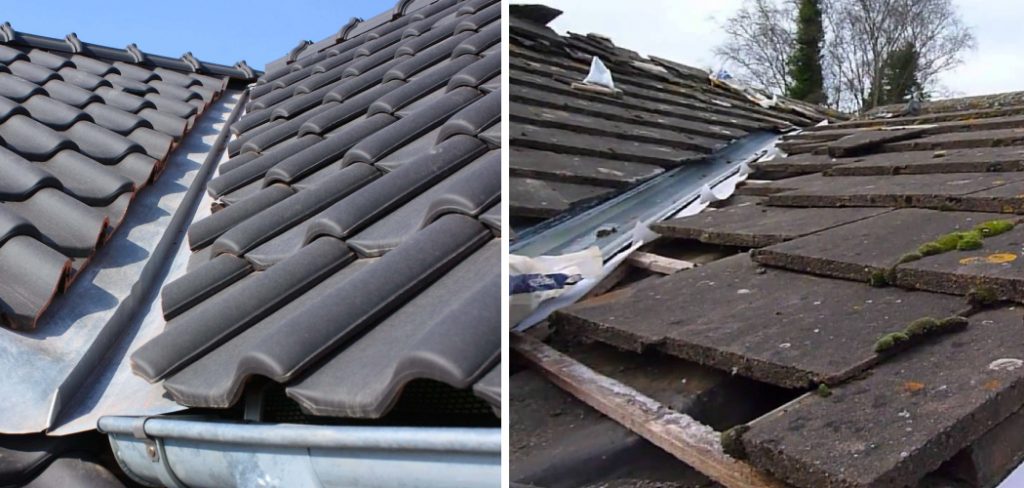
Step 1: Identify the Source of the Leak
The first step in fixing a leaking roof valley is identifying where the leak is coming from. This may seem obvious, but leaks can be tricky and may only sometimes originate from the area where you see water stains on your ceiling. Take a good look at your roof and try to pinpoint the source of the leak.
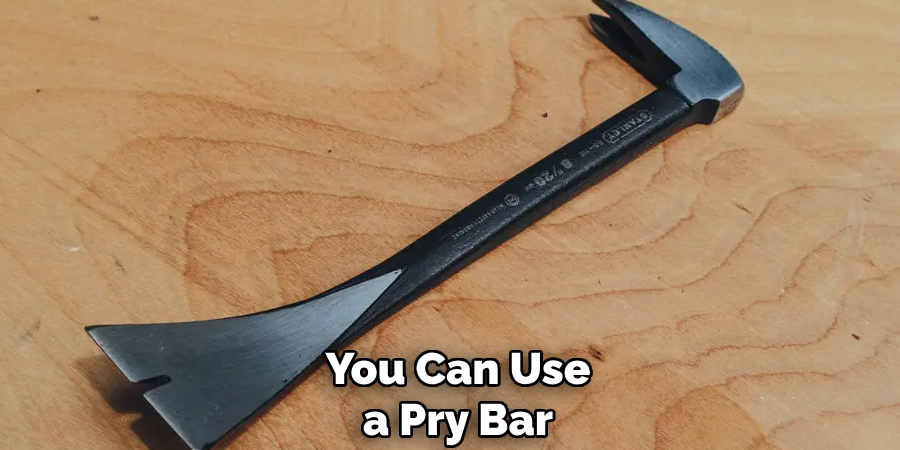
Step 2: Remove Damaged Shingles
Once you have located the source of the leak, remove any damaged or broken shingles causing the issue. You can use a pry bar to lift and remove shingles without causing further damage.
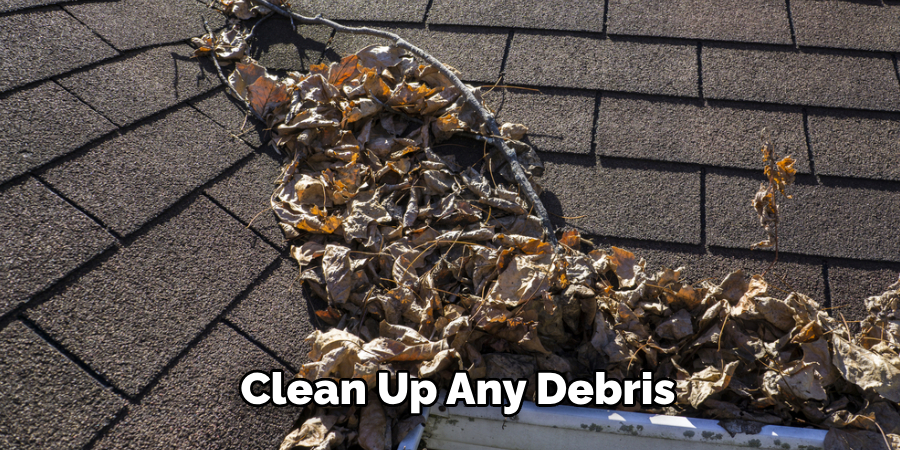
Step 3: Clean and Clear Debris
Before you start repairing, it’s essential to clean and clear any debris or dirt from around the leaky area. This will ensure the surface is clean and ready for repairs.
Step 4: Apply Roofing Cement
Using a putty knife, apply roofing cement or tar to any gaps or holes around the leaky area. This will help seal the gap and prevent water from entering. Make sure to spread the cement evenly and cover all edges.
Step 5: Cut Replacement Shingles
Measure and cut replacement shingles to fit the area where the damaged ones were removed. You may need to trim them down to ensure a perfect fit.
Step 6: Secure Replacement Shingles
Using roofing nails, secure the replacement shingles in place. Make sure they are securely fastened and will not shift or come loose.
Step 7: Apply More Cement
Once the new shingles are in place, apply more roofing cement or tar over the nails and any gaps between the shingles. This will provide added protection against leaks.
Step 8: Check for Other Leaks
Take a moment to check the rest of your roof for any other potential leaks. It’s better to fix all issues at once rather than having to come back and do it again later.
Step 9: Inspect and Clean Up
After completing the repairs, thoroughly inspect the area to ensure everything looks secure, and there are no visible leaks or gaps. Then, clean up any debris or tools from the roof.
Step 10: Monitor for Future Leaks
Lastly, keep an eye on your repaired roof valley over the next few weeks to make sure it is holding up against any potential leaks. If you notice any issues, address them immediately before they become more significant problems.
Fixing a leaking roof valley might seem daunting, but with the right tools and these easy steps, it can be done by anyone. Remember always to prioritize safety and take your time when making repairs. And if you ever feel unsure or uncomfortable with any step, always seek professional help.
Don’t let a leaky roof valley disrupt your peace of mind and comfort in your home – follow these steps and enjoy a dry, secure roof for years to come! So don’t wait any longer; grab those necessary items and start fixing that leaky roof valley today!
8 Additional Tips for Maintaining a Leak-Free Roof
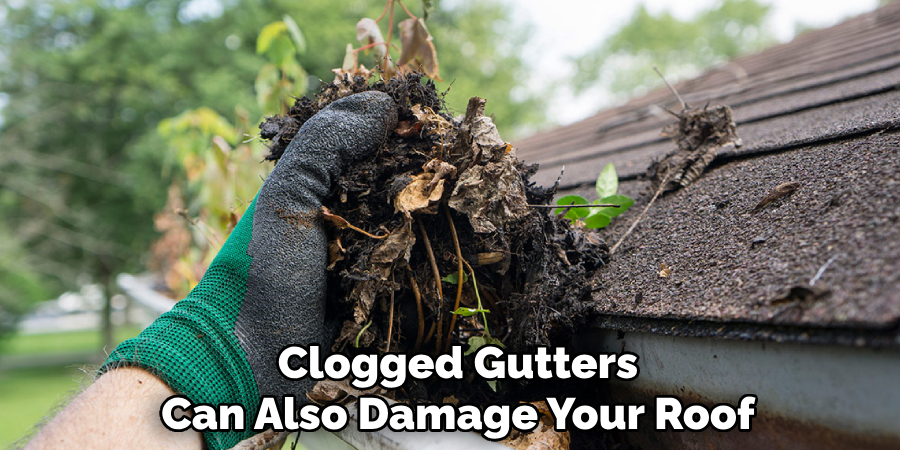
1. Keep Gutters Clean and Clear
Clogged gutters can lead to water backing up and seeping into your roof, causing potential leaks. Regularly clean and clear out debris from your gutters to prevent this issue.
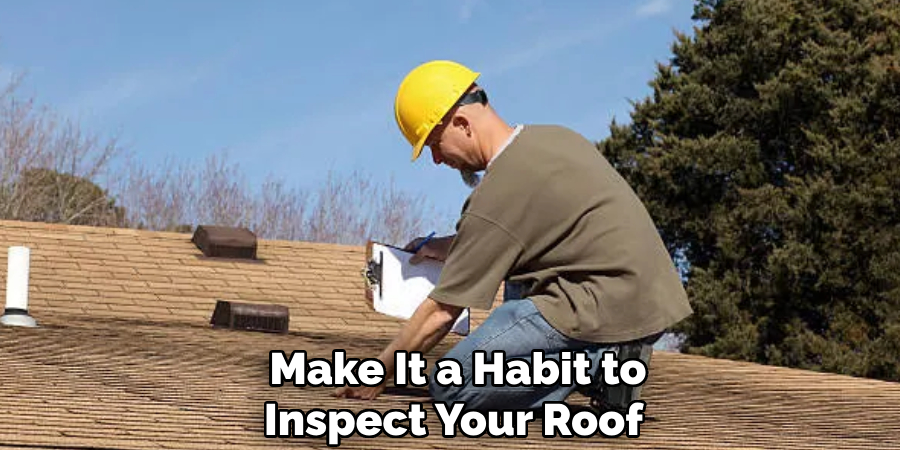
2. Inspect Your Roof Regularly
Make it a habit to inspect your roof at least twice a year, especially after severe weather conditions. This will help you catch potential issues before they become more significant problems.
3. Trim Overhanging Branches
Trees and branches too close to your roof can cause damage over time, so trim any overhanging branches regularly.
4. Check for Cracked or Missing Shingles
Damaged or missing shingles can lead to leaks, so keep an eye out for them during regular inspections and replace them as needed.
5. Fix Any Plumbing or Ventilation Issues
Improperly installed plumbing or ventilation systems can also cause leaks in your roof. Make sure to address any issues with these systems promptly.
6. Consider a Professional Roof Inspection
If you are still determining the condition of your roof, consider hiring a professional roofing contractor to do a thorough inspection and make any necessary repairs.
7. Keep an Eye on Your Attic
A damp or moist attic can indicate potential leaks in your roof. Regularly check for any signs of water damage or mold in your attic.
8. Address Any Ice Dams Immediately
During winter, ice dams can form on your roof and cause water to seep into your home. If you notice any ice dams starting, address them immediately before they cause damage to your roof and interior walls.
Remember, prevention is key to maintaining a leak-free roof. With these additional tips and regular maintenance, you can ensure your roof stays in top condition for years! So don’t wait until it’s too late – take proactive measures to protect your home and prevent future leaks. Maintaining a leak-free roof will not only save you time and money on repairs but also provide peace of mind, knowing that your home is safe and secure from the elements.
5 Things to Avoid to Prevent Roof Leaks
1. Neglecting Regular Inspections
As mentioned earlier, regular roof inspections are crucial in catching any potential issues before they become significant problems. These inspections are necessary to avoid missed leaks and costly repairs.
2. Ignoring Small Repairs
It may be tempting to put off fixing small leaks or damage, but this can quickly escalate into a more significant issue. Addressing even the smallest of repairs promptly can save you time and money in the long run.
3. DIY Roof Repairs Without Proper Knowledge
While homeowners can do some minor repairs, it’s essential to know when to seek professional help. Attempting complex or unfamiliar repairs without proper knowledge and experience can cause more harm than good.
4. Allowing Debris to Accumulate on Your Roof
Leaves, branches, and other debris can accumulate on your roof and cause damage over time. Make sure to clean off any debris to prevent potential leaks regularly.
5. Not Maintaining Proper Ventilation
Proper ventilation is crucial in preventing excess moisture from building up in your attic and causing damage to your roof and home. Make sure to maintain proper ventilation systems and address any issues immediately.
By avoiding these common mistakes, you can help ensure a leak-free roof for years. Remember, proactive maintenance and addressing issues promptly are vital in protecting your home from costly water damage caused by roof leaks. So prioritize regular inspections and address any repairs as soon as possible to keep your roof in top condition!

Frequently Asked Question
Can I Fix a Roof Leak on My Own?
A: It depends on the severity of the leak and your level of experience with roofing repairs. Homeowners can fix some minor leaks, but for more complex or extensive leaks, it is best to seek professional help.
How Often Should I Inspect My Roof for Potential Leaks?
A: It is recommended to inspect your roof at least twice a year, preferably in the spring and fall. However, you should also check after any severe weather conditions.
What Are Some Signs of a Roof Leak?
A: Some common signs of a roof leak include water stains on interior walls or ceilings, peeling paint, musty odors, and damp insulation in the attic. If you notice any of these signs, you must address them immediately.
Is Regular Gutter Cleaning Necessary to Prevent Roof Leaks?
A: Yes, keeping your gutters clean and clear is crucial in preventing water backup and potential leaks. Clogged gutters can also damage your roof, so it’s essential to clean them out regularly. Overall, regular maintenance and addressing issues promptly are vital in preventing roof leaks and maintaining a secure roof for years to come! So prioritize these tips and enjoy a dry, leak-free home.
Conclusion
Maintaining a leak-free roof is crucial in protecting your home and ensuring your peace of mind. By following these additional tips on how to fix a leaking roof valley, avoiding common mistakes, and addressing issues promptly, you can save yourself time, money, and stress in the long run.
In conclusion, fixing a leaking roof valley is an arduous task but doable. The necessary tools are available to anyone willing to take on this project, and with the outlined steps, the job can be completed with relative ease. Take the procedures outlined in this blog post and start sealing up those leaks. Taking care of a leak immediately will save you money and stress over time.
Proactively maintaining your roof means more free time and fewer emergency repair situations. Bottom line, don’t hesitate; now is the time to act on that leaking roof! So grab your materials and safety gear and get on top of fixing it before it becomes a more significant issue! Remember to prioritize regular inspections and proper maintenance to keep your roof in top condition for years. So don’t wait any longer – take action now to protect your home from potential roof leaks!