If your drill battery isn’t charging, you may feel out of luck. However, there are a few things you can try to get it working again. In this blog post, we’ll walk you through some of the most common fixes for how to fix a drill battery that won’t charge.
We’ll also show you how to prevent this from happening in the future. So whether your drill battery is completely dead or just not holding a charge like it used to, follow these simple tips to bring it back to life. Read on for more information.
10 Reasons That Causes Drill Battery To Not Charge:
1. Lack of Use:
If you don’t use your battery regularly, it will self-discharge and eventually become unusable. To avoid this, make sure to use your battery at least once every couple of weeks.
2. Extreme Temperatures:
Drill batteries can be affected by extreme temperatures. If it’s too cold, the battery won’t work as well. And if it’s too hot, the battery could be damaged. So keep your drill battery in a temperature-controlled environment, such as a cool, dry basement. If the battery gets too cold, try putting it in a zip-top bag and placing it under your armpit to warm it up.
3. Faulty Charger:
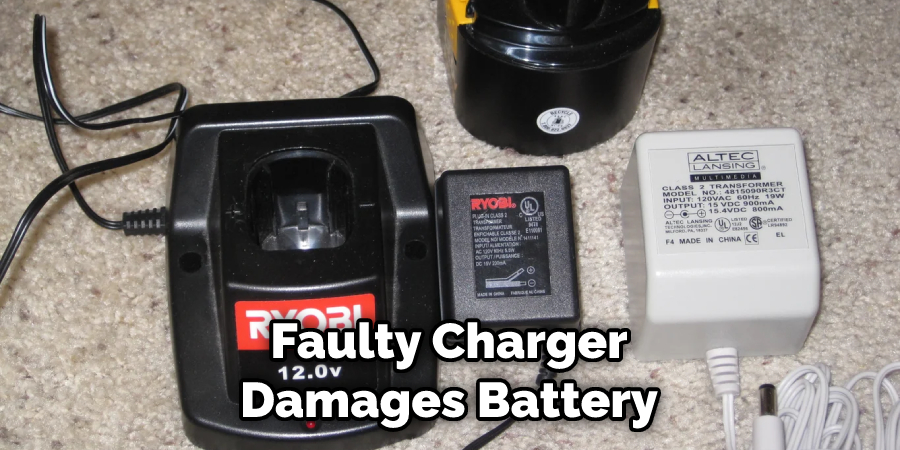
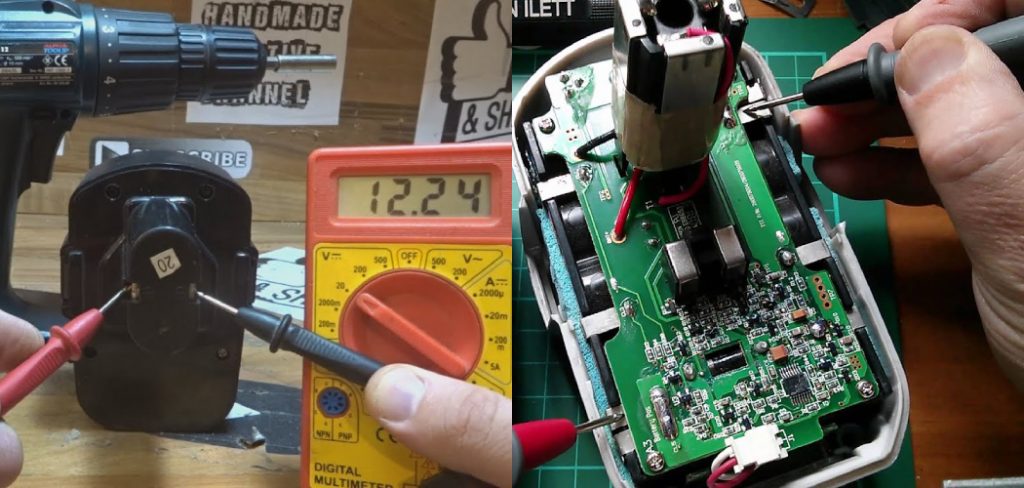
A charger that isn’t working right is one of the most common reasons a drill battery won’t charge. If your charger isn’t giving the battery enough power, the battery won’t charge. To see if this is the problem, try charging the battery with a different charger. If the battery charges with the new charger, then you know that the original charger was the problem.
4. Dead Cells:
If your battery is old or has been through a lot of use, the cells inside of it may be dead. When this happens, the battery won’t be able to hold a charge and will need to be replaced.
If you think the cells in your battery may be dead, take it to a professional to have it checked out and replaced if necessary. When checking the cells, the professional can also tell you if the battery is still under warranty.
5. Loose Connections:
If the connection between the battery and charger is loose, the battery won’t charge. Make sure the connection is tight and secure before charging the battery again. Also, check if the charging wire has any fraying or damage. If so, replace it with a new one. Another option is to try charging the battery with a different charger.
6. Battery Terminals Are Corroded:
The terminals on the battery can become corroded over time, preventing the battery from charging. To clean the terminals, you’ll need to remove them from the battery and clean them with a wire brush.
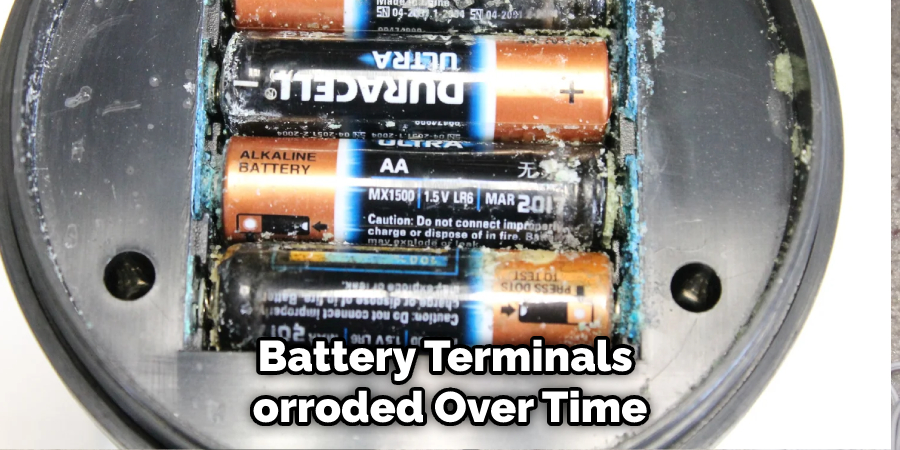
Once clean, put the terminals back on the battery and try charging it again. The problem is fixed if you see the battery charging indicator light come on. However, if you see the light come on but the battery doesn’t charge, there may be another issue.
7. Too Much Drain:
If you use your drill a lot, the battery might not have enough time to recharge fully between uses. This can make the battery not hold as much of a charge as it used to. To fix this, you need to discharge the battery and recharge it. This can be done by running the drill until it stops, then recharging the battery for 24 hours.
8. Incorrectly Installed Battery:
If you’ve recently replaced the battery in your drill and it’s not working properly, it may be because it wasn’t installed correctly. First, ensure that the battery is positioned correctly in the drill and that all connections are secure. If you’re unsure how to do this, consult the owner’s manual for your drill. This is usually an easy fix when the installed battery is the problem.
9. Something Blocking the Charging Port:
Clean the charging port and ensure no debris or residue is blocking it. Also, check the owner’s manual to see if there are any special instructions for charging the battery.
If you see anything that could be blocking the charging port, remove it and try charging the battery again. If the battery still doesn’t charge, there may be an issue with the battery itself, and you will need to take it to a professional for further diagnosis.

10. Power Surge:
If there was a power surge when the battery was charging, it could have damaged the battery. Power surges can happen for various reasons, including lightning strikes and power outages. If you think a power surge may have damaged the battery, take it to a professional to have it checked out and replaced if necessary.
10 Effective Ways on How to Fix a Drill Battery That Won’t Charge:
1. Jump-start the Battery:
One way to jump-start a battery is to use a charger for the type of battery in your drill. You can also use a voltage regulator to connect the two batteries in series so that they both charge simultaneously.
If you want to jump-start the battery, you will need to connect the positive terminal of one battery to the negative terminal of the other. Make sure that the batteries are the same type before you do this.
2. Clean the Battery Terminals:
If your battery terminals are dirty, it can prevent the drill battery from charging. Use a brush to clean the terminals and remove any build-up. When the terminals are clean, reattach the battery and try charging it again. If you see any corrosion on the terminals, you can clean it off with a solution of vinegar and water.
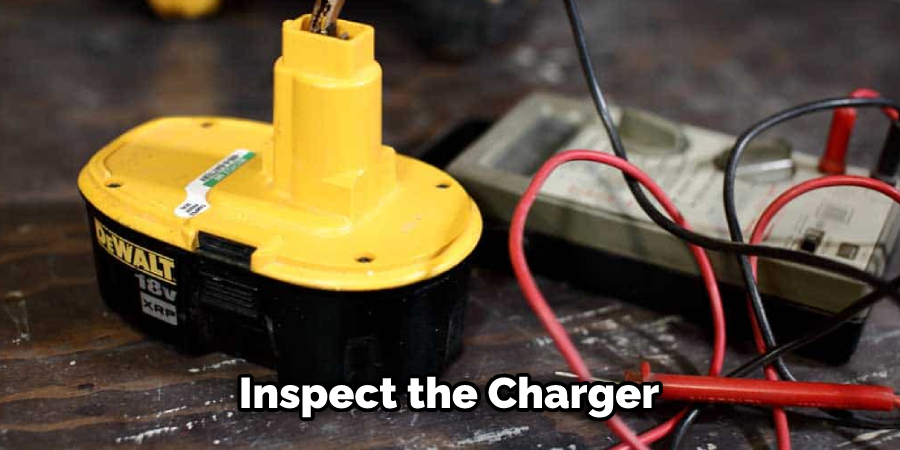
3. Inspect the Battery Charger:
If your battery charger is not working properly, it could be the reason why your drill battery won’t charge. First, inspect the charger for any damage or wear and tear. If the charger looks damaged, replace it with a new one. When the charger is plugged in, there should be a light that indicates it is receiving power. If the light is not on, the charger may not be working properly.
4. Replace the Damaged Parts:
If you have inspected the battery, charger, and terminals, and they all seem to be in working order, but the drill battery still won’t charge, it may be time to replace some of the parts. So the first thing you should do is check the brushes.
You Can Check It Out To Fix Battery Drain
If the brushes are worn out, they will need to be replaced. You can also check the diode. If the diode is damaged, it will also need to be replaced. Finally, you may need to replace the entire battery pack. If you are uncomfortable doing this yourself, you can take it to a local repair shop.
5. Check the Battery Connections:
The battery may not be charging if the connections are loose. Try tightening the battery terminals. You may also want to clean the battery contacts with a cotton swab dipped in rubbing alcohol. When checking the battery connections, ensure the battery itself is not damaged. If the battery seems damaged, you may need to replace it.
6. Disassemble and Reassemble the Battery:
If the battery is not charging, you may need to disassemble it and reassemble it. This process can be tricky, so if you are uncomfortable doing it yourself, you can take it to a professional.
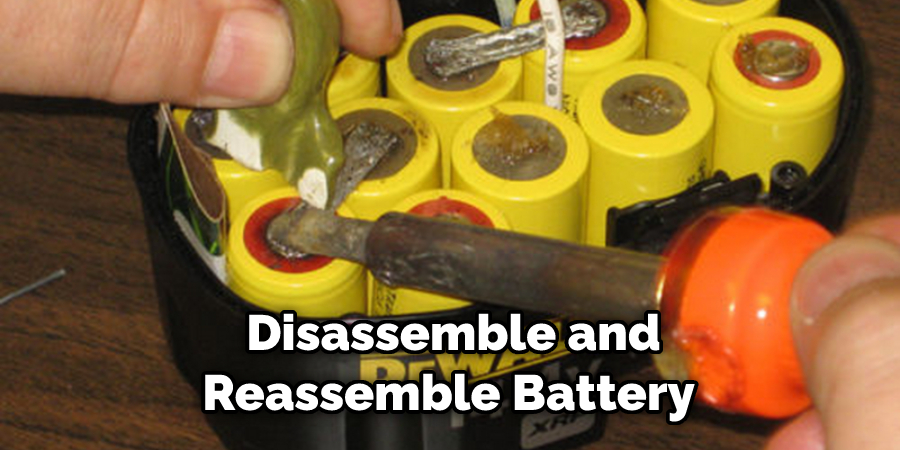
When disassembling the battery, be careful not to damage any parts. Once you have disassembled the battery, clean all of the parts with a cloth. If there is any corrosion, you can remove it with a vinegar solution. Once everything is clean, reassemble the battery and try charging it again.
7. Charge Battery With Slow Mini Boosts:
If you want to charge the battery with slow mini boosts, you will need to connect the battery’s positive terminal to the charger’s positive terminal. Then, connect the battery’s negative terminal to the charger’s negative terminal.
Finally, connect the ground wire to the metal case of the charger. When charging the battery with slow mini boosts, monitoring the charging process closely is important to avoid overcharging the battery.
8. Use a Trickle Charger:
A trickle charger is a great way to ensure your drill battery stays charged. Simply connect the trickle charger to the battery and let it do its job. This will keep the battery from dying when you’re not using it and will also help prolong its life. If you’re not using your drill regularly, it’s a good idea to use a trickle charger.
9. Connect the Battery to the charger:
The first thing you need to do when trying to fix a drill battery that won’t charge is to connect the battery to the charger. Make sure that the charger is turned off before you do this. Once the battery is connected, turn on the charger and let it charge for a few hours. If the battery still doesn’t hold a charge, you may need to replace it.
You Can Check It Out To Fix a Ryobi Battery That Won’t Charge
10. Replace the Battery Cells:
If the battery doesn’t hold a charge, it may be time to replace the battery cells. This is a more difficult process, so you may want to take the battery to a professional if you’re not comfortable doing it yourself.
To replace the battery cells, you will need to remove the old ones and install new ones. Before you begin, ensure you have the proper replacement cells and know how to install them correctly.
Some Helpful Tips and Suggestions
Here we have given some tips on how to fix a drill battery that won’t charge.
- Clean the battery terminals with a cotton swab and vinegar.
- Remove the battery from the charger and clean the charger contacts with a cotton swab and vinegar.
- Use only the charger that came with your drill.
- If you must use another charger, ensure it is rated for your specific battery type.
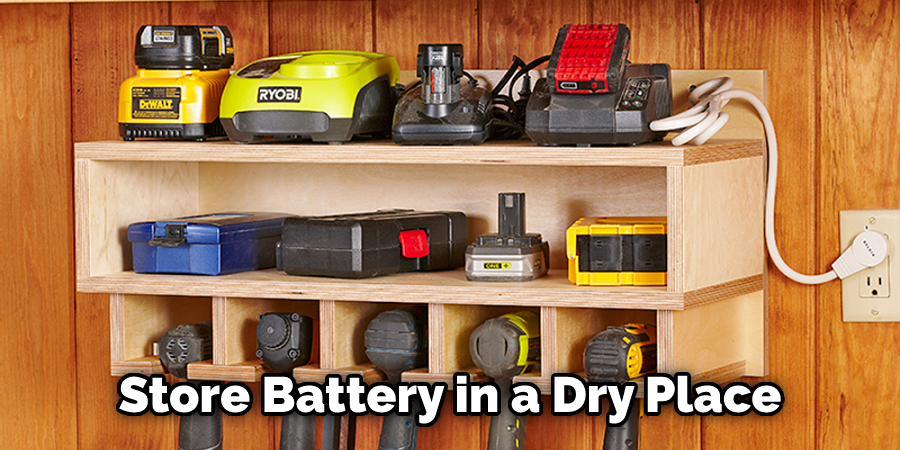
- Store your drill and battery in a cool, dry place.
- Avoid storing your drill and battery in direct sunlight.
- If you have not used your drill for a long period, charge the battery for 24 hours before using it again.
- Read the manufacturer’s instructions carefully before charging your drill battery.
How Do You Refresh a Cordless Drill Battery?
If your cordless drill battery is not holding a charge, you may need to refresh it. This process will help prolong your battery’s life and ensure that it can provide optimal power when you need it. When the battery is not holding a charge, it is common for the battery to become swollen.
If you notice that your battery is becoming swollen, you will want to take action to refresh it as soon as possible. The first step in refreshing your cordless drill battery is to remove the battery from the drill. Once the battery is removed, inspect it for any signs of damage.
You will need to replace the battery if you notice any damage, such as a cracked case or damaged terminals. If the battery appears in good condition, you can proceed to the next step. If the battery is swollen, you will want to use a battery case opener to relieve the pressure.
Final Thoughts
The drill battery not charging could be due to several reasons. Therefore, it is important to troubleshoot the problem and find out what is causing the battery not to charge to fix it. Some causes of a drill battery that won’t charge are more obvious than others, such as a broken wire or corroded contacts.
However, less visible problems can also occur, such as an internal short circuit. By following some simple steps on how to fix a drill battery that won’t charge, you can often diagnose and fix the problem with your drill’s battery yourself. Taking the drill battery to a professional for repair may be your best option if all else fails.