Are you having trouble with a bad alternator diode? Are flickering headlights leaving you frustrated and confused as to why your vehicle’s electrical system isn’t working correctly? If so, don’t panic! Replacing or fixing an alternator diode doesn’t have to be stressful. To help get your vehicle back in action, we’ve put together this guide to fix an alternator diode. Read on for practical advice, tips, and information about the process of diagnosing and repairing this common issue.
Alternator diodes play an important role in your vehicle’s charging system, ensuring that the necessary current is directed to the right places during operation. Learn how our guide on how to fix a bad alternator diode can help you tackle this notorious automotive issue – saving time, money, and stress.
Why is It Important to Fix a Bad Alternator Diode?
1 . To Prevent Further Damage
Fixing a bad alternator diode is important because it can help prevent further damage to your vehicle’s electrical system. A faulty diode can cause fluctuations in the output voltage, which can lead to damage to other components such as the battery and starter.
2 . To Avoid Unexpected Breakdowns
A bad alternator diode can also cause unexpected breakdowns, leaving you stranded on the side of the road. This can be not only frustrating but also dangerous, especially if it happens at night or in a remote area.
3 . To Save Money
By fixing a bad alternator diode, you can save money in the long run. Ignoring the issue and continuing to drive with a faulty diode can result in more expensive repairs or even the need for a new alternator.
4 . To Maintain Electrical System Performance
The alternator plays a crucial role in the electrical system of your vehicle. It charges the battery and provides power to all electrical components, such as headlights, radio, and air conditioning. A bad diode can affect the overall performance of the electrical system, causing issues with these components.
5 . To Ensure Safe Driving
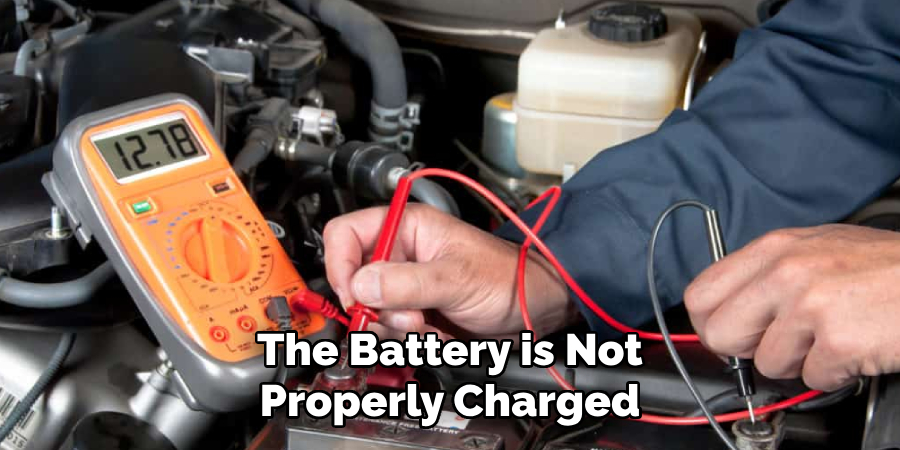
A bad alternator diode can also affect the safety of your vehicle. If the battery is not properly charged, it can cause problems with starting the engine or keeping it running while driving. This can be a major safety hazard, especially on busy roads or highways.
How to Fix a Bad Alternator Diode in 6 Easy Steps
Step 1: Diagnose the Issue
The first step in fixing a bad alternator diode is to make sure that the problem is actually with the diode and not with another component of your vehicle’s electrical system. A bad alternator diode can cause issues such as dim lights, a dead battery, or trouble starting your car. To diagnose the issue, you can use a multimeter to check the voltage output of your alternator. If the reading is below 13 volts, then it is likely that one or more diodes are faulty.
Step 2: Gather Necessary Tools
Before attempting to fix a bad alternator diode, make sure you have all the necessary tools. These may include a wrench set, pliers, and a screwdriver. You may also need a replacement diode, which can be purchased from an auto parts store or online.
Step 3: Disconnect the Battery
Safety is important when working on any electrical component of your vehicle. To avoid any accidents, always disconnect the battery before beginning any repairs. This will prevent any electrical shocks and ensure that you can work safely.
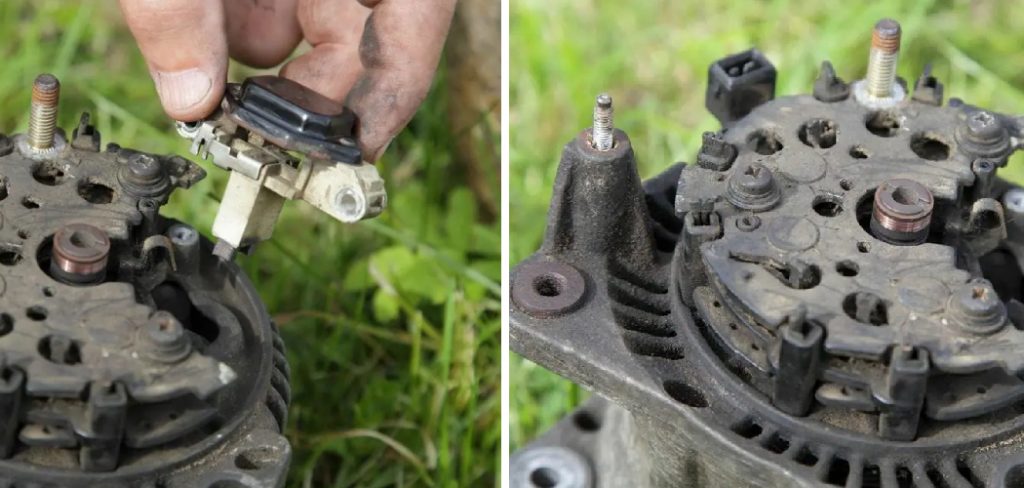
Step 4: Remove the Alternator
The alternator is responsible for charging your car’s battery and powering the electrical system. To access the diodes, you will need to remove the alternator from your vehicle. This may involve removing belts, bolts, and other components depending on your specific make and model of vehicle.
Step 5: Replace Faulty Diode(s)
Once you have the alternator removed, you can access the diodes. Diodes are small electronic components that act as one-way valves for electricity in your alternator. If one or more of these diodes is faulty, it can disrupt the electrical flow and affect the overall performance of your car’s charging system. Carefully remove the faulty diode(s) and replace them with new ones.
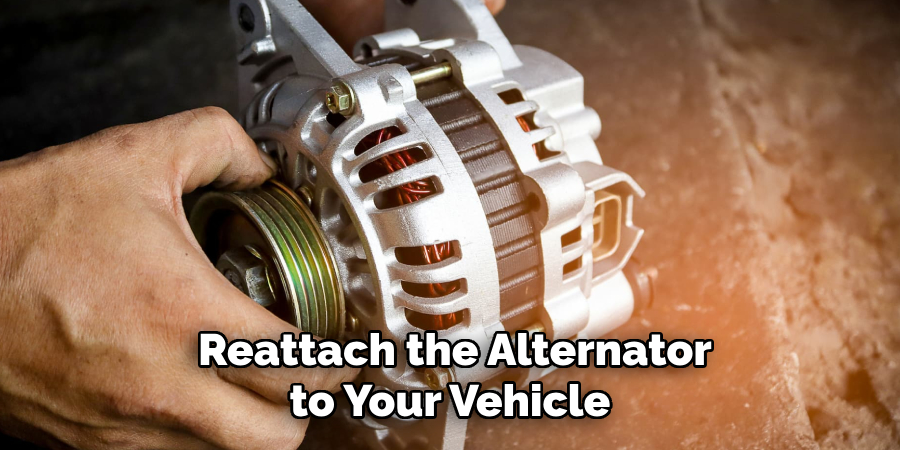
Step 6: Reinstall Alternator and Test
After replacing the faulty diode(s), reattach the alternator to your vehicle. Make sure all bolts and belts are properly secured before reconnecting the battery. Once everything is in place, start your car and use a multimeter to check the voltage output of the alternator. If the reading is now within the normal range (13-14 volts), then you have successfully fixed your bad alternator diode.
Some Additional Tips to Fix a Bad Alternator Diode
1 . Do Not Ignore Warning Signs
It’s important to pay attention to any warning signs that your alternator diode may be failing. These can include dimming headlights, a dead battery, or strange noises coming from the engine. Ignoring these signs could lead to more serious problems down the road.
2 . Consult Your Vehicle Manual
Different vehicles may have different alternator diode systems, so it’s important to consult your vehicle manual before attempting any repairs. This will ensure that you have the correct tools and know the proper steps to take.
3 . Test Your Alternator Diode
Before replacing the entire alternator, it’s a good idea to test the diode first. You can use a multimeter to test the diode’s continuity and make sure it is functioning properly. If it fails the test, then it’s time to replace just the diode.
4 . Replace with OEM Parts
When replacing your alternator diode, it’s important to use original equipment manufacturer (OEM) parts. These are specifically designed for your vehicle and will ensure the best fit and performance.
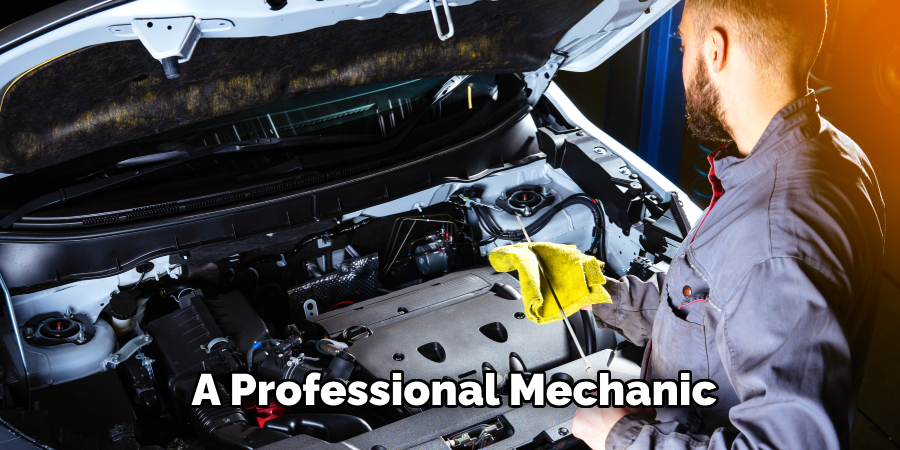
5 . Consider Professional Help
Fixing a bad alternator diode can be a complex and technical task. If you’re not comfortable or knowledgeable about car repairs, it’s best to seek professional help. This will ensure that the job is done correctly and safely.
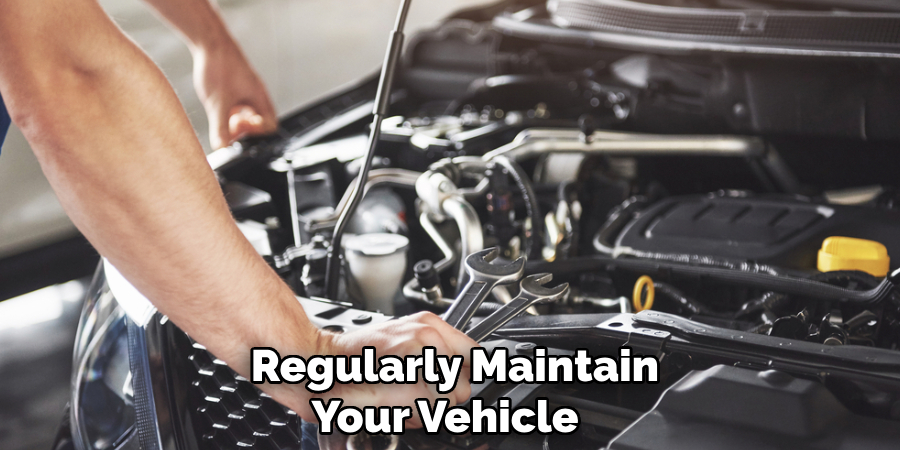
6 . Regular Maintenance
To prevent a bad alternator diode in the future, make sure to regularly maintain your vehicle and its electrical systems. This includes keeping the battery clean and checking for any signs of wear or damage.
Frequently Asked Question
What Precautions Should You Take When Fixing a Bad Alternator Diode?
When fixing a bad alternator diode, it is important to take certain precautions to ensure your safety and the proper functioning of your vehicle. Here are some things to keep in mind:
- Always disconnect the negative battery terminal before beginning any work on your alternator.
- Make sure you have the correct tools and materials before starting the repair.
- Wear protective gear, such as gloves and eye protection, to avoid any accidents or injuries.
- Double-check that you have properly identified the bad diode before replacing it. If you are unsure, consult a professional mechanic.
- Follow the manufacturer’s instructions carefully when installing the new diode.
- Take your time and be patient during the repair process. Rushing may lead to mistakes or further damage.
- Once the repair is completed, test your alternator and battery to ensure everything is functioning correctly.
What Are Some Signs of a Bad Alternator Diode?
There are a few common signs that indicate you may have a bad alternator diode:
- Dim headlights: If your headlights are not as bright as they should be, it could be a sign of a bad diode.
- Flickering dashboard lights: Similarly, if your dashboard lights are flickering or not working properly, it may be due to a faulty diode.
- Dead battery: A bad diode can cause your battery to drain quickly or become completely dead.
- Strange noises: If you hear unusual noises coming from your engine, it could be a sign of a bad diode.
If you notice any of these signs, it is important to have your alternator checked as soon as possible to prevent further damage.
Can You Replace an Alternator Diode Yourself?
Yes, it is possible to replace an alternator diode yourself if you have some basic knowledge of car repairs and the right tools. However, if you are unsure or uncomfortable with doing it yourself, it is best to leave it to a professional mechanic. They have the expertise and experience to properly diagnose and fix any issues with your alternator.
Conclusion
Fixing a bad alternator diode may seem daunting, but with the right knowledge and tools, it can be done effectively. By paying attention to warning signs, consulting your vehicle manual, testing the diode, using OEM parts, and seeking professional help if needed, you can ensure that your alternator diode is fixed properly. And by regularly maintaining your vehicle, you can prevent future issues with your alternator diode.
Now you know how to fix a bad alternator diode! Remember to always prioritize safety and seek help if necessary. So next time you encounter this problem, you’ll be prepared to handle it with confidence. Happy driving! Keep your vehicle in top shape for a smooth and worry-free ride. Drive safely!