Styrofoam is a popular building material for its lightweight and insulating properties. However, it can be damaged relatively easily and requires special care when repairing. This guide will show you how to repair styrofoam using commonly available materials.
Styrofoam is a valuable material for several reasons. It is lightweight and easy to work with, making it a popular choice for construction projects. It is also an effective insulator, ideal for use in cold environments. In addition, styrofoam is relatively inexpensive when compared to other building materials.
However, styrofoam can be damaged relatively easily. If left unchecked, minor damages can turn into large cracks, which can compromise the material’s structural integrity. Therefore, it is important to repair any damage that occurs as quickly as possible. This guide will show you how to do just that.
Summary: Styrofoam repairs can be done quickly with the right tools and materials. Begin by cutting out the damaged area, performing a strength test to ensure the integrity of the material, and then using adhesives to create a repair patch that fits your workpiece. Finally, finish off with painting and any other finishing touches before you are good to go.
How to Repair Styrofoam Step by Step Guide
Step 1: Assess the Damage
Before you begin the repair process, assess the extent of the damage to the Styrofoam. This will help you determine the best approach for repairing it. Typical damage includes dents, cracks, holes, or broken pieces.
Step 2: Gather Materials and Tools
To repair Styrofoam, you will need the following materials and tools:
- Styrofoam-safe adhesive or glue (e.g., foam-safe glue, low-temperature hot glue, or 5-minute epoxy)
- Utility knife or X-Acto knife
- Sandpaper or sanding block (120 to 220 grit)
- Toothpicks or wooden skewers (for reinforcement, if needed)
- Paintbrush or disposable brush (for applying adhesive)
- Acetone or rubbing alcohol (for cleaning surfaces)
- Paper towels or clean rags
- Masking tape or painter’s tape
- Paint or acrylic sealer (optional, for finishing the repair)
Step 3: Clean the Damaged Area
Before repairing the Styrofoam, clean the damaged area to ensure proper adhesion. Use acetone or rubbing alcohol and a paper towel or clean rag to remove any dirt, grease, or residue from the surface. Allow the area to dry completely before proceeding.
Step 4: Repair Dents
If the Styrofoam has dents, use the following steps to repair them:
- Apply gentle heat: Hold a hairdryer a few inches away from the dented area and apply heat on a low setting, taking care not to melt the Styrofoam. The heat should cause the Styrofoam to expand and fill in the dent.
- Use a rounded object: Alternatively, you can use a rounded object, such as a spoon or the end of a pen, to gently press and massage the dented area until it returns to its original shape.
Step 5: Repair Cracks and Holes
To repair cracks and holes in Styrofoam, follow these steps:
- Apply adhesive: Apply a thin layer of Styrofoam-safe adhesive to both sides of the crack or hole. Use a paintbrush or disposable brush to spread the adhesive evenly.
- Press together: Press the two sides of the crack or hole together and hold them in place for the duration of the adhesive’s curing time, as indicated on the adhesive packaging. You may use masking tape or painter’s tape to help hold the pieces together while the adhesive cures.
- Reinforce (if necessary): If the crack or hole is large or in a structurally important area, you may need to reinforce the repair. Insert toothpicks or wooden skewers into the adhesive-filled crack or hole to provide additional support.
Step 6: Repair Broken Pieces
To repair broken pieces of Styrofoam, follow these steps:
- Align the pieces: Carefully align the broken pieces so that they fit together properly, ensuring that the edges match up as closely as possible.
- Apply adhesive: Apply a thin layer of Styrofoam-safe adhesive to the edges of the broken pieces, using a paintbrush or disposable brush to spread the adhesive evenly.
- Press together: Press the broken pieces together and hold them in place for the duration of the adhesive’s curing time, as indicated on the adhesive packaging. Use masking tape or painter’s tape to help hold the pieces together while the adhesive cures.
- Reinforce (if necessary): If the break is large or in a structurally important area, you may need to reinforce the repair. Insert toothpicks or wooden skewers into the adhesive-filled break to provide additional support.
Step 7: Sand the Repaired Area
Once the adhesive has fully cured, use sandpaper or a sanding block to smooth the repaired area. Start with a coarser grit (120 grit) to remove any excess adhesive and even out the surface. Gradually work your way up to a finer grit (220 grit) to achieve a smooth finish. Be gentle while sanding to avoid damaging the surrounding Styrofoam.
Step 8: Fill Gaps (Optional)
If there are any remaining gaps in the repair, you can use a lightweight spackling compound or a Styrofoam-safe filler to fill them. Apply the filler according to the manufacturer’s instructions and allow it to dry completely. Once dry, sand the filled area with fine-grit sandpaper to achieve a smooth finish.
Step 9: Clean the Repaired Area
After sanding, use a clean, damp cloth or paper towel to remove any dust or debris from the repaired area. Allow the Styrofoam to dry completely before proceeding.
Step 10: Apply a Protective Coating (Optional)
If desired, you can apply a protective coating to the repaired area to help prevent future damage. Use a paint or acrylic sealer that is safe for use on Styrofoam and apply it according to the manufacturer’s instructions. Allow the coating to dry completely before handling or displaying the repaired Styrofoam.
Step 11: Paint the Repaired Area (Optional)
If you wish to paint the repaired area to match the rest of the Styrofoam, use a paint that is safe for use on Styrofoam. Apply the paint using a brush or sponge, taking care to blend the edges for a seamless finish. Allow the paint to dry completely before handling or displaying the repaired Styrofoam.
Step 12: Maintain and Store the Repaired Styrofoam
Proper maintenance and storage of the repaired Styrofoam can help prevent future damage. Avoid exposing the Styrofoam to excessive heat, moisture, or direct sunlight, as these factors can cause it to degrade over time. Store the Styrofoam in a cool, dry place, away from sharp objects or heavy items that could cause damage.
By following these steps, you can effectively repair damaged Styrofoam and restore it to its original appearance and function. While some repairs may be more complicated than others, taking your time and using the appropriate materials and tools will ensure a successful outcome.
Frequently Asked Question
How Do You Repair Damaged Styrofoam?
There are a few ways that you can repair damaged styrofoam.
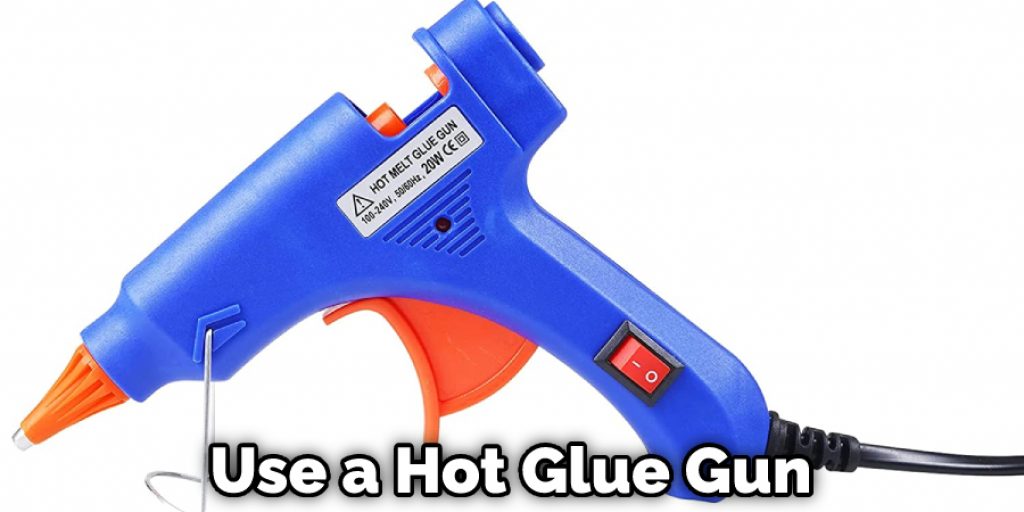
One way is to use a hot glue gun. First, use a knife or scissors to cut away any excess foam that is loose or crumbling. Then, use the hot glue gun to apply a thin line of glue over the tear or hole. Finally, press pieces of styrofoam into the glue until it is smooth.
Another way to repair damaged styrofoam is by using a sealant. First, use a knife or scissors to cut away any excess foam that is loose or crumbling. Then, use a sealant to cover the tear or hole. Finally, press pieces of styrofoam into the sealant until it is smooth.
How Do You Glue Styrofoam Back Together?
Styrofoam can be repaired with a glue gun. First, heat the glue gun and place the glue on the styrofoam. Next, press the two pieces of styrofoam together and hold for a few seconds. Finally, release and let the glue dry.
What Glue Works on Styrofoam?
There are a few different types of glue that work on styrofoam. The most common is a hot glue gun. Other options include superglue and epoxy.
How Do You Caulk Styrofoam?
To caulk styrofoam, you will need a caulking gun, silicone caulk, and a putty knife. First, cut the tip of the silicone caulk tube off with a sharp knife. Next, put the silicone caulk into the caulking gun. Then, press the trigger on the caulking gun to start caulking. Finally, use the putty knife to smooth out the caulk.
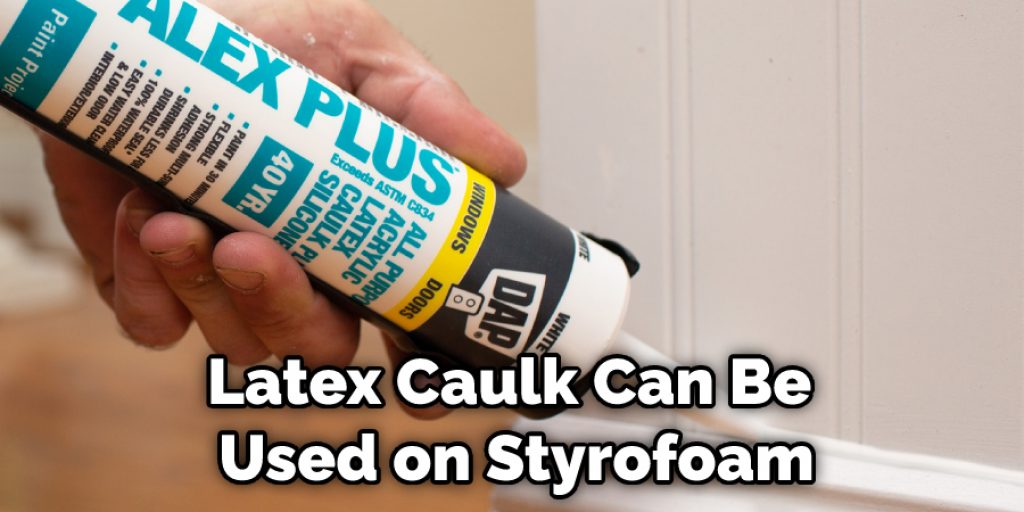
Can I Use Latex Caulk on Styrofoam?
The answer is yes; latex caulk can be used on styrofoam. However, it is not recommended, as latex caulk can shrink and crack over time. If you must use latex caulk on styrofoam, apply a thin coat and keep an eye on it for any signs of shrinkage or cracking.
You Can Check It Out to: Repair Small Tear in Car Headliner
Conclusion Paragraph
If you’re having trouble repairing styrofoam, don’t worry, we’ve got you covered. We’ll walk you through the process of repairing styrofoam so that it looks and feels like new again. With a little bit of patience and our simple guide, you’ll be able to fix any cracks or holes in your styrofoam in no time at all! Thanks for reading our post about how to repair styrofoam.
You Can Check It Out to: Repair Armored Door Rust