If you have Saltillo tile in your home, you know it can add a great look and feel to your space. Unfortunately, between the constant wear and tear of daily life and unpredictable weather, Saltillo tile can sometimes become damaged over time.
But don’t worry; repairing or replacing damaged Saltillo tiles is not an impossible task! In this blog post, we will cover how to repair saltillo tile. So if you’re looking for advice on how to keep these beautiful terracotta floor tiles in tip-top shape, then read on!
Whether you are remodeling a kitchen, bathroom or other space with Saltillo Tile, making necessary repairs to the tiles can make a big difference in the overall look and feel of your home.
Whether you’re unsure how to repair cracks and chips or want advice on replacing some tiles entirely, here will provide valuable information regarding how to properly work with authentic saltillo tile. Learn tips for surface maintenance, proper cleaning techniques and more when it comes to repairing Saltillo tile and keeping it looking great over time!
Why is Saltillo Tile a Great Choice?
There are many reasons why Saltillo tile is a great choice for your home. Such as:
1. Authentic Look and Feel
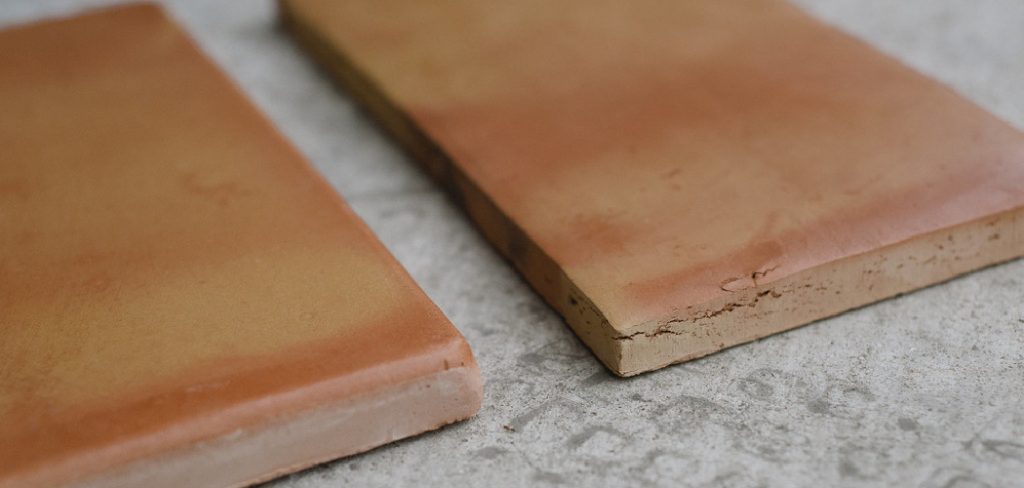
One of the main reasons why many people choose Saltillo tile is because of its authentic look and feel. With its distinct hue and soft texture, Saltillo tile can instantly add a rustic charm to any room or space. Additionally, due to the nature of this type of tile, homeowners will often find that it ages beautifully over time and develops a unique patina.
2. Durable and Long-Lasting
Another reason why homeowners love Saltillo tile is that it is incredibly durable and long-lasting. Unlike other types of flooring materials, such as hardwood or laminate, that can be prone to damage from scratches or dents over time, Saltillo tile is made from durable clay that can withstand heavy foot traffic, impacts, and other elements.
3. Easy to Maintain
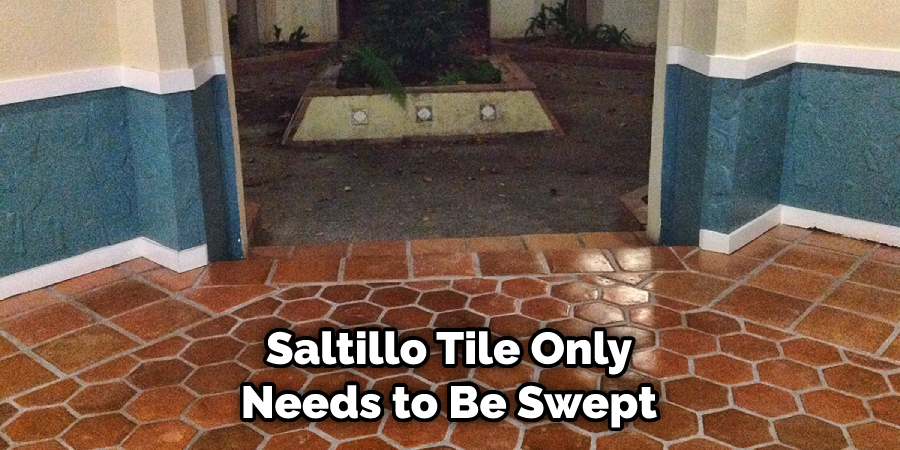
Saltillo tile is also very easy to maintain. Unlike carpet or hardwood flooring that requires regular vacuuming or sweeping, Saltillo tile only needs to be swept on a regular basis to keep it clean and free from dust and debris.
If you are looking for a flooring material that will add a touch of rustic charm to your home, Saltillo tile is a perfect choice. Whether you are looking to renovate an existing room or create a new space, this beautiful, yet durable tile can help you achieve the look and feel you are after. So what are you waiting for? Start exploring the many options available and bring some of that rustic beauty into your home today!
How to Repair Saltillo Tile in 7 Easy Steps
Step 1: Clean the Tile
The very first step is to thoroughly clean the tile, using a mixture of water and mild detergent to remove any dirt or debris. So you have to make sure that the tile is completely free of dust and dirt before moving on to any other steps.
Step 2: Remove Damaged Tiles
Once the tiles are clean, use a hammer and chisel to carefully remove any damaged tiles. Be sure to wear protective gloves and goggles during this process to protect your hands and eyes from any flying debris.
Step 3: Prepare the Surface
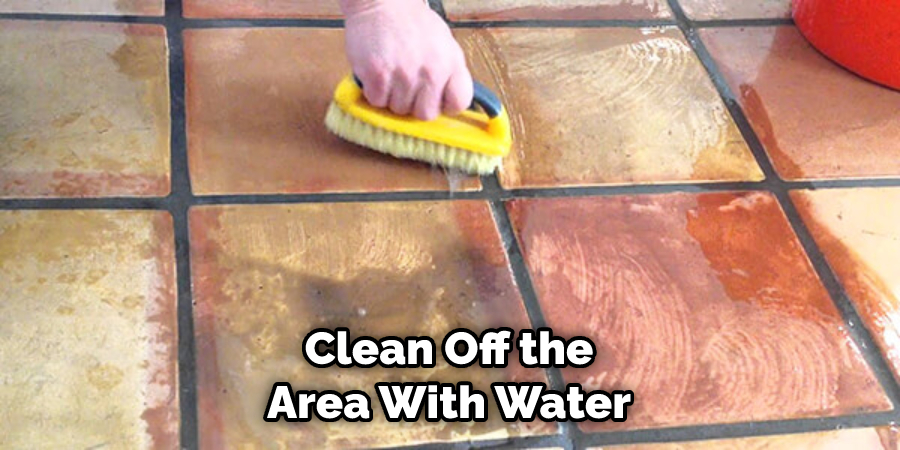
Once all of the damaged tiles are removed, you will need to smooth out and repair any cracks or holes in the surface of the tile using a concrete patching compound. First, clean off the area with water and a cloth, then apply a layer of bonding agent to help the patching compound adhere to the surface of the tile. Apply the patching material and allow it to dry completely before moving on to the next step.
Step 4: Apply a Primer
Once your concrete patch has fully dried, you will need to apply a thin coat of primer over the entire surface of your Saltillo tile. This helps to further smooth out the surface of your tile and to ensure that any paint or sealer you apply in subsequent steps will adhere properly.
Step 5: Apply Paint or Sealant
Once your primer has dried completely, you are ready to begin painting or sealing your Saltillo tile. Depending on the finish you want for your tiles, there are a variety of paints and sealants that you can use to give them a fresh new look. Some popular options include epoxy-based paints, epoxy grout, tile paint, or concrete sealant.
Step 6: Allow the Paint or Sealant to Dry Completely
Before moving on to the final step, be sure to allow your paint or sealant to dry completely, following any specific instructions that may be listed on the product packaging. You must have to wait until the tiles are completely dry before placing any furniture or other heavy items on them.
Step 7: Maintain Your Saltillo Tile
Once your Saltillo tile is fully repaired and repainted, it’s important to maintain it properly to keep it looking its best for years to come. A regular cleaning routine with a mild detergent and sponge can help to keep your tiles looking clean and bright, while sealants or waxes can be applied on a regular basis to help protect the surface from stains and damage.

Paying attention to any chips or cracks in your tile as soon as they appear will also go a long way toward keeping your Saltillo flooring looking beautiful for many years to come.
Frequently Asked Questions
What Precautions Should I Take When Repairing Saltillo Tile?
Saltillo tile is a type of terra cotta clay tile that is typically found in southwestern homes and buildings. Because it is made from natural clay, it can be prone to cracks, chips, and other damage over time. If you are looking to repair your Saltillo tiles, there are a few things that you should keep in mind to ensure the job is done properly and safely.
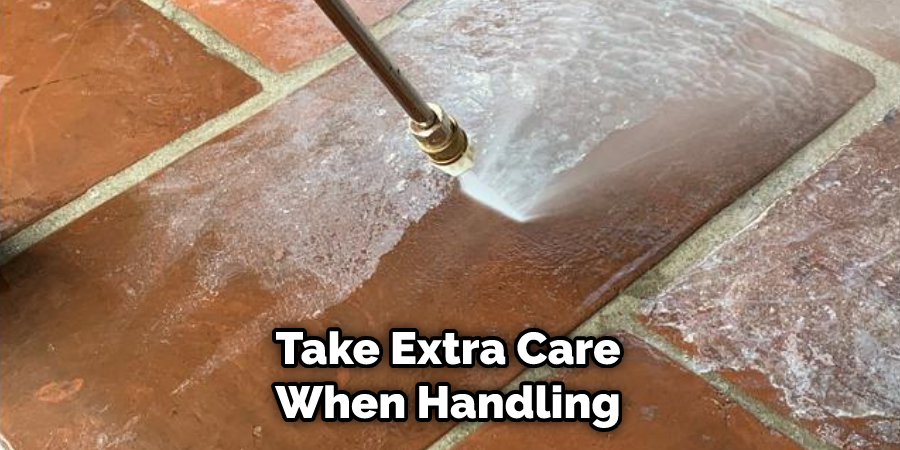
One of the most important things to keep in mind when repairing Saltillo tiles is that the clay can be very brittle and prone to breaking easily. It is important to take extra care when handling, cutting, or transporting your tiles to avoid damaging them further. Additionally, you should always wear protective gloves and safety goggles to prevent any cuts or injuries from occurring.
Can I Repair Saltillo Tile on My Own?
If you have minor cracks or chips in your Saltillo tile, you may be able to repair them yourself. If the damage is more severe, however, it is best to enlist the help of a professional. There are a few basic tools and materials that you will need for repairing small issues with your tiles, such as a hammer and chisel, tile adhesive, grout, sandpaper, and a trowel.
What If I Have Large Cracks or Holes in My Tile?
If you have large cracks or holes in your Saltillo tiles that need to be repaired, it is best to enlist the help of a professional tile repair specialist. These professionals have the experience and skills needed to ensure your tiles are repaired in a way that will prevent further damage, while also preserving the beauty and character of your home or building.
You Can Check It Out Fix a Sagging Wall
Conclusion
Hopefully, this post has given you a better understanding of how to repair saltillo tile. As you can see, it is not a difficult process, but it does require some time and patience. With these tips in mind, you should be able to successfully repair your own saltillo tile.
Although Saltillo tile is a beautiful flooring option, it can be difficult to keep up with. However, by following the tips in this blog post, you should be able to repair your own Saltillo tile and keep it looking great for years to come. Thanks for reading!