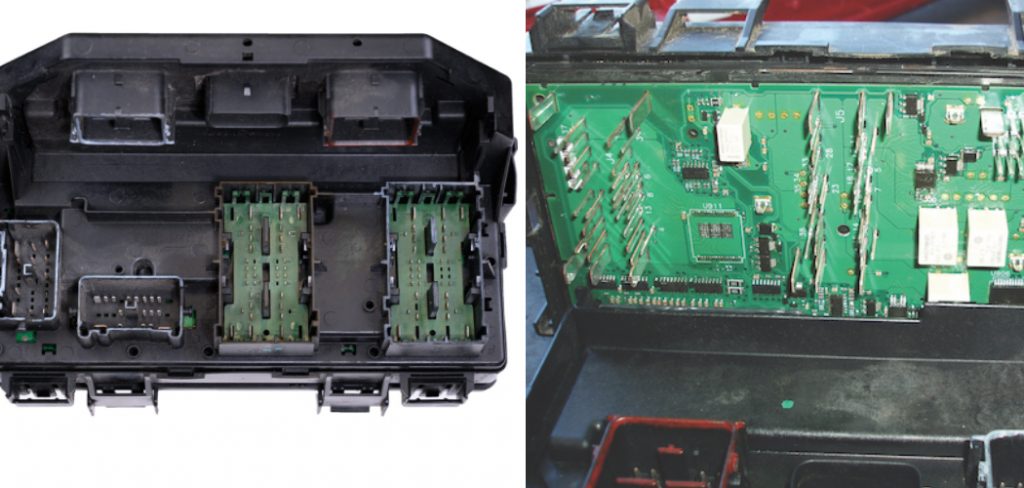
The Totally Integrated Power Module (TIPM) controls a vehicle’s major electrical systems, including fuel injection, air conditioning, headlights, and more. If your car has been experiencing any of these problems, it could be due to an issue with the TIPM. Knowing to repair a TIPM can save you time and money by avoiding an expensive trip to the mechanic. It is also a great way to learn more about your car’s electrical systems so that you can better troubleshoot issues in the future.
Repairing a tip (Totally Integrated Power Module) can offer many advantages to vehicle owners. The main advantage of repairing a tip is the cost savings associated with fixing the issue yourself rather than replacing it. Additionally, it can save you time since you don’t have to take your car into the shop and wait for the part to be replaced. When you repair a time, it can also help identify other potential problems that may need to be corrected in the future. This blog post will cover the basics of how to repair a tipm so that you can pick the best option.
Tools You Will Need
- Torx Screwdriver
- Pliers
- Electrical Tape
- Wrench Set
- Soldering Iron and Solder
- Multimeter
- Voltmeter/Ohmmeter
- Wire Strippers
- Voltage Tester
- Relay Puller
Step by Step Processes for How to Repair a Tipm
Step 1: Inspect the Tipm
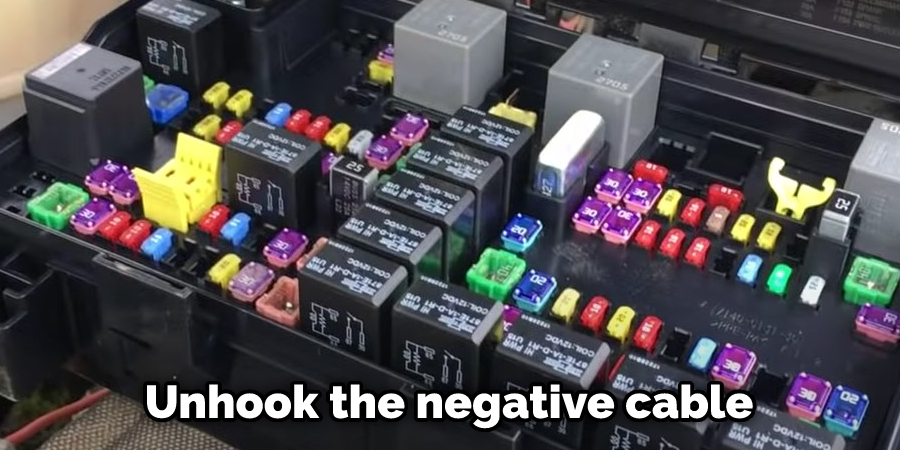
Examine the Tipm for any signs of damage. Look for cracks, rusting, dents, scratches, and other visual deformities. Unhook the negative cable from your car’s battery before starting to work on repairing a Tipm. This is a safety precaution that should not be overlooked.
Step 2: Remove the Tipm from Your Vehicle
To repair a Tipm, you must remove it from its mounting location. This could involve unscrewing bolts, removing plugs and cables, or disconnecting wires. Depending on your vehicle’s make and model, the process of removing a Tipm can vary slightly.
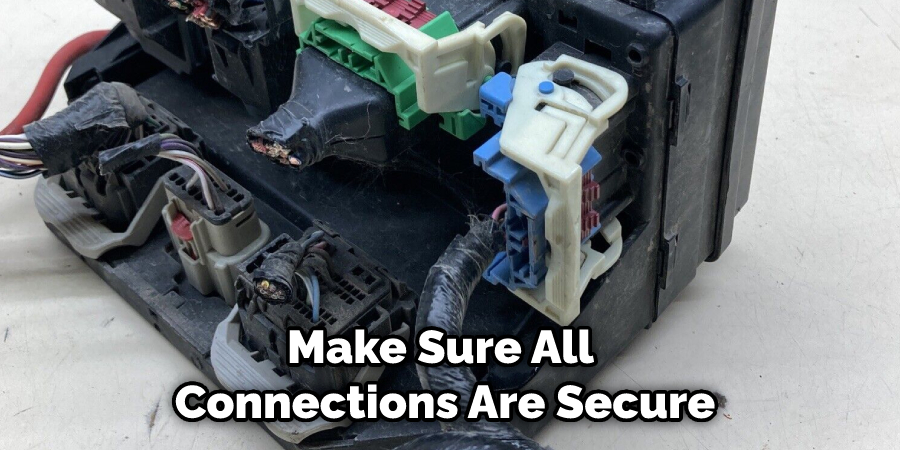
Step 3: Clean the Tipm
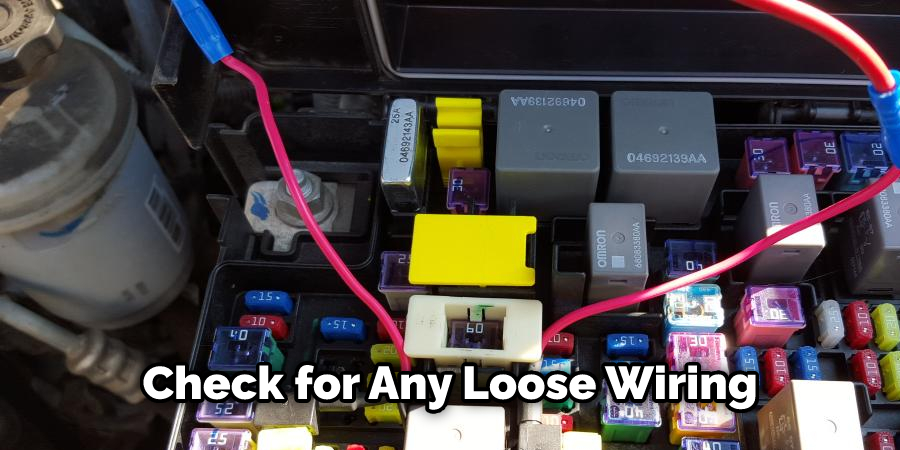
Once you have removed the Tipm, begin cleaning it. Use a damp cloth and some mild soap to clean the surface of any dirt or debris that has built up over time. Take care not to scratch the surface while cleaning. All connectors must be checked for any signs of damage before reattaching the Tipm. Make sure all connections are secure and in good condition, as any loose or damaged wiring could affect the operation of your vehicle’s electronic system.
Step 4: Check for Corrosion on the Tipm
Using a pair of needle-nose pliers, carefully inspect the back of the Tipm for any signs of corrosion. If there are any greenish or white spots, these must be cleaned off before reattaching the Tipm. If you find that any part of the Tipm is worn or damaged, it will need to be replaced. This could include anything from a fuse to a circuit board. Be sure to purchase the exact same part that needs replacing for your vehicle to perform correctly.
Step 5: Reattach the Tipm
Once all of the parts have been replaced, reattach the Tipm back into its mounting location. Make sure all connectors, cables, and wires are securely fastened. Reconnect the negative cable back to your vehicle’s battery. This should be done before proceeding with any other steps in Repairs a Tipm.
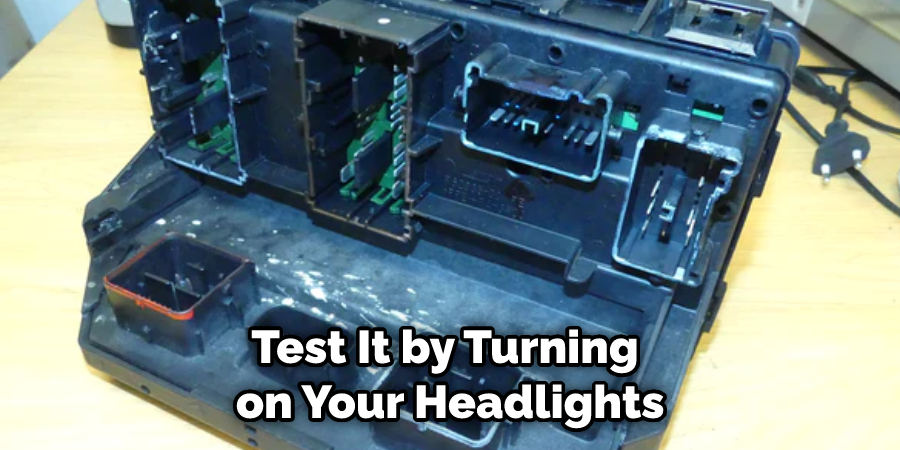
Step 6: Test the Tipm
At this point, the Tipm should be reattached and ready to go. Test it by turning on your headlights or radio to ensure that everything is working properly. Finally, ensure all warning lights, indicators, and other electrical components fully function before venturing out in your vehicle.
8 Safety Precautions for How to Repair a Tipm
- Before attempting to repair a Tipm, be sure to disconnect the battery power and let the vehicle sit for at least 15 minutes. This is essential to ensure safety while working on the system.
- Wear personal protective equipment such as gloves, eye protection, and a face mask when handling components of the Tipm.
- Refer to the manufacturer’s instructions for details on removing and replacing components of the Tipm.
- Exercise caution when handling sensitive electronic components as static electricity could damage them.
- Utilize a well-lit work area free from dirt, dust, moisture, and other contaminants.
- Use appropriate tools such as a multimeter and voltage tester to ensure proper connections.
- Make sure all connections are secure before reconnecting the battery power.
- Always test the system thoroughly after repairs are completed to ensure it is functioning properly.
Taking these safety precautions will help ensure an efficient and successful repair of the Tipm. It is also important to remember that a qualified auto mechanic should do any repair work.
How Much Does It Cost to Repair a Tipm?
The cost of repairing a TIPM varies depending on the severity of the problem and the year, make, and model of your vehicle. For example, a 2005 Chrysler Town & Country’s TIPM repair kit may run around $300, while a 2019 Ford F-150 could be closer to $500 or more. You can also check with your local auto parts store or mechanic to get an estimate of the cost.
Additionally, in some cases, the TIPM may need to be replaced altogether if it has become too damaged. A new TIPM can range anywhere from $400-$1000, depending on the vehicle make and model. It is important to remember that a TIPM repair or replacement can be a complex and costly process.
If you are considering attempting to repair the TIPM on your own, it is important to make sure that you fully understand the task at hand before proceeding. It may also be beneficial to consult with an experienced mechanic who can take a look at your vehicle and provide advice on the best course of action.
How Often Do You Need to Inspect or Test Your Tipm to Prevent Future Issues?
Inspecting and testing your Totally Integrated Power Module (TIPM) is an important step to ensure that it continues to work reliably. How often you need to inspect or test it depends on the make and model of your vehicle, as well as how often you use it. Generally speaking, inspection and tests should be conducted at least once a year. This will help identify potential issues and allow you to address them before they become more serious.
When inspecting or testing your TIPM, it is important to check for signs of wear and tear or damage. Look for frayed wires or loose connectors, as these could be indicators that the module needs to be replaced. Also, check for any signs of corrosion or other damage. If you notice any of these issues, then it may be time to replace the TIPM.
How Do You Know if Your Tipm Needs More Than Just a Repair?
If your TIPM (Total Integrated Power Module) is not working properly, there could be more than just a single part that needs to be repaired. Problems with the TIPM can have various causes, such as bad wiring or damage to electrical components. If you’re having trouble diagnosing the problem, it might be time to have the TIPM inspected by a professional.
If you suspect that something is wrong with the TIPM, the first thing to do is diagnose the issue. Check for any loose wiring or corrosion signs, and test all electrical components, such as relays and fuses. If there are no obvious signs of damage, you can try resetting the TIPM. To do this, disconnect the negative cable from your car battery for a few minutes and then reconnect it.
This should reset the TIPM and restore it to working order if the problem was simply due to an electrical fault.
Do You Need to Call a Professional?
When it comes to repairing a Tipm, there is no one-size-fits-all answer. Depending on the extent of the damage and complexity of the problem, you may need to call a professional. If you are experienced in auto electrical repair or have ample knowledge about the Tipm, then basic repairs can be done relatively easily. However, if the problem is complex and you are unfamiliar with Tipm systems, you may need to call a professional.
If you decide to repair the Tipm yourself, start by gathering all the necessary tools and materials for the job at hand. This could include anything from manual testing equipment like a voltmeter to special-purpose electronic components and tools. Make sure to read the manual thoroughly and understand all the steps in the repair process before attempting any fixes.
Conclusion
One of the biggest disadvantages of repairing a TIPM is the cost. Depending on the make and model of your vehicle, it can be very expensive to replace or repair a TIPM. Another disadvantage is that if you do not have experience in electronics and automotive wiring, it may be difficult to properly diagnose and repair the TIPM.
In conclusion, repairing a Tipm can be tricky and should not be done without proper knowledge. It is important to follow the instructions correctly to avoid any potential damage or harm. Before beginning the repair process, it is essential to ensure that all necessary tools and materials are readily available. If you run into any problems during the repair, you should consult a professional for help. I hope reading this post has helped you learn how to repair a tipm. Make sure the safety precautions are carried out in the order listed.
You Can Check It Out to Fix Transmission Stuck in Gear