The best way to fix a wooden pipe is to replace it with a new one, but if that’s not an option, you can try to seal it up with wooden glue. In this article, we’ll show you how to fix wooden pipe. We’ll also give you some tips on how to take care of your wooden pipes so that they last as long as possible. Keep reading for more information!
Wooden pipes are a classic choice for many homes and businesses. They’re durable and have a certain aesthetic appeal that can’t be beat. However, wooden pipes are susceptible to damage over time like all materials. So if you have a wooden pipe that’s starting to show signs of wear, it’s essential to take action right away. The longer you wait, the more likely the pipe will break and cause extensive damage to your home or business.
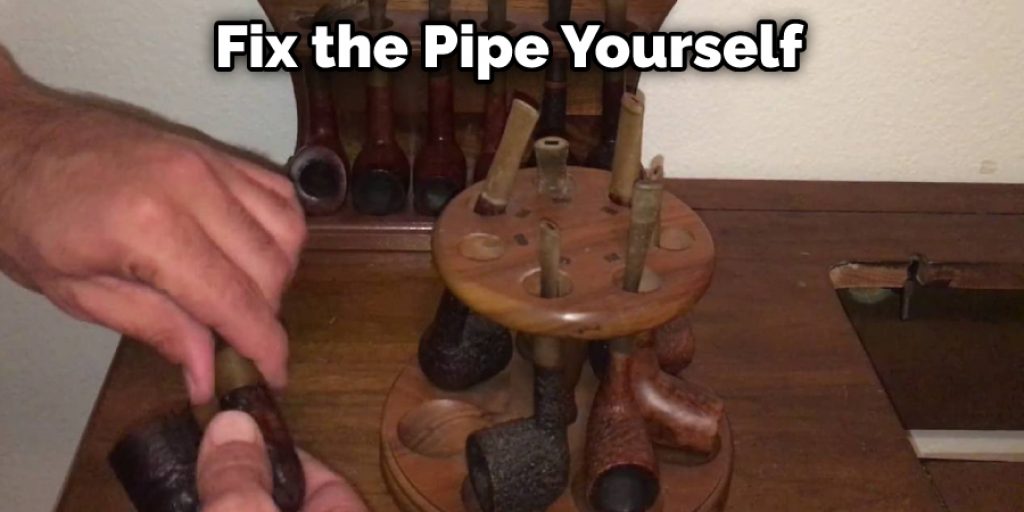
Summary: If you are having trouble fixing a wooden pipe, here is a simple guide. First, make sure that the pipe is properly secured to the ground with cinder blocks or weights. Second, use a hacksaw to cut off the end of the pipe that is not secure. Finally, use a chisel to break up the end of the pipe that has been cut off.
What Is Wooden Pipe?
The wooden pipe has been used for a long time. People used it for water pipes and drainage in the olden days. Nowadays, people still use it for that in some parts of the world. But people also use it to make furniture and other wood things.
The wooden pipe is made from various woods, each with its own characteristics that affect the strength and durability of the pipe. For example, oak is a very strong and durable wood, but it can be susceptible to rot and insect damage if not properly maintained. Maple and pine are also strong and durable woods, but they may not last as long as oak if not properly cared for. With proper care, however, all three woods can make for a very strong and durable pipe.
A Step by Step Guide on How to Fix Wooden Pipe
Step 1: Assess the Damage
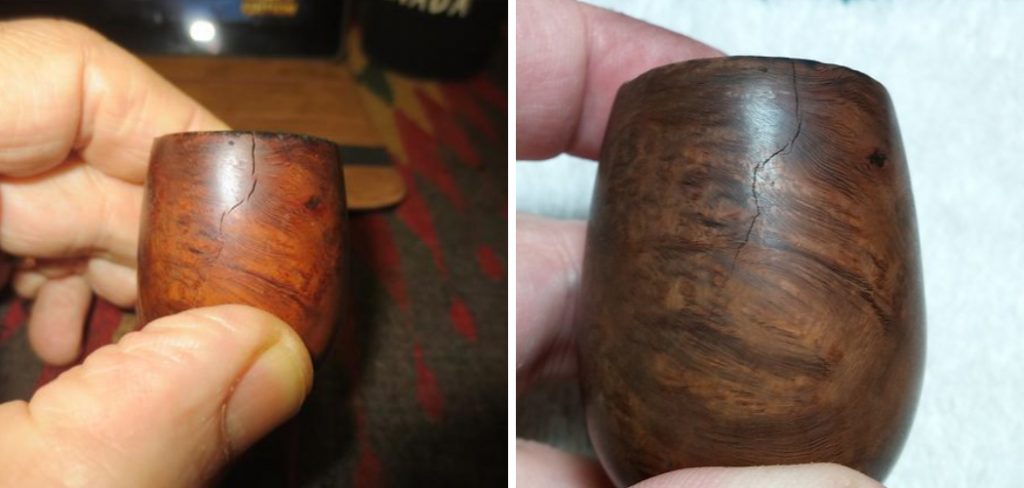
Begin by examining the wooden pipe to determine the extent of the damage. Look for cracks, splits, or any other signs of damage that may impact the pipe’s functionality. Make a note of any damaged areas and gather the necessary tools and materials to perform the repair.
Step 2: Gather Tools and Materials
To repair a wooden pipe, you will need the following tools and materials:
- Wood filler or epoxy putty
- Sandpaper (various grits, ranging from coarse to fine)
- Wood glue
- Clamps
- Clean cloth
- Disposable gloves
- Wood stain or paint (optional)
- Wood sealant (optional)
Step 3: Clean the Pipe
Before repairing the pipe, ensure it is clean and free of any residue. Use a clean cloth to remove any dust or debris from the pipe’s surface. If the pipe is heavily soiled, you may need to use a mild soap and water solution to clean it gently. Be sure to let the pipe dry completely before proceeding with the repair.
Step 4: Stabilize Cracks or Splits
If the wooden pipe has cracks or splits, stabilize them with wood glue before proceeding with the repair. Apply the glue along the crack or split, and use clamps to hold the pieces together while the glue dries. Follow the manufacturer’s instructions regarding the drying time for the glue.
Step 5: Fill Cracks and Holes with Wood Filler or Epoxy Putty
Once the glue has dried, use wood filler or epoxy putty to fill any cracks, holes, or imperfections in the pipe. Put on disposable gloves, and follow the manufacturer’s instructions for preparing the filler or putty. Press the material into the damaged areas using your fingers or a putty knife, ensuring that it is level with the surrounding wood. Allow the filler or putty to dry according to the manufacturer’s instructions.
Step 6: Sand the Repaired Areas
After the filler or putty has dried, use sandpaper to smooth and shape the repaired areas. Start with a coarse grit sandpaper to remove any excess filler or putty and blend it into the surrounding wood. Gradually progress to finer grit sandpaper to achieve a smooth finish. Be sure to sand with the grain of the wood to avoid scratches.
Step 7: Clean the Pipe Again
Use a clean cloth to remove any dust or debris created during the sanding process. Ensure that the pipe is clean before proceeding to the next step.
Step 8: Apply Wood Stain or Paint (Optional)
If desired, apply a wood stain or paint to the repaired areas of the pipe to match the existing finish. Follow the manufacturer’s instructions for application and drying times. Be sure to use a stain or paint that is compatible with the type of wood used in your pipe.
Step 9: Apply Wood Sealant (Optional)
To protect the repaired pipe and prolong its life, consider applying a wood sealant. This can help prevent moisture damage and maintain the pipe’s appearance. Follow the manufacturer’s instructions for application and drying times, and be sure to use a sealant compatible with the type of wood and finish used in your pipe.
Step 10: Reassemble the Pipe (If Applicable)
If the wooden pipe was disassembled for repair, reassemble it following the manufacturer’s instructions or any available online resources. Ensure that all components are securely in place and properly aligned.
Step 11: Test the Pipe
Once the repair is complete and all finishes and sealants have dried, test the pipe to ensure that it is functioning correctly. Carefully inspect the repaired areas to ensure that there are no leaks or other issues. If any problems persist, repeat the repair process as necessary or consult a professional for further assistance.
Step 12: Regular Maintenance and Care
To prolong the life of your repaired wooden pipe, practice regular maintenance and care. Clean the pipe regularly to remove any residue or buildup that may cause damage. Inspect the pipe frequently for any signs of wear or damage, addressing any issues as soon as they arise. Keep the pipe away from moisture and extreme temperatures to prevent warping, cracking, or other damage.
Step 13: Store the Pipe Properly
When not in use, store your wooden pipe in a cool, dry place away from direct sunlight or heat sources. This can help prevent warping, cracking, or other damage caused by fluctuations in temperature and humidity. Storing the pipe in a protective case or padded pouch can also help protect it from accidental damage.
Step 14: Seek Professional Help if Necessary
If you are unsure about any aspect of the repair process, or if the damage to your wooden pipe is extensive, consider seeking the help of a professional. A skilled woodworker or pipe repair specialist can assess the damage and recommend the best course of action for repairing your pipe. Additionally, they may have access to specialized tools and materials that can help ensure a successful repair.
Step 15: Consider Replacing the Pipe
If the damage to your wooden pipe is extensive or the repair proves unsuccessful, it may be more cost-effective to replace the pipe altogether. In some cases, the cost of repairing a severely damaged pipe may be greater than the cost of purchasing a new one. When considering a replacement, research different types of pipes and materials to determine the best option for your needs and preferences.
In summary, repairing a wooden pipe involves assessing the damage, gathering necessary tools and materials, cleaning the pipe, stabilizing and filling any cracks or holes, sanding and finishing the repaired areas, and reassembling the pipe if necessary. Regular maintenance, proper storage, and seeking professional help when needed can help prolong the life of your repaired wooden pipe and ensure its continued functionality.
You Can Check It Out to Fix Copper Pipe With Sharkbite
How to Prevent Water Leaks From Happening in the Future
- Check the entire length of your wooden pipe for any cracks or breaks. If you find any, make sure to repair them immediately.
- Inspect your pipe regularly for any signs of wear and tear. If you see anything that looks suspicious, don’t hesitate to call a professional for help.
- Be proactive in maintaining your pipe by regularly cleaning it and ensuring that there is no build-up of debris or dirt.
- If you live in an area with extreme weather conditions, it’s essential to take extra care of your wooden pipe. Ensure to protect it from freezing temperatures in the winter and excessive heat in the summer.
By following these simple tips, you can help prevent water leaks from happening in the future. If you have any concerns about your pipe, don’t hesitate to call a professional for help.
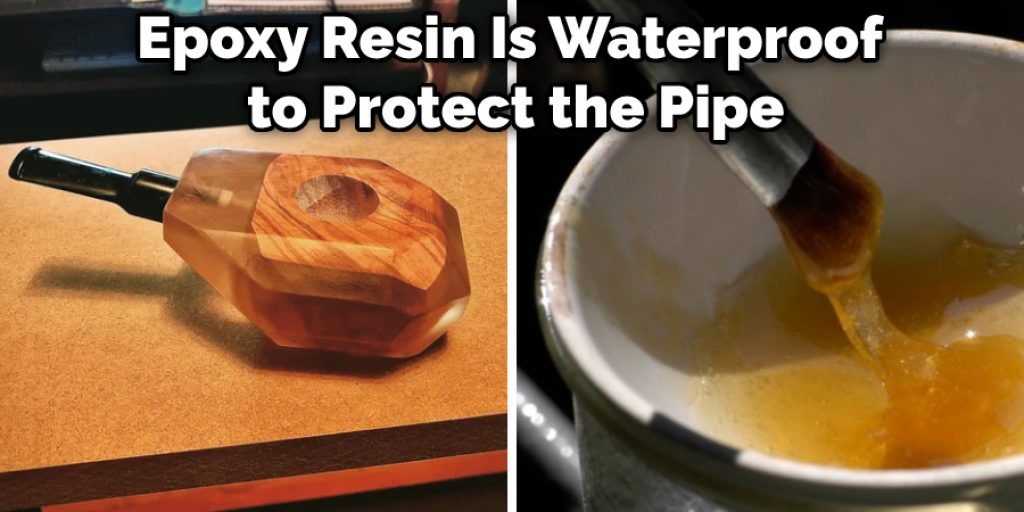
The Benefits of Using Epoxy Resin to Fix a Wooden Pipe
When it comes to fixing a wooden pipe, epoxy resin is one of the best materials you can use. Epoxy resin is solid and durable, making it ideal for repairing any damage. In addition, epoxy resin is also waterproof to protect your pipe from any further water damage. Here are some of the benefits of using epoxy resin to fix a wooden pipe:
Strong and Durable:
As mentioned above, epoxy resin is incredibly strong and durable. This makes it perfect for repairing any damage, no matter how big or small.
Waterproof:
As epoxy resin is waterproof, it will seal your pipe and prevent further water damage.
Prevents Corrosion:
Epoxy resin will also prevent your pipe from corroding, as it creates a barrier between the metal and the water.
Easy to Use:
Epoxy resin is very easy to use, so you’ll be able to fix your pipe in no time.
If you’re looking for a reliable and effective way to repair a wooden pipe, epoxy resin is the perfect solution. It’s strong, durable, waterproof, and easy to use, so you can rest assured that your pipe will be fixed in no time.
How to Restore a Vintage Pipe
If you’ve inherited an old pipe or found one at a flea market, you may be wondering how to restore it to its former glory. Although it may take some work, cleaning and polishing an antique pipe can be fun and rewarding. Your vintage pipe will look great and smoke even better with a little patience.
What You’ll Need:
- Mild soap
- Soft cloths
- Toothbrush
- Pipe cleaners
- Cotton swabs
- Bowl of warm water
- Polishing cloths
Step 1: Determine the Type of Pipe
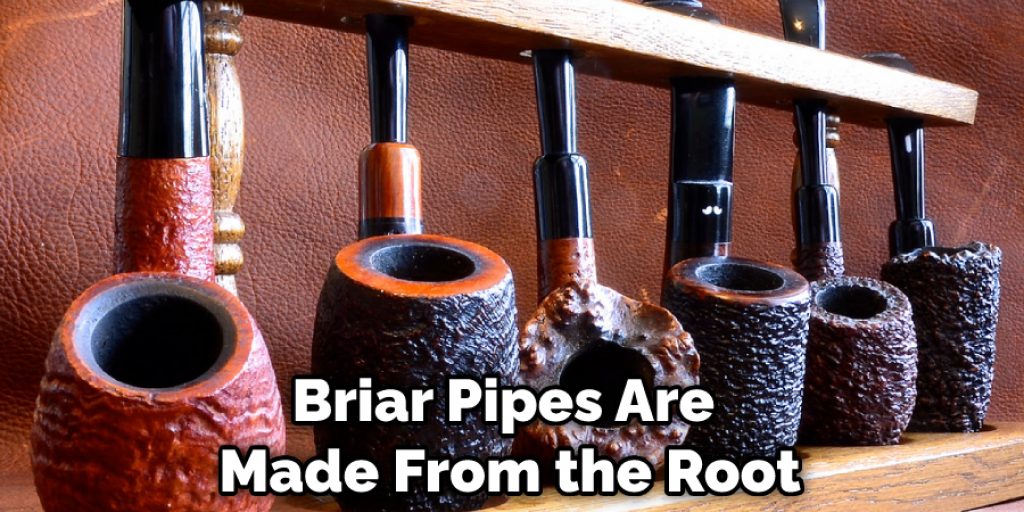
The first step in restoring your vintage pipe is to determine the type of pipe it is. The most common types of pipes are briar, meerschaum, and clay.
Briar pipes are made from the root of the white heath tree and are the most popular type of pipe. Meerschaum pipes are made from a mineral found near Turkey and have a very porous surface. Finally, clay pipes are made from—you guessed it—clay and were very popular in the 17th and 18th centuries.
Step 2: Inspect the Pipe
Once you’ve determined the type of pipe you have, take a close look at it to see what needs to be done. If the stem is loose, you’ll need to tighted it. If the bowl is cracked, you may be able to repair it with superglue. If the pipe is heavily tarnished, you’ll need to do some serious polishing.
Step 3: Clean the Pipe
The next step is to give your pipe a good cleaning. Start by removing the stem and bowl from the pipe. Using mild soap and a soft cloth, clean the bowl, stem, and mouthpiece. Be sure to get rid of any soap residue by rinsing everything with warm water. Next, use a toothbrush or pipe cleaners to clean out the pipe’s airway. Again, rinse everything with warm water. Finally, use cotton swabs and a bowl of warm water to clean the inside of the bowl.
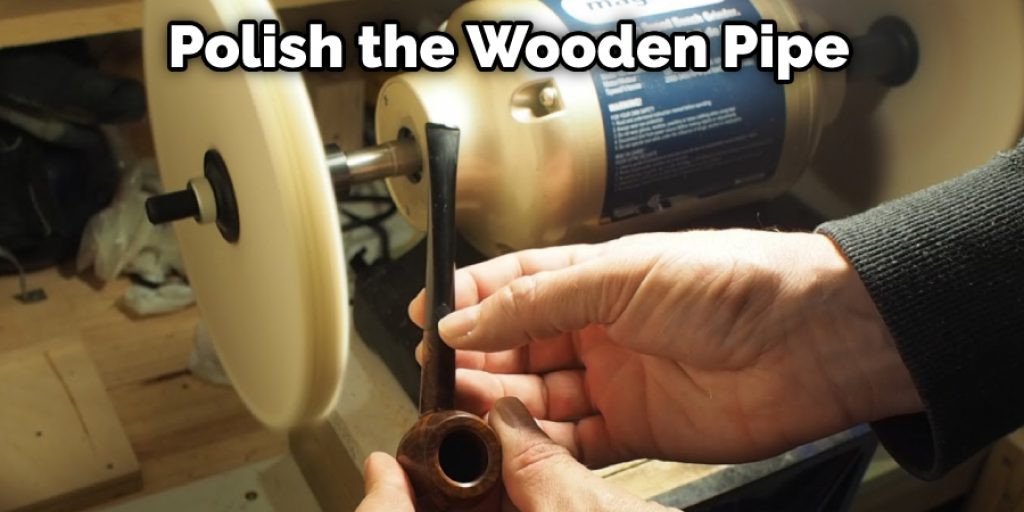
Step 4: Polish the Pipe
If your pipe is made from briar or meerschaum, you’ll need to polish it to bring back its shine. Start by applying a small amount of polishing compound to a soft cloth. Next, rub the cloth over the entire surface of the pipe until it’s shiny. Once satisfied with the results, use a clean polishing cloth to remove any excess compound.
Clay pipes can be polished using beeswax or carnauba wax. First, rub a small amount of wax onto the surface of the pipe using a soft cloth. Once buffed the entire pipe, use a clean cloth to remove any excess wax.
Step 5: Reassemble the Pipe
Once you’ve finished cleaning and polishing your pipe, it’s time to reassemble it. Start by inserting the stem into the bowl. Next, hold the pipe in one hand and use the other hand to twist the stem until it’s tight gently. Finally, test-smoke your pipe to make sure everything is working correctly.
With a little bit of elbow grease, you can quickly restore a vintage pipe to its former glory. Just be patient and take your time, and you’ll be smoking your antique pipe in no time.
What Not to Do When Fixing a Wooden Pipe?
If you’re anything like me, then the first thing you’ll want to do when fixing a wooden pipe is reached for the nearest can of wood glue. But before you go ahead and start gluing everything back together, there are a few things you should know.
For starters, wood glue will not be strong enough to hold the pipe together on its own. Instead, you’ll need to use screws or nails to provide additional support. And even then, there’s no guarantee that the repair will last.
Another thing to avoid is using too much glue. This will make the repair more difficult, but it can also lead to a messy finish. So take your time and only use as much glue as you need.
Finally, don’t try to fix the pipe yourself if you’re not confident in your abilities. This is a job best left to a professional. Attempting to repair yourself could make the situation worse, so it’s best to leave it to someone who knows what they’re doing.
You can avoid making common mistakes when fixing a wooden pipe by following these tips. Then, with a little patience and care, you can make a successful repair that will last for years to come.
Frequently Asked Questions
Can You Boil a Wooden Pipe?
It depends on the type of wood pipe and how hot you are cooking it. Some people say that boiling a wooden pipe will ruin its quality and cause leaks, while others claim that doing so won’t have any negative effects. Ultimately, you should test the water temperature before starting to boil the pipe just to be sure.
Can Soak Wooden Pipe in Alcohol?
Yes, you can clean a wooden pipe with alcohol. However, doing so may result in damage to the pipe and possible chemical burns. Always wear appropriate safety gear when cleaning any piece of equipment, and use caution when using any type of cleaning agent.
Can You Clean a Wooden Pipe With Alcohol?
While there’s no harm in trying, it is not recommended that you clean a wooden pipe with alcohol. This powerful cleaning agent can damage the wood and cause excessive water damage. In addition, using alcohol to clean any type of tile or grout will result in costly repair bills down the road. Instead, use an all-purpose cleaner like 409 or 100% pure vinegar to remove dirt, dust, and debris from your surfaces.
Should You Wash Your Pipe?
Depending on the pipe you are using, your smoking habits, and the type of cleaning agent you use. However, as a general rule, pipe smokers generally recommend washing pipes at least once a week to keep them clean and free from bacteria. Here are a few popular cleaning agents that can be used to clean pipes:
- Baking soda – Baking soda is a popular cleaning agent that can be used to clean virtually any surface. Simply mix it with water and scrub the surface until it is clean.
- Vinegar – Vinegar can also be used to clean pipes, and it has been shown to be effective in removing tobacco residue and other contaminants. Simply mix vinegar with water and scrub the pipe until it is clean.
- Hydrogen peroxide – Hydrogen peroxide is a popular bleaching agent that can be used to clean pipes. Simply fill a bowl or cup with hydrogen peroxide and soak the pipe for several minutes before scrubbing the surface with a cloth or sponge. Be sure to rinse the pipe thoroughly afterward to avoid damage to the finish.
- Lye – Lye is an acid that can be dangerous if mishandled, so use it with caution. Lye is most commonly used in soapmaking, but it can also be used to clean pipes. mixture of lye and water should be left on the pipe for several minutes before scrubbing it clean with a cloth or sponge. Again, make sure to rinse the pipe thoroughly after cleaning in order to avoid any damage done to the finish.
Conclusion
If you are having trouble with your wooden pipes, you can take a few steps to try and fix the problem. We’ve outlined some of the most common issues people have with their wooden pipes and how to address them. Hopefully, these tips will help you get your plumbing back on track. We hope you find this article on how to fix wooden pipe helpful.
You May Also Read: How to Fix Flexible Resin